I replaced the old projection screen (4:3) with a 16:10 projection screen (the new projector’s ratio is 16:10, 1280*800).
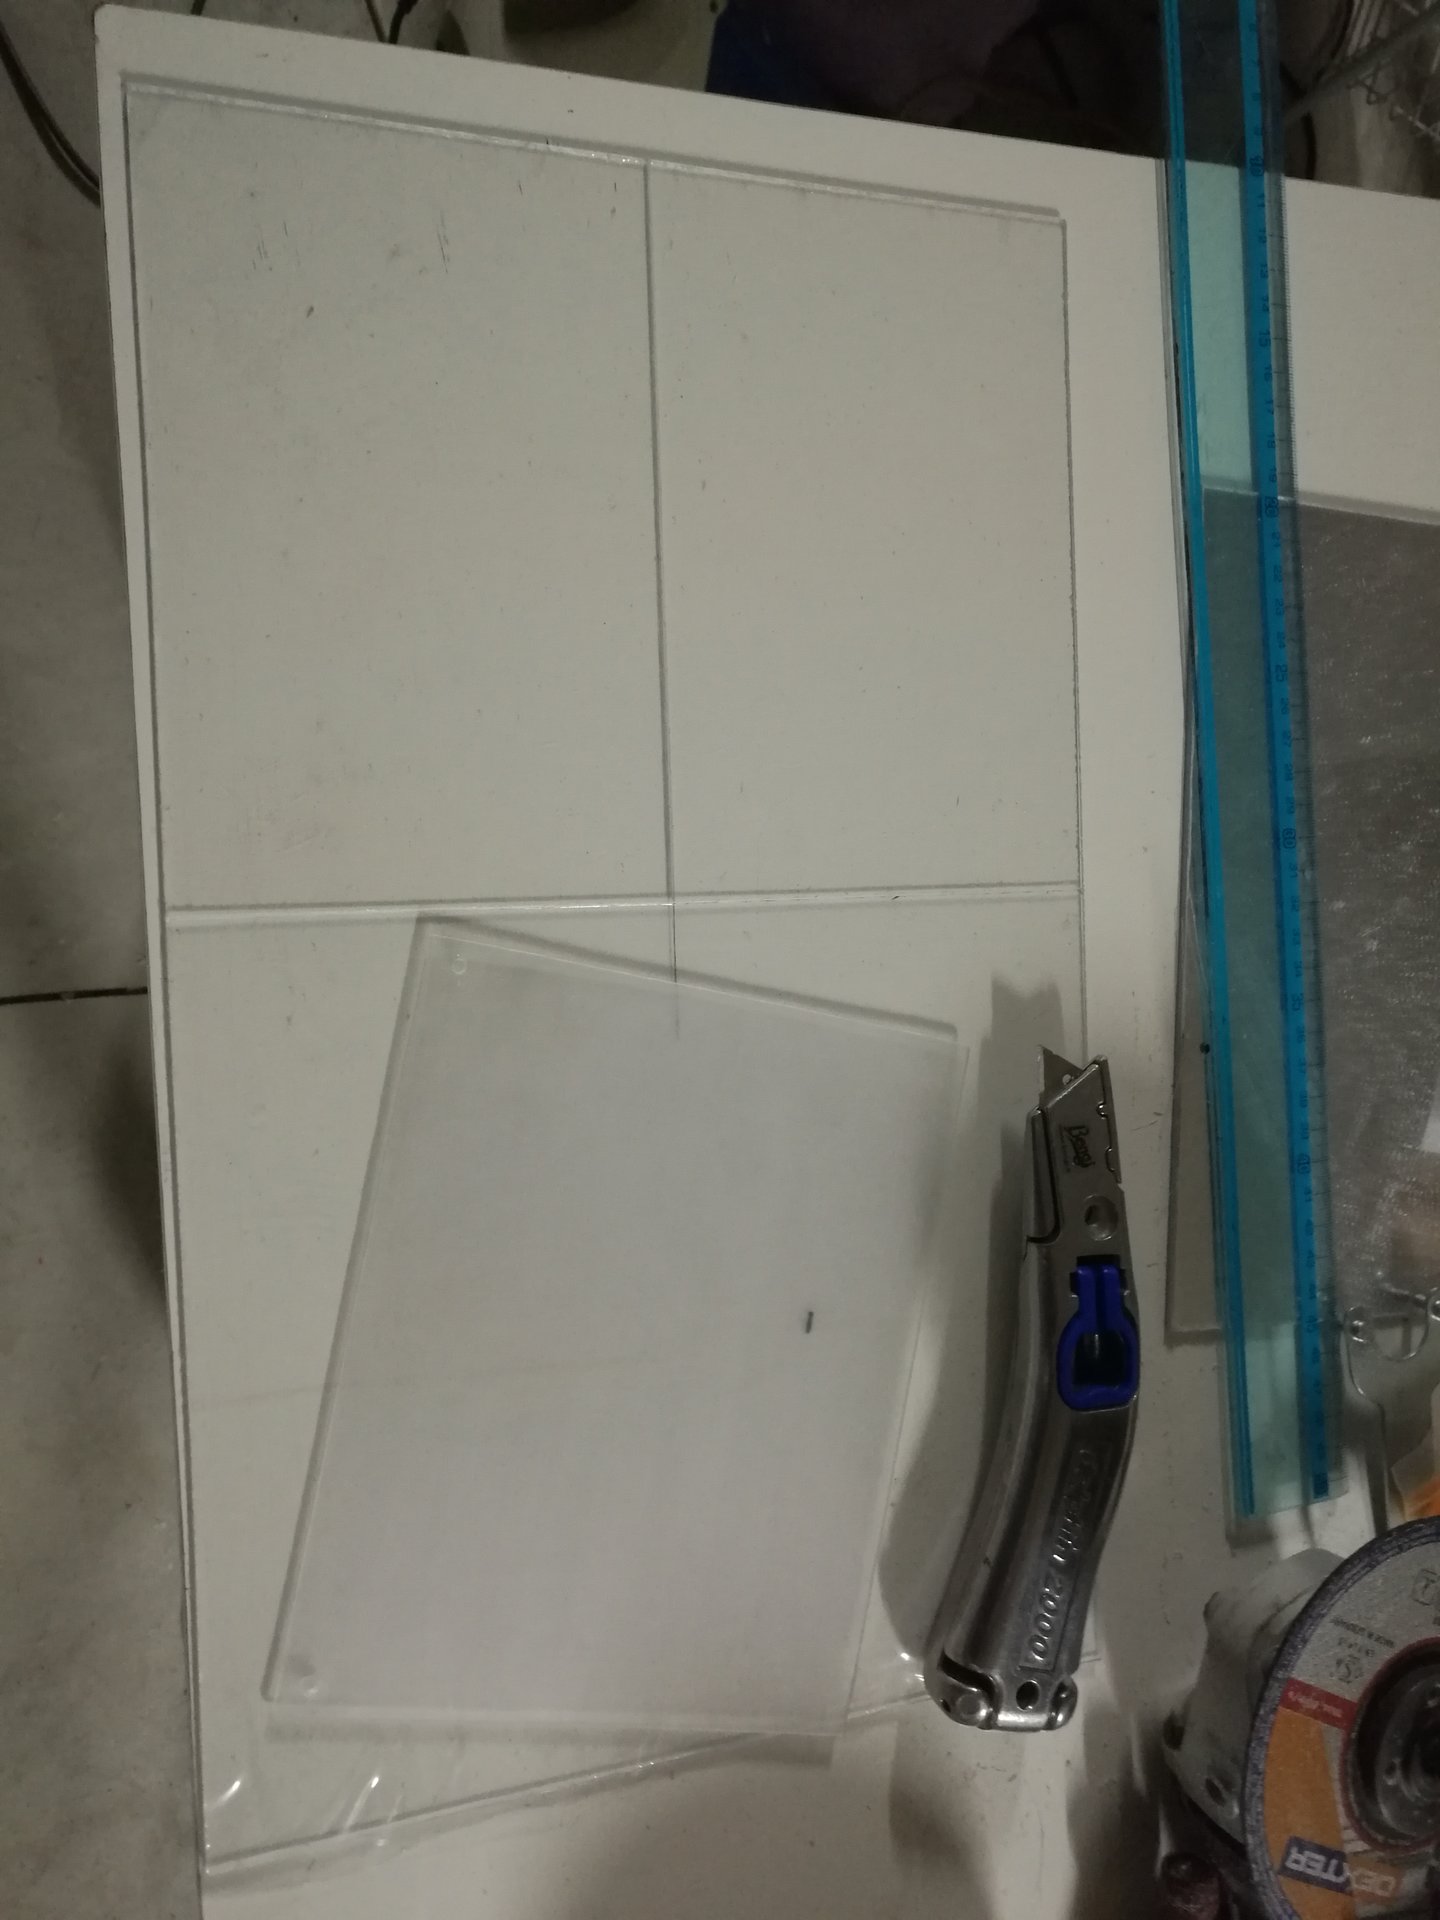
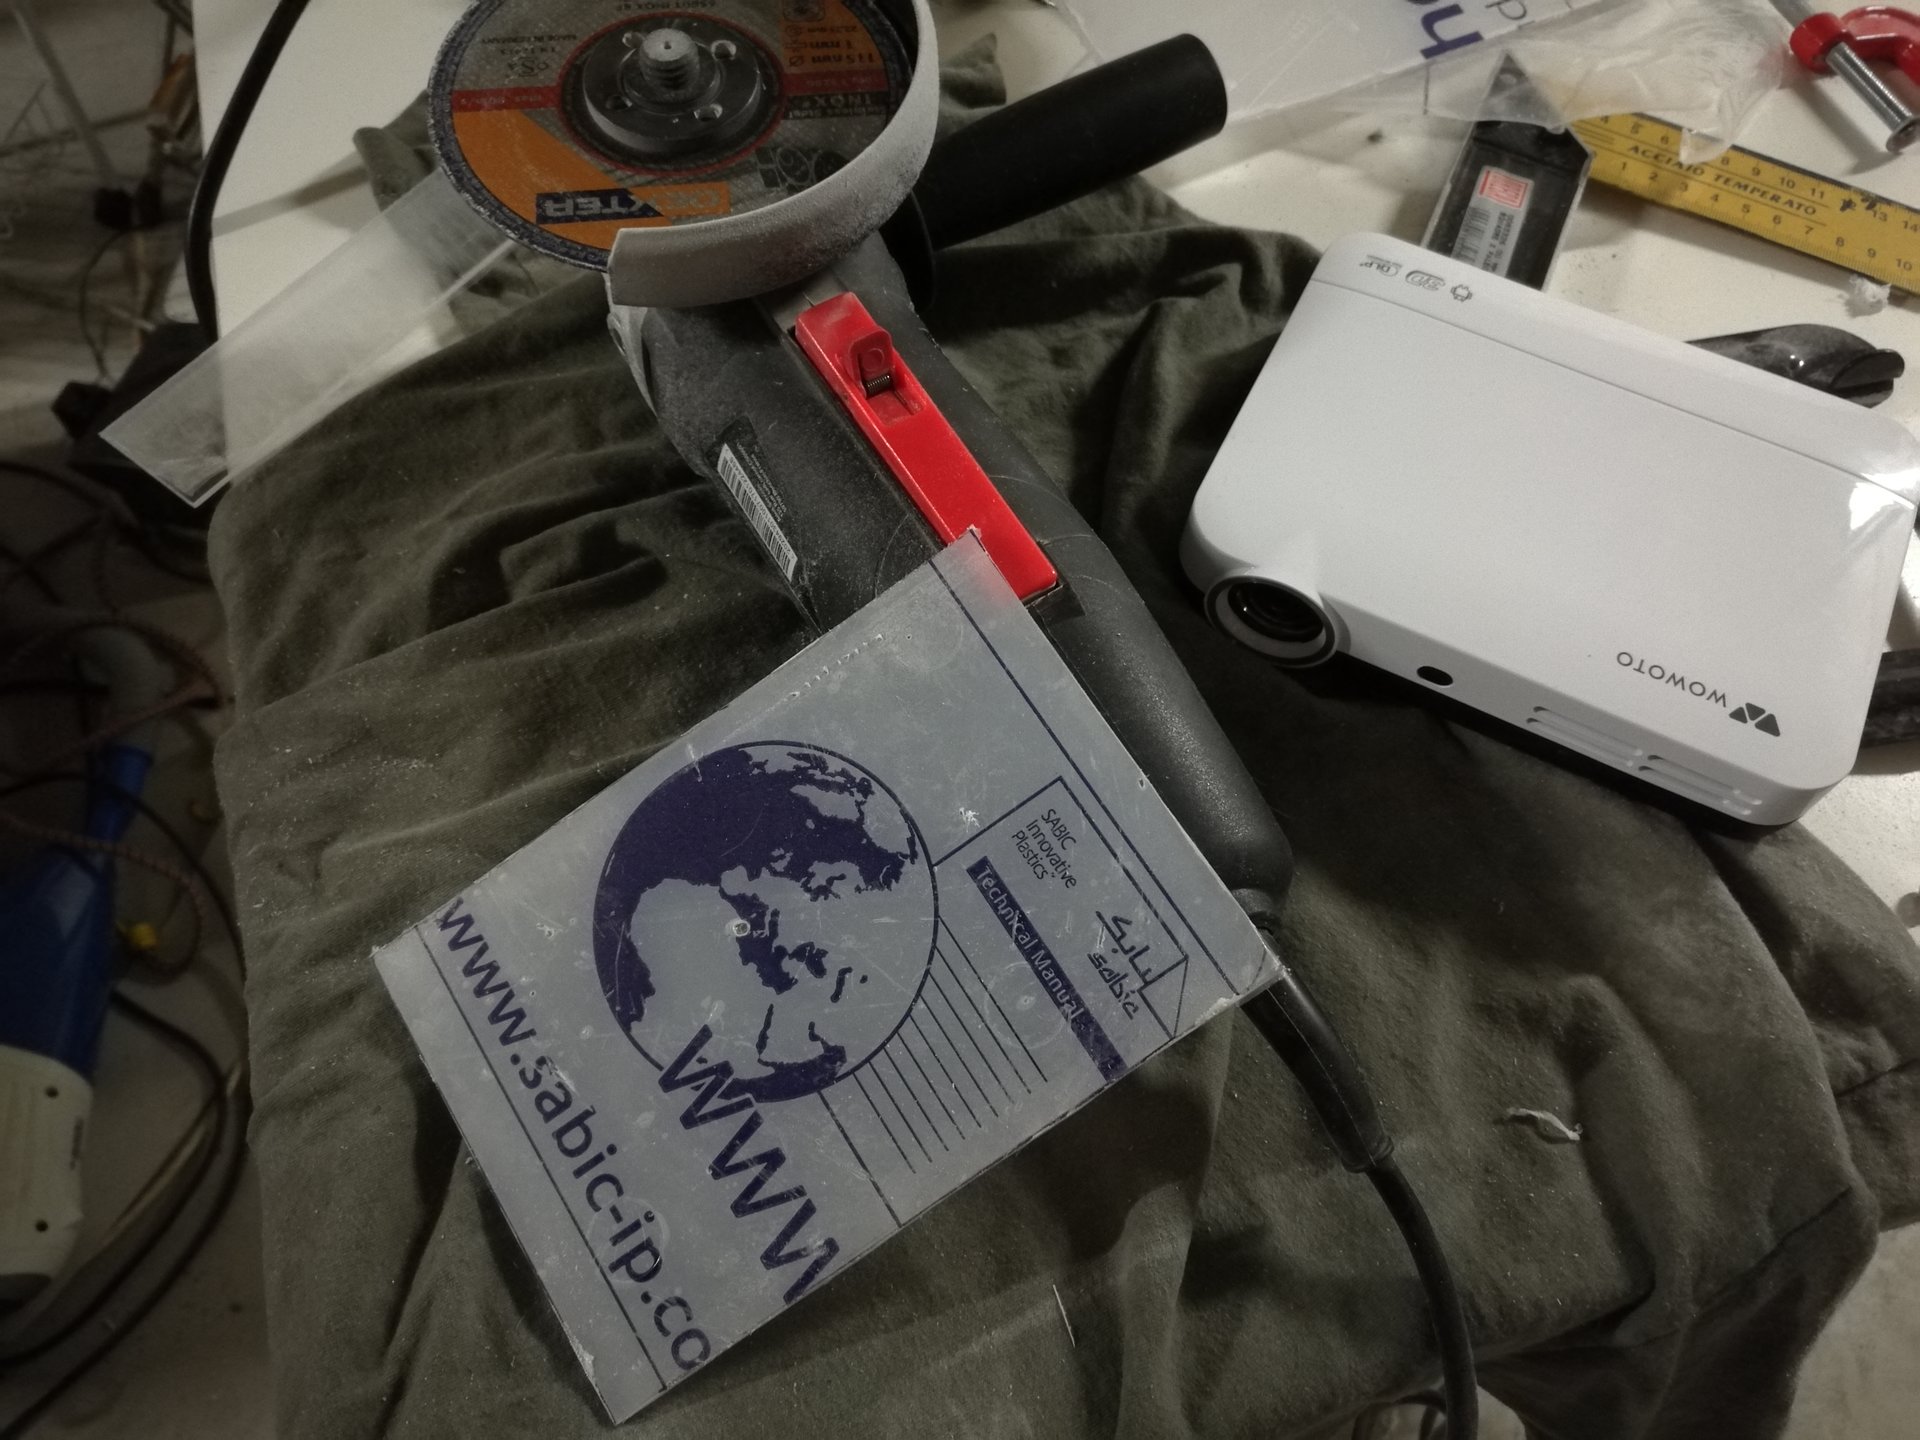
Here I had to solve a problem: sanding two faces of the panel there was an annoying parallax effect, and sanding only one face the projection wasn’t bright enough.
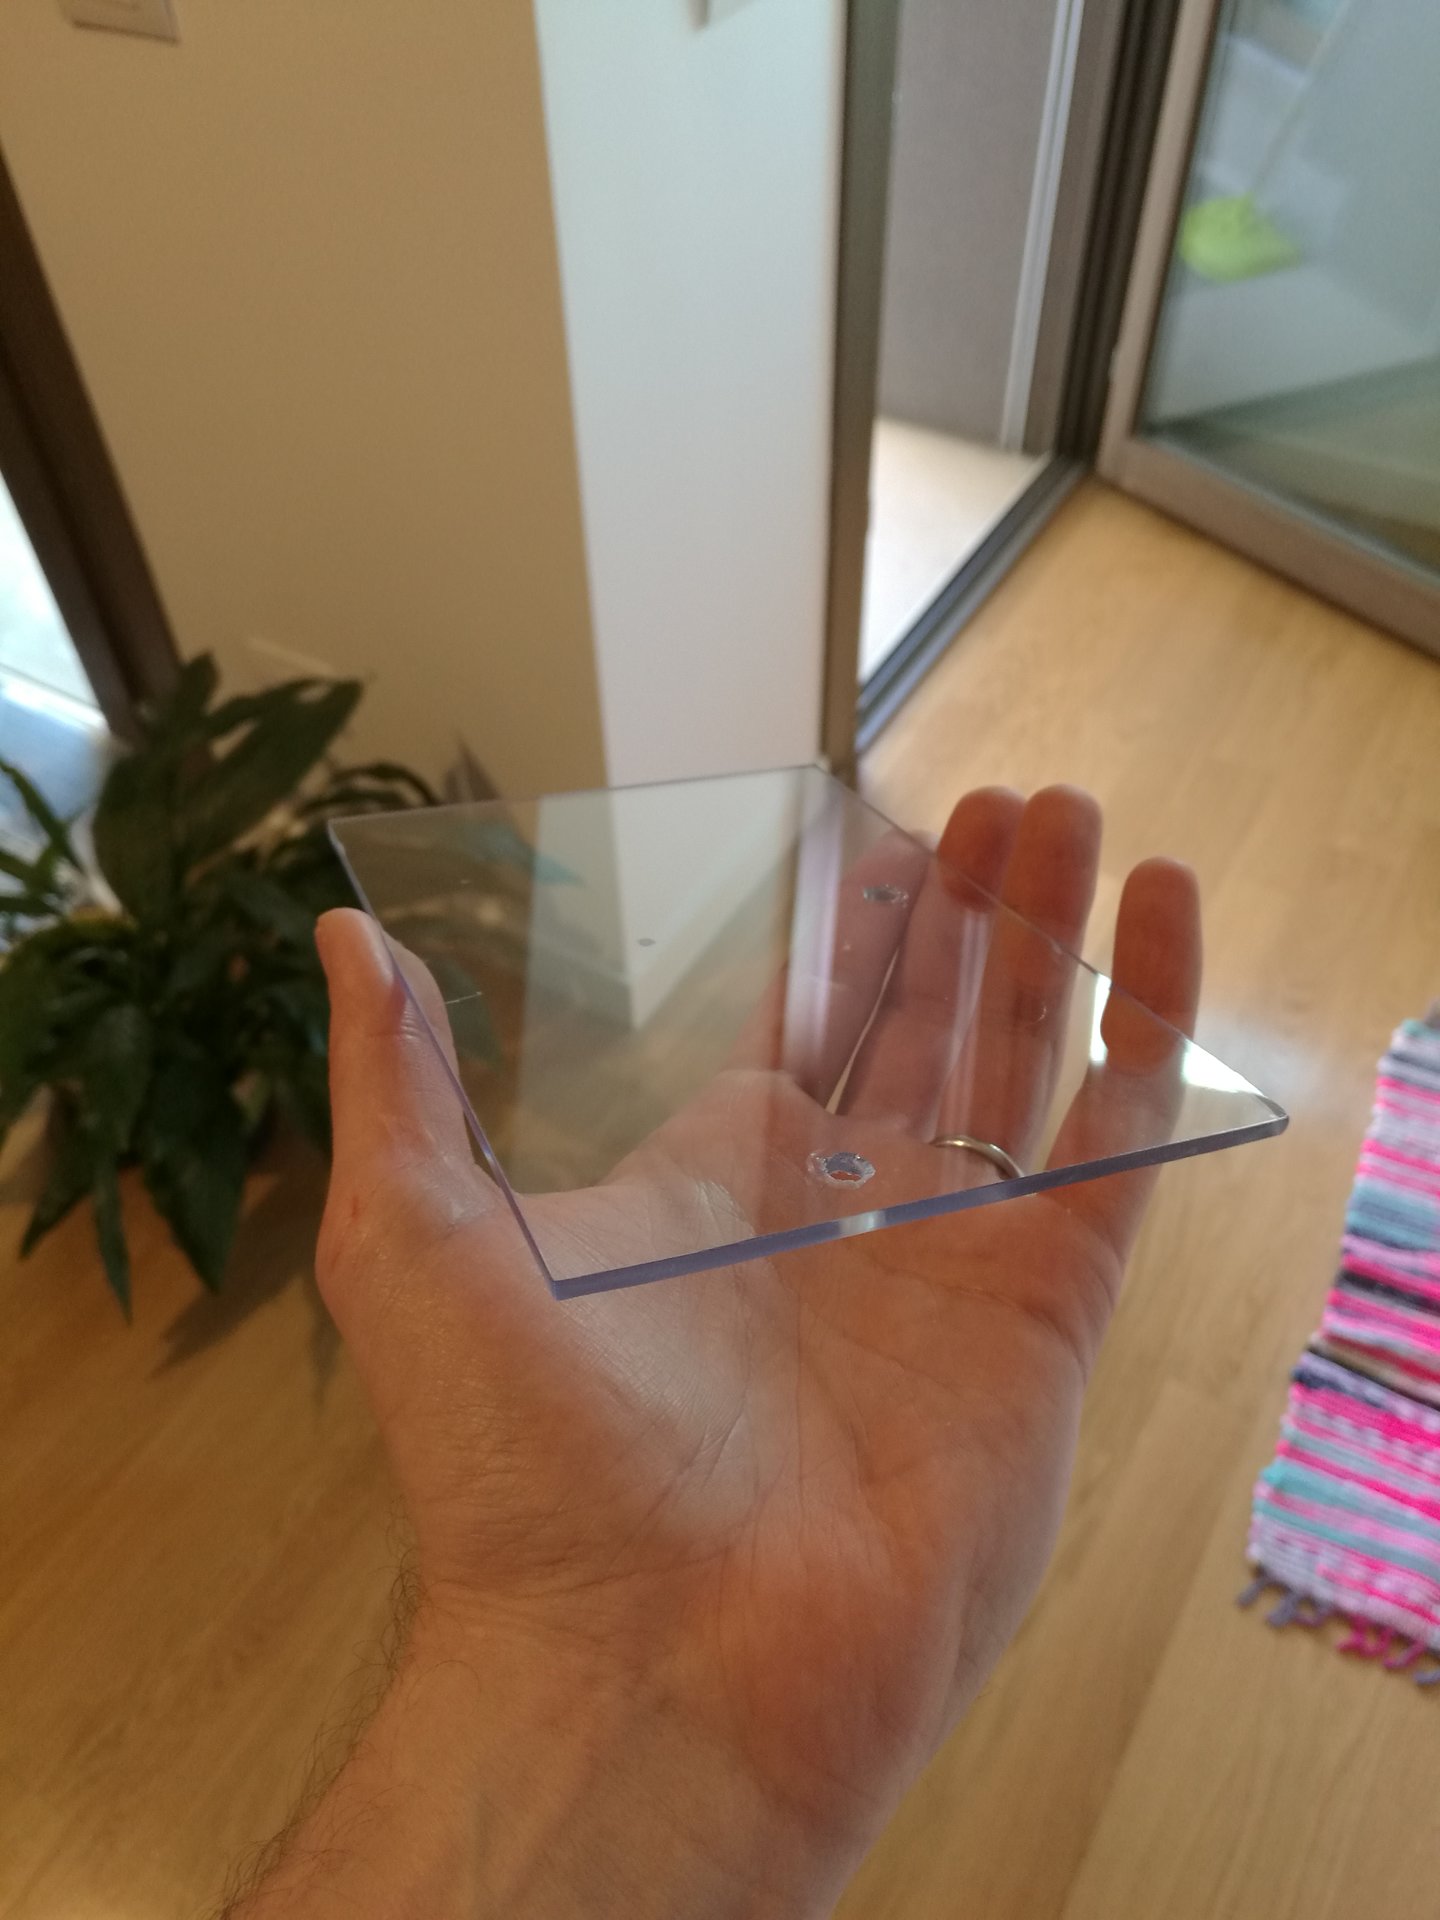
So I solved the problem sanding two panels, each on only one face, and fixing them together with the sanded faces in contact. In this way, the sanded faces are two (brighter projection), but they haven’t a gap between them (so no parallax).
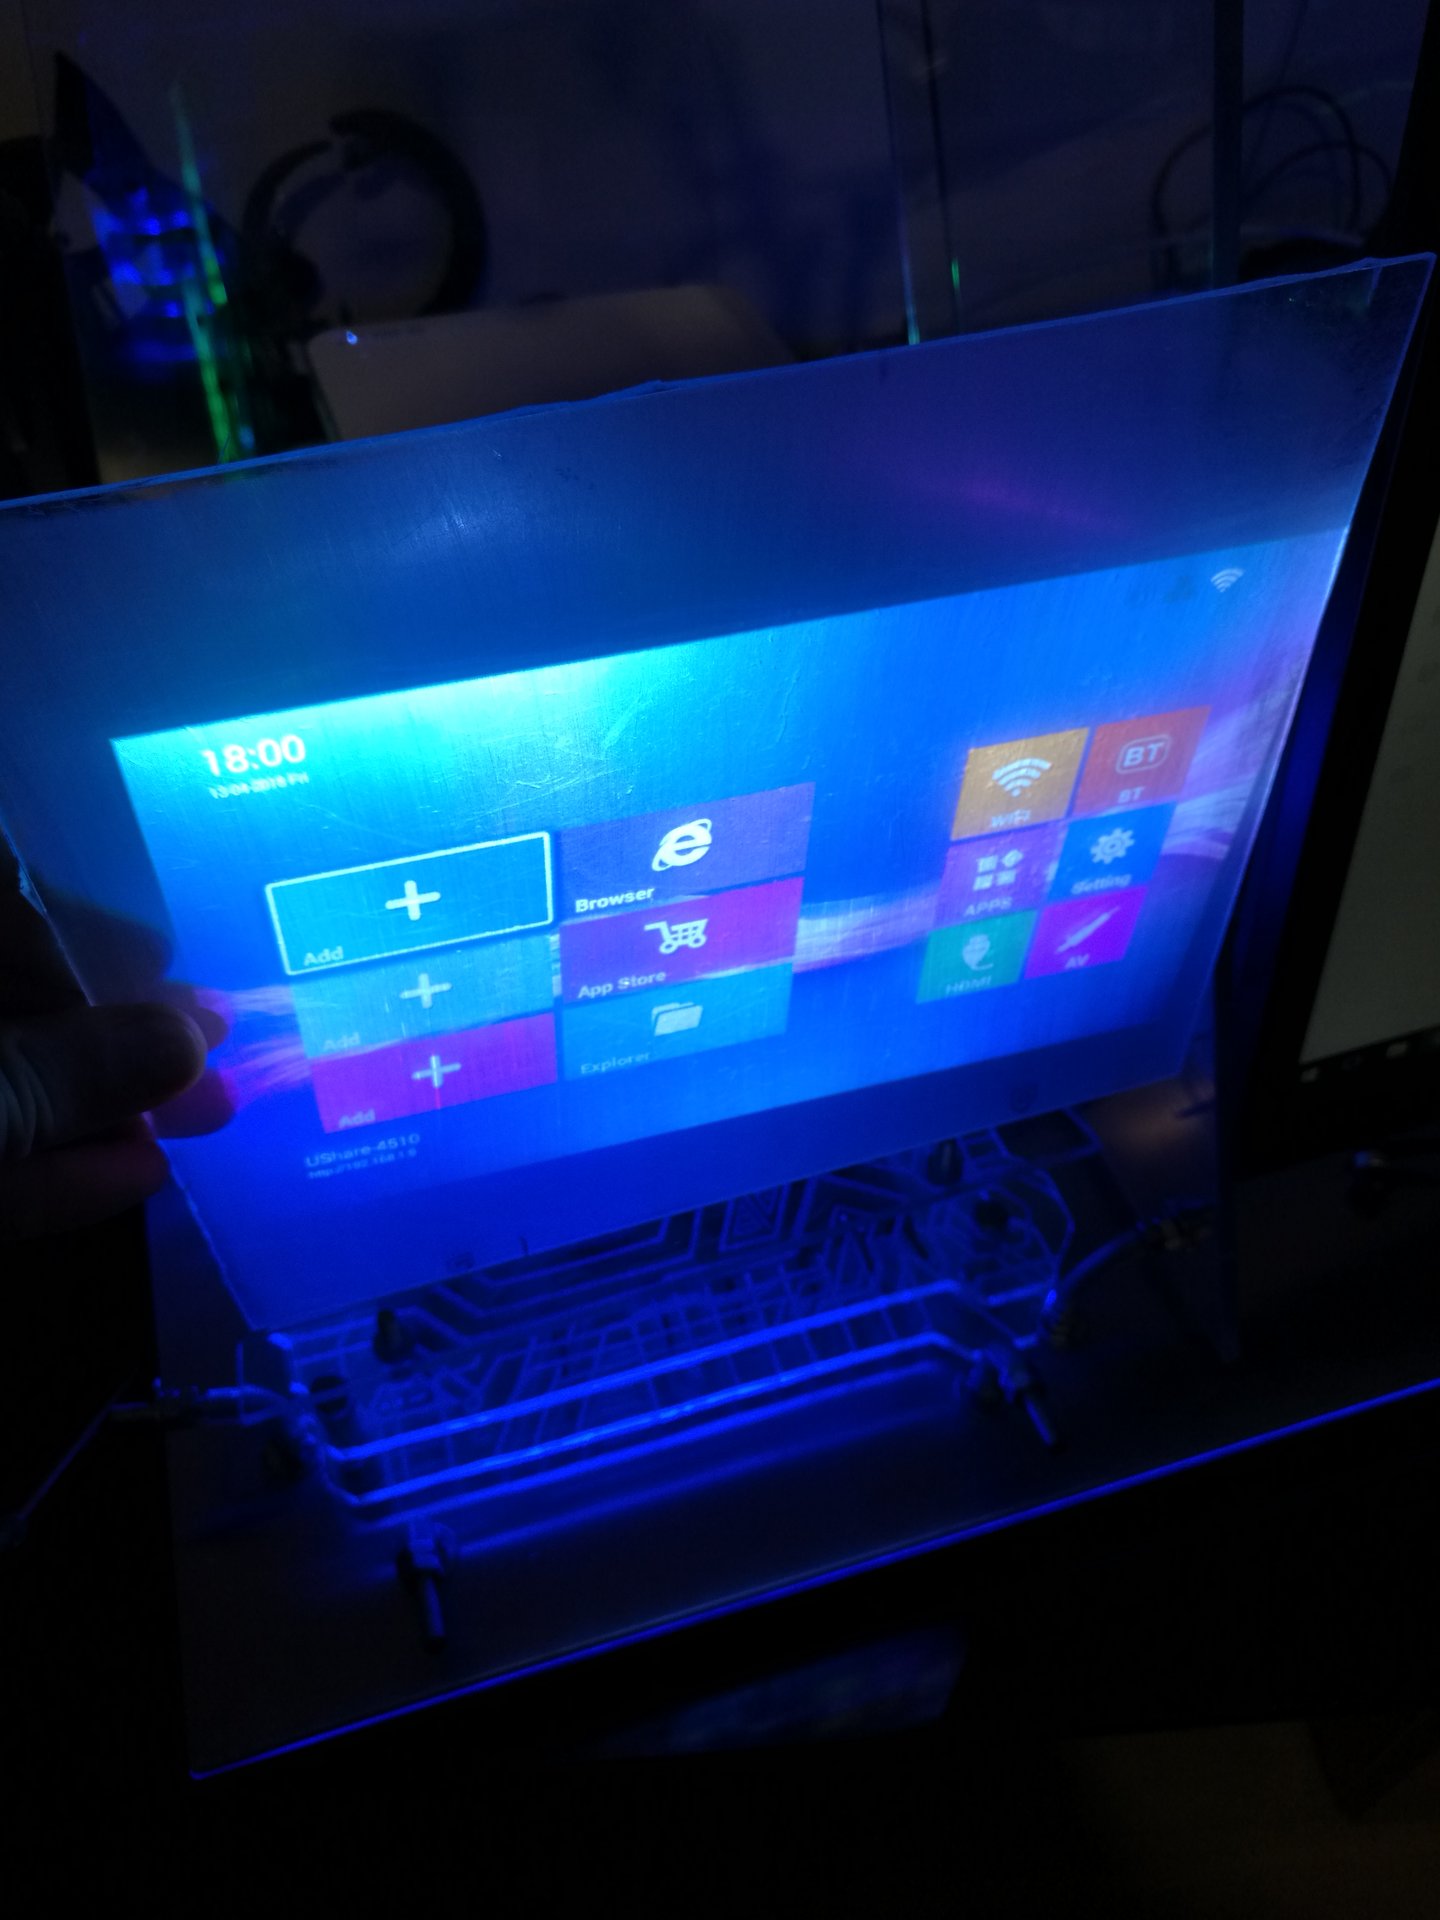

And this is the result (the projection is too bright for the pics, but seen live I can say that the projected image is clearly visibile and not blurry at all):


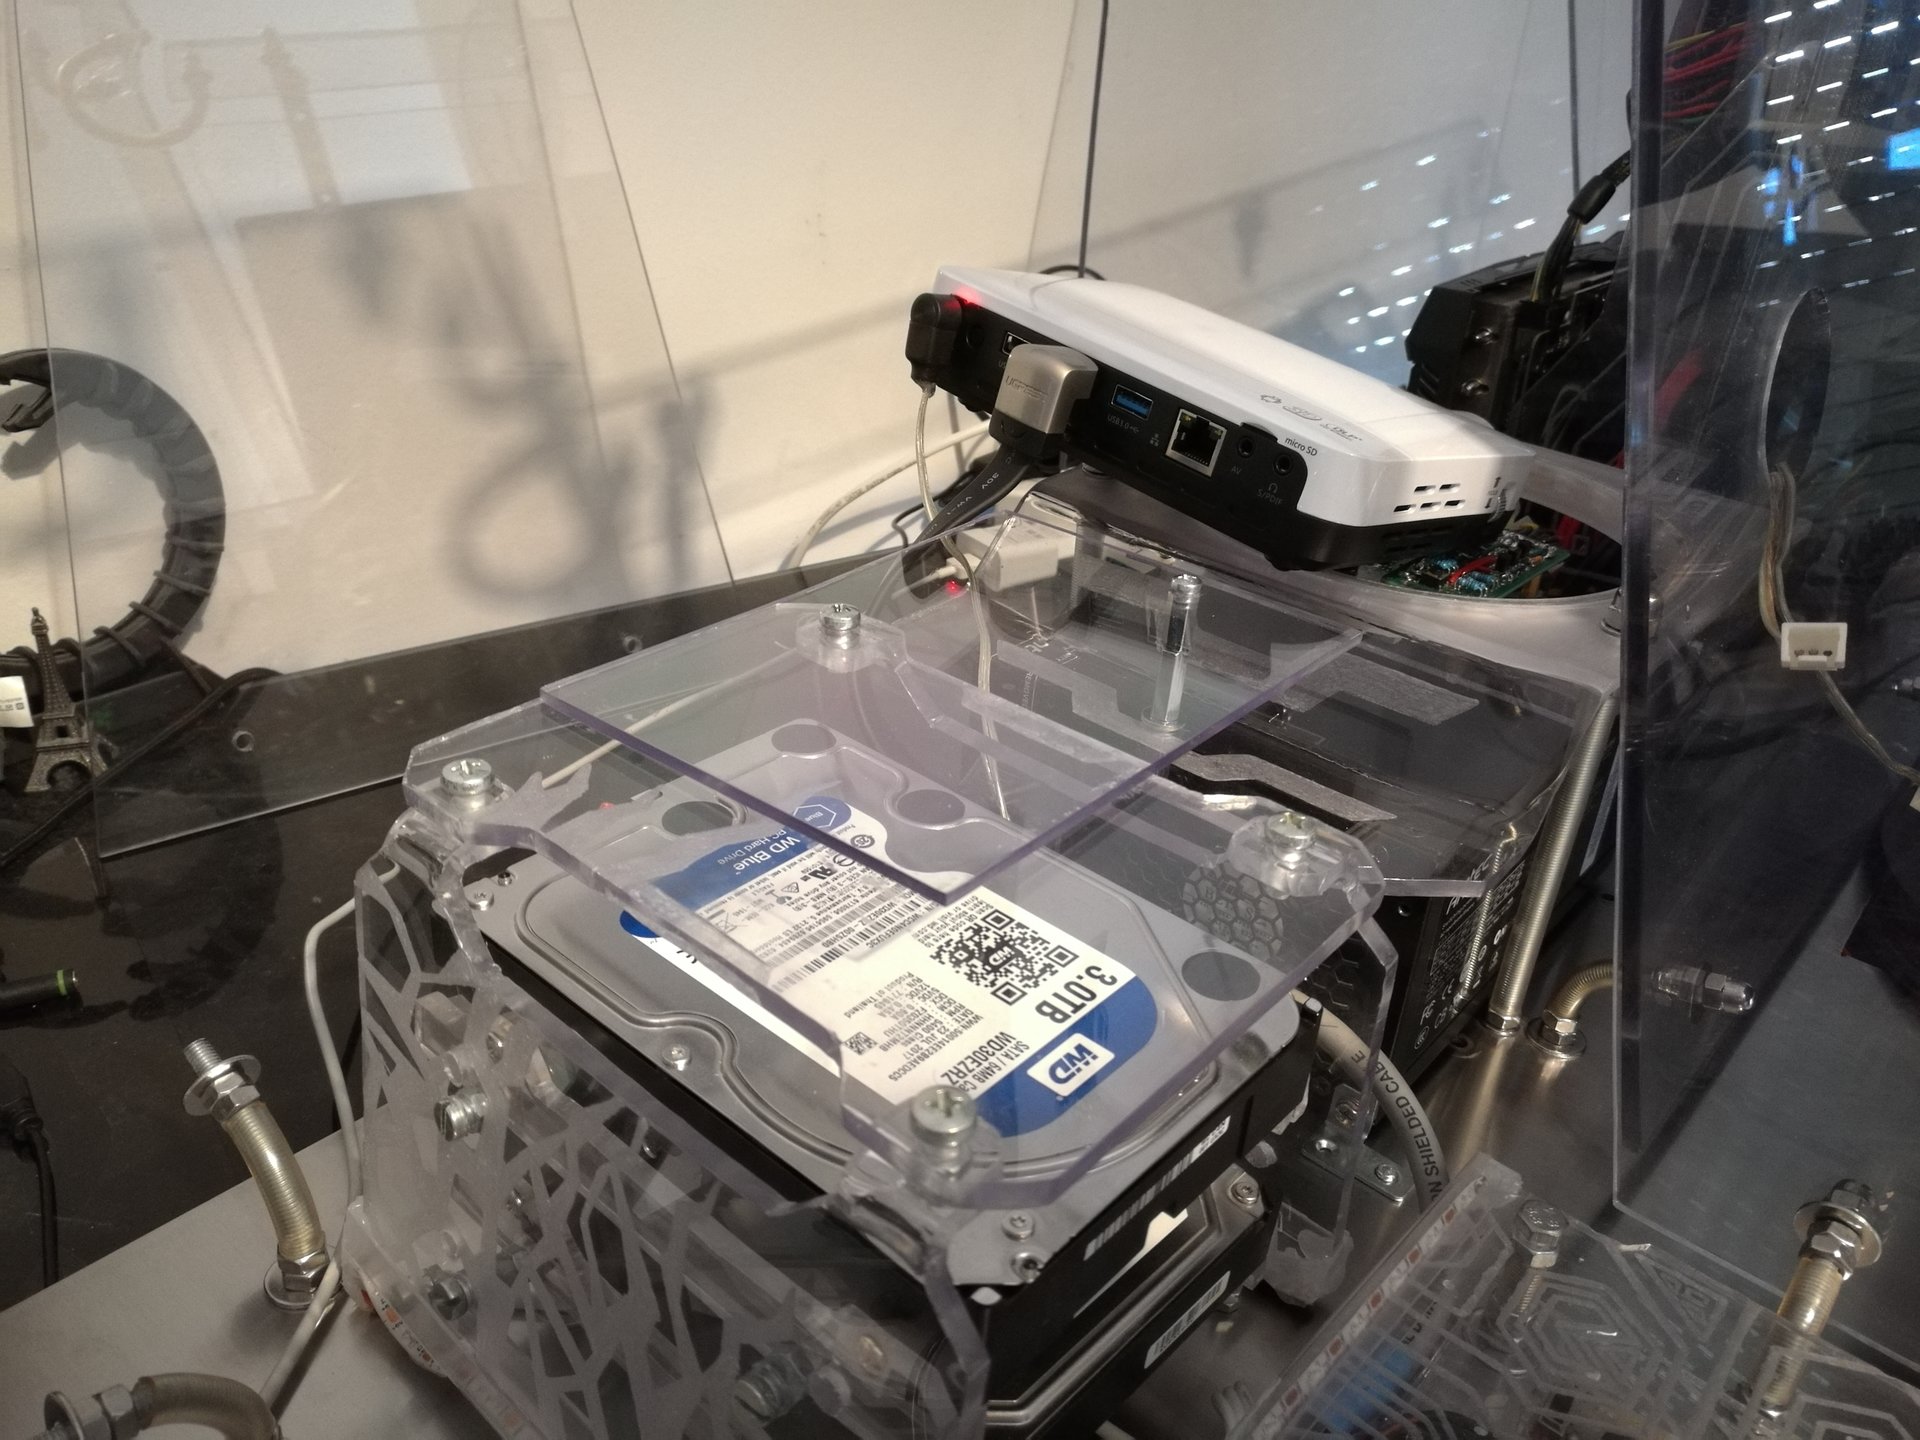
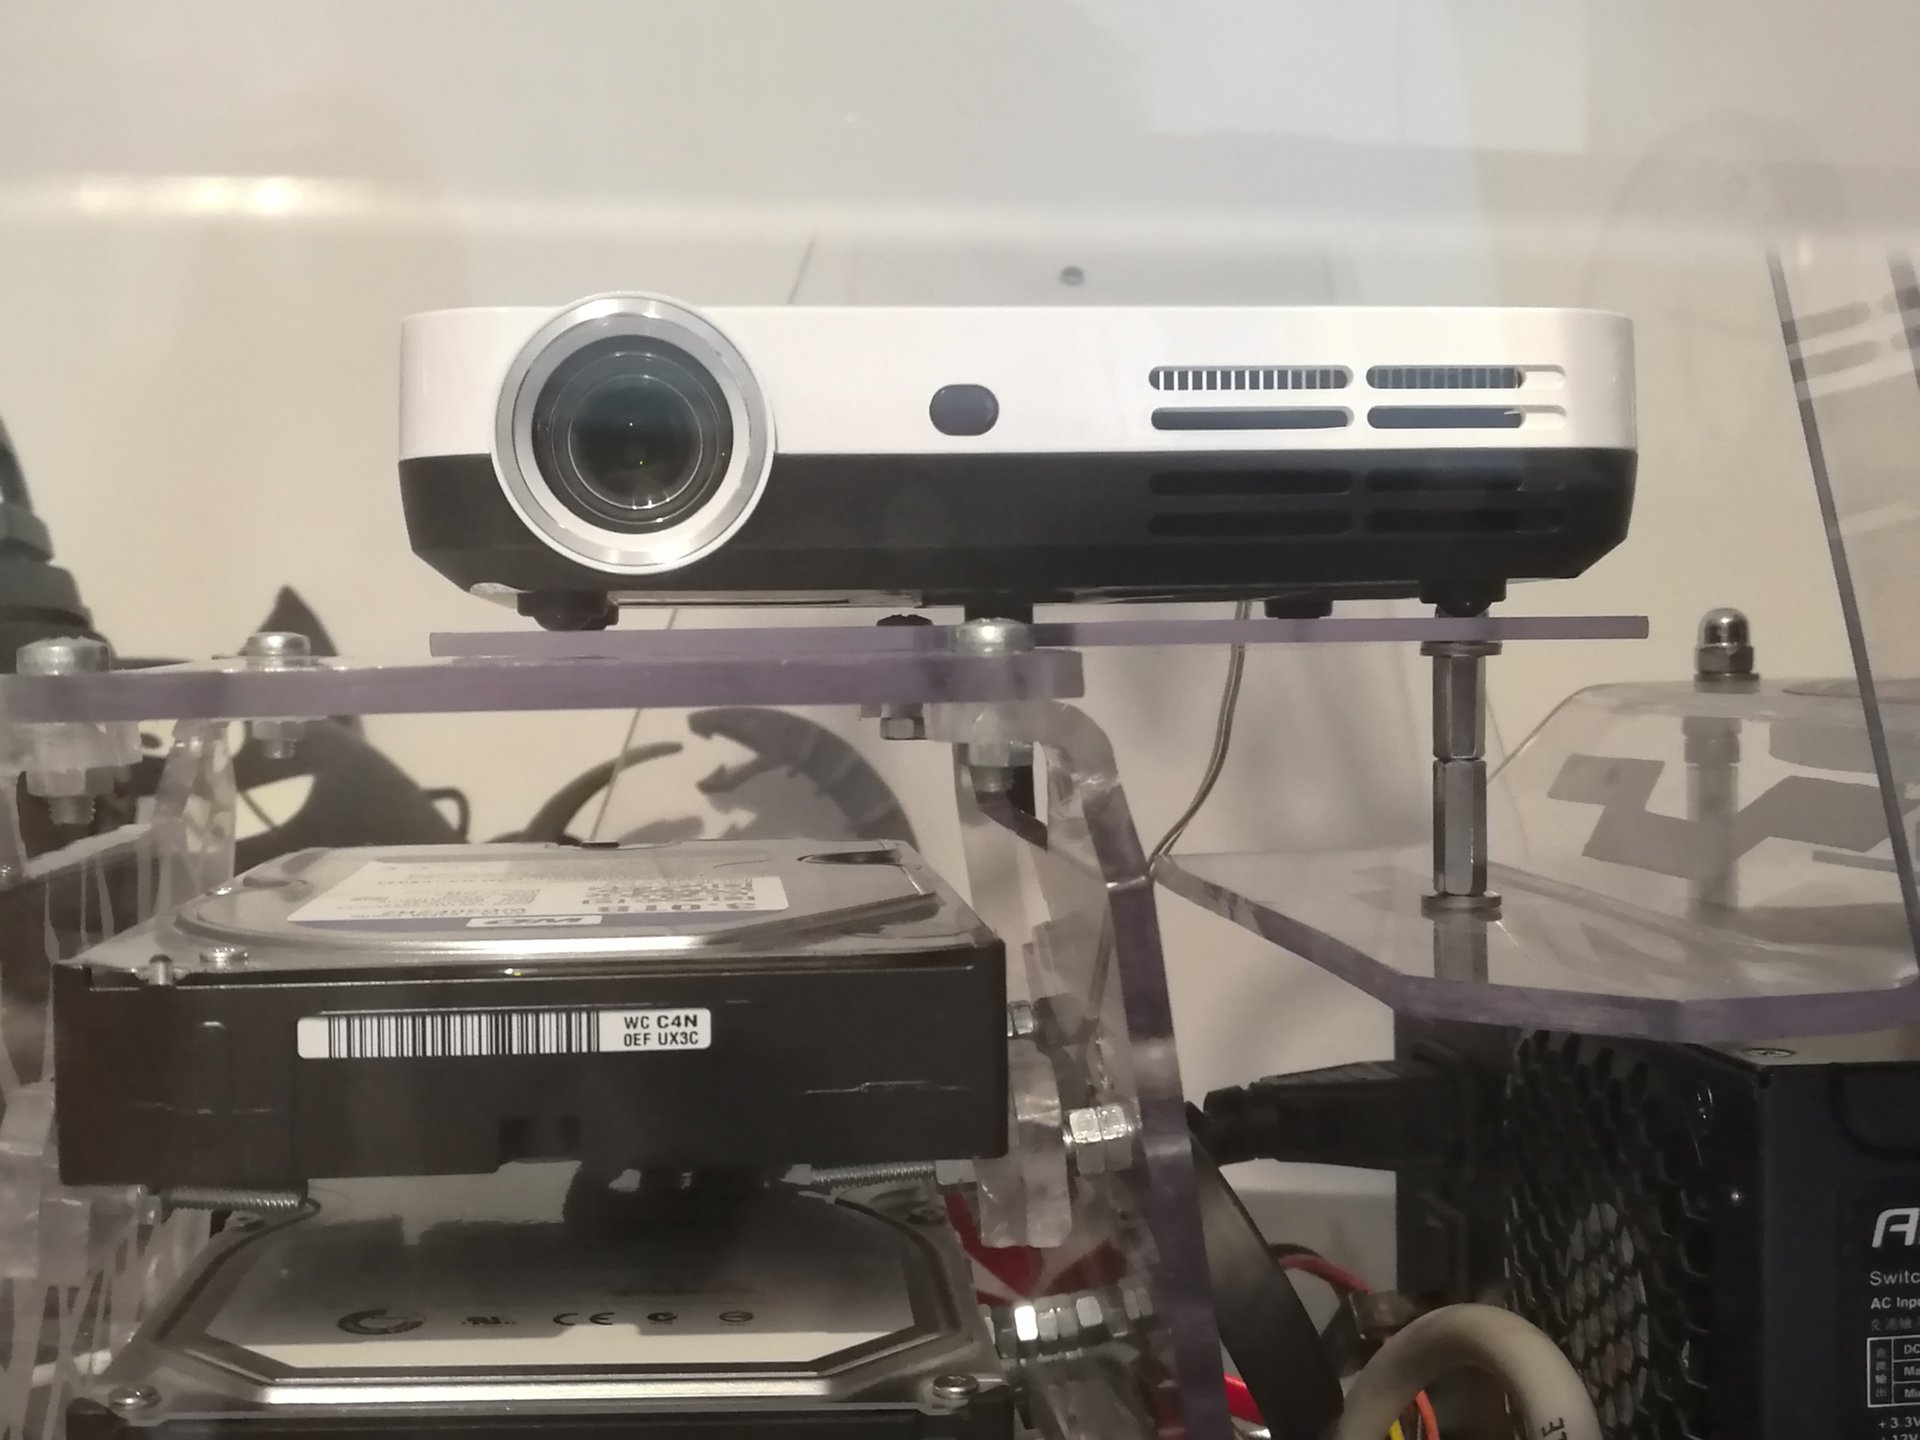
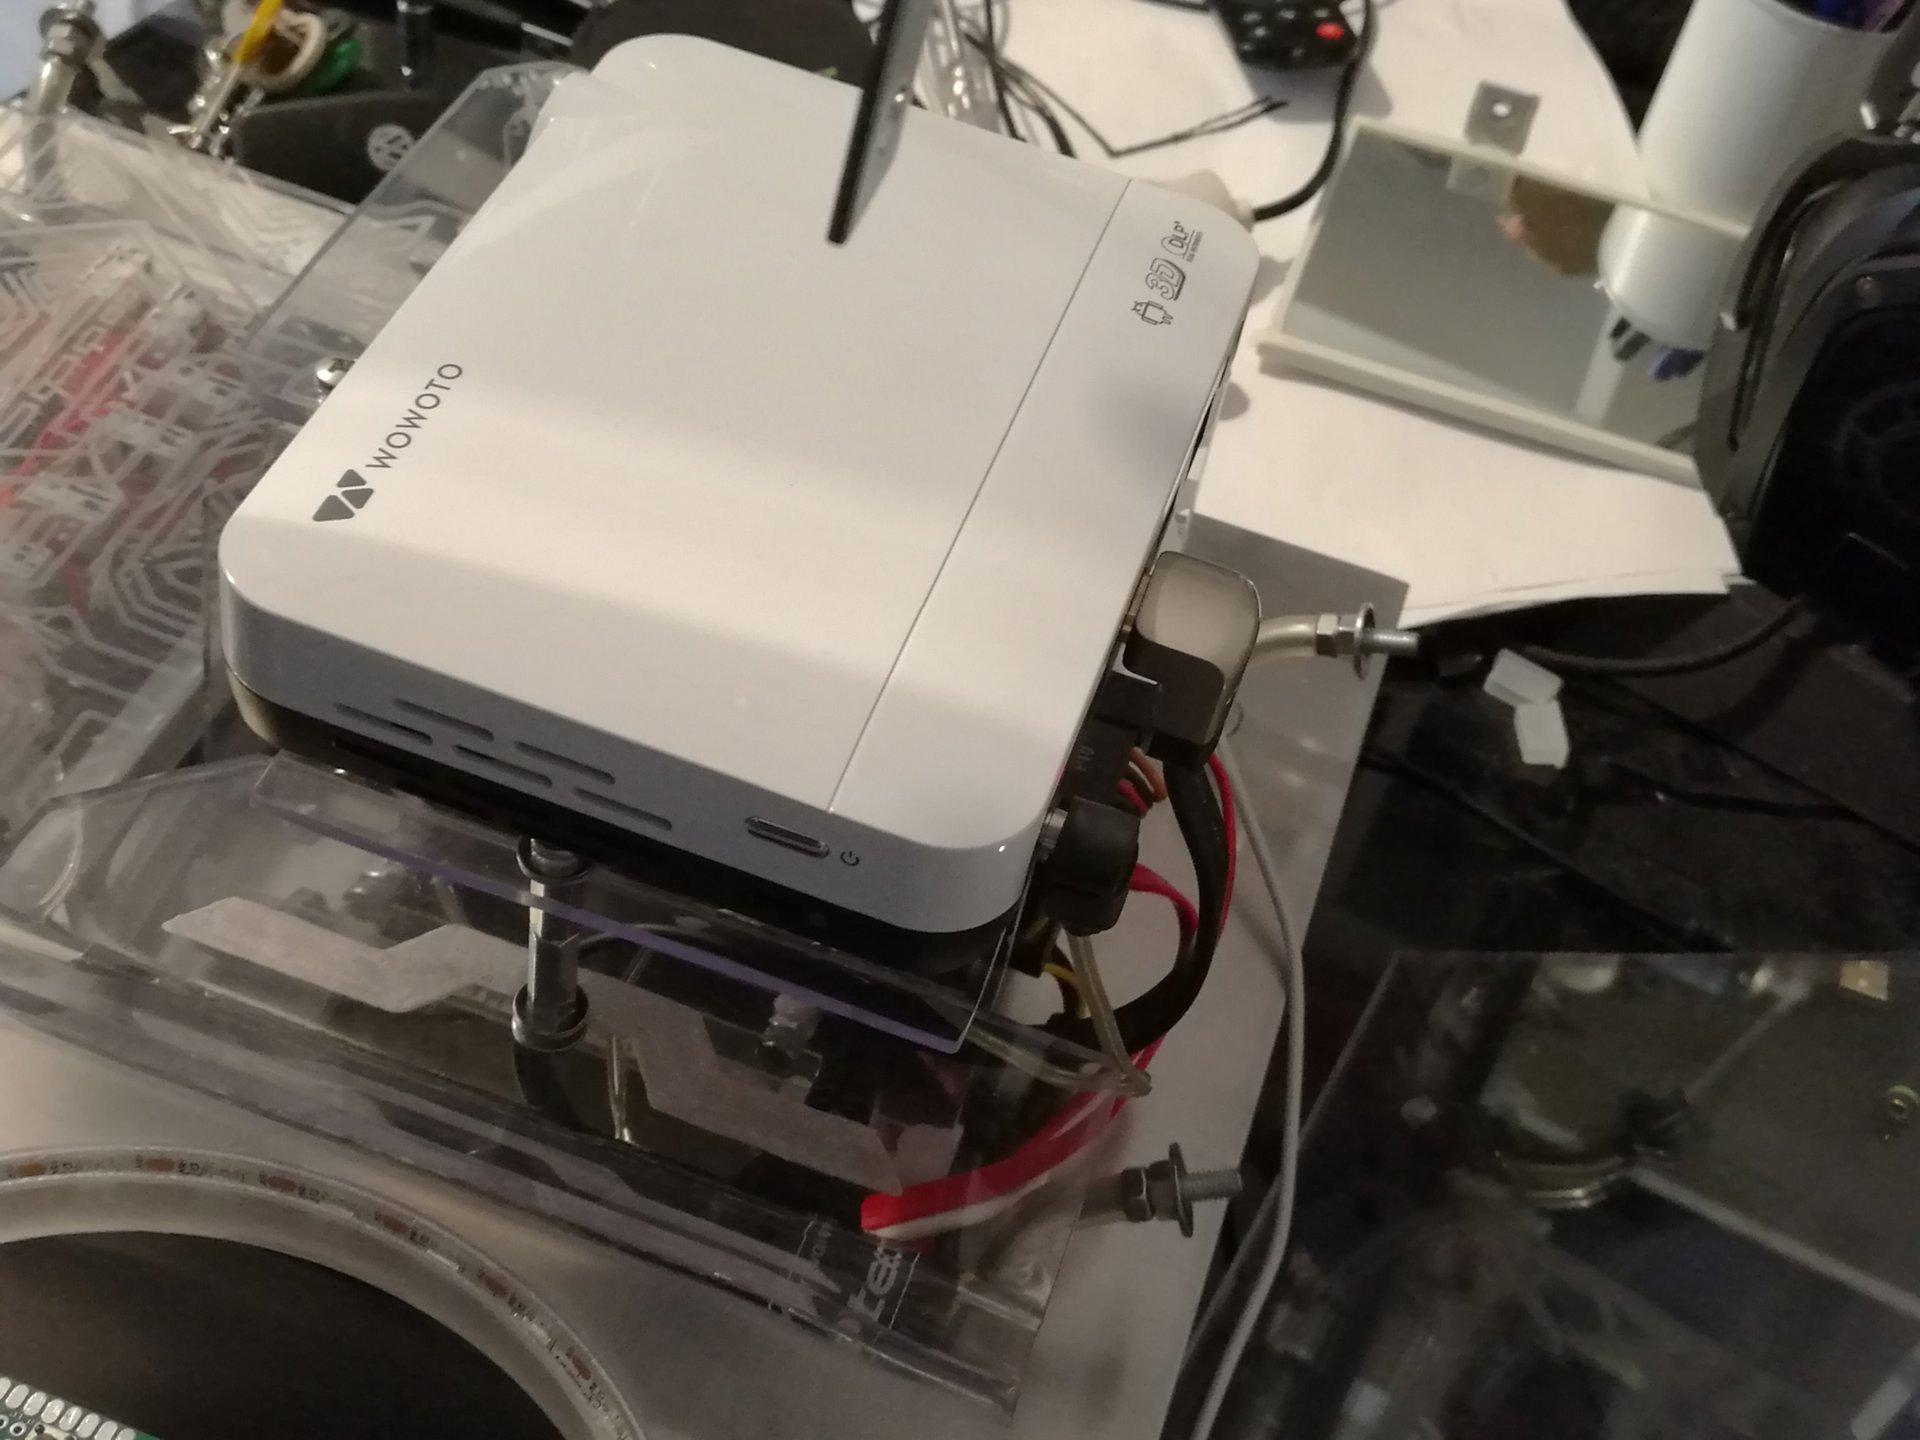
As I said before, I decided to remove the mirror and put the projector directly behind the screen, because even the mirror’s surface caused a parallax effect!
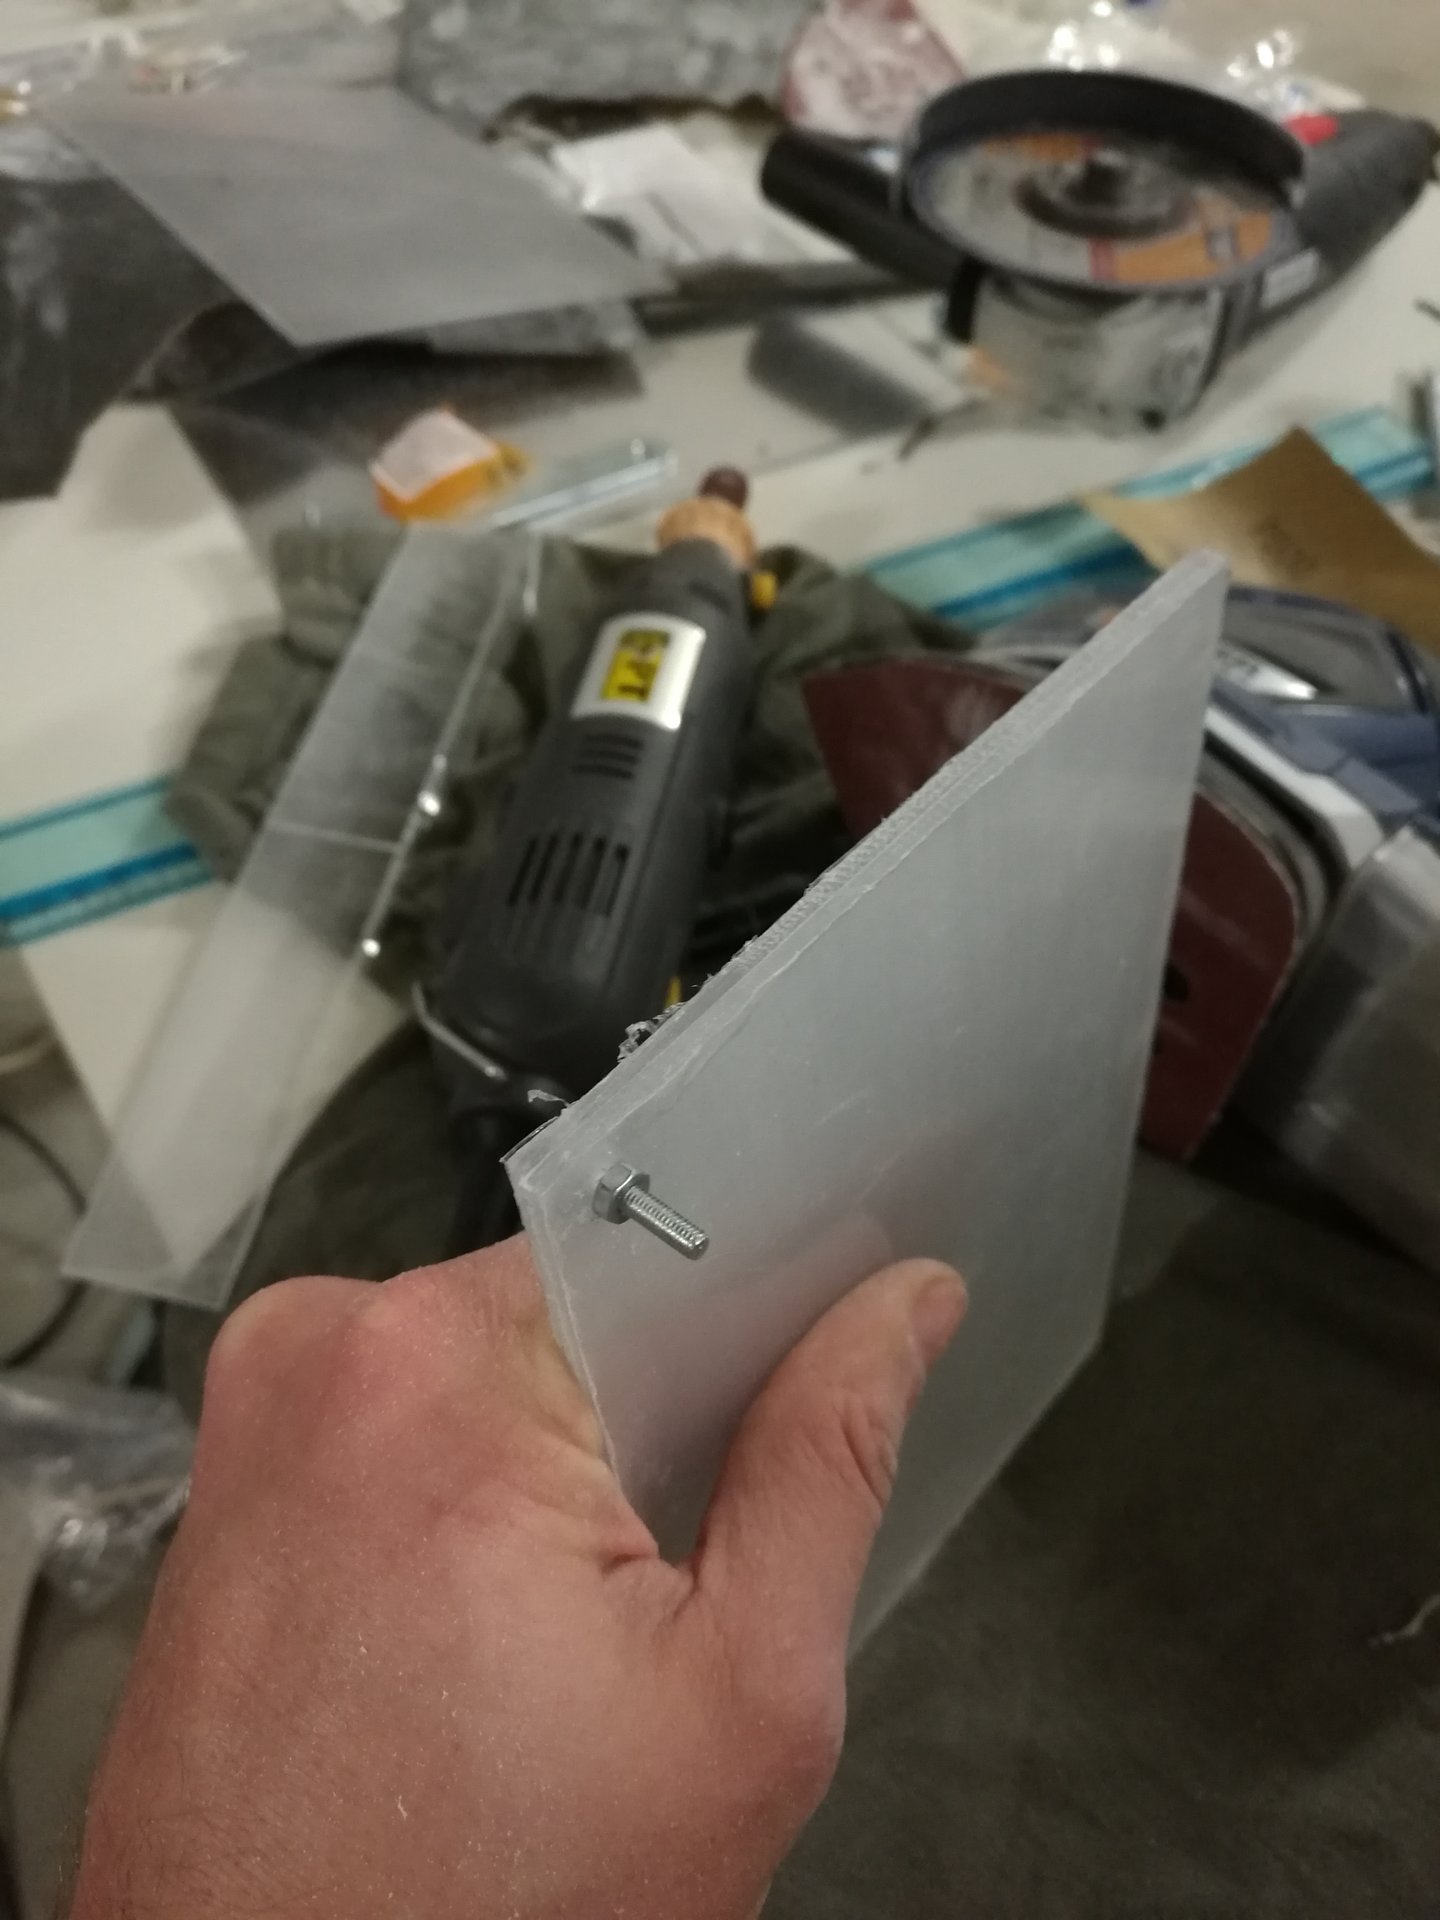
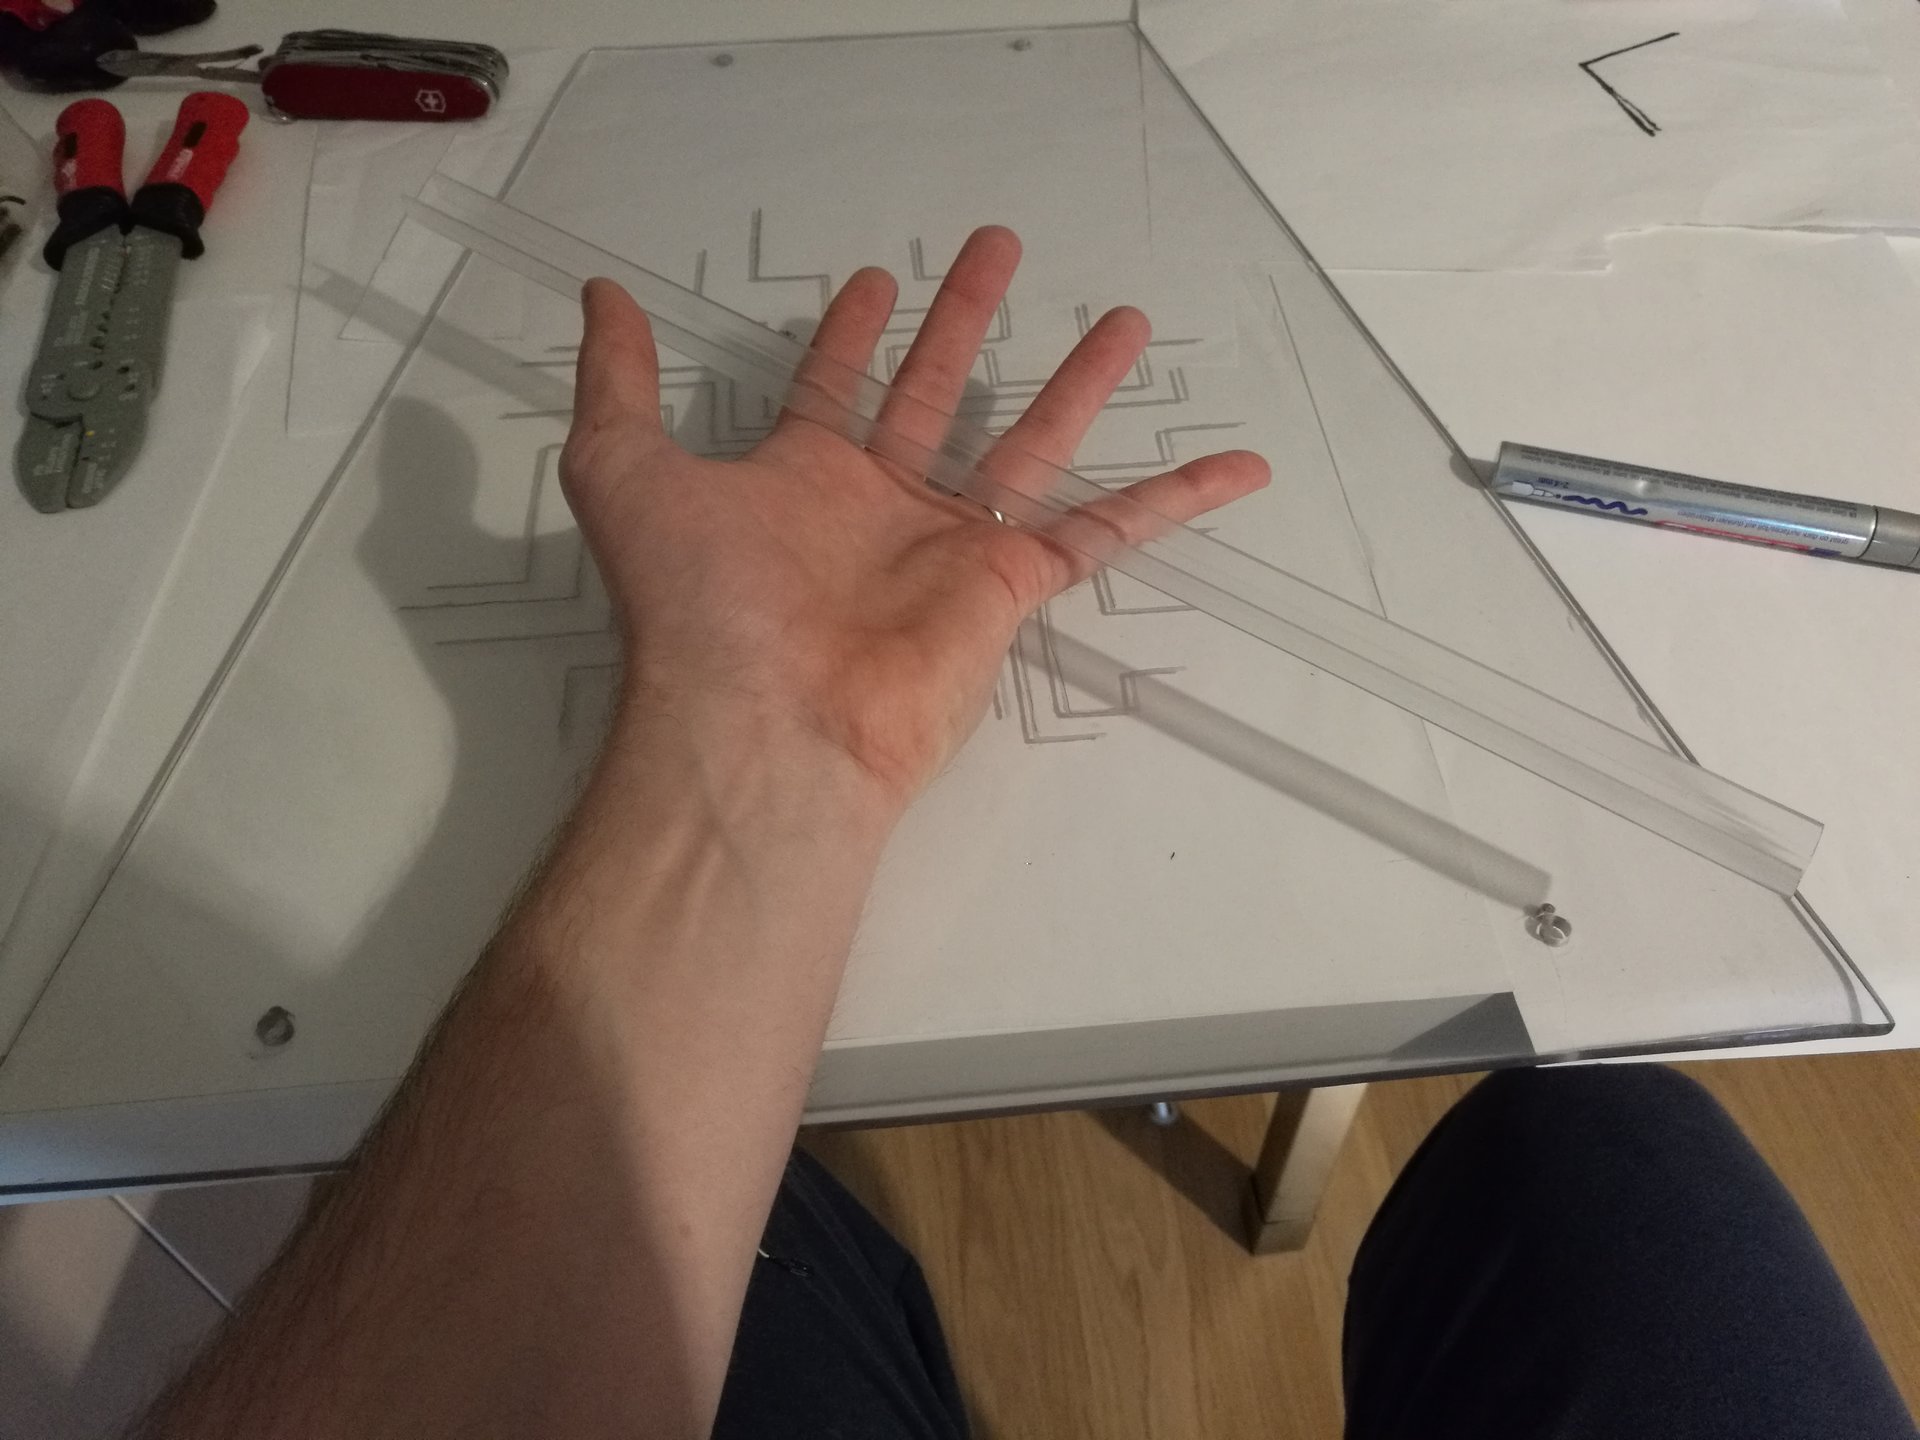
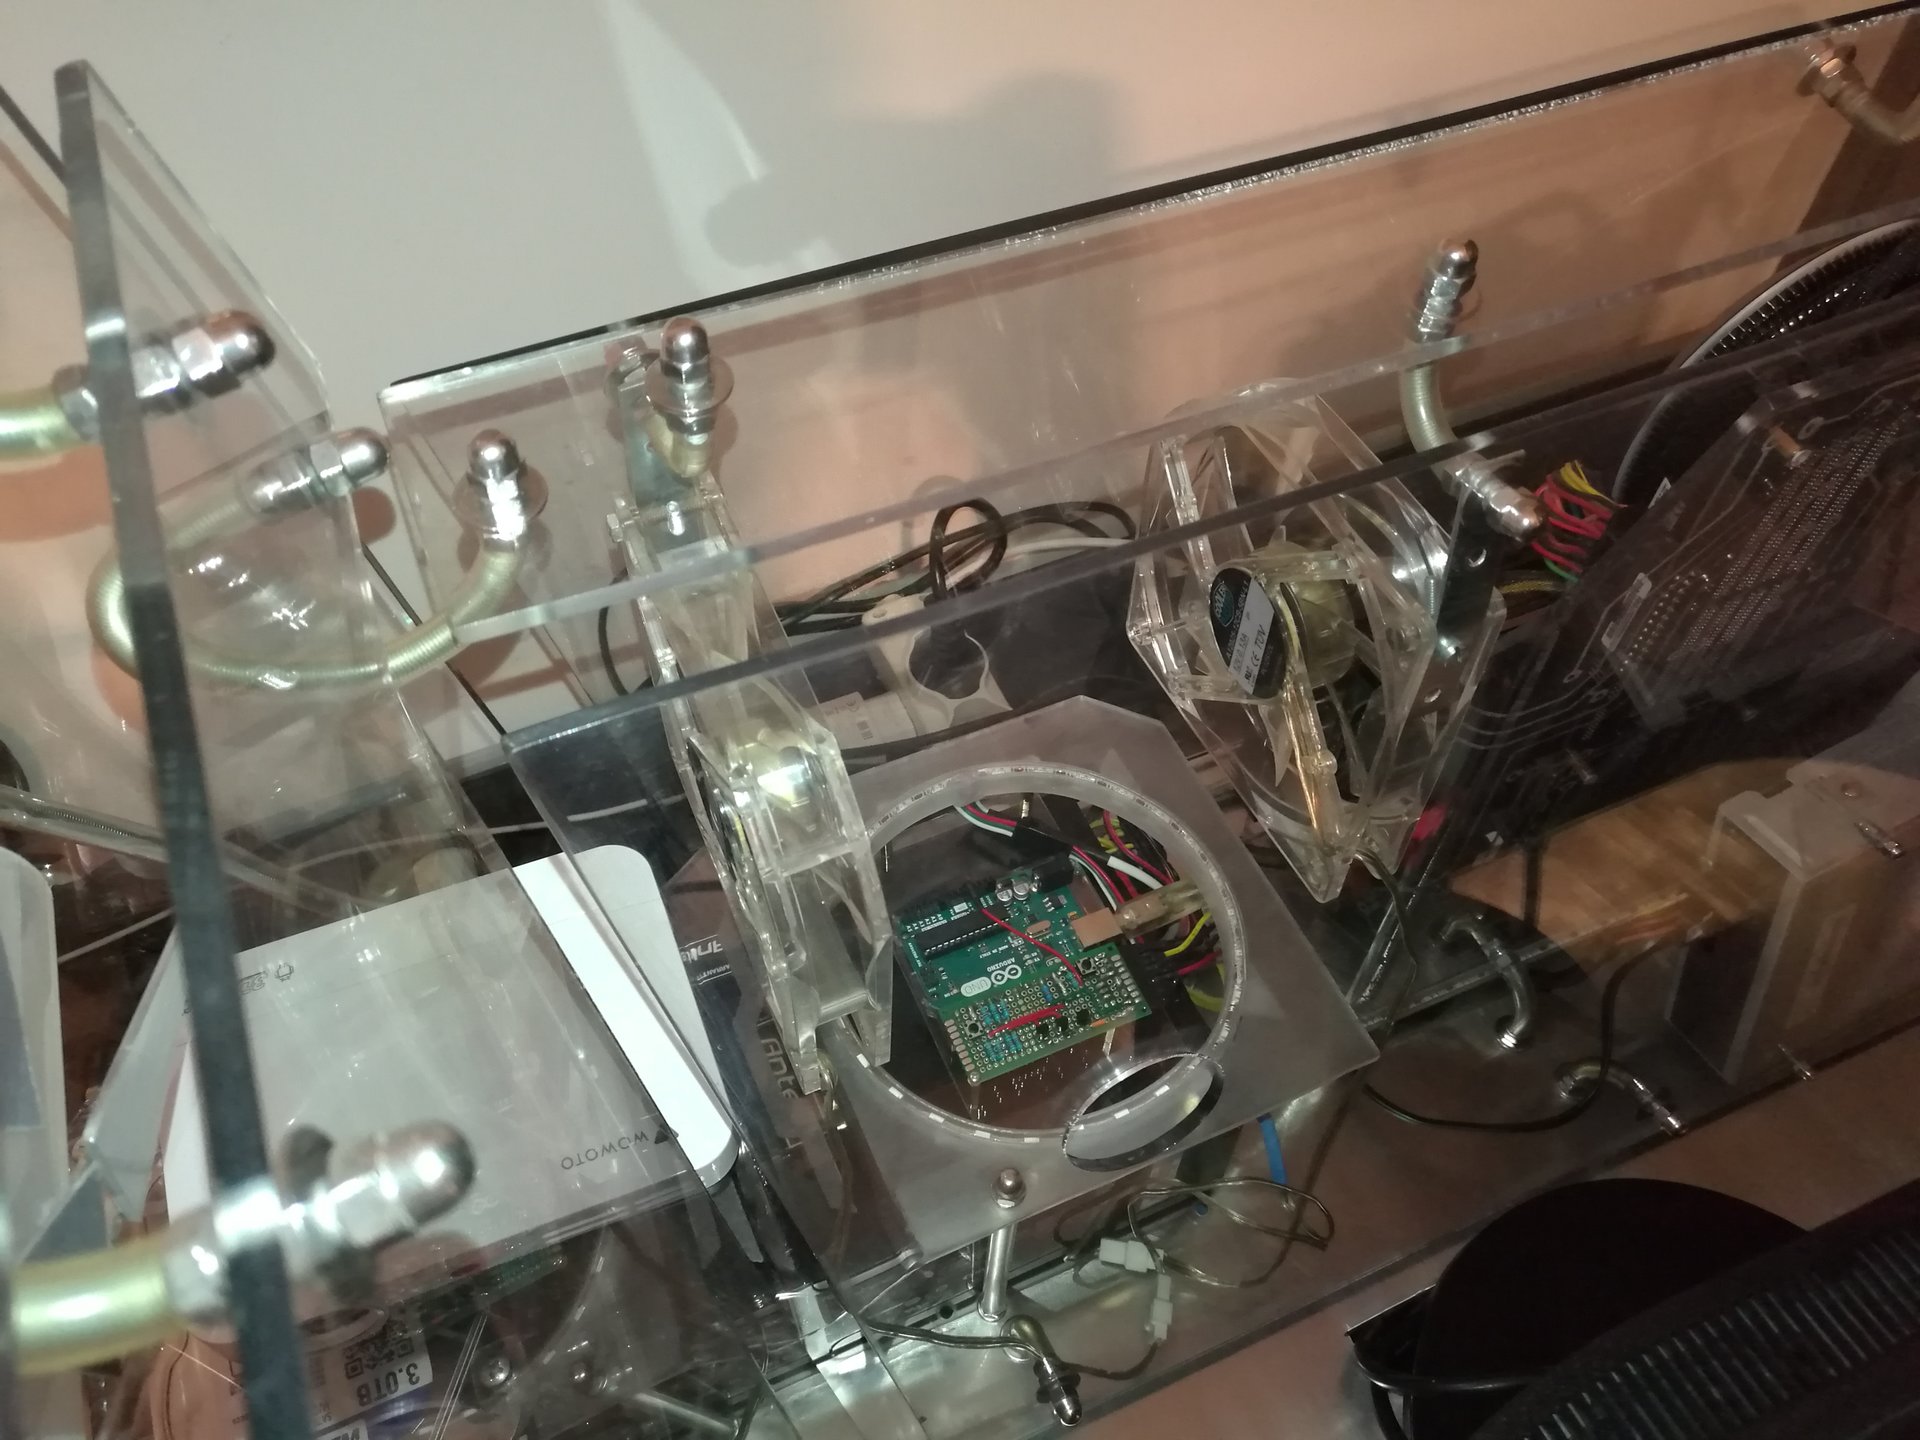
So I have made a polycarbonate “shelf” for the projector, to be mounted over the hard disks structure and the PSU cover:


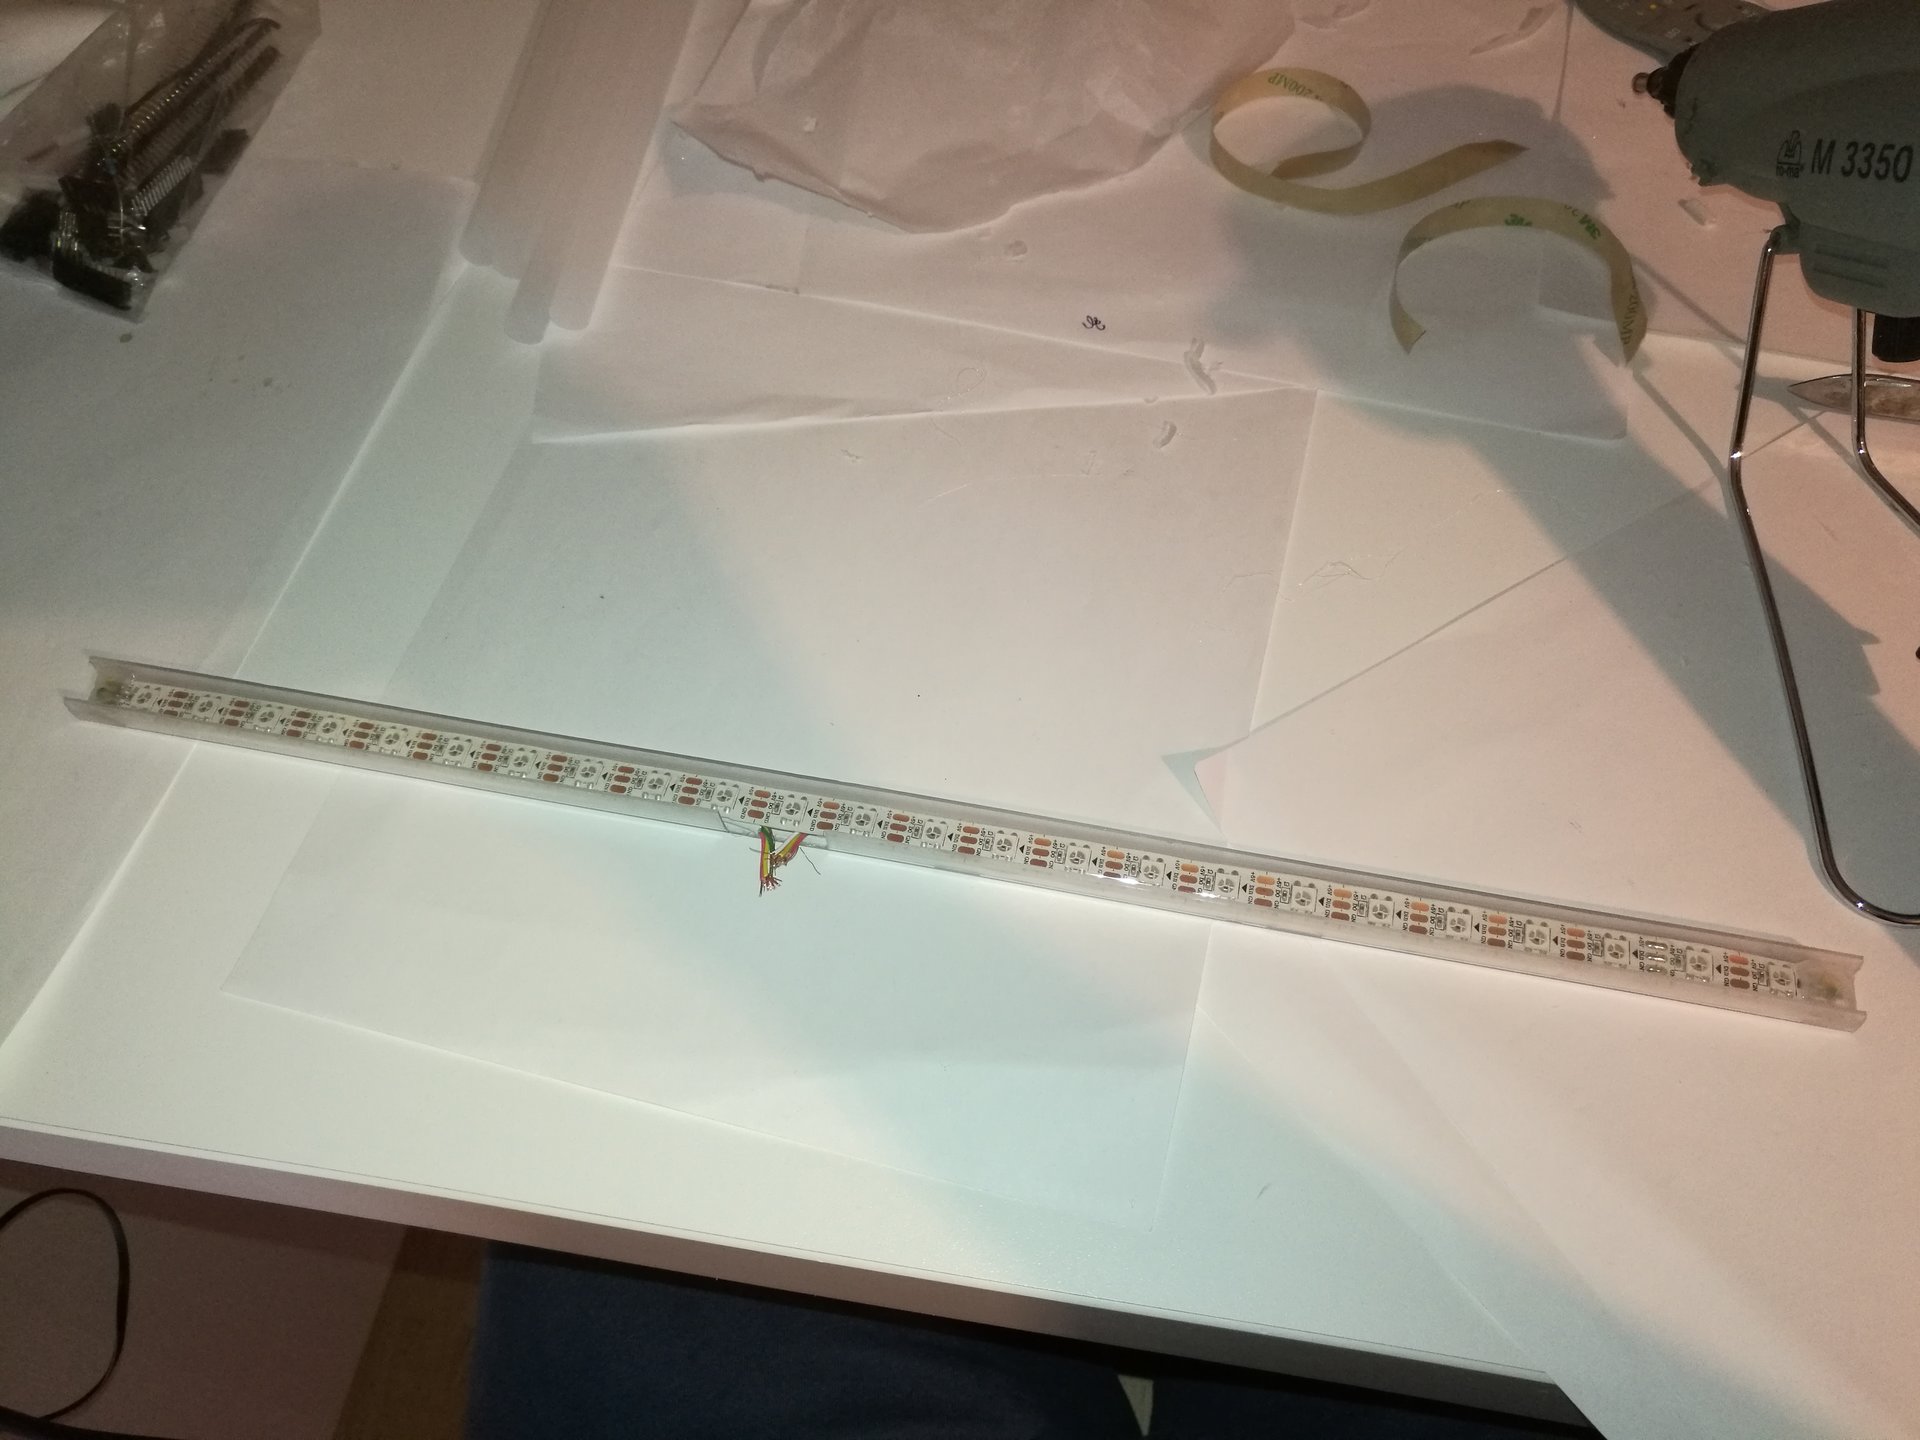
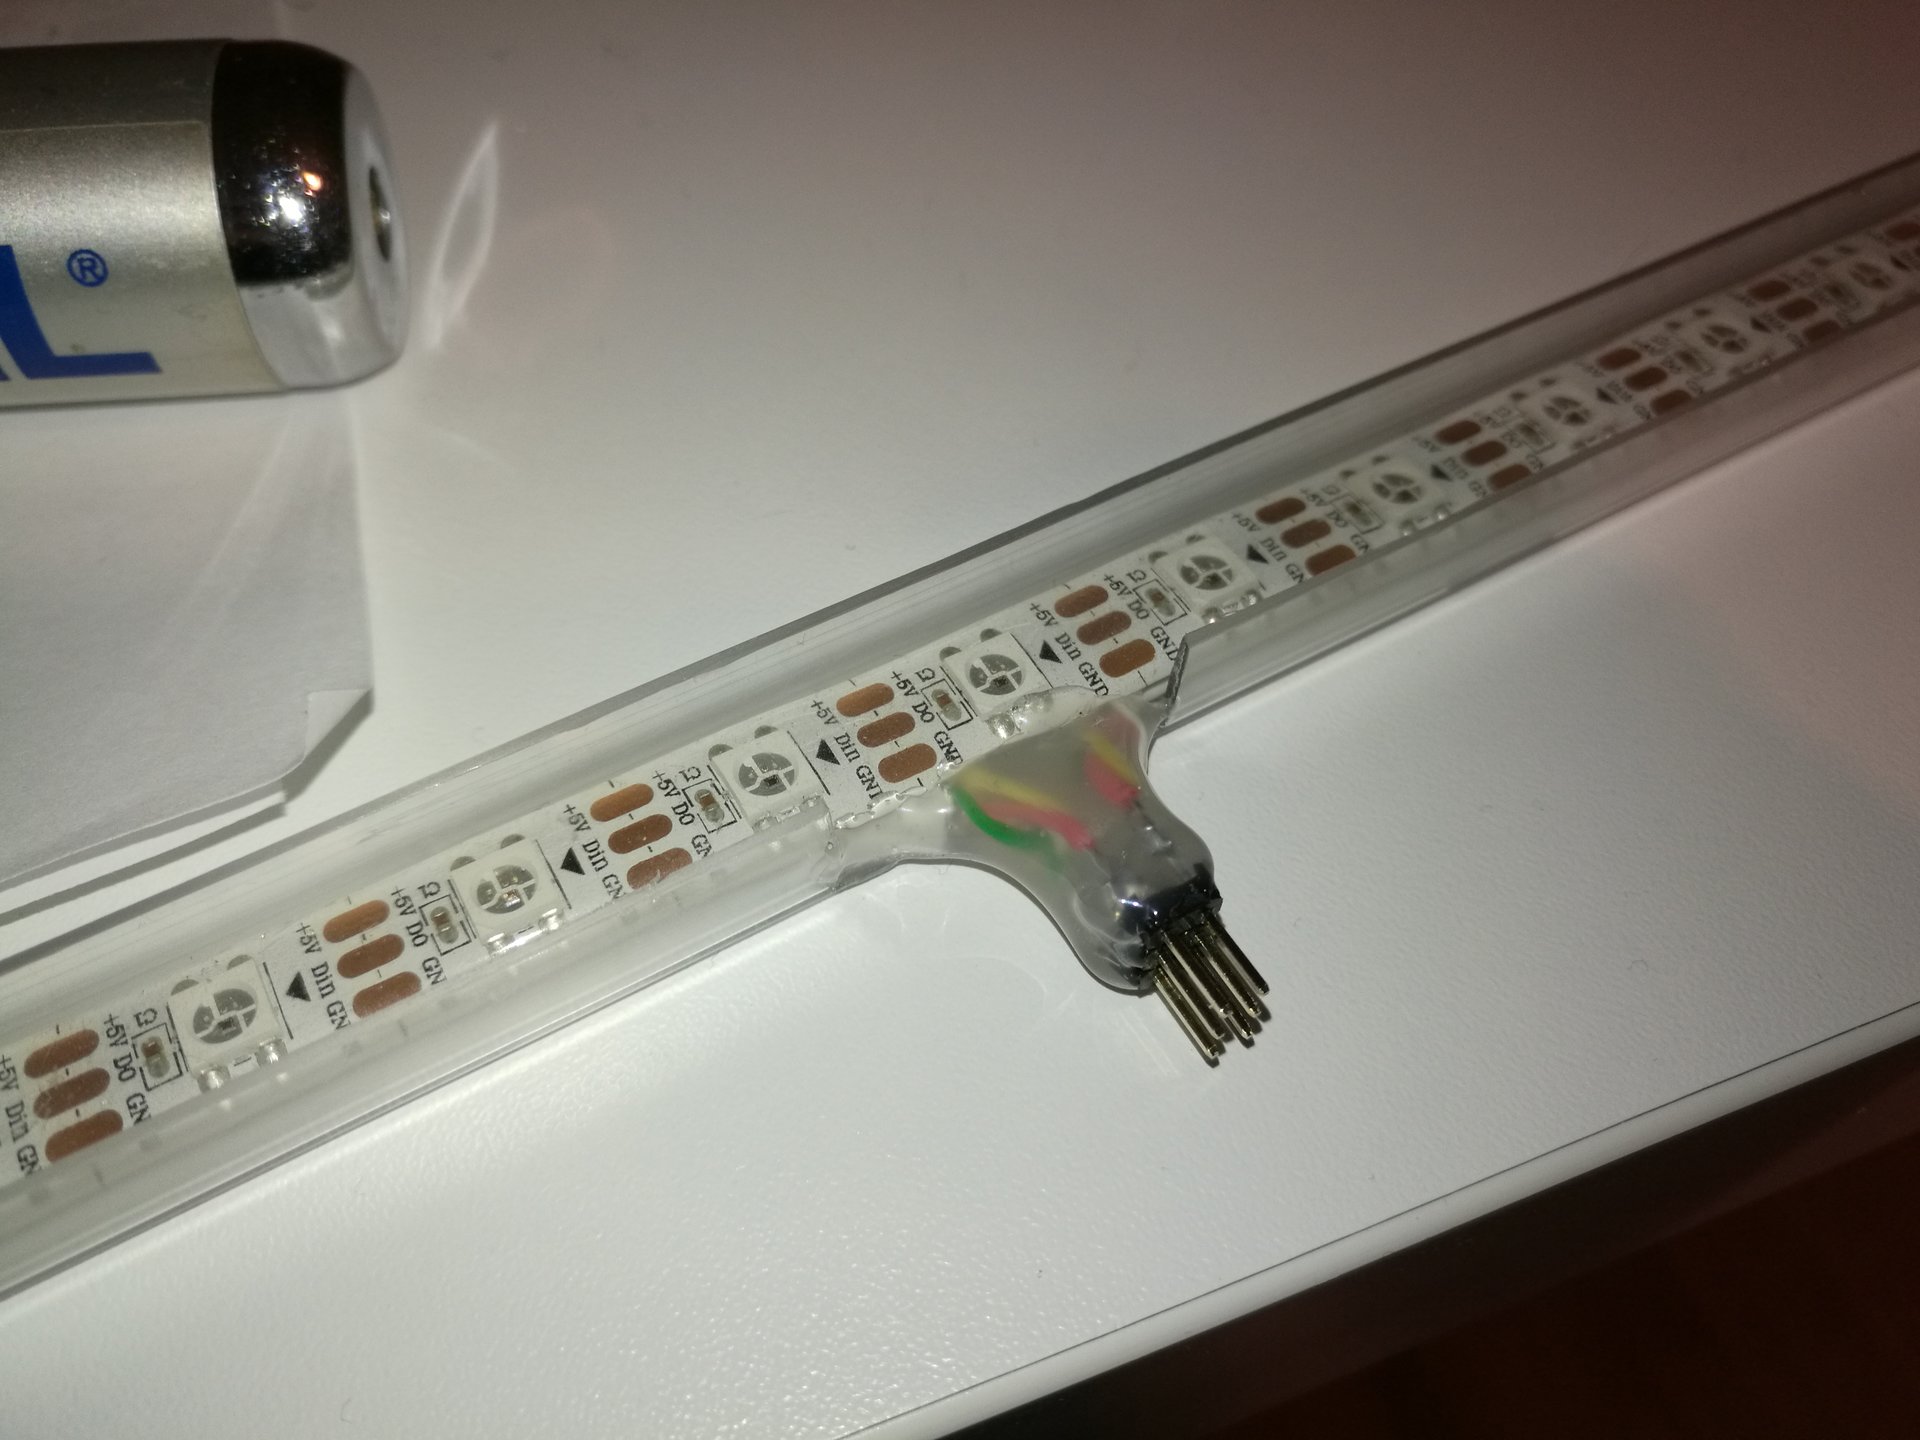
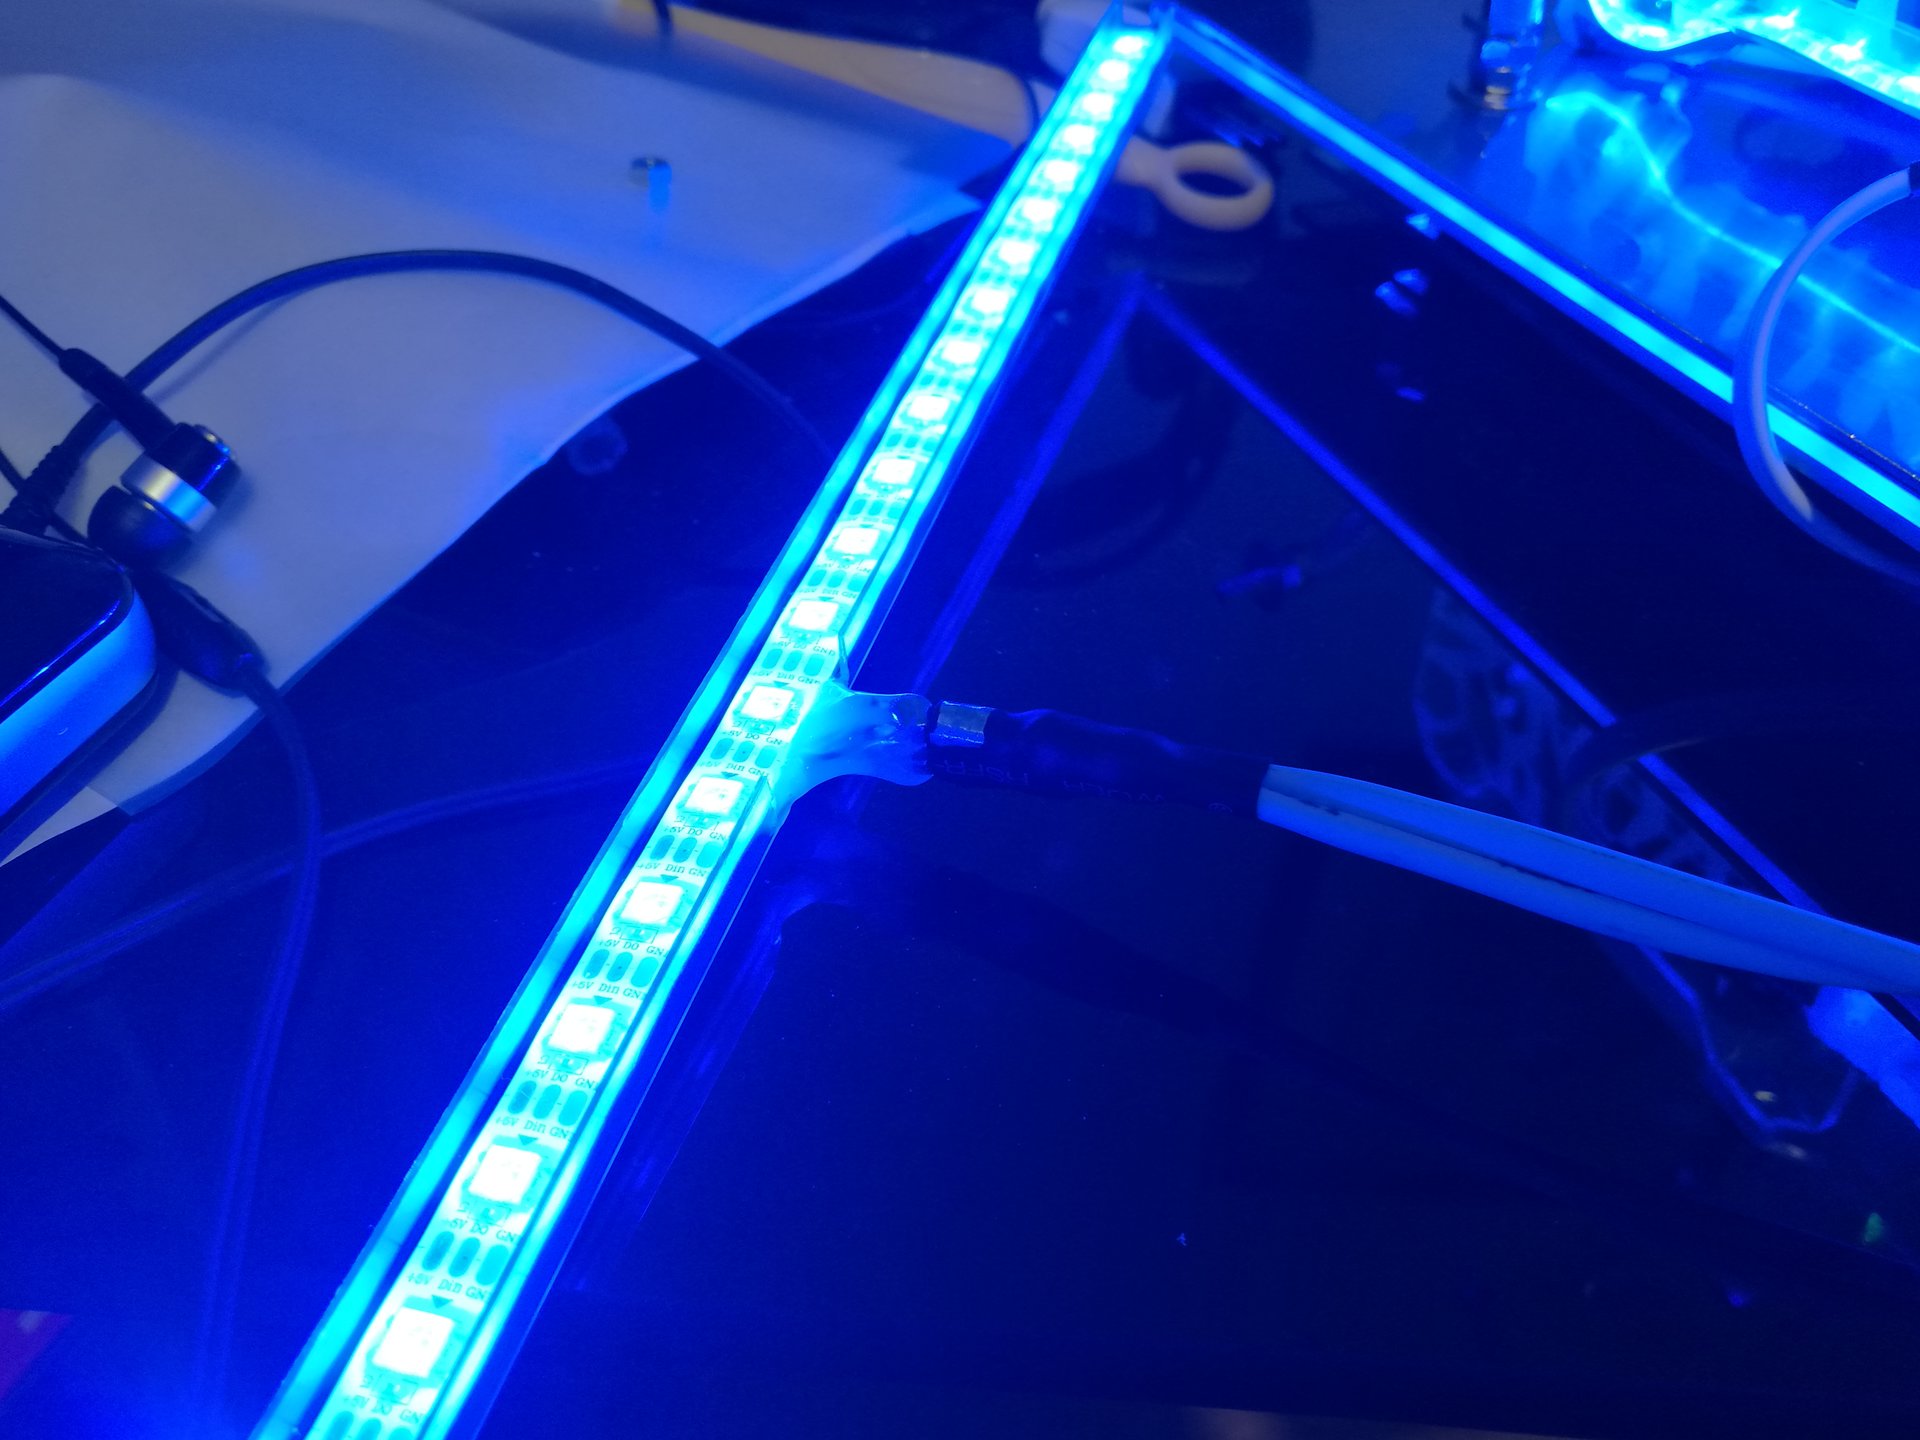
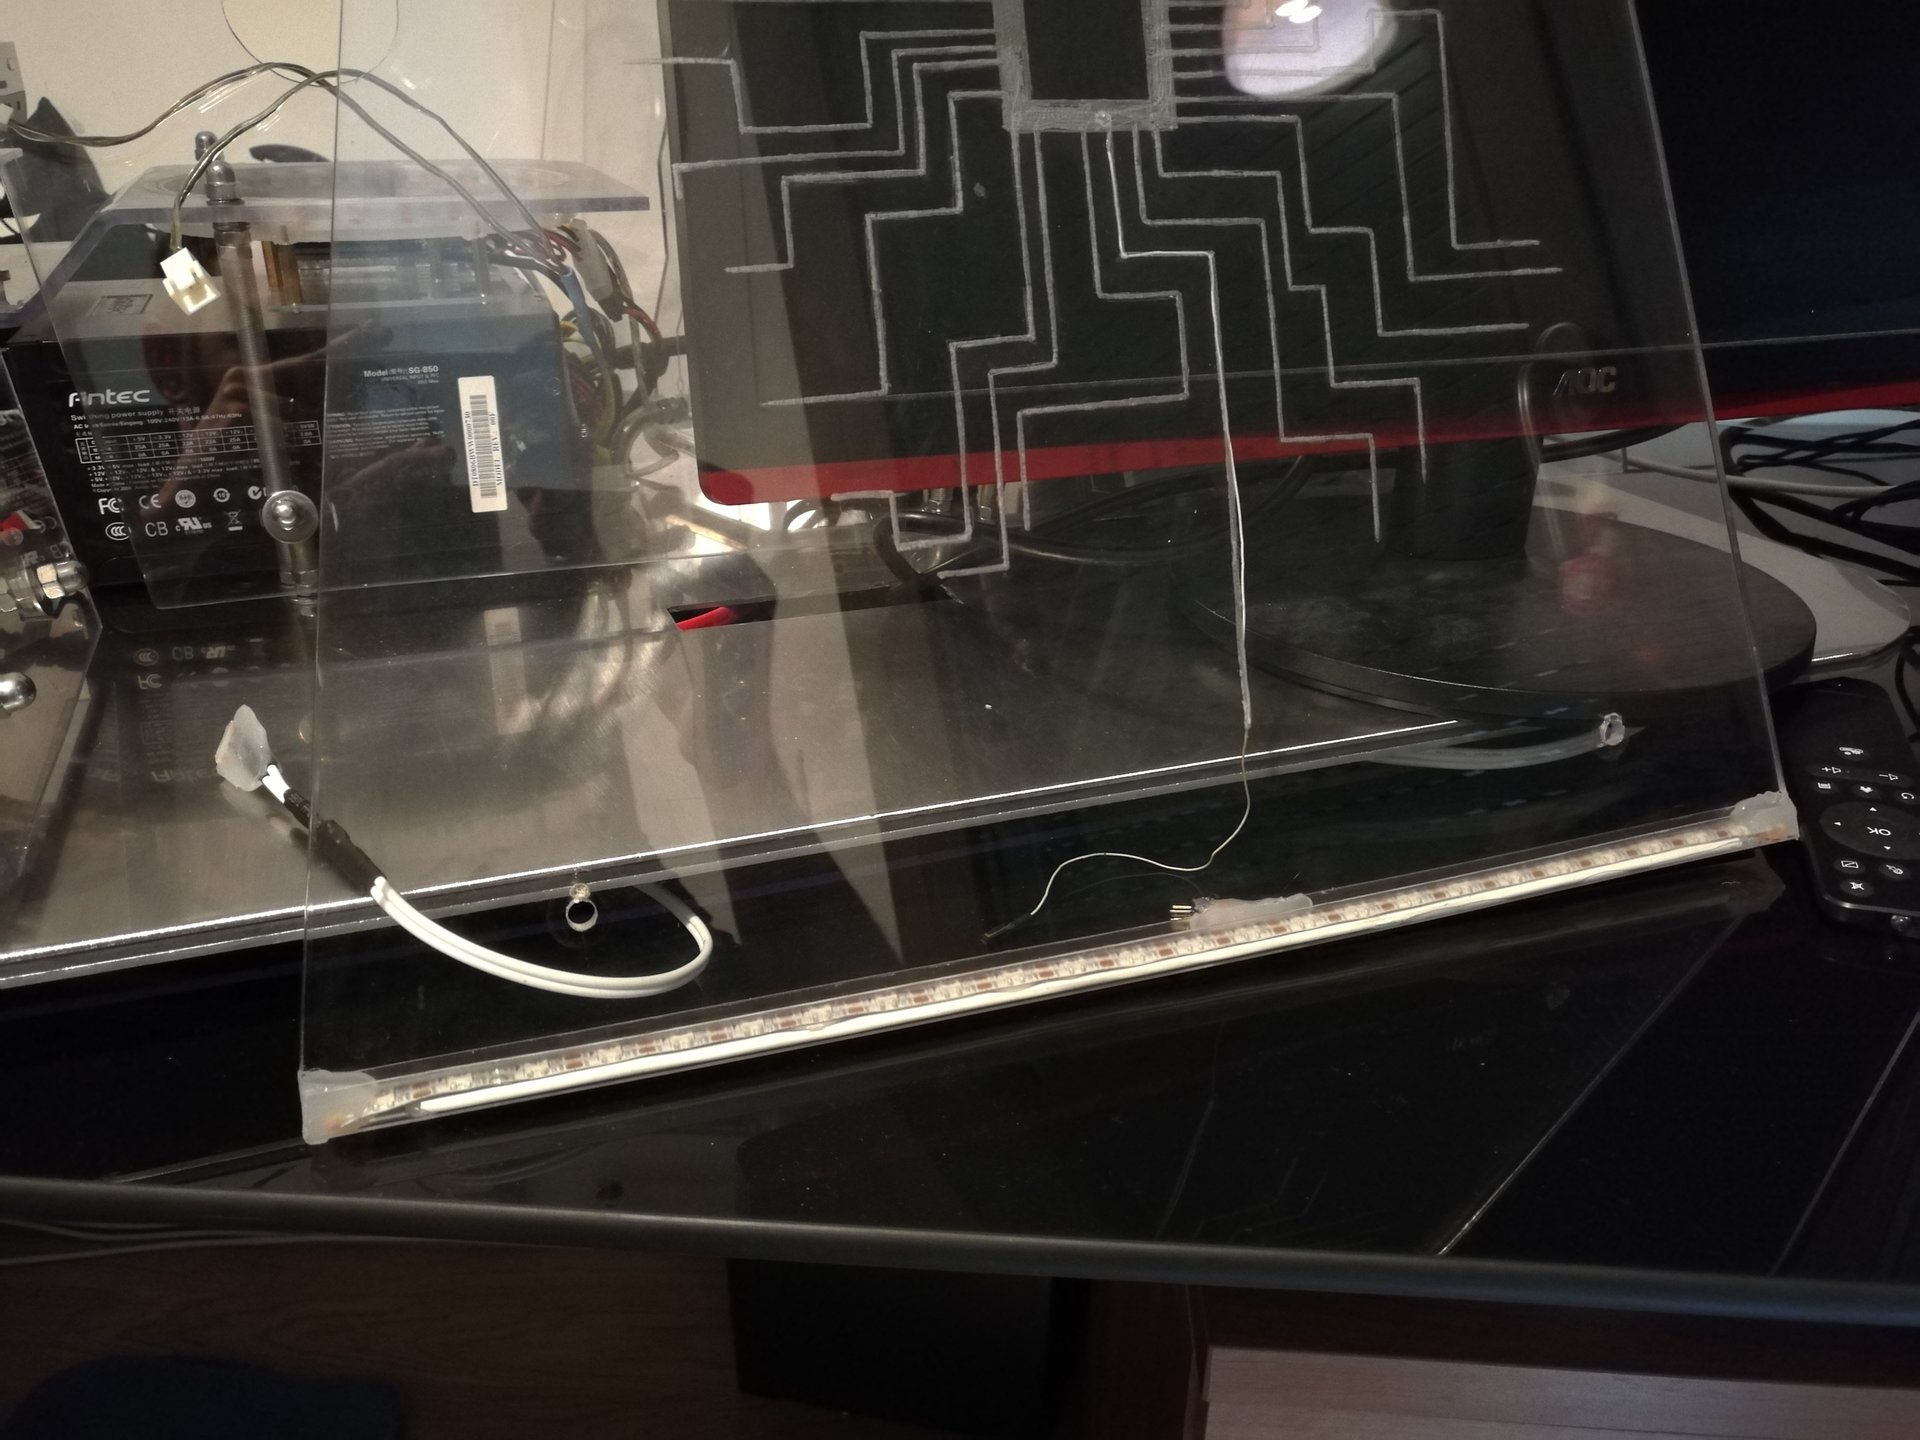
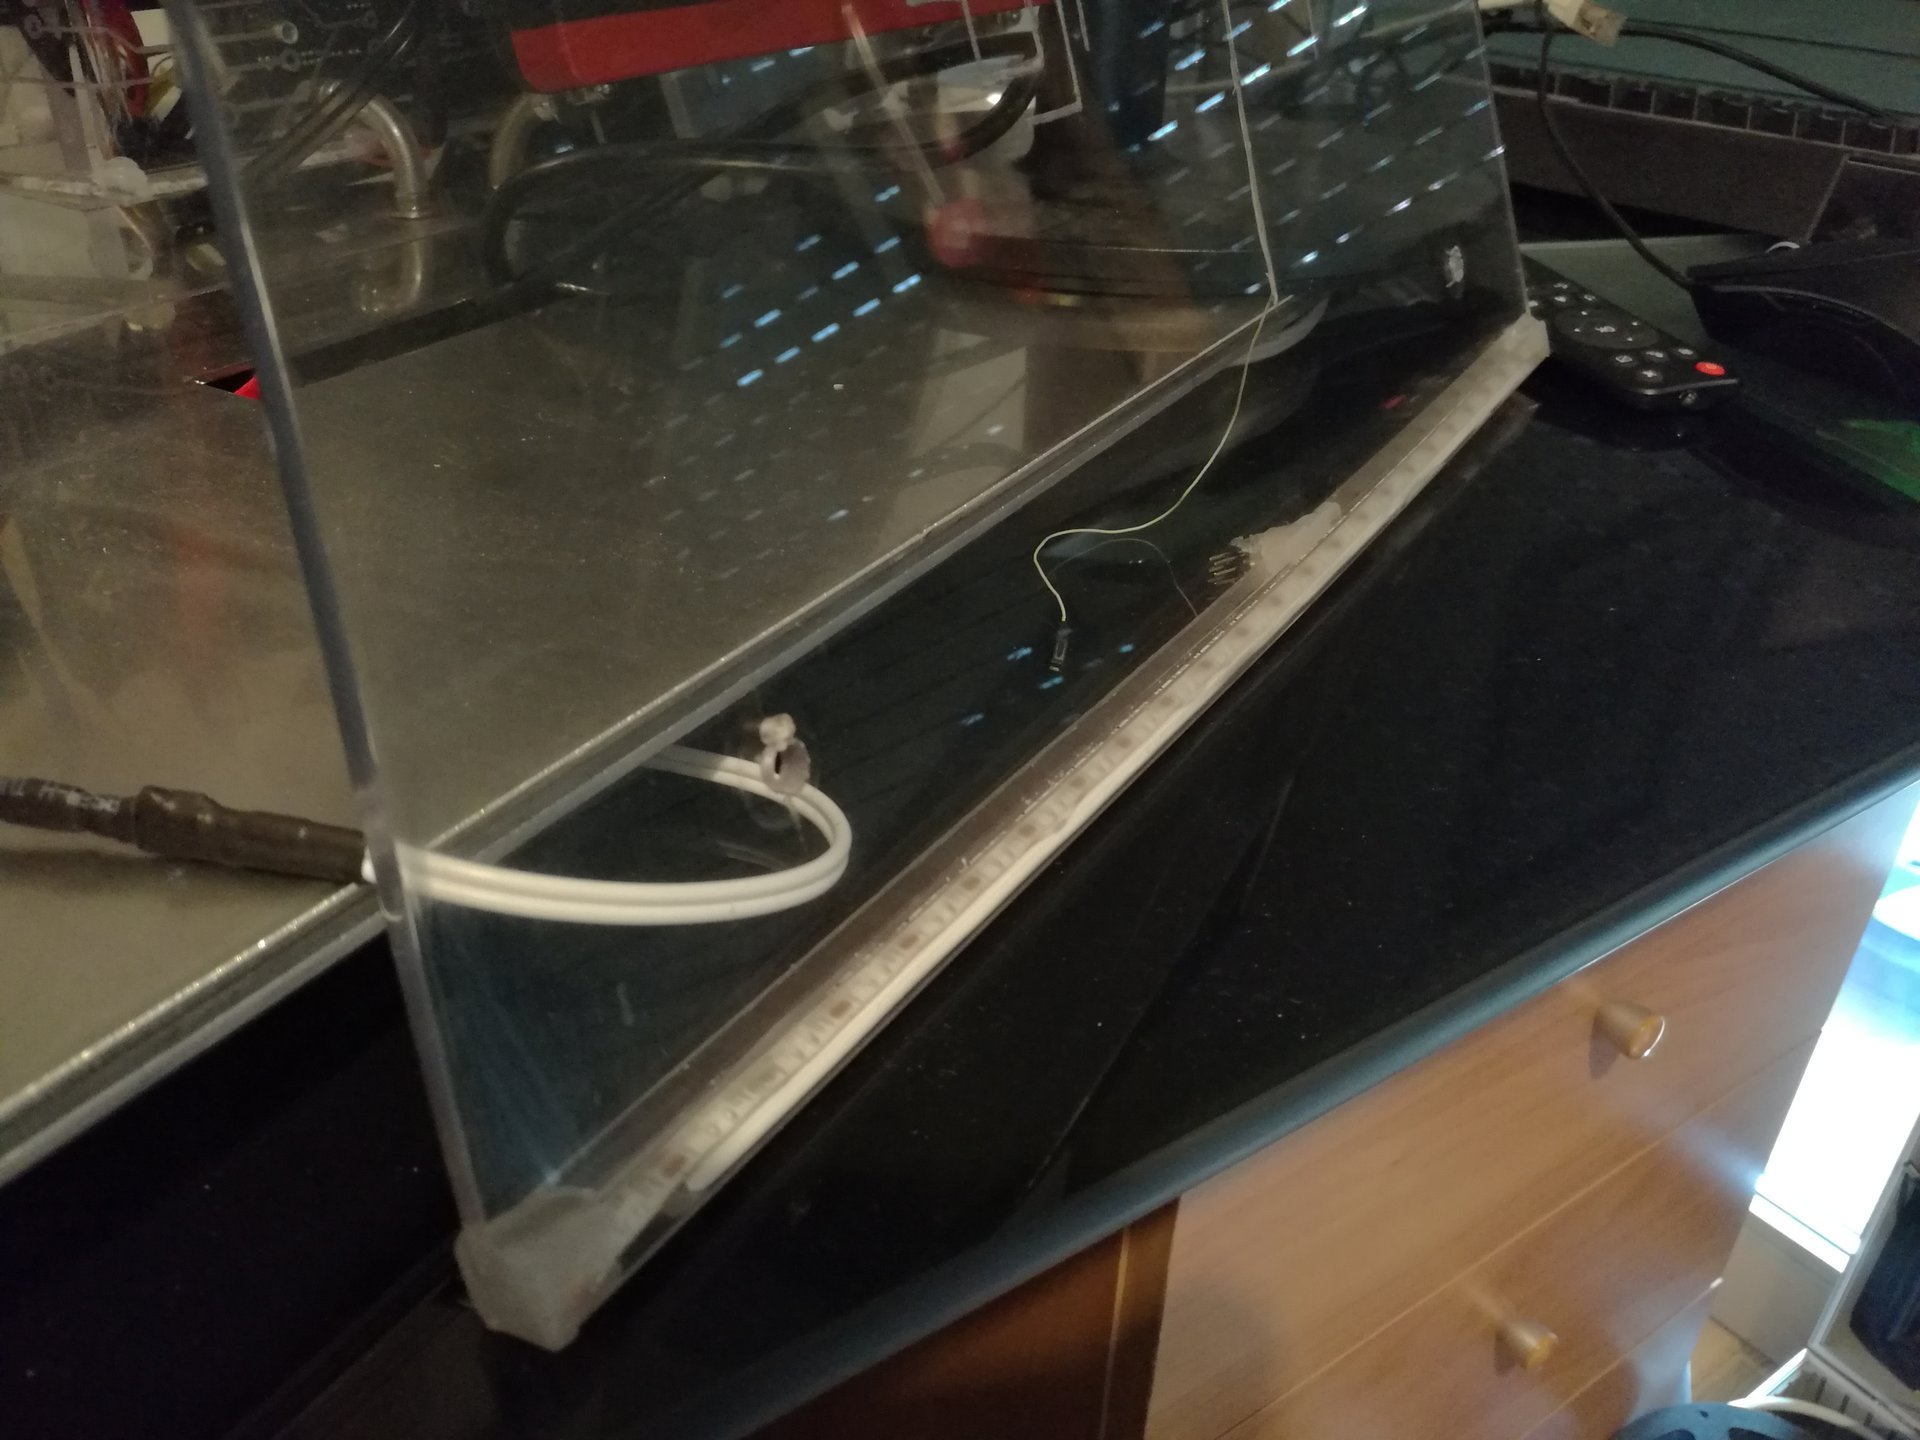
Then I still had to mount a led strip: the one that lights the proximity sensor’s engraving.
This strip is particularly important, because it reacts to the proximity sensor events, giving some feedback to the user! 😀 (there are some videos of this effect below):


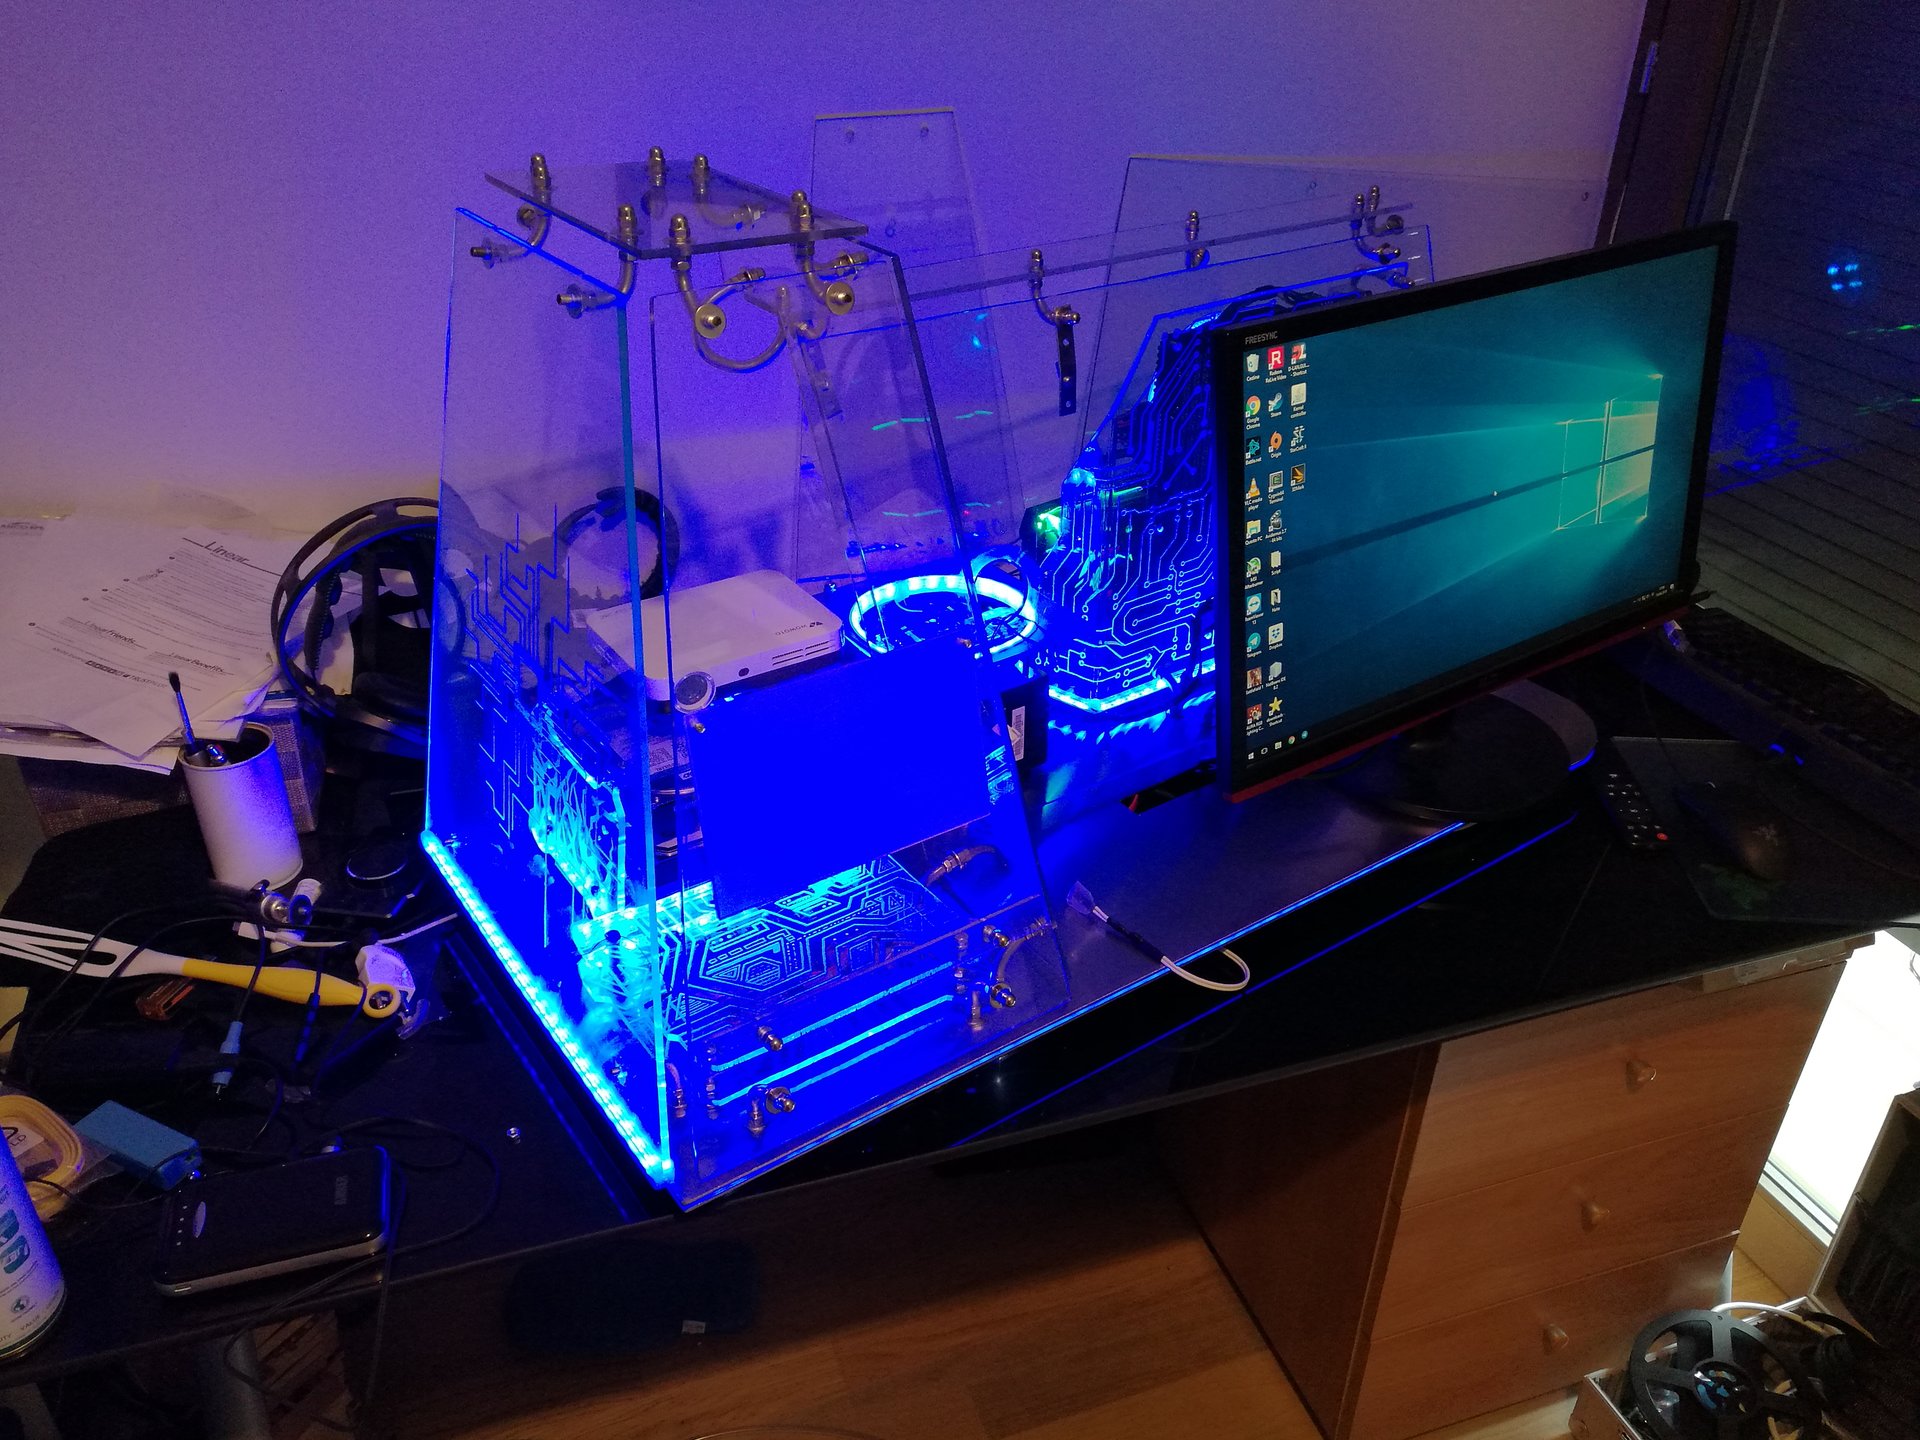

I have mounted the Prankster bit and his motor:
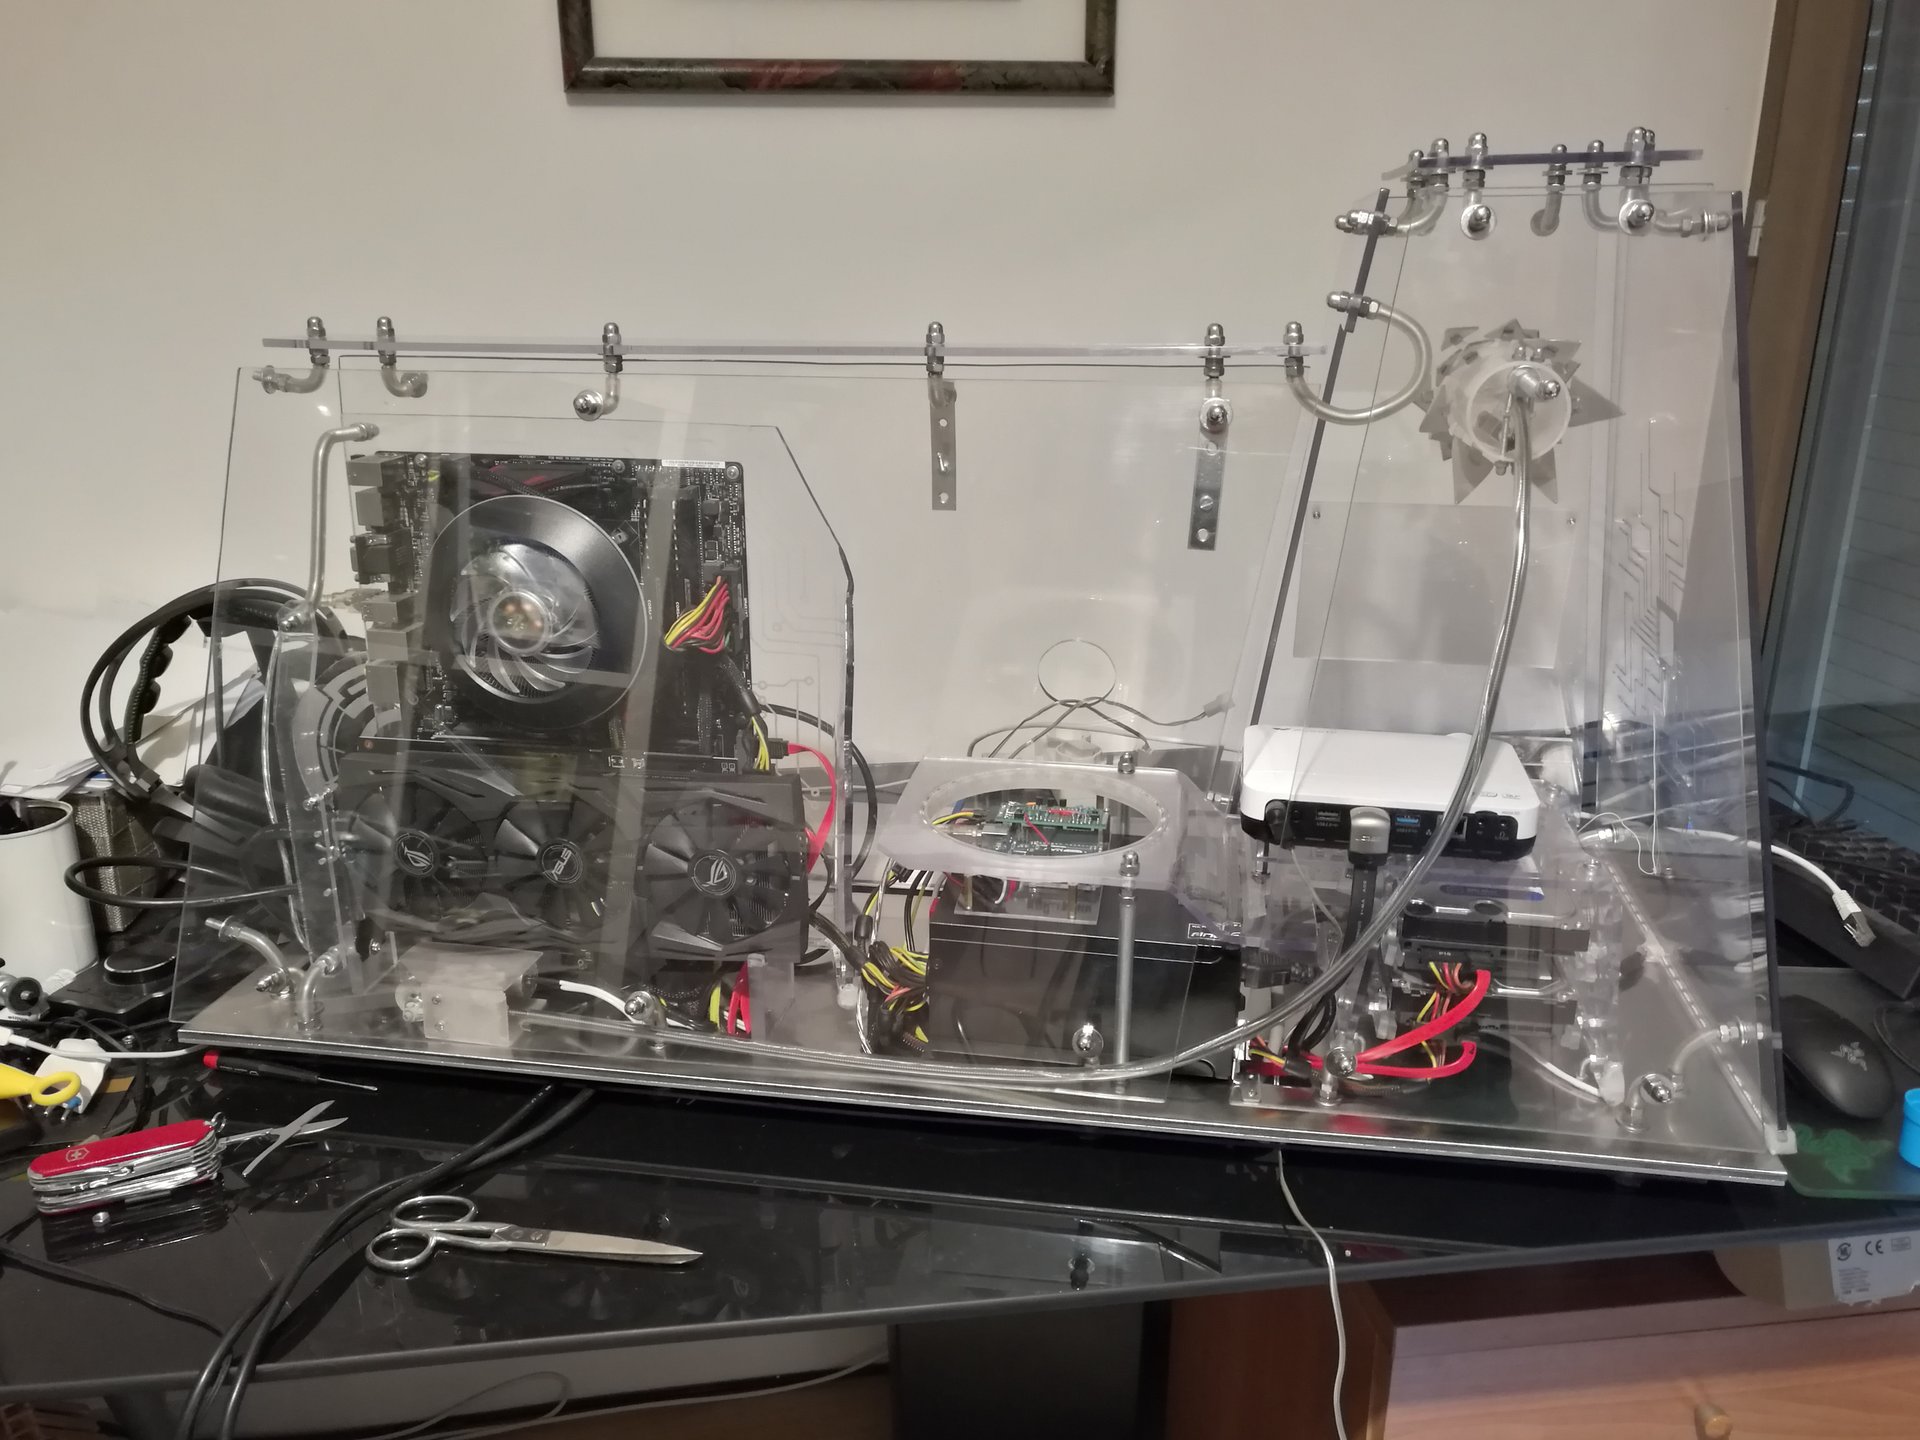
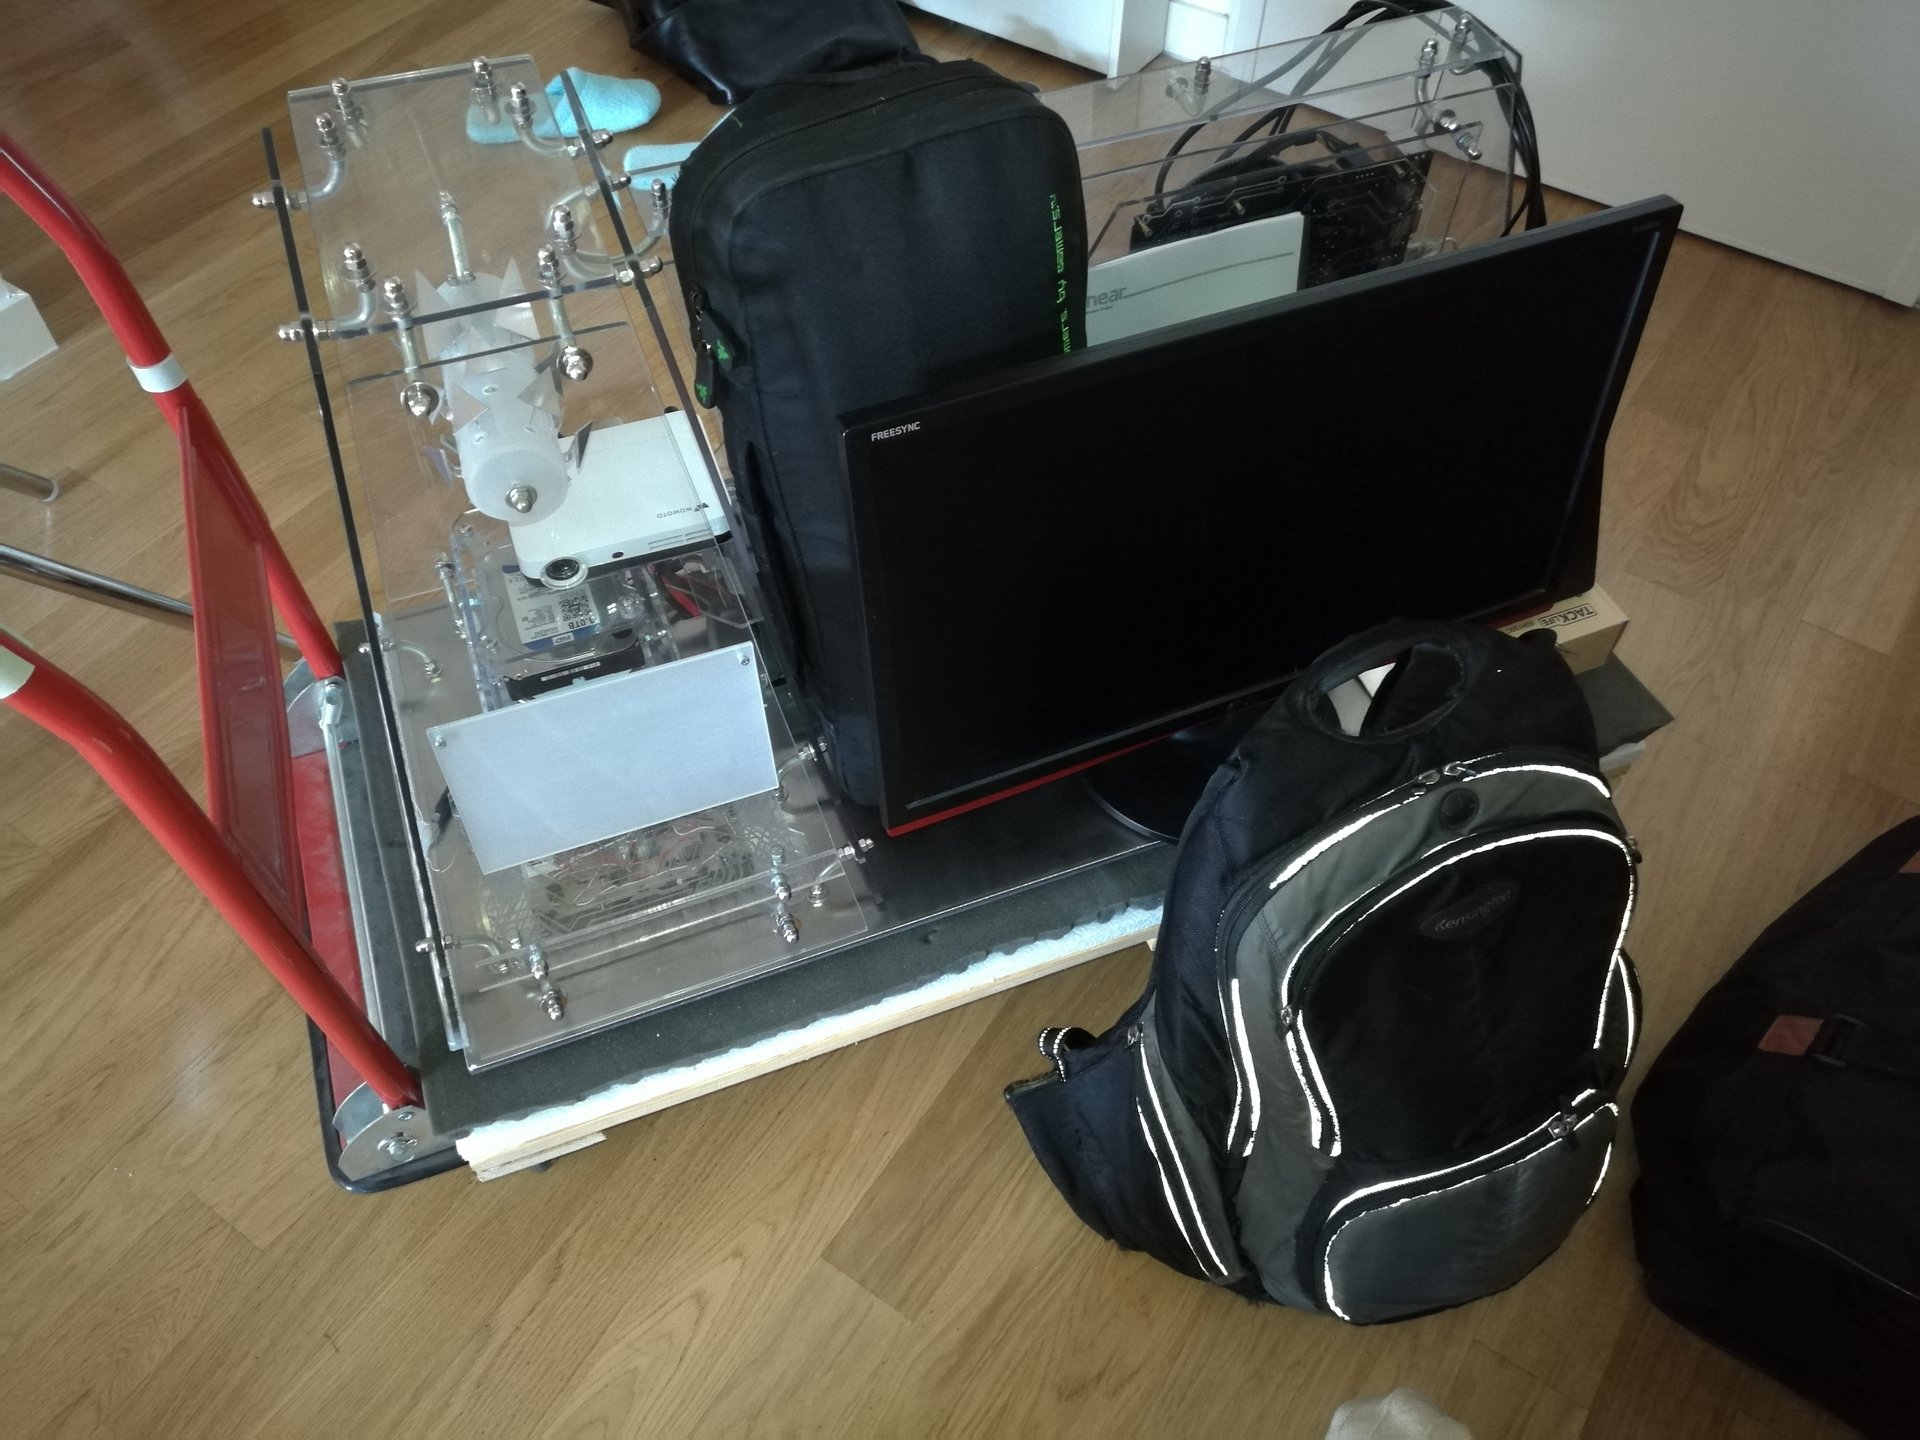
And I have inserted all the remaining cables inside the interspace below the base, in which I have also inserted the projector’s power supply and a hidden knob that changes the Prankster bit’s movement speed.
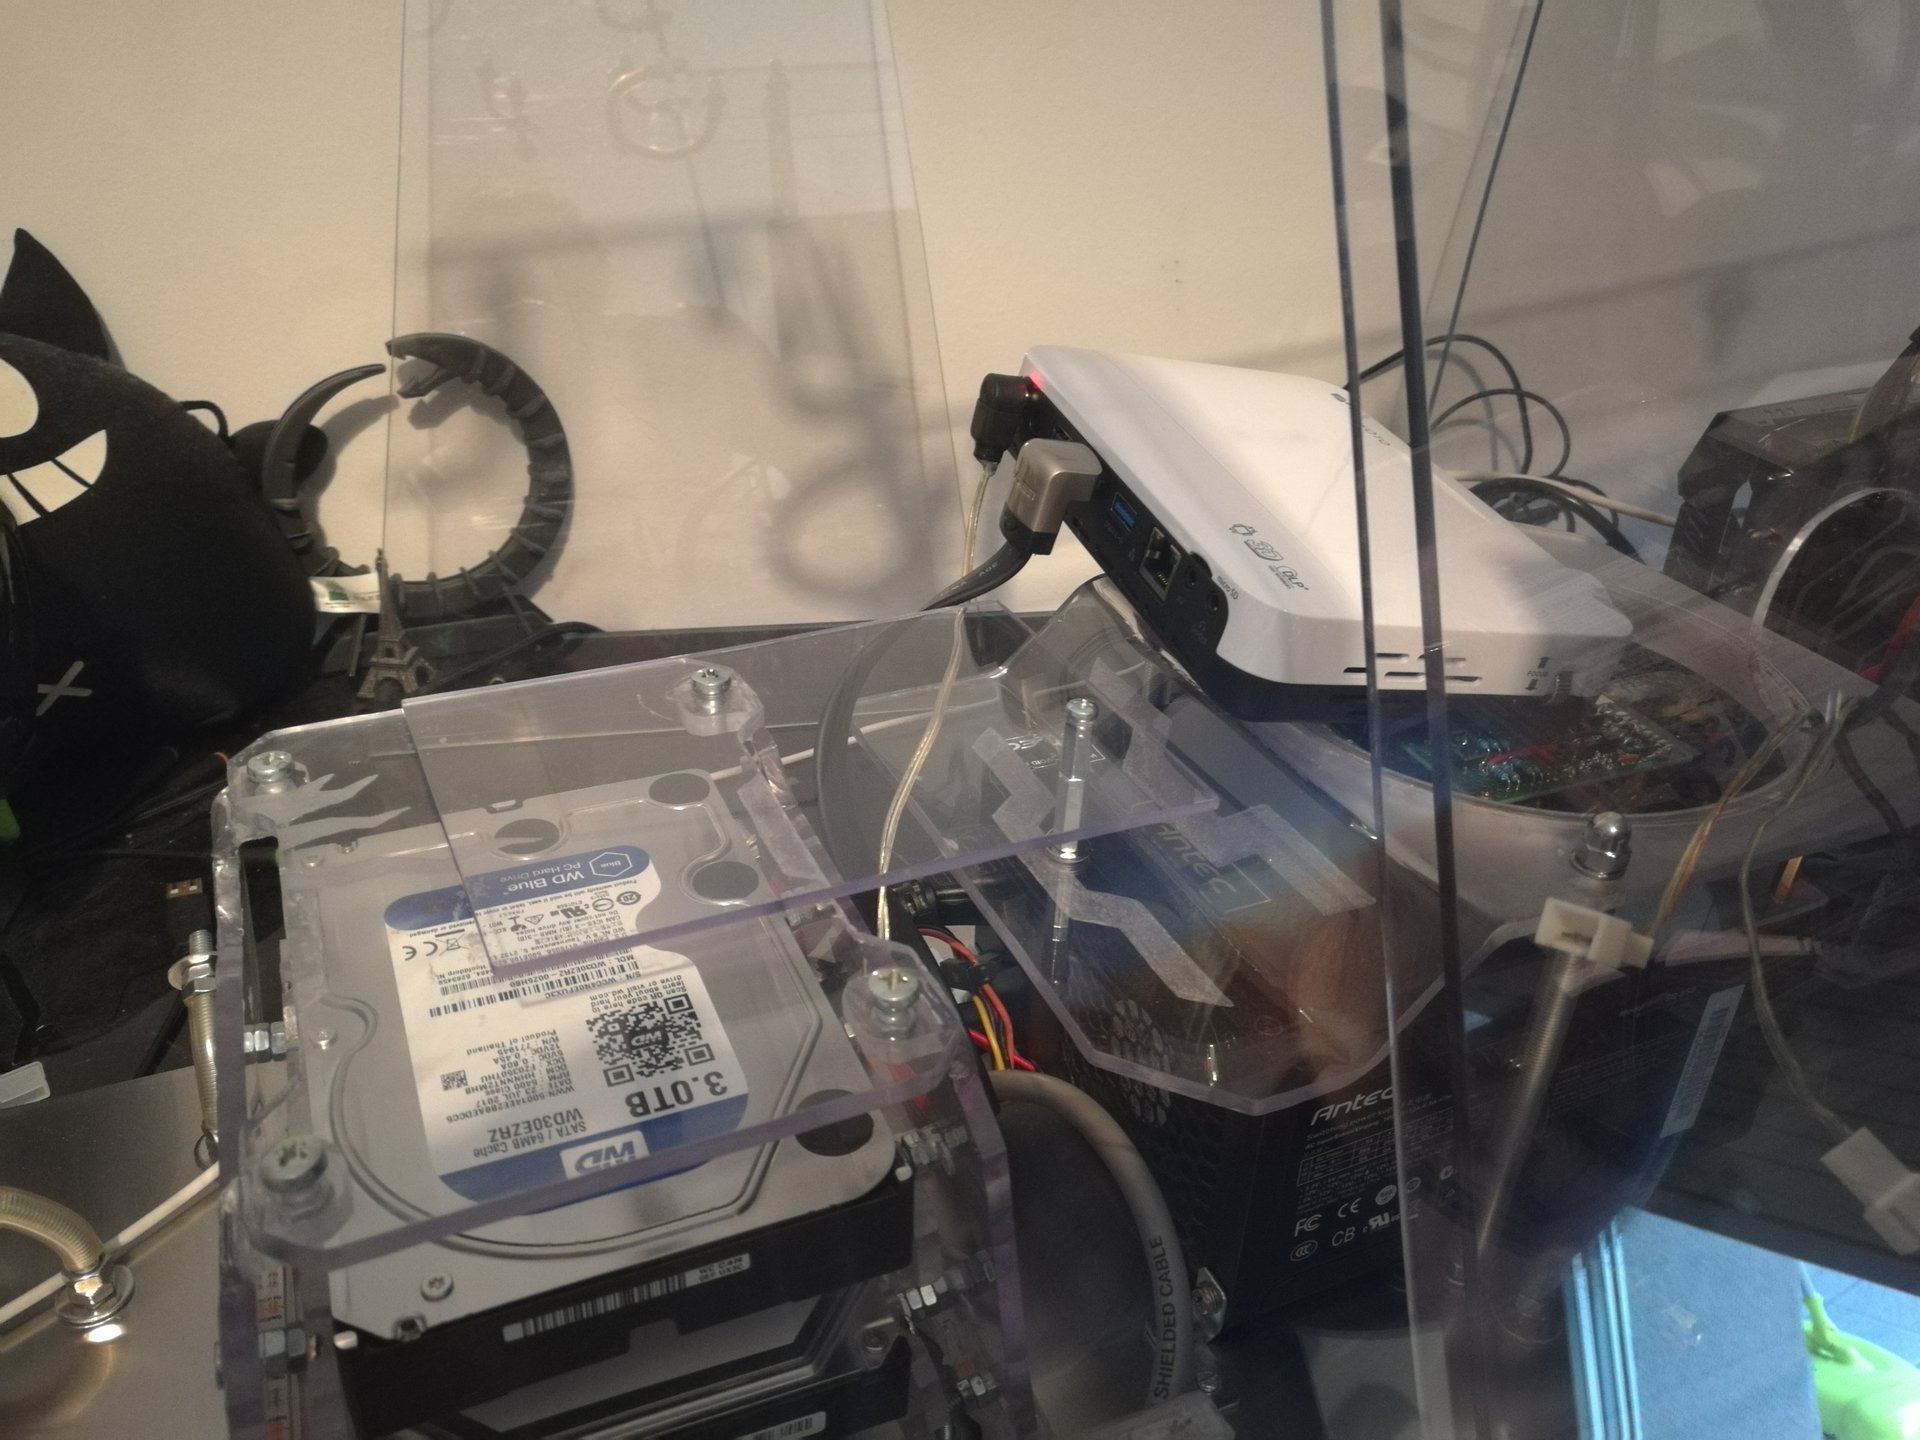
Finally I have moved the projector to center the projected image in the screen, and I have made some holes in the projector’s shelf to keep it in the right position:

I was forgetting the fans! Here they are:
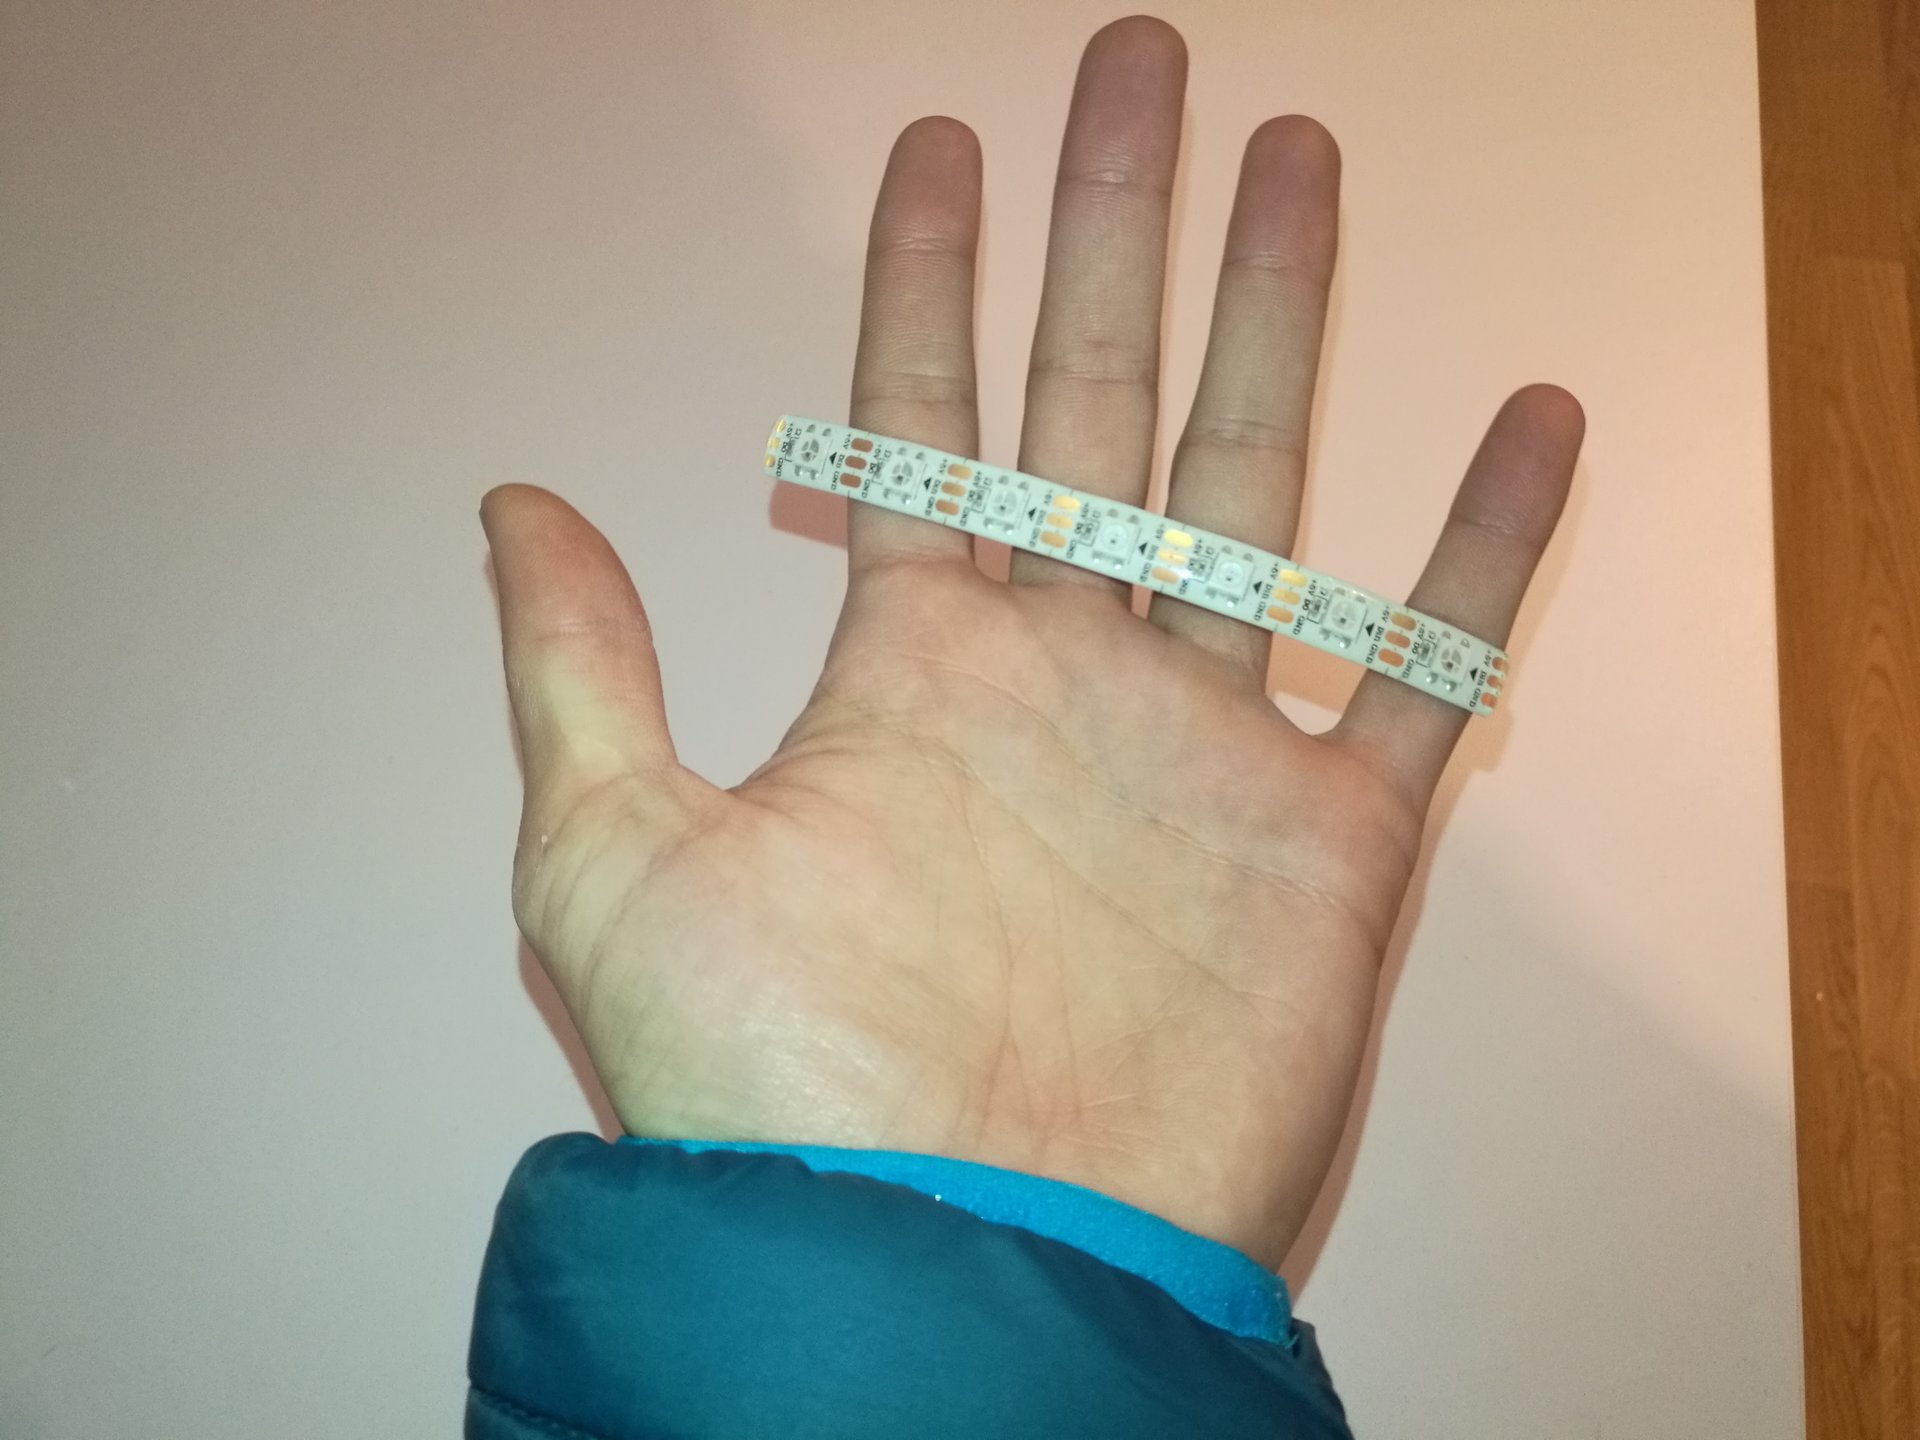
I started with 5 meters of led strip, and all I have left is this tiny piece 😀 , the rest is all in the case!
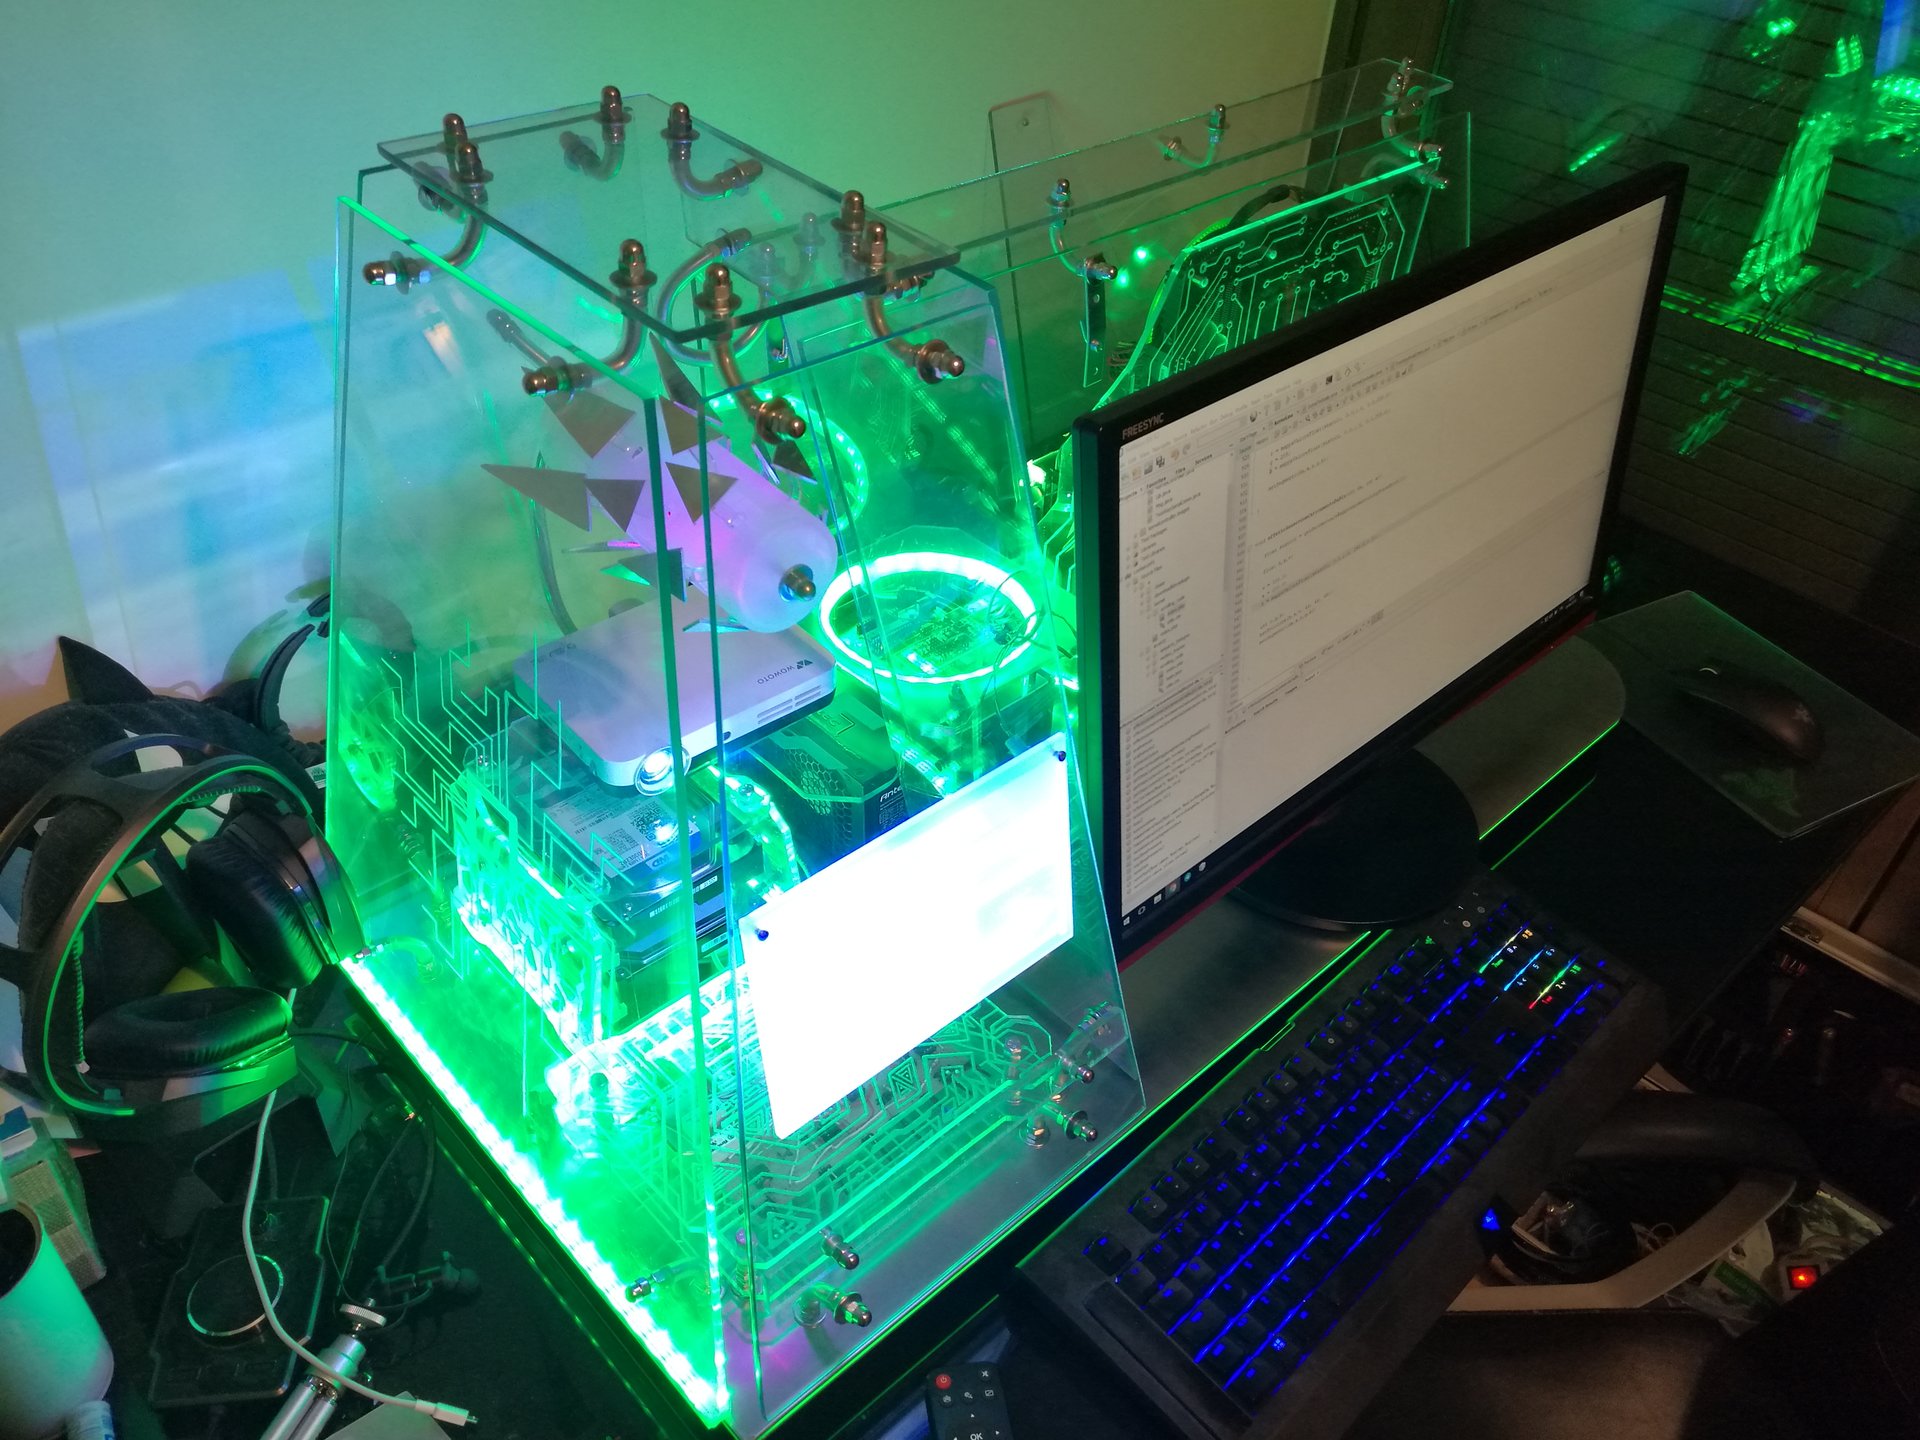
Meanwhile, in the software side, I have programmed 3 feedback effects for the proximity sensor (one for each primary color).
This effect gives to the user the feeling that the panel is “being charged” by the user’s hand! 😀
When the user bring his hand close to the sensor, the lighted panel gradually changes color (to a “more charged color”), and when the user takes back the hand, the panel returns slowly to the original color (“discharging”).
The 3 effect are:
– one starting from blue: from blue it goes gradually to green, yellow and finally red (it is the one visible in this video below)
– one starting from red, that mimics the incandescent metal: from red it goes to orange, yellow and finally white
– one starting from green, that goes to white
Then I modified the KernelController application, to automatically sync the projected animations with the lighting states:
And then I modified the effect of the “running pixel with trail”, adding more pixels at once!
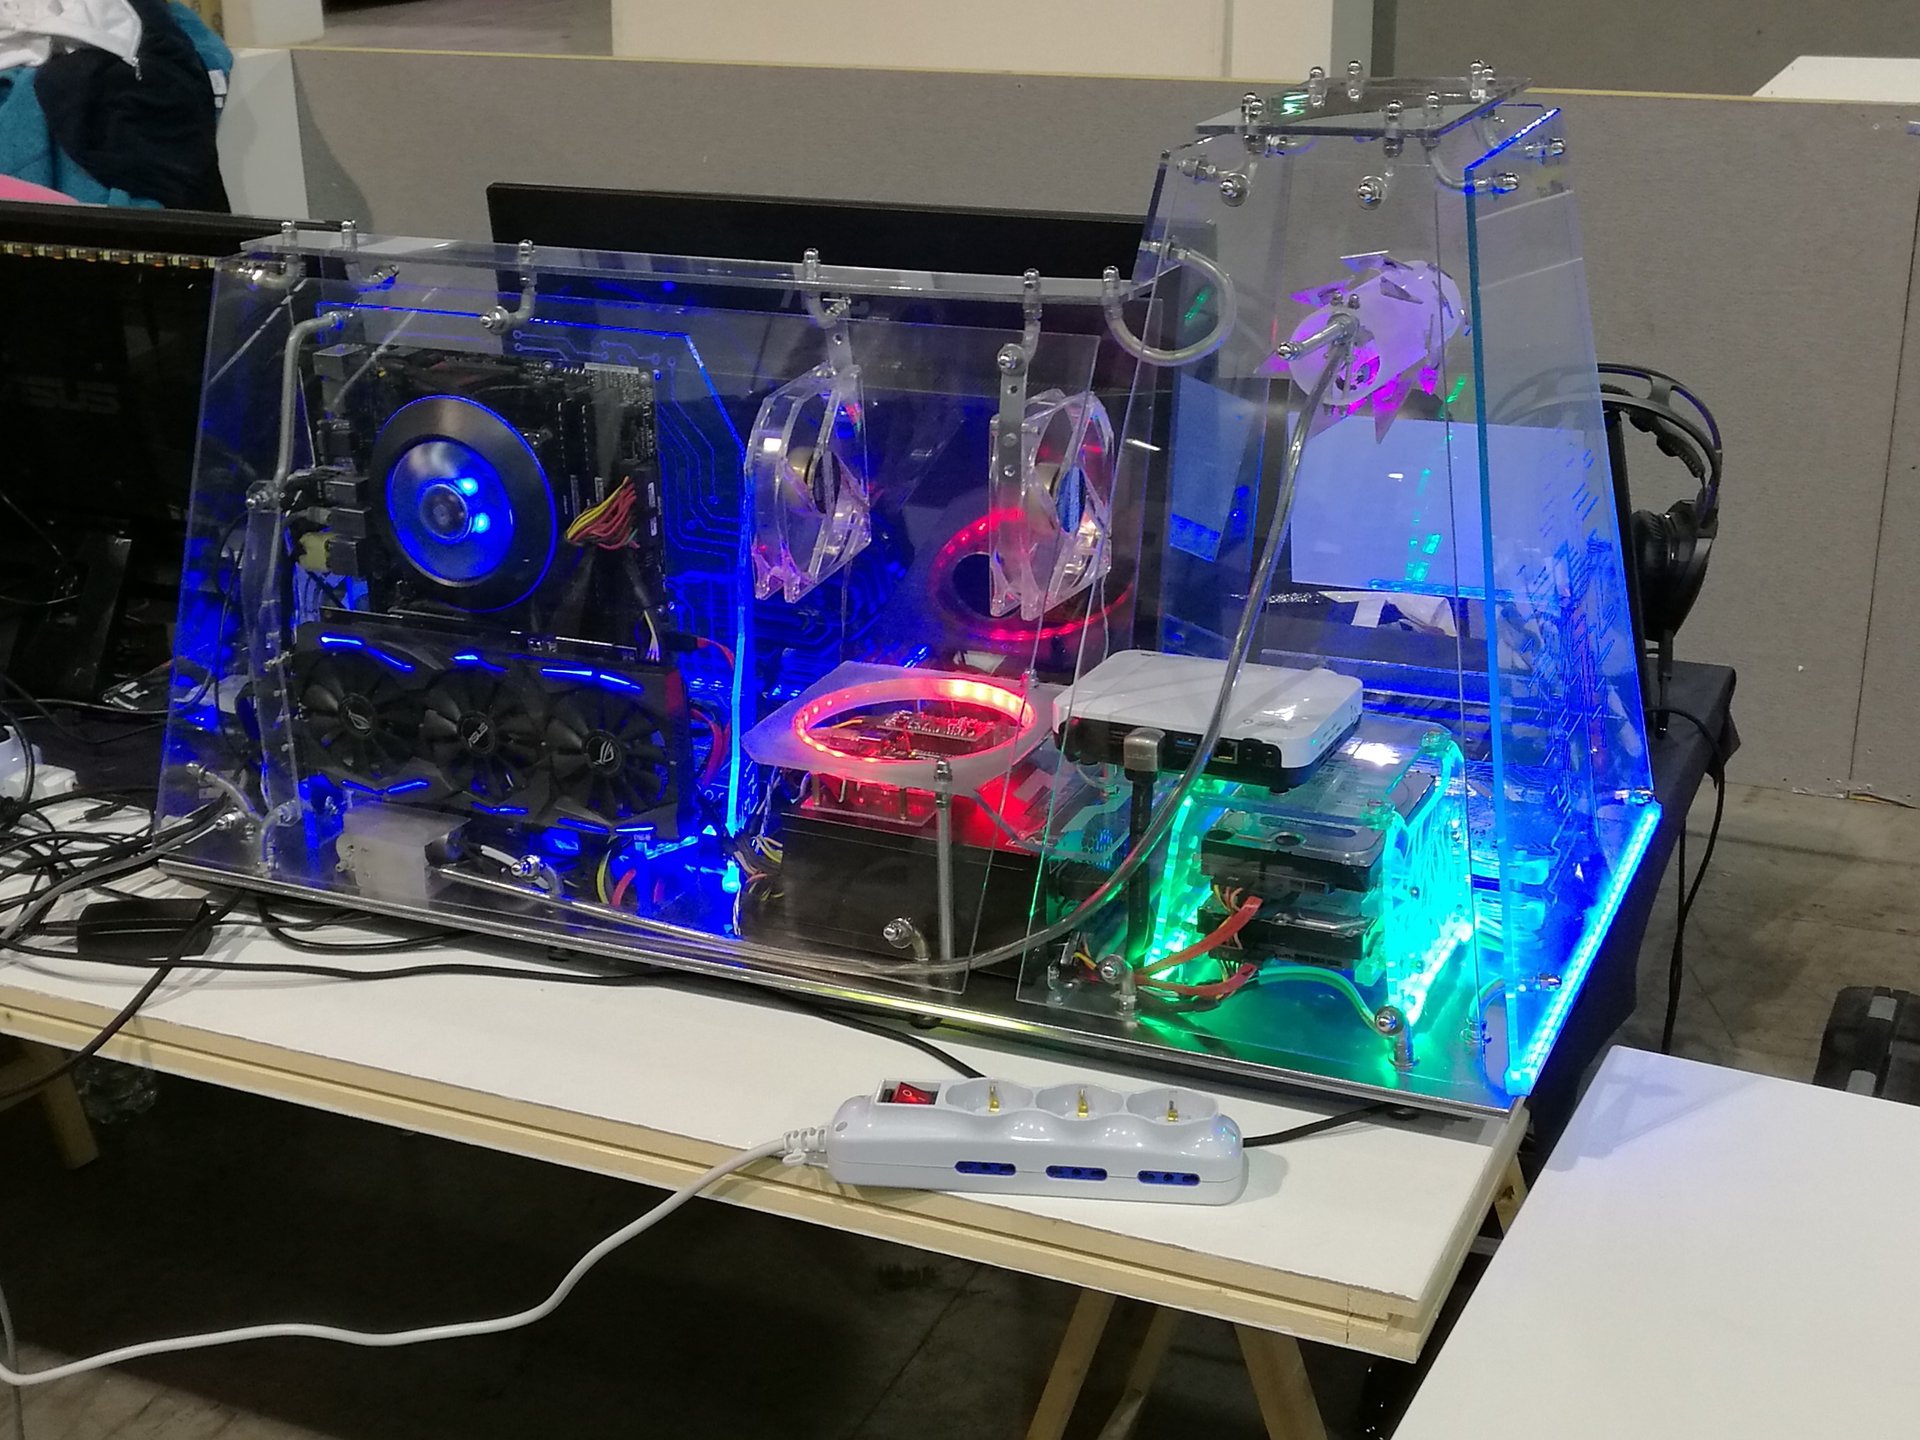
This is the result on the ring and around the base (the pixels running around the base remind me the Tron lightcycles 😀 ):
And finally this is the inauguration of the completed Kernel 2.0!!! I have taken it to a lan party! 😀
These are two short videos taken at the lan party: