And now it’s arrived the moment to assemble the PC!
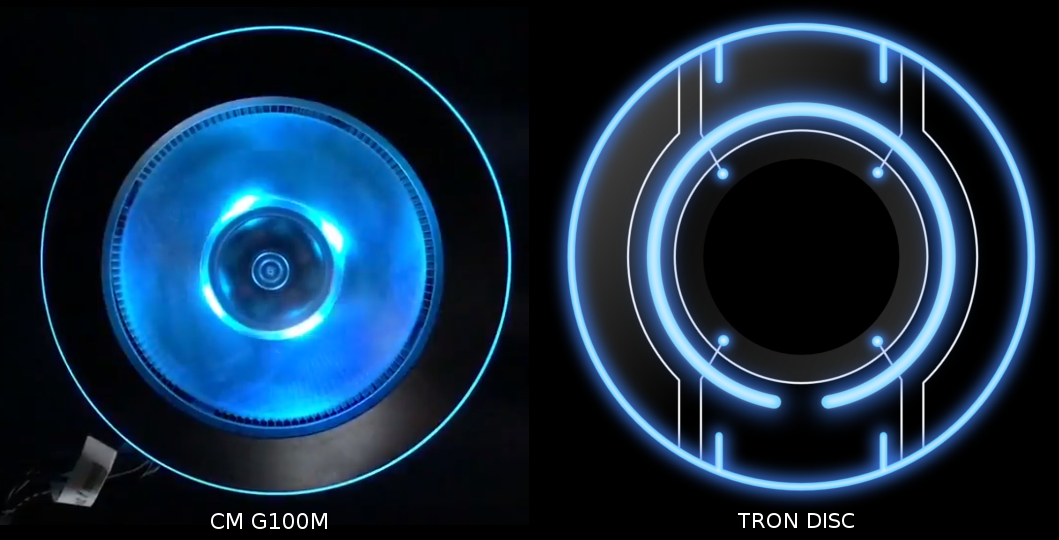
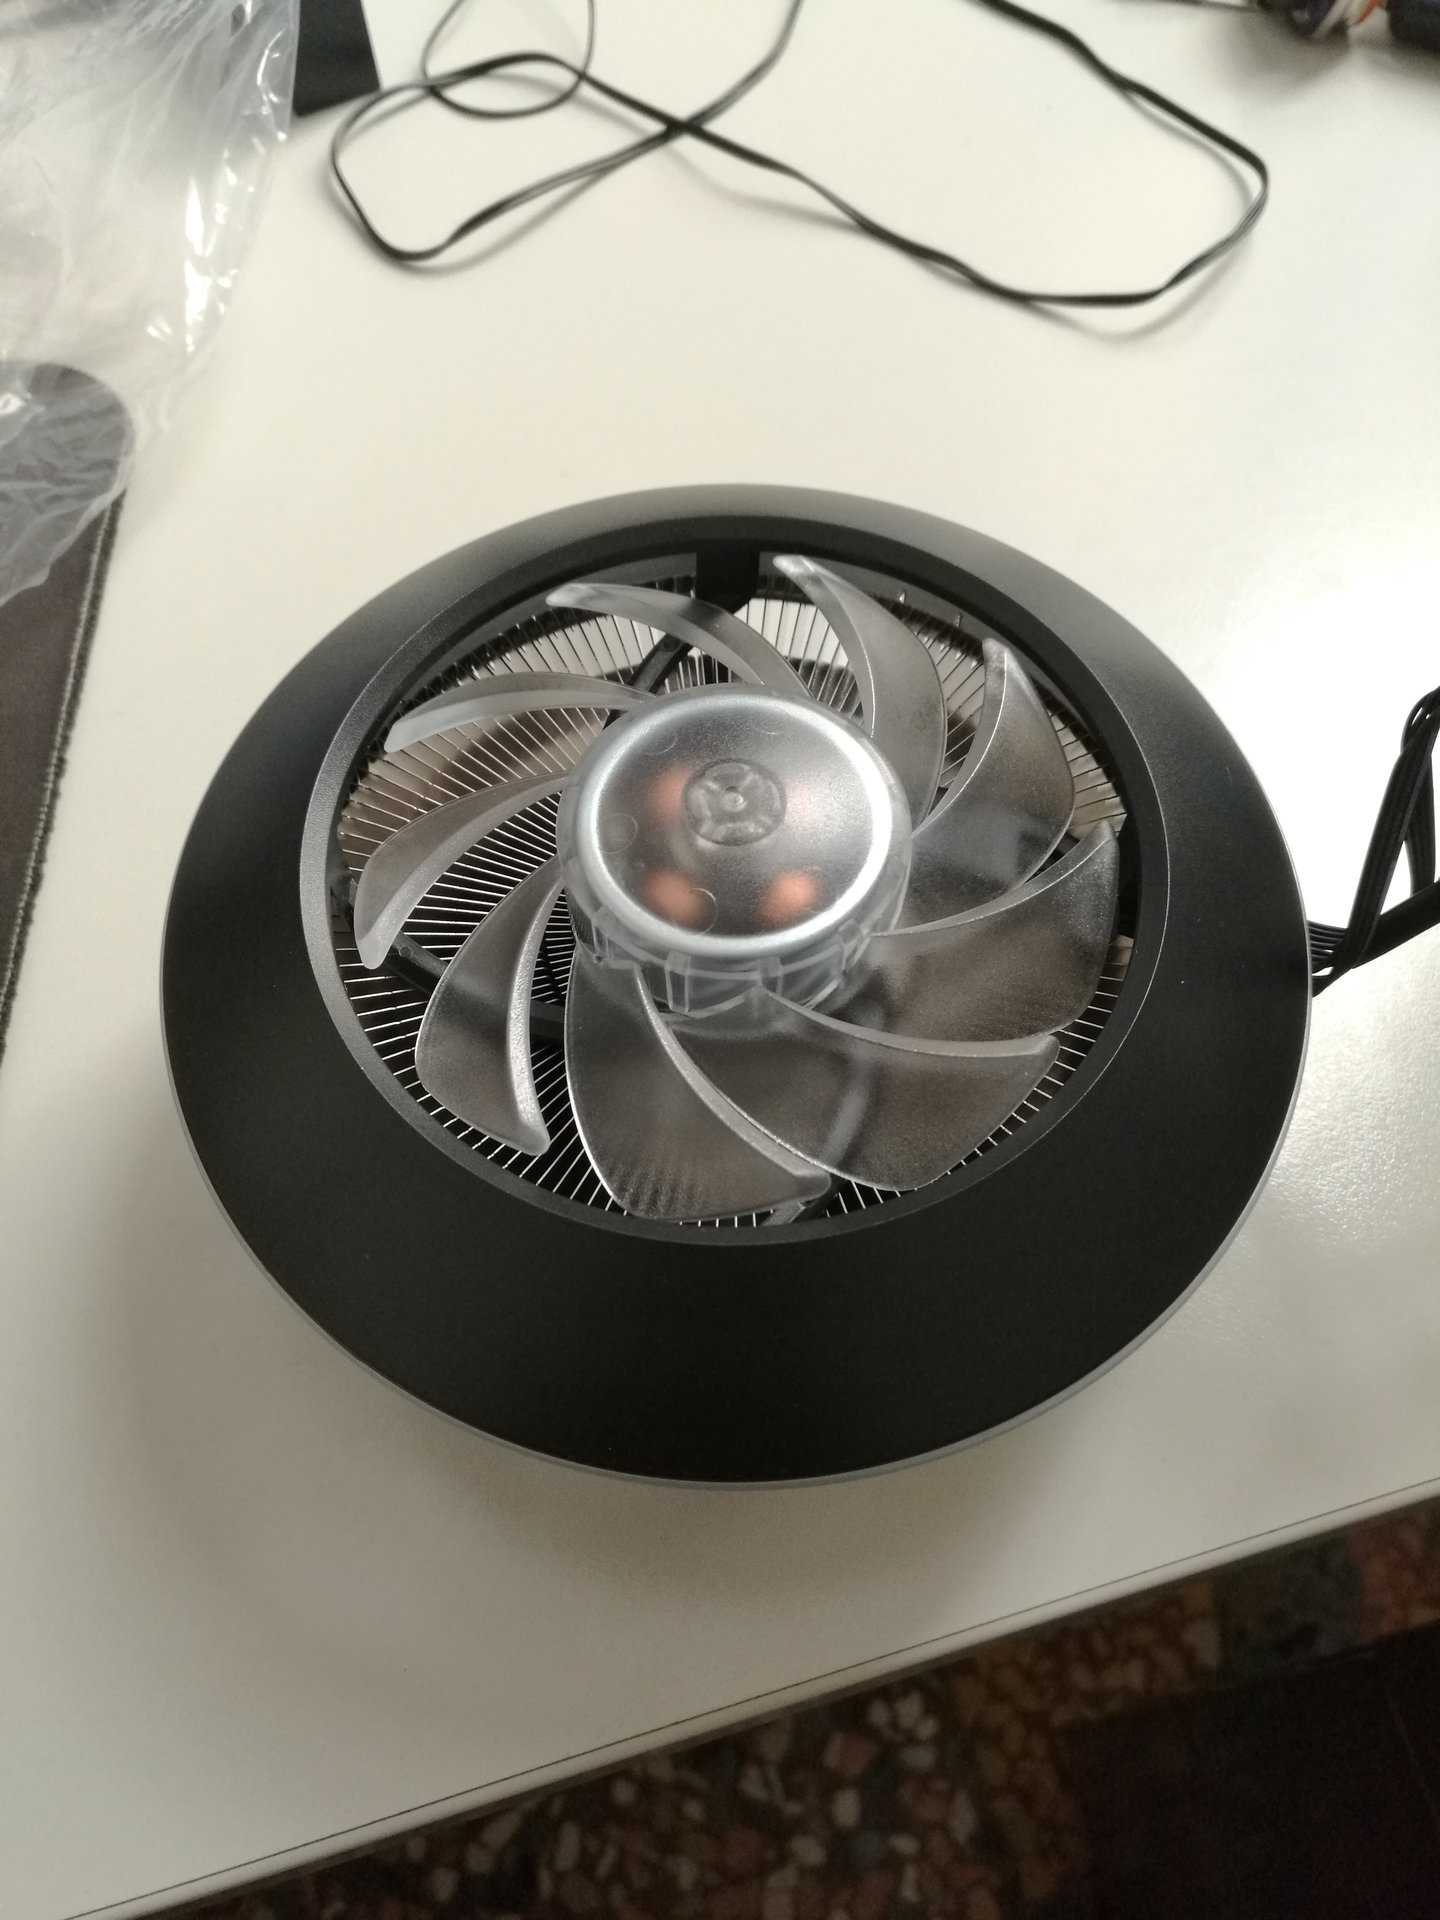
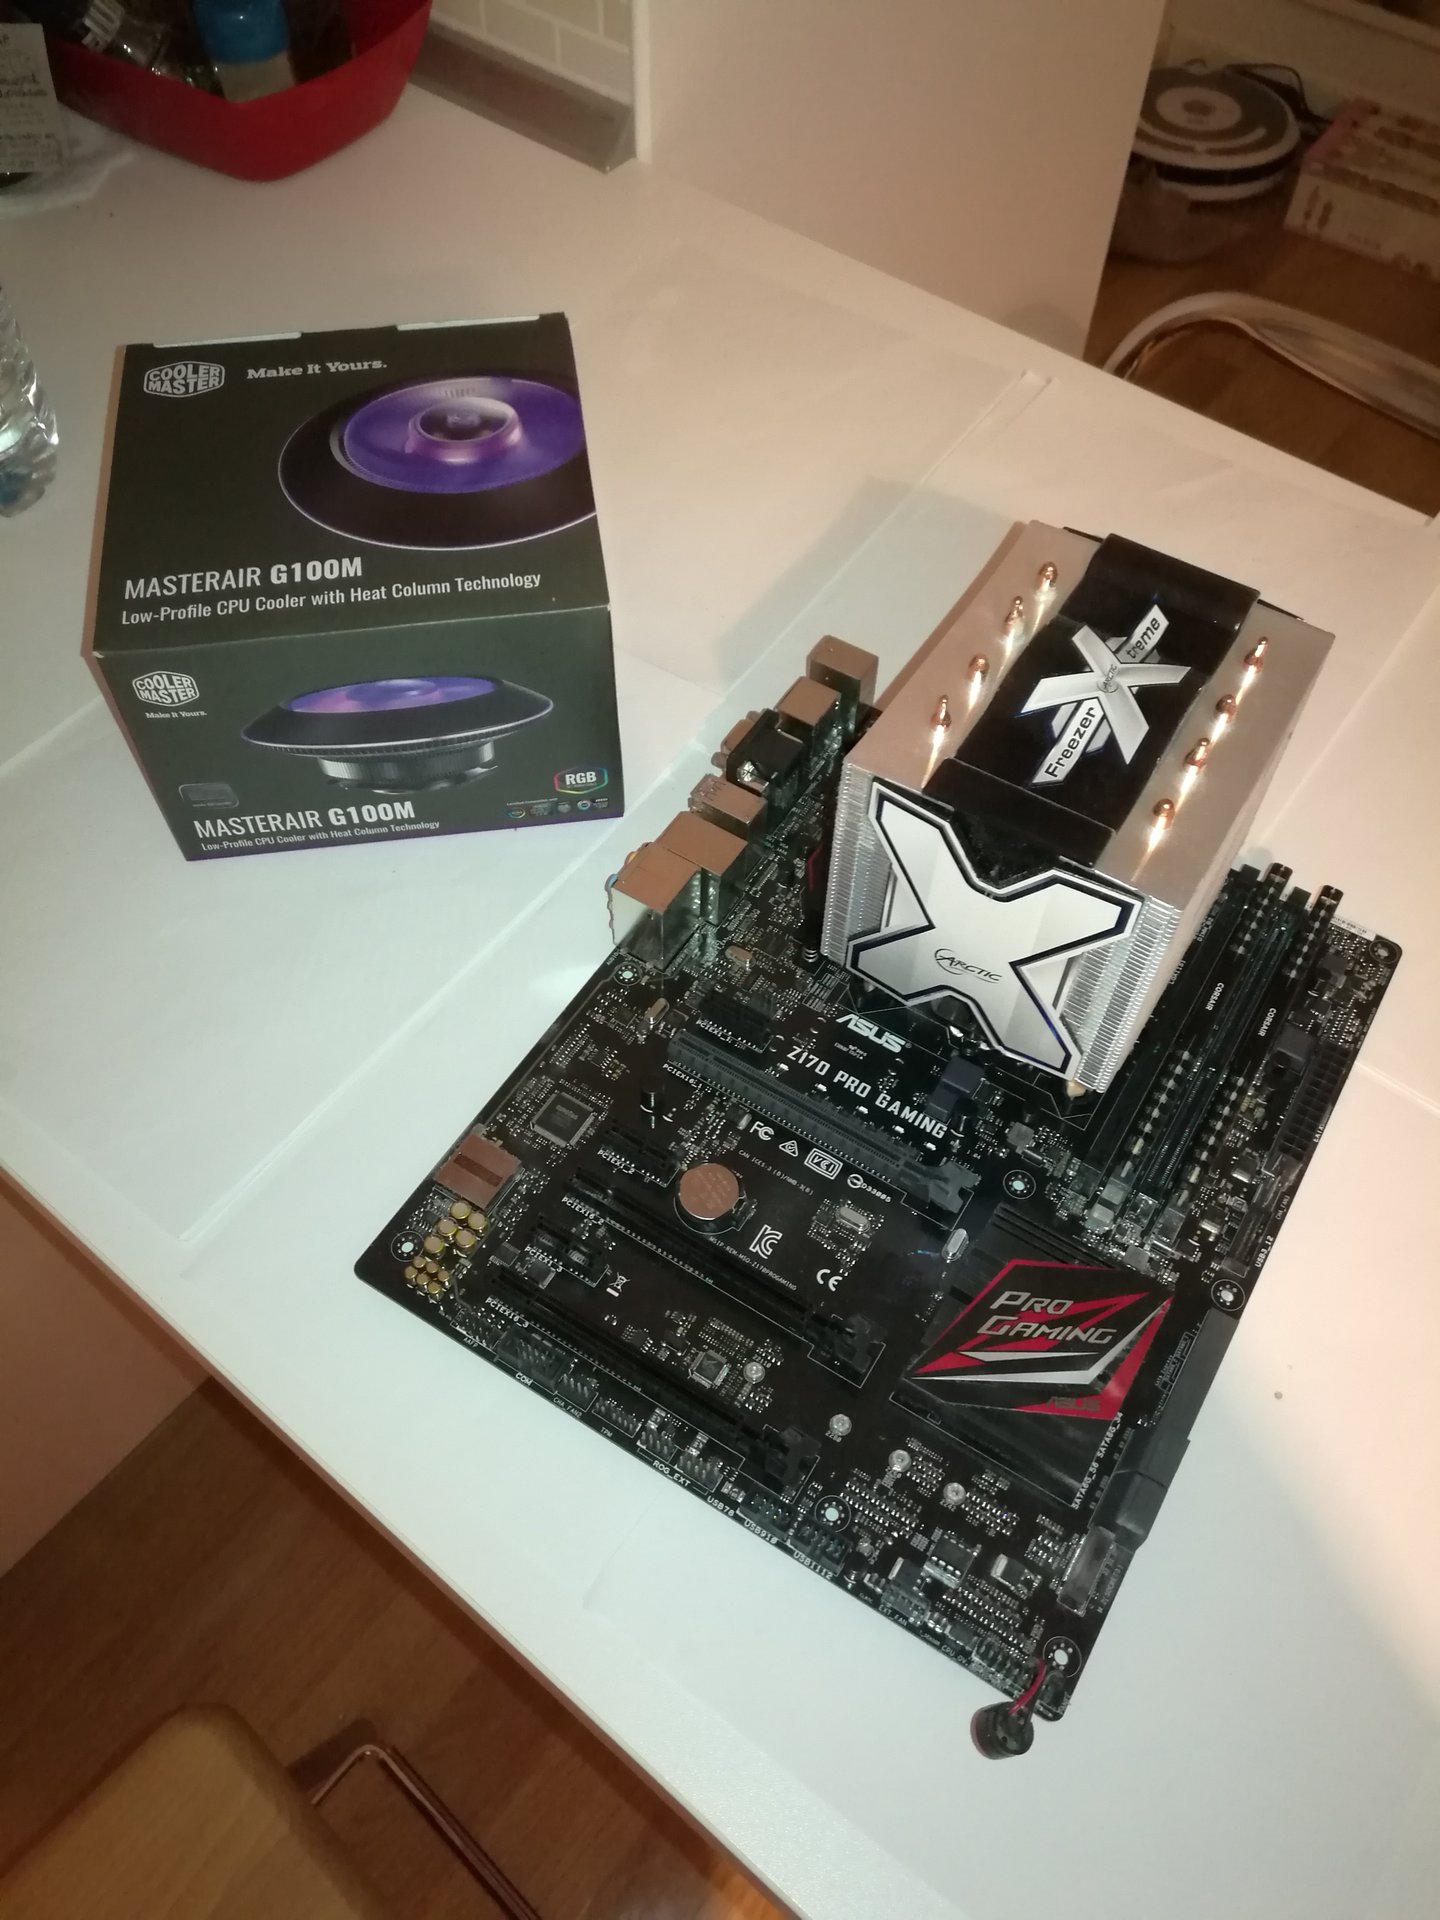
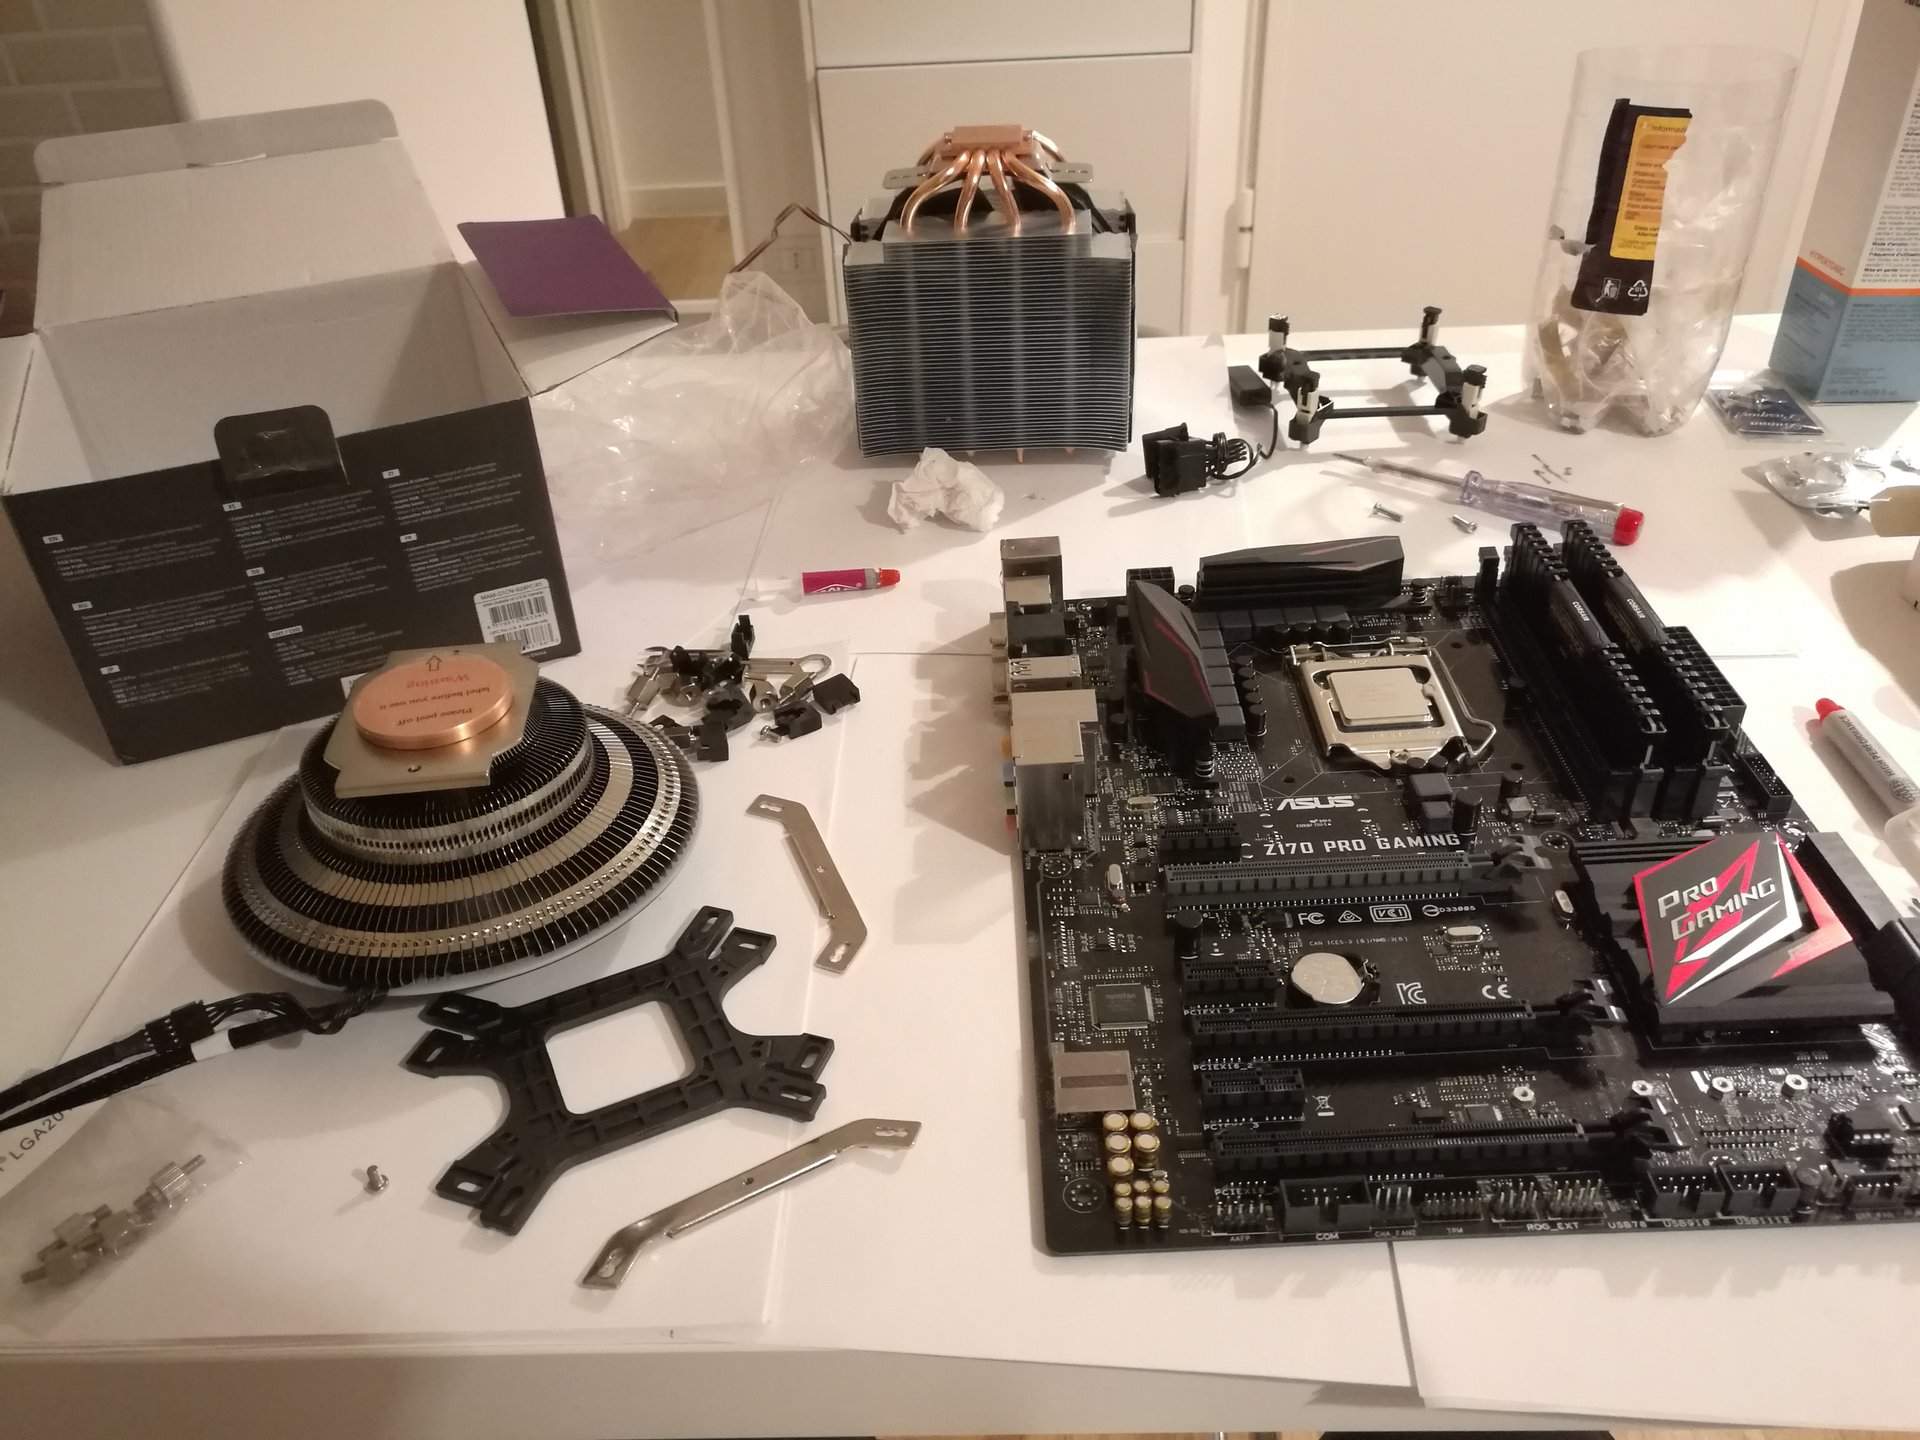
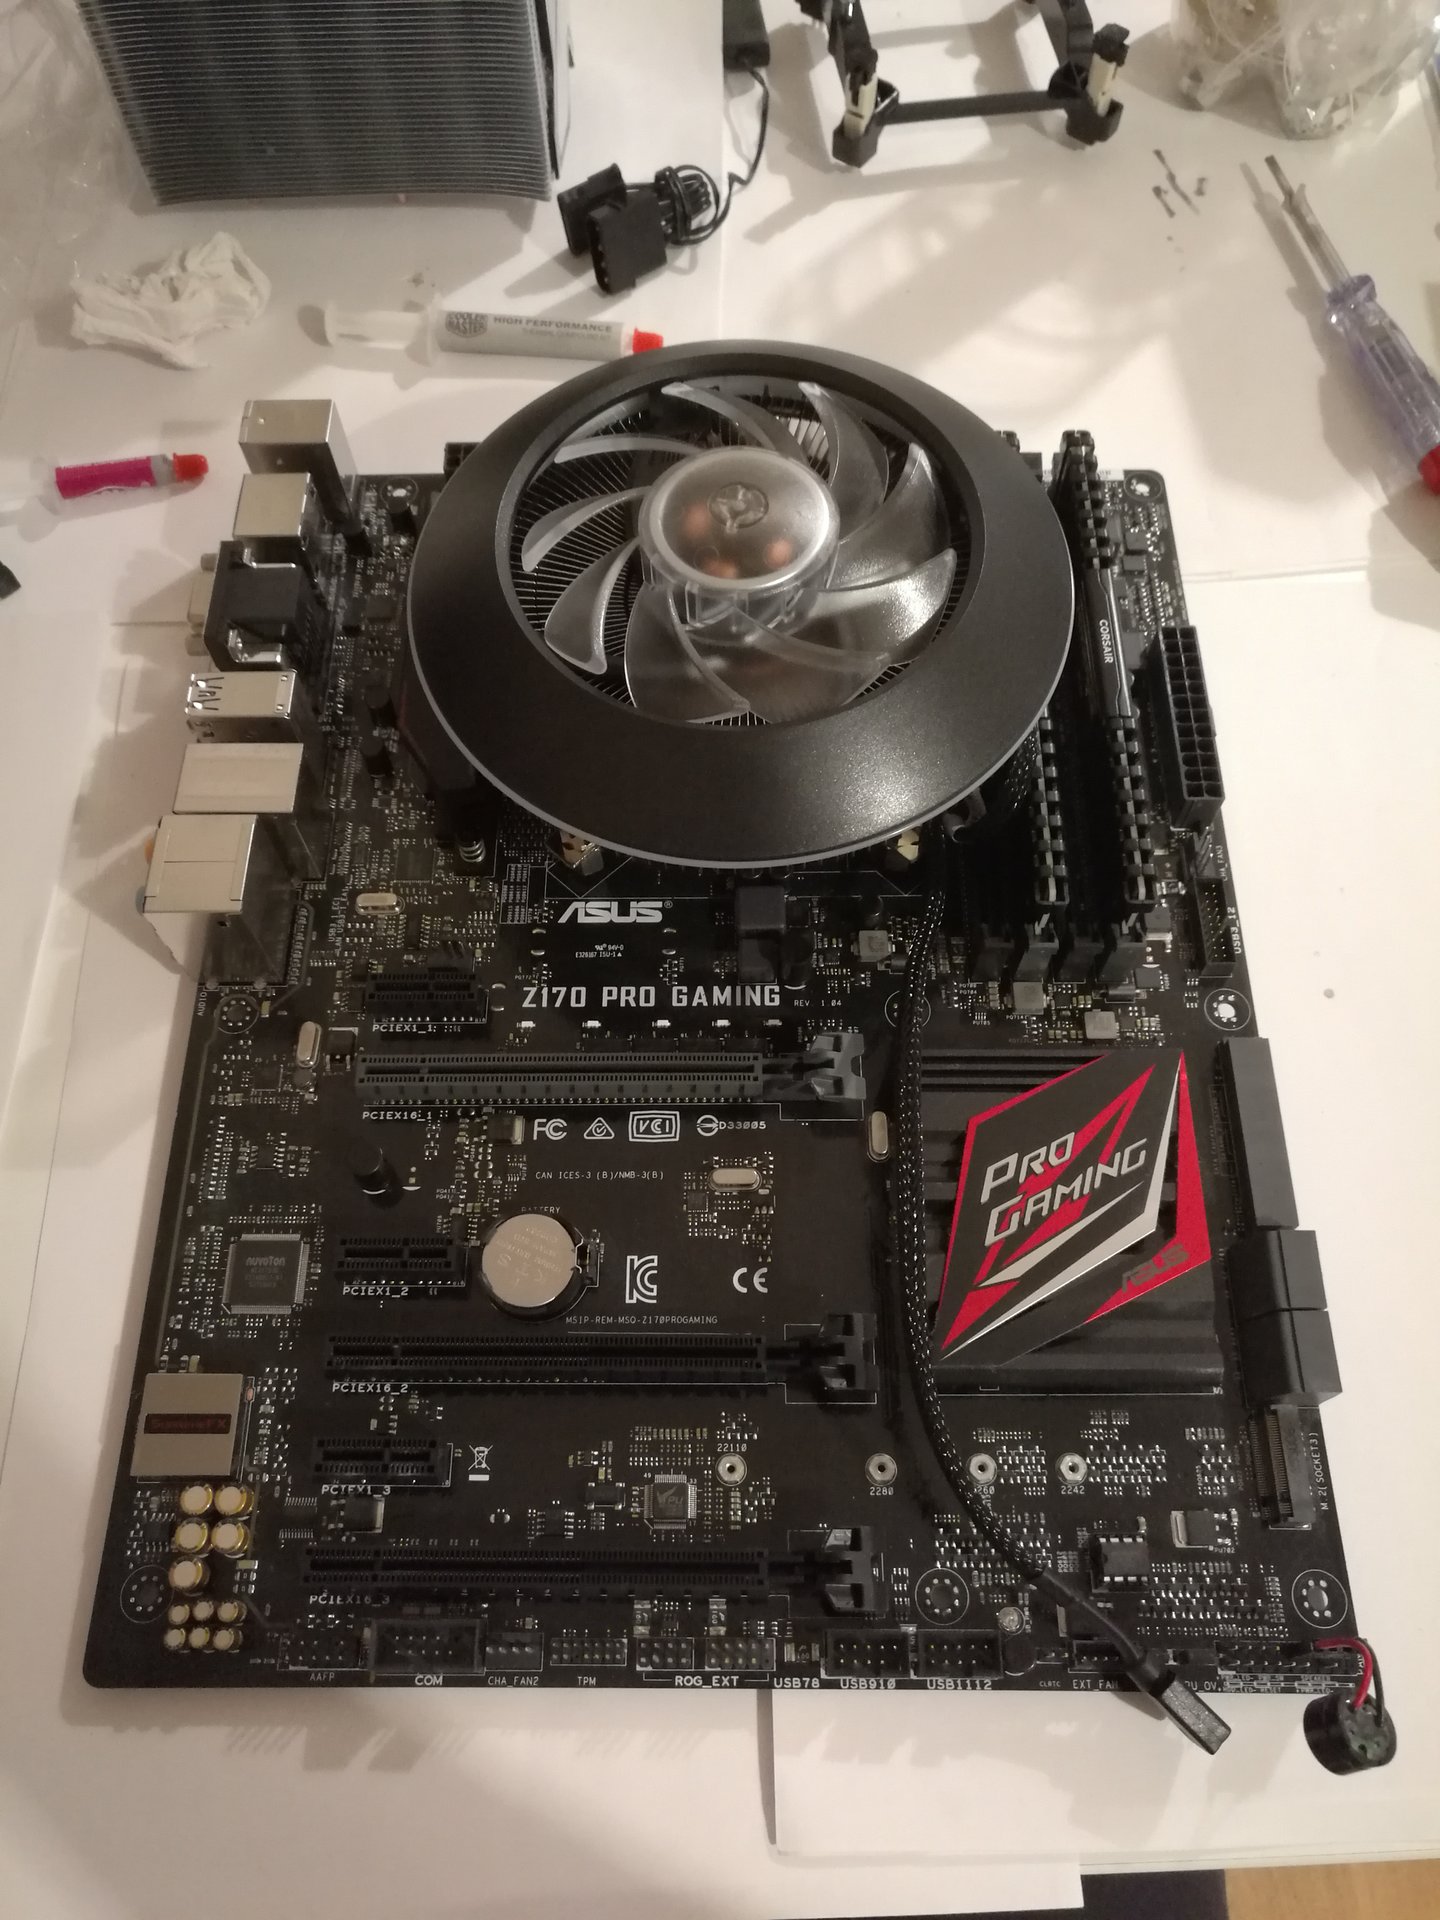
First, I replace my CPU heatsink with a Coolermaster G100M, because… well, should I explain it? 😀 😀 😀
Here I’m replacing the heatsink:
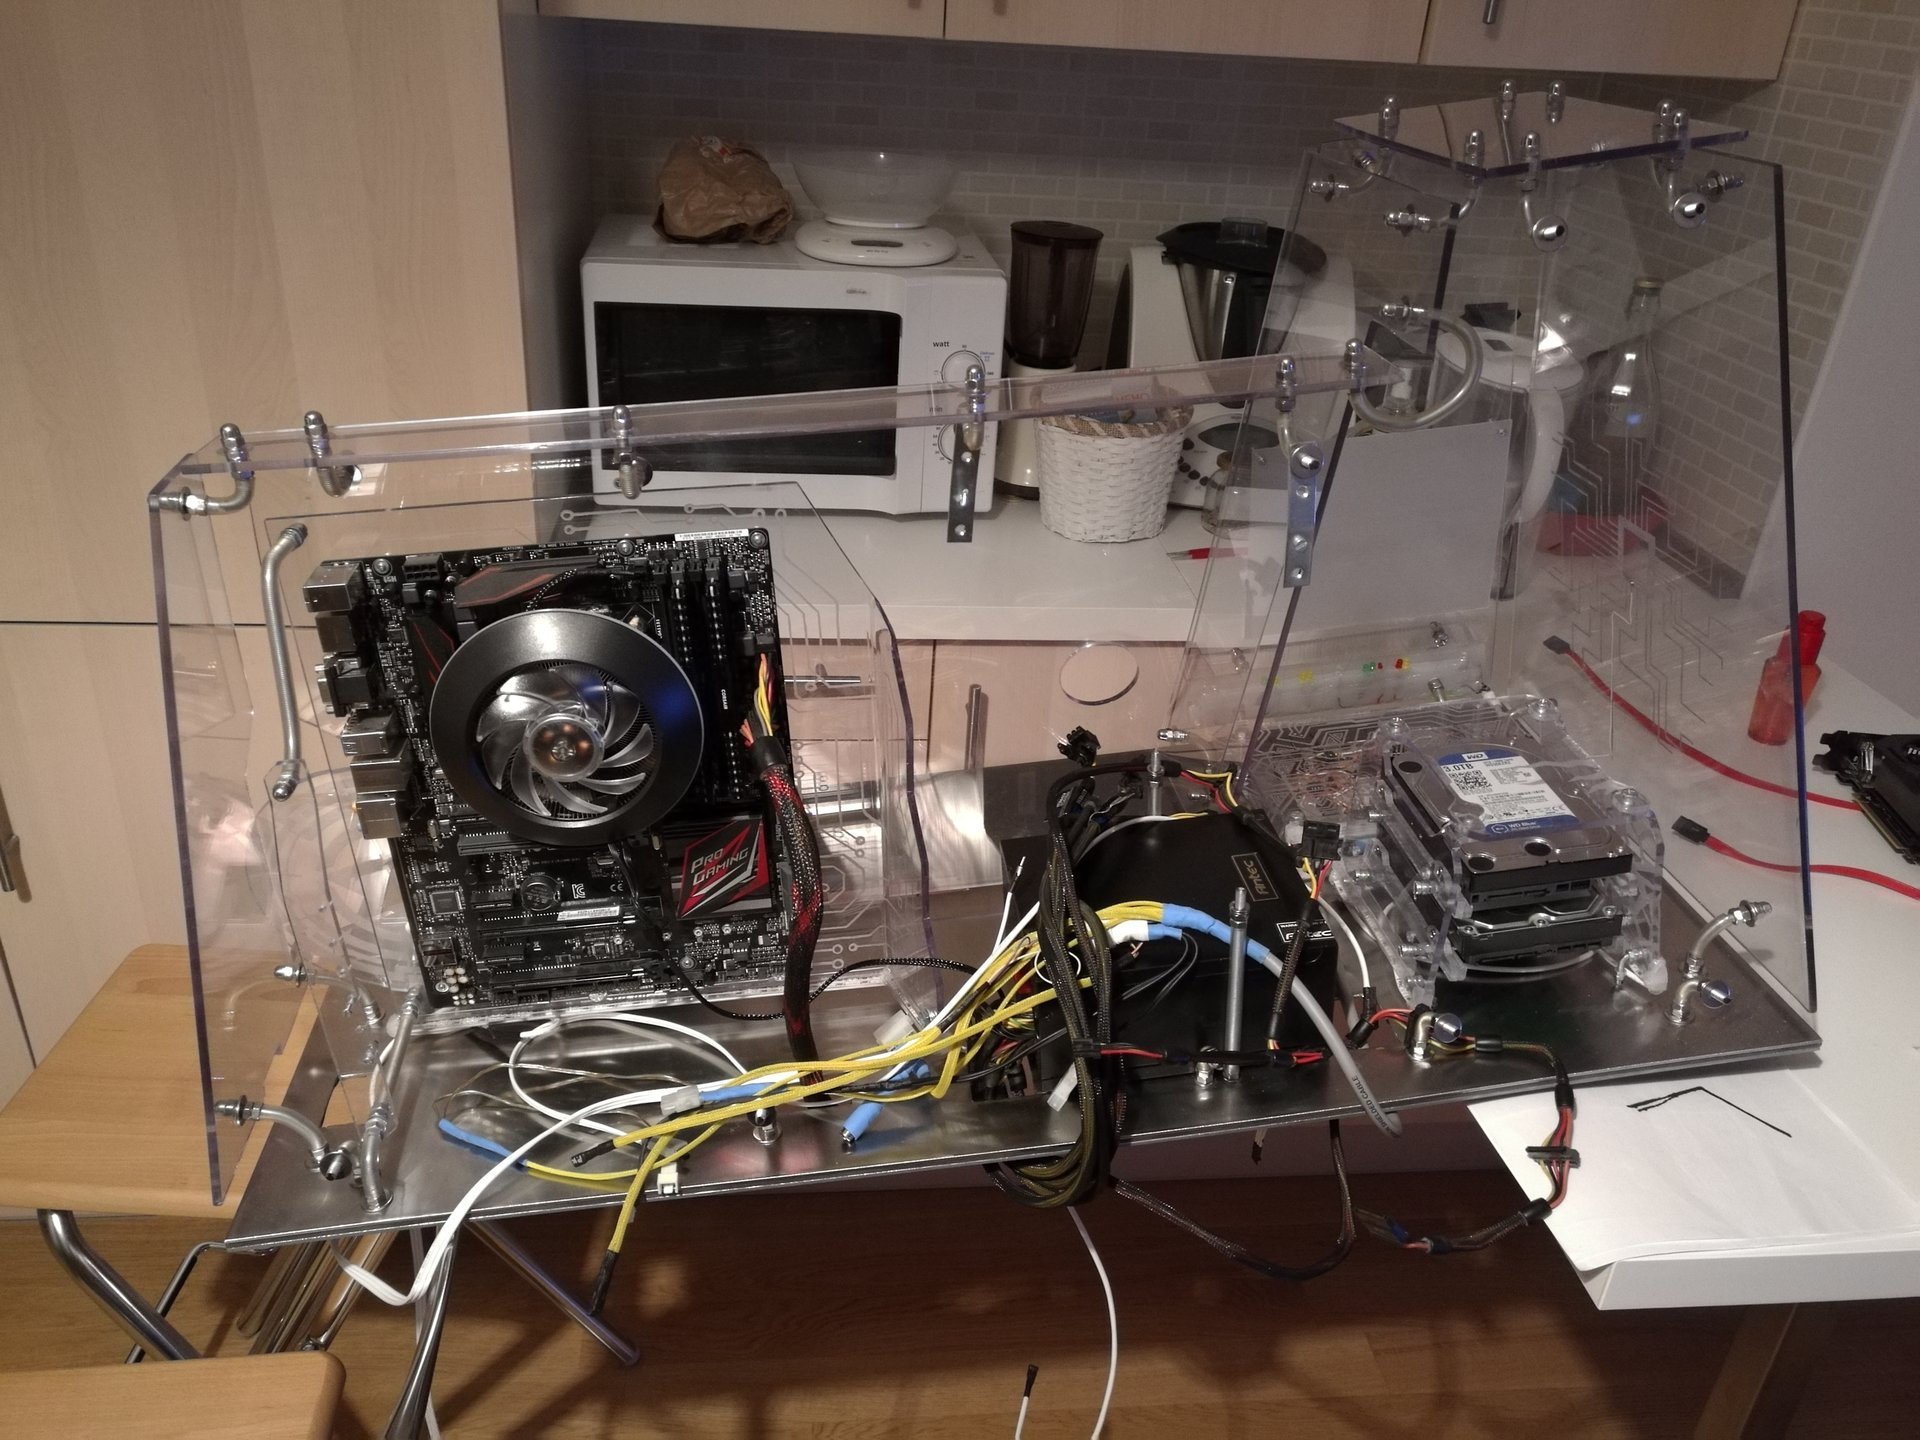
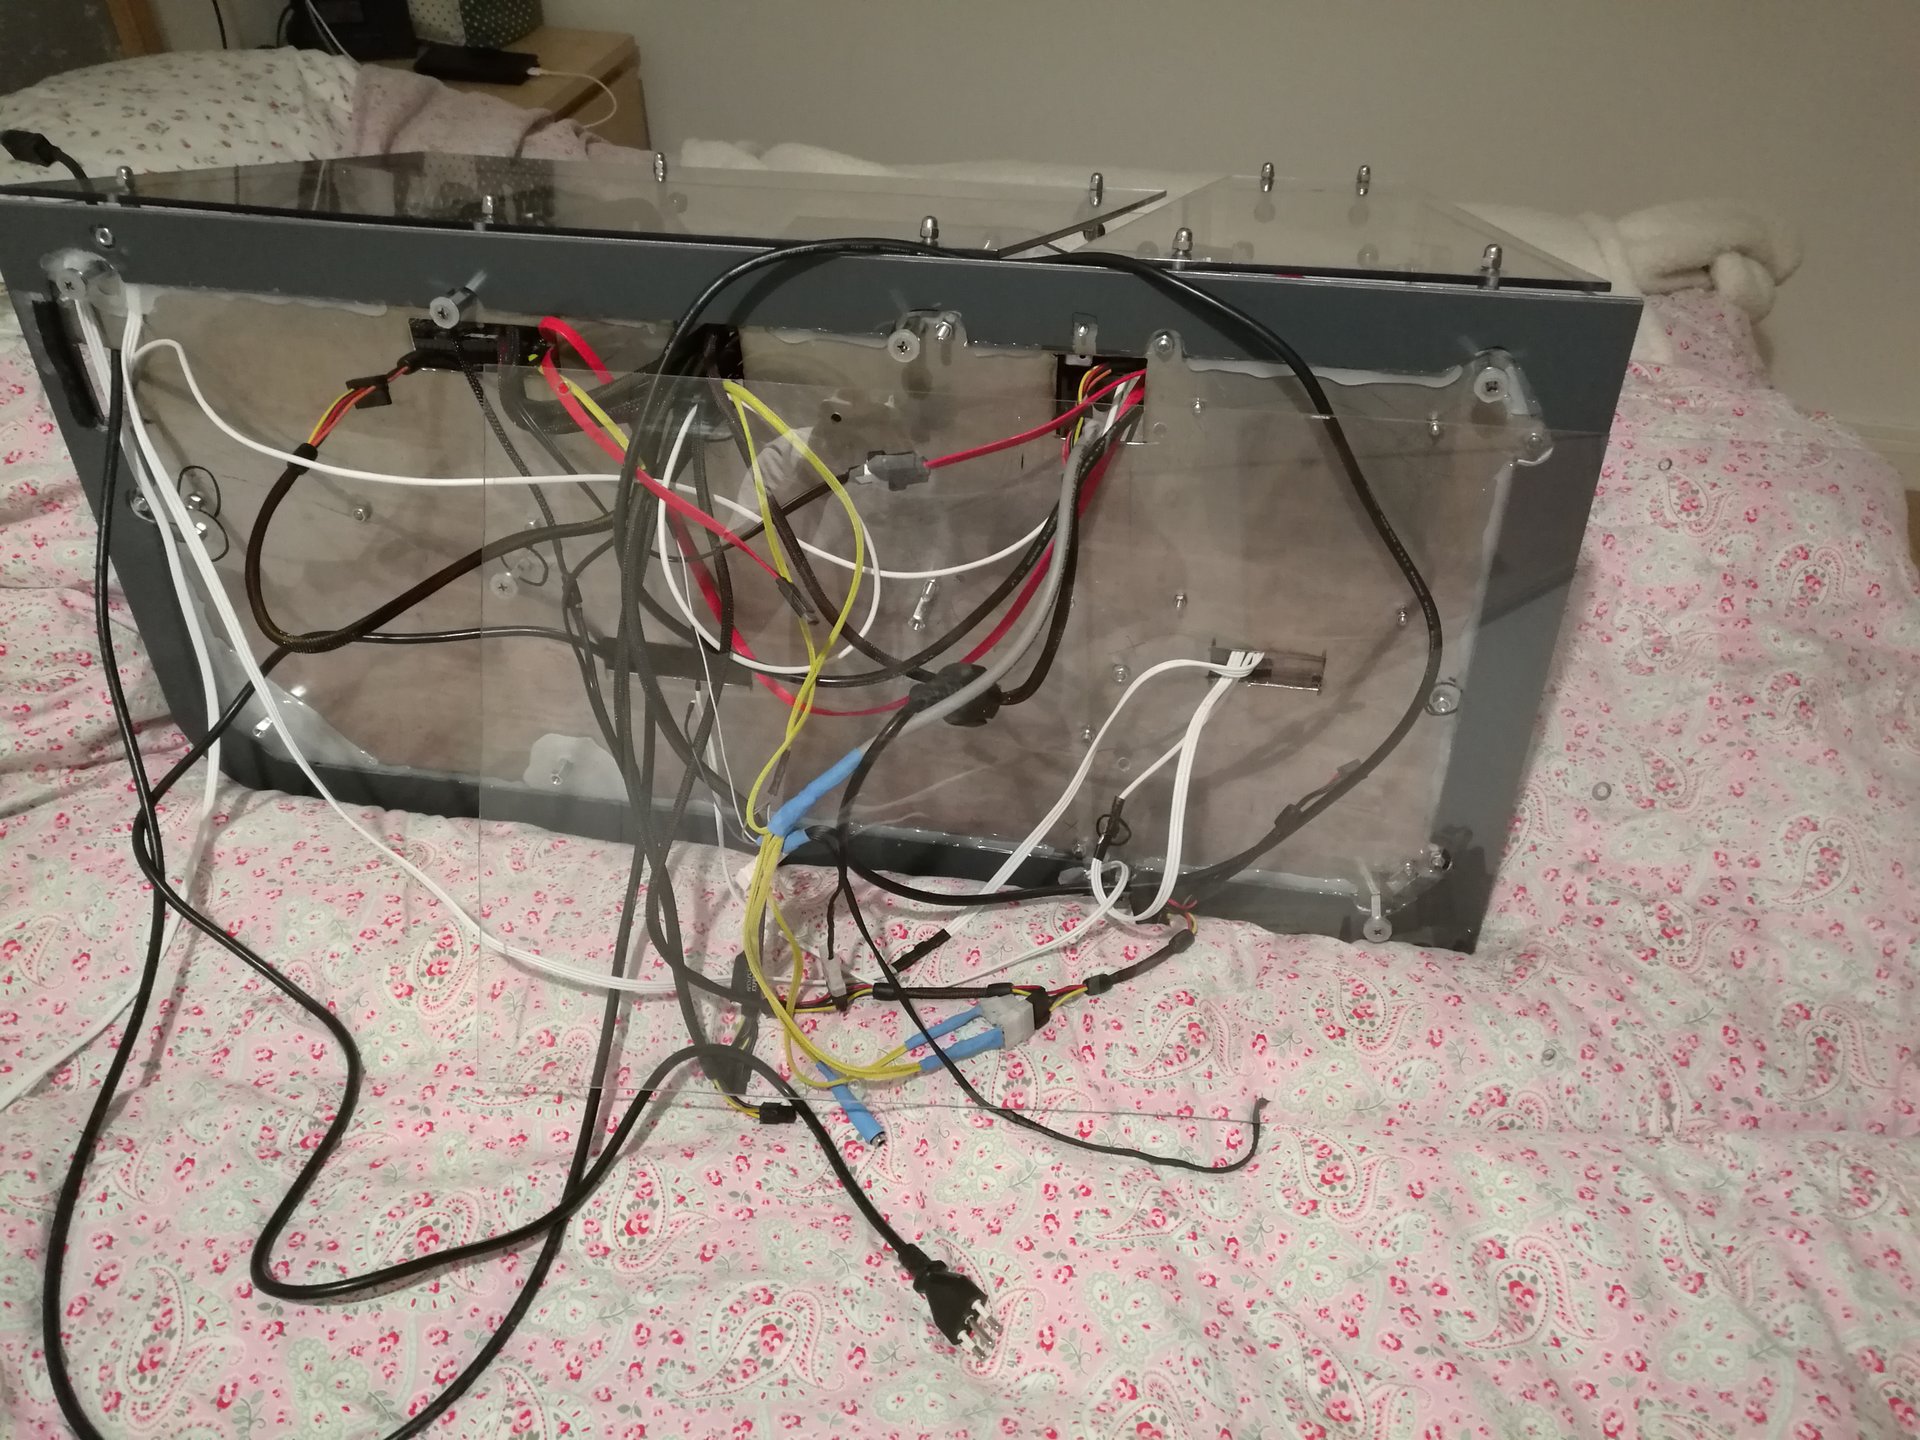
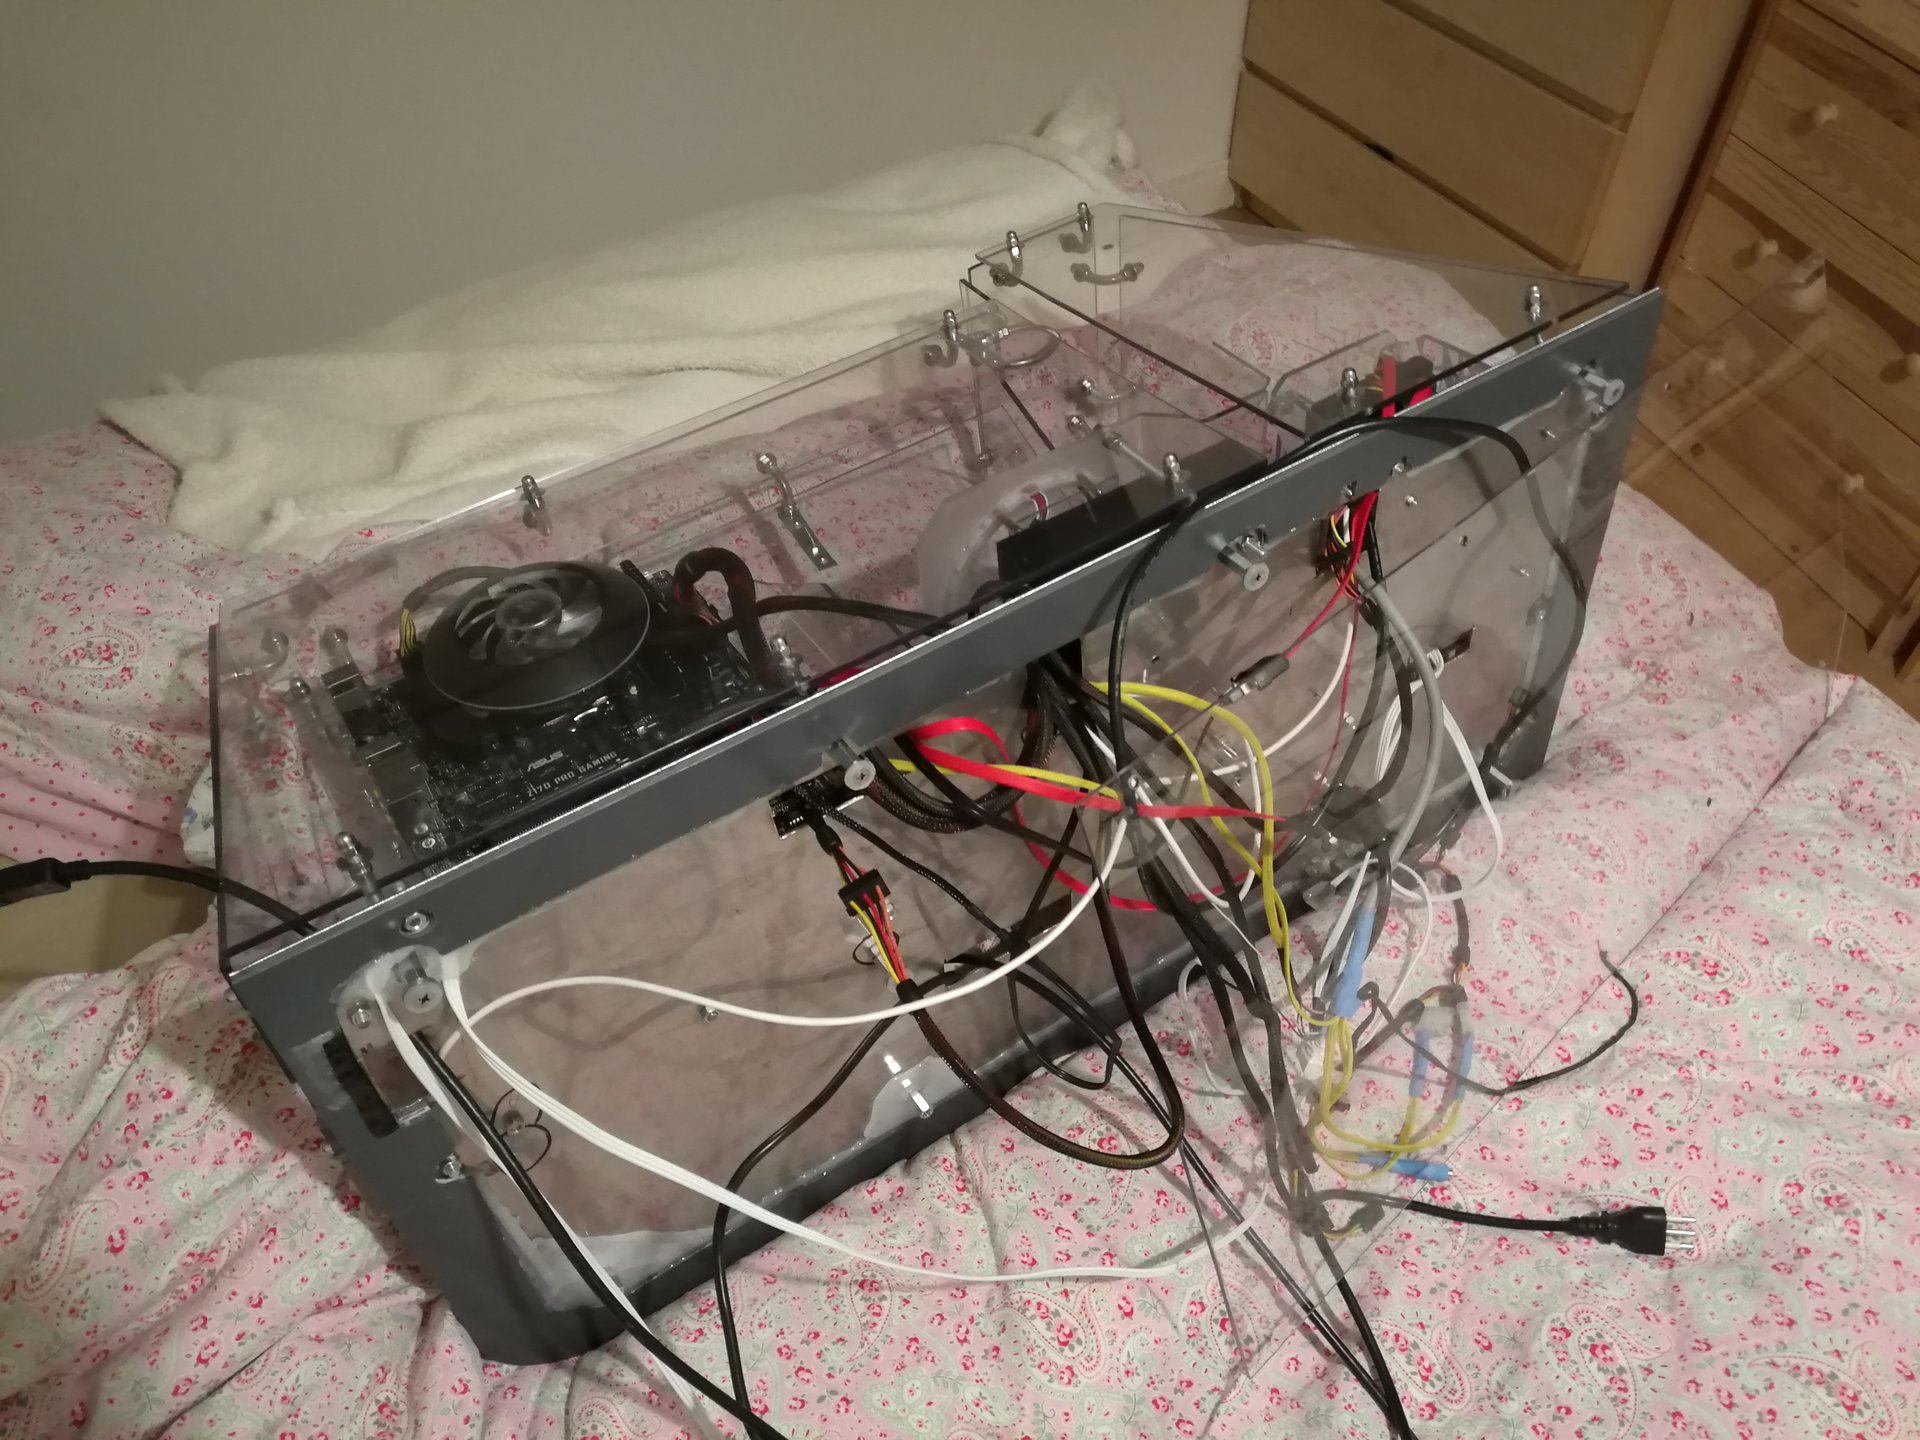
Then I start to assemble the hardware, passing all the cables under the base through it’s holes:
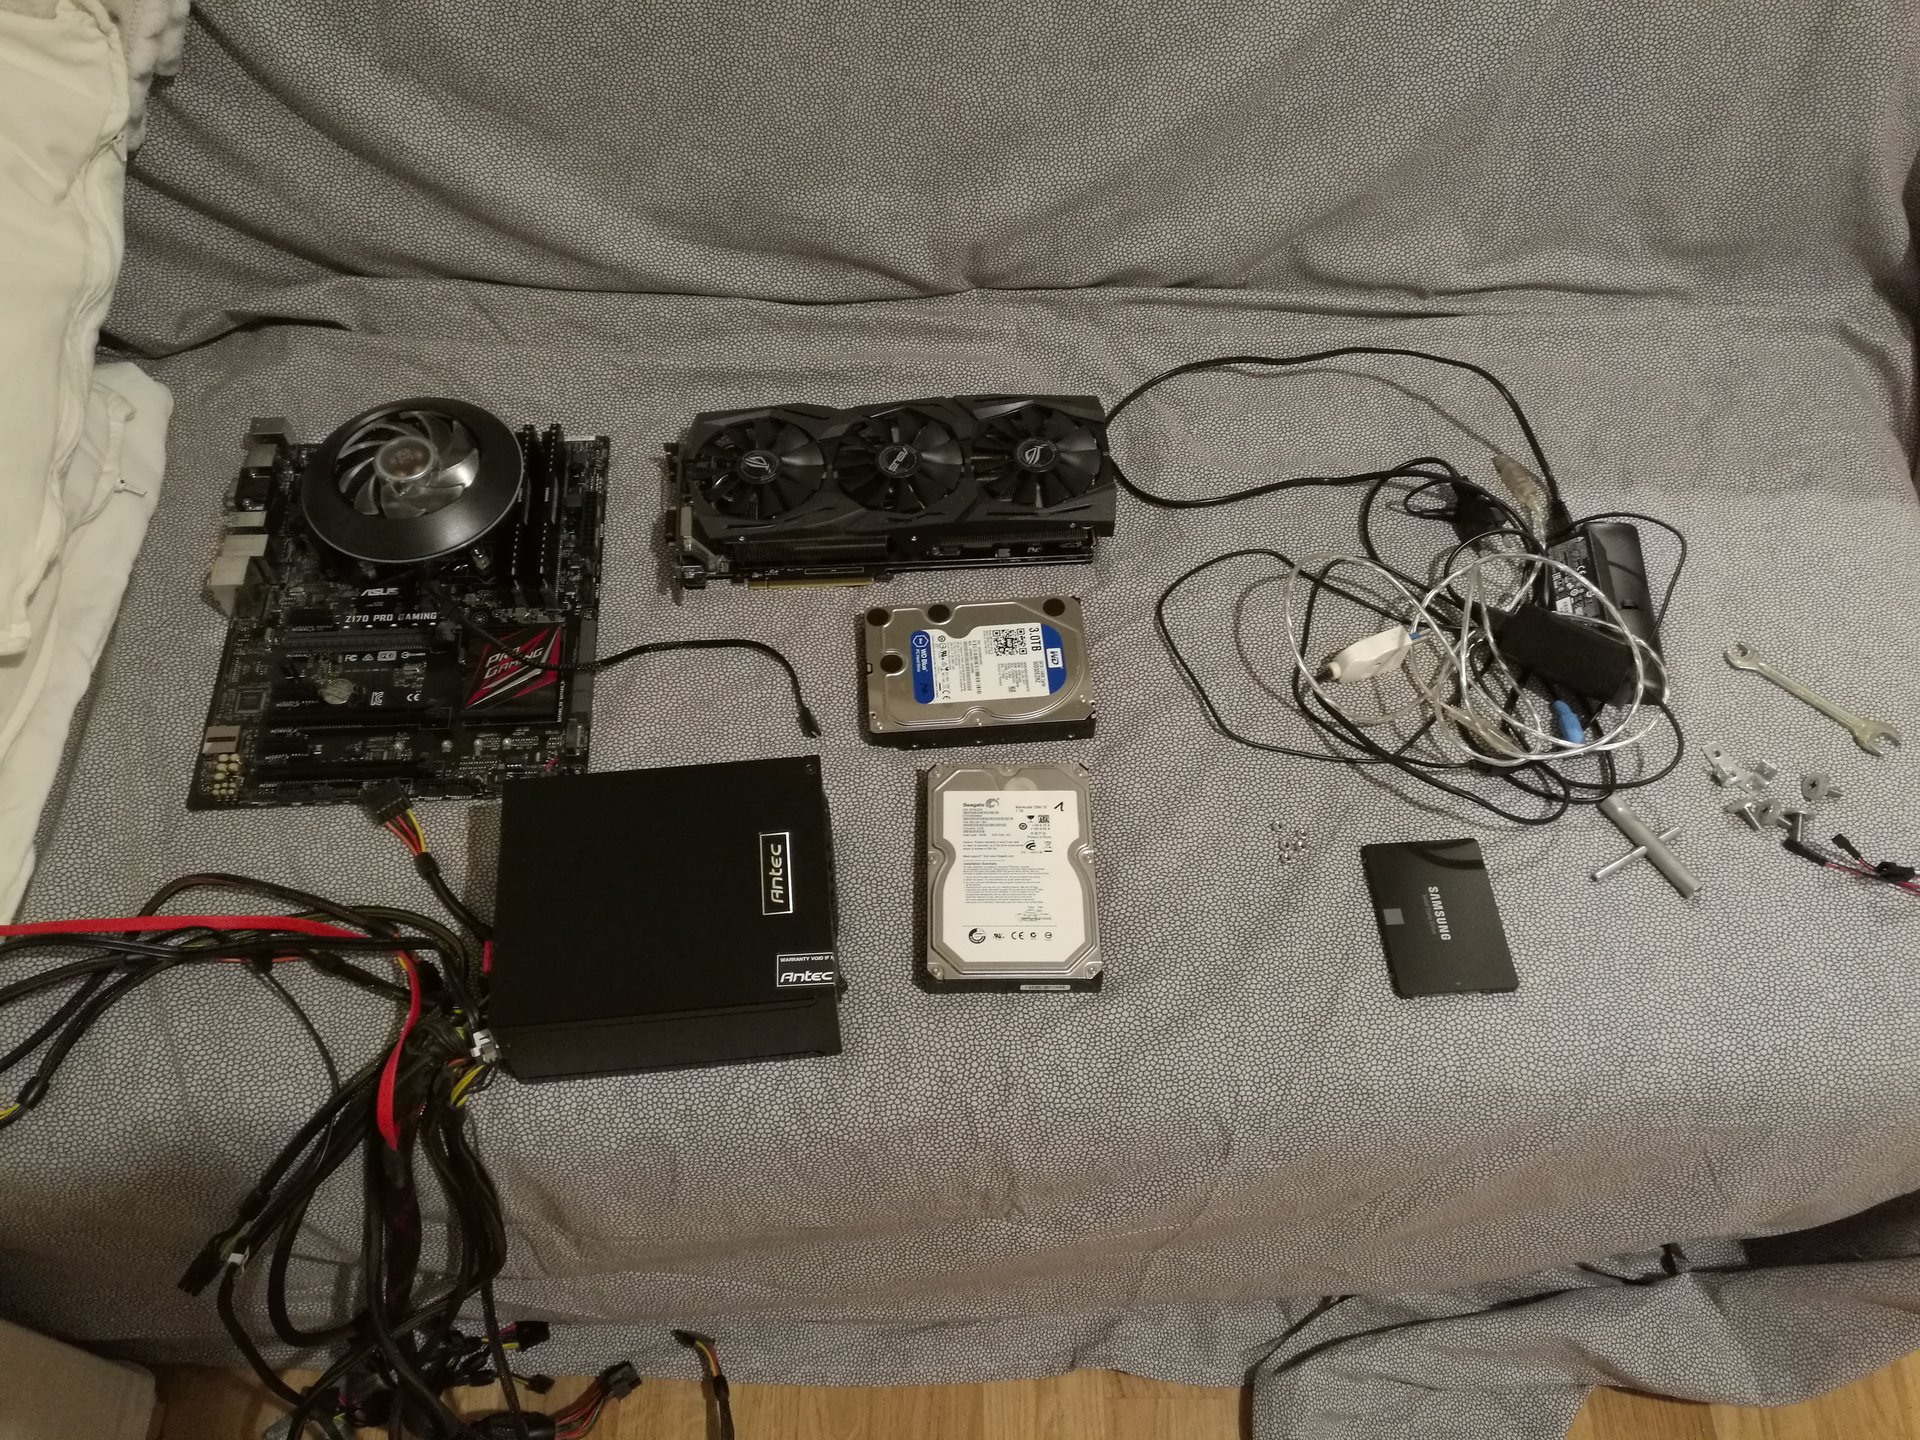
(the hardware is: Corei5 6600k, Asus RX 580 8GB, 16 GB RAM, motherboard Asus Z170 Pro-gaming, 1 SSD and 2 HDD, PSU Antec Signature 850W)


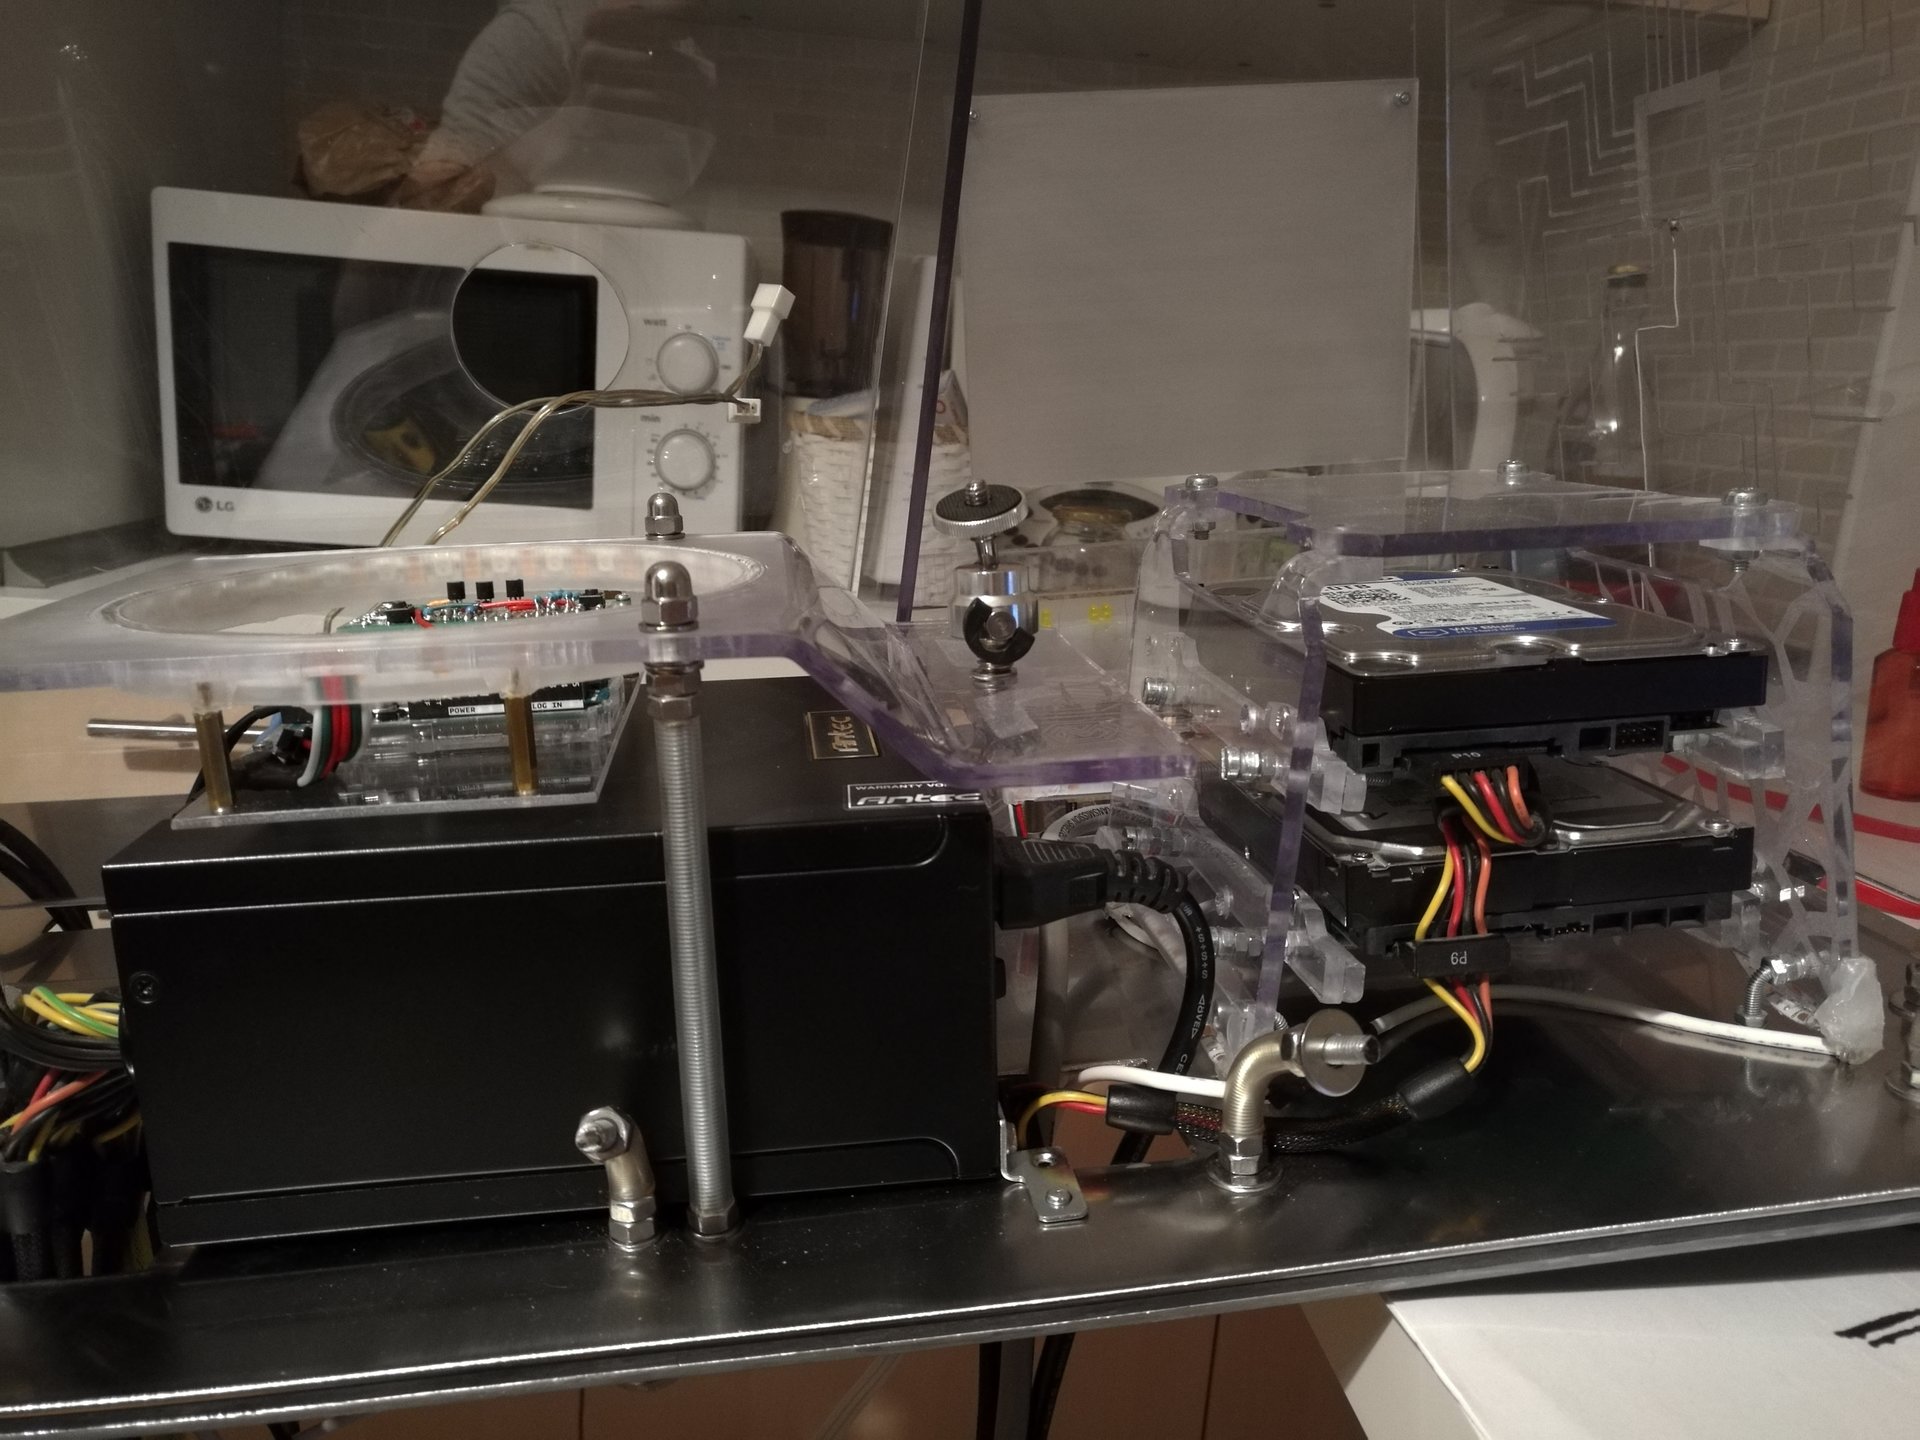
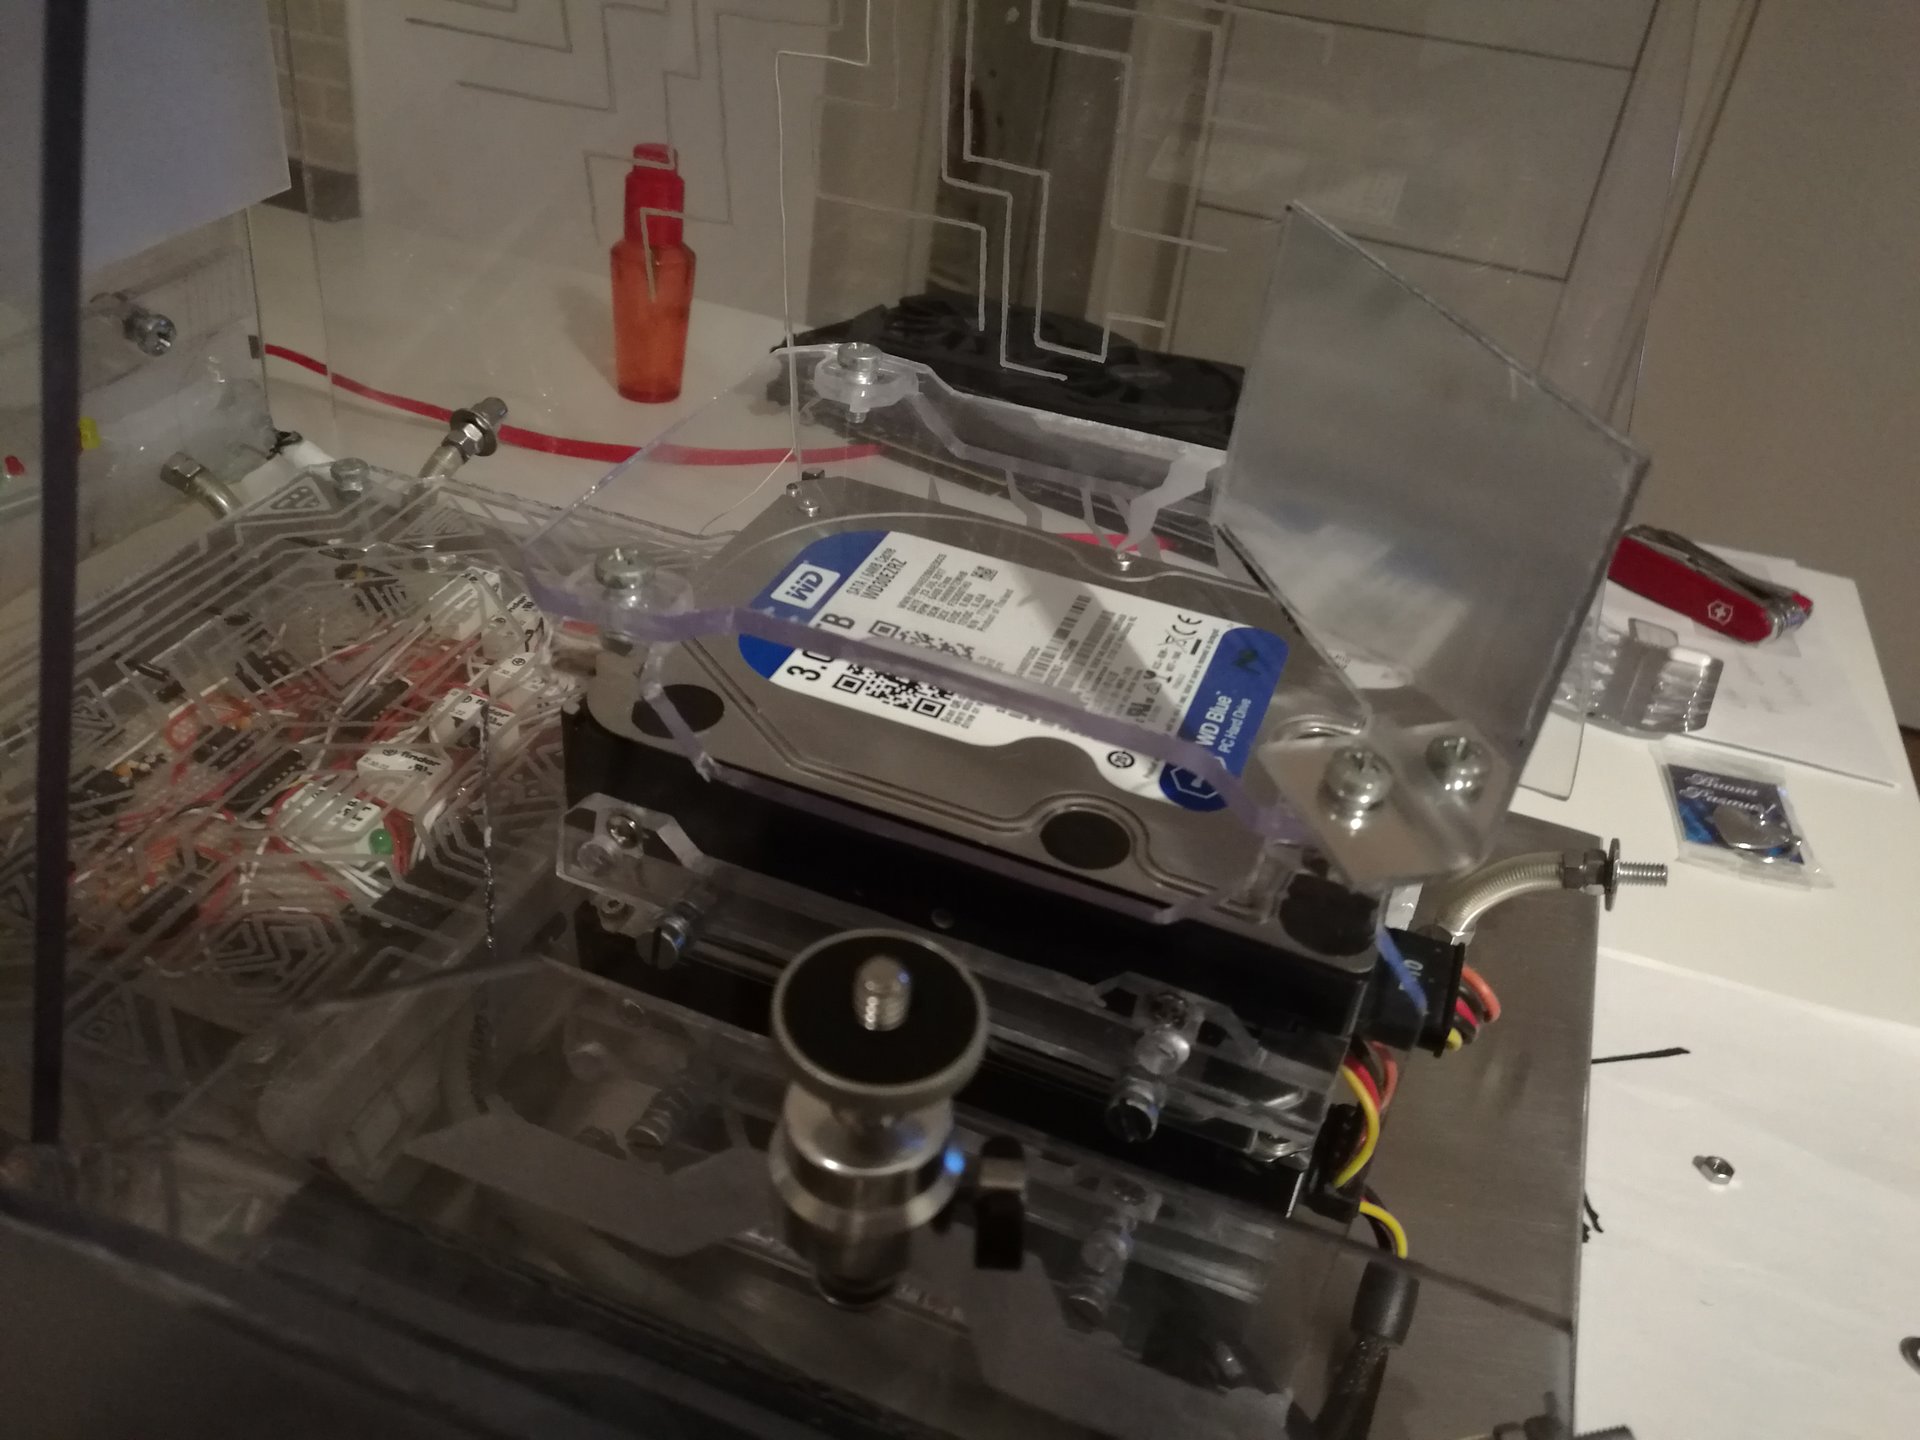
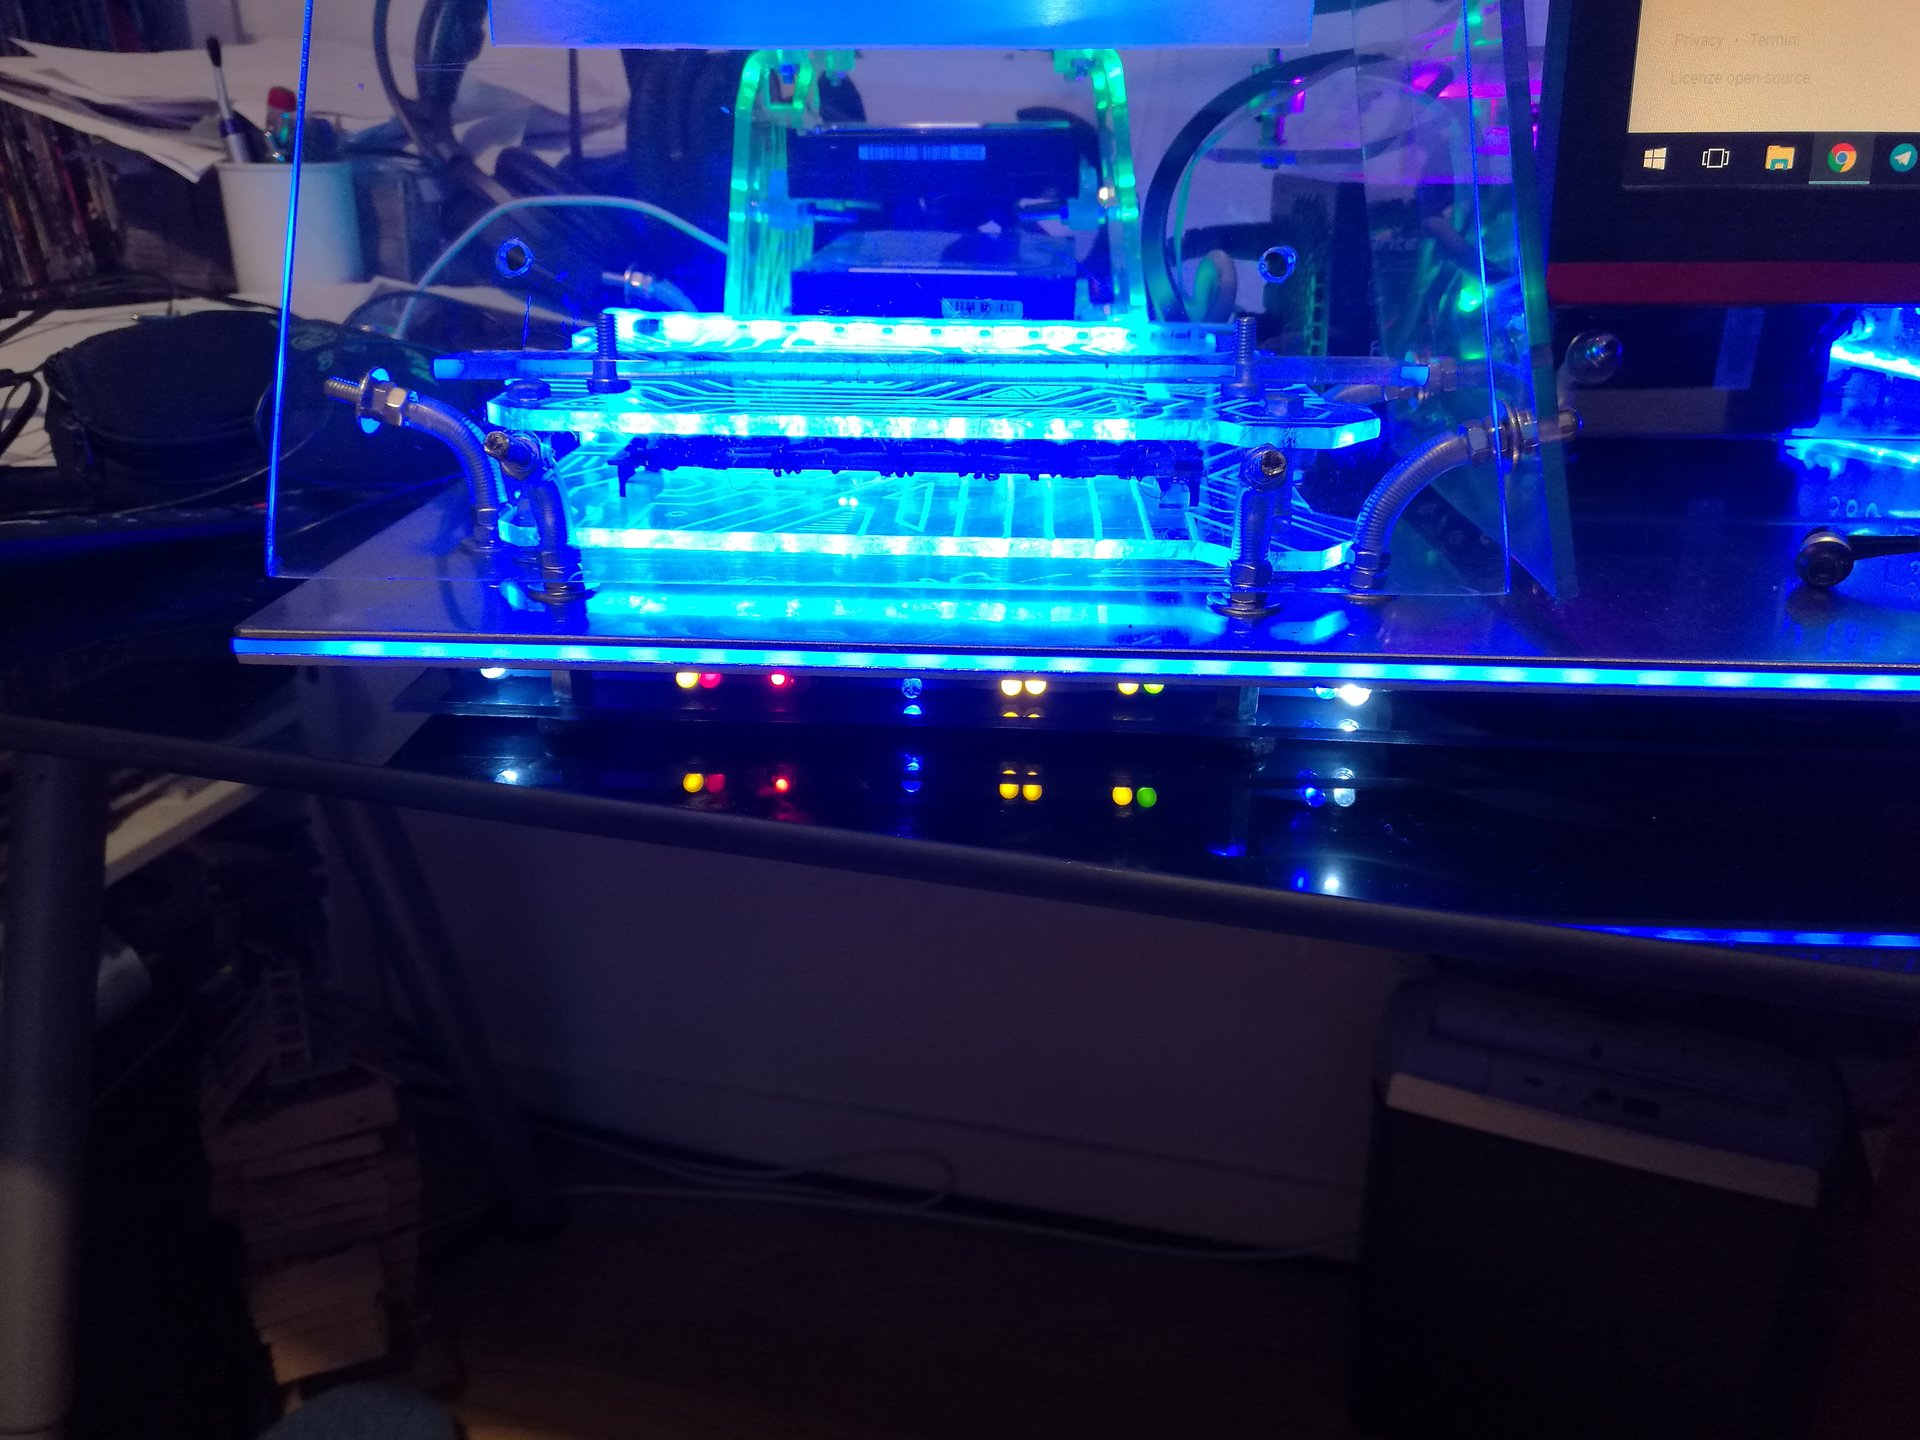
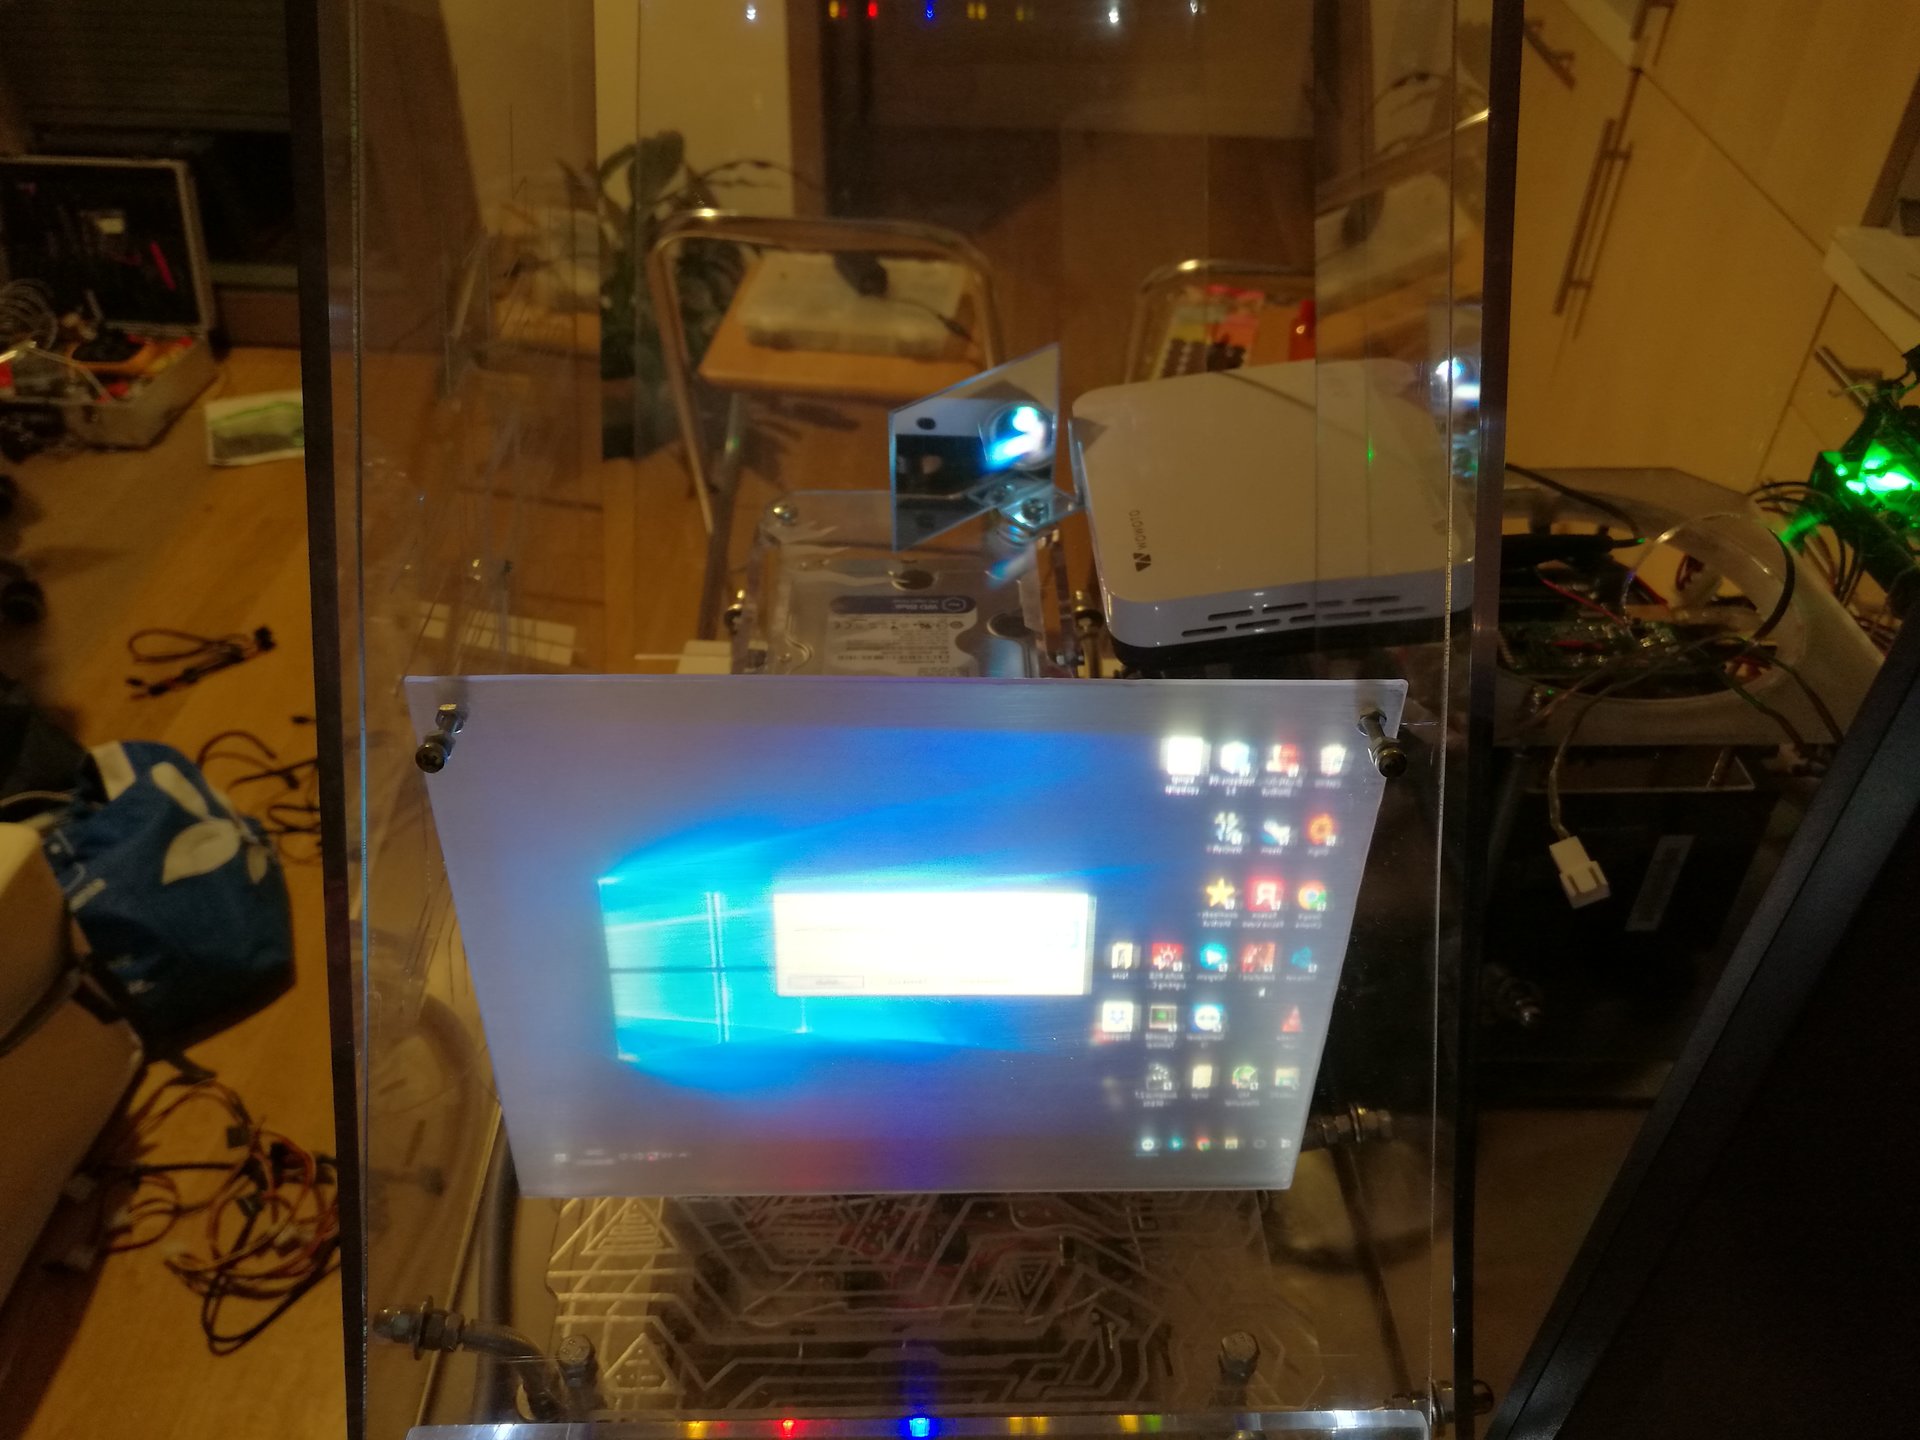
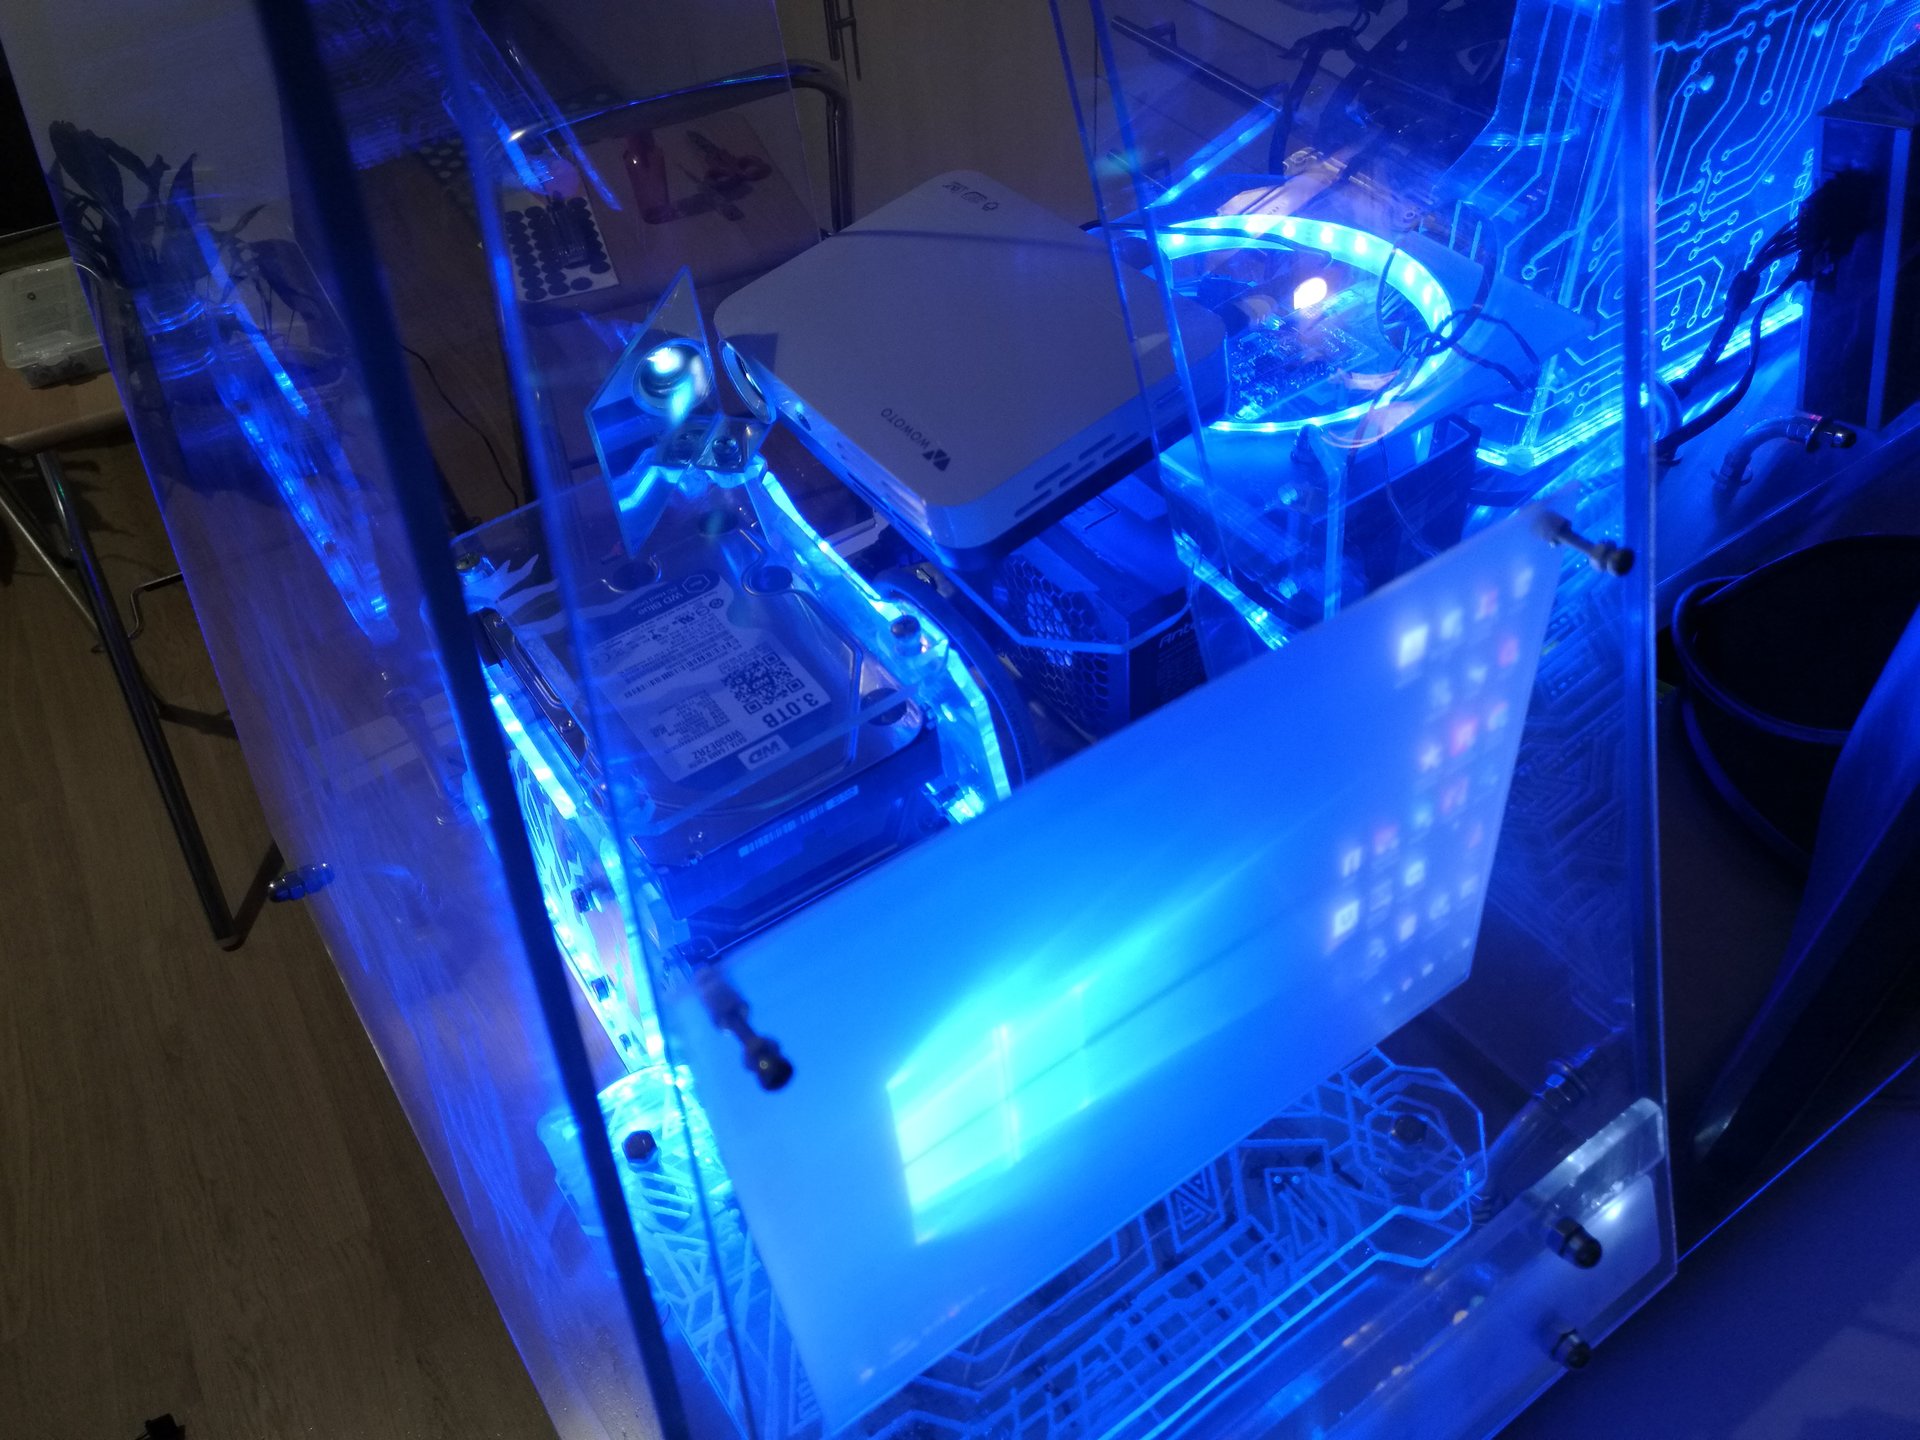
Then I mounted the transparent bottom panel of the interspace below the base (here we can see all the cables that I have hidden under the base):

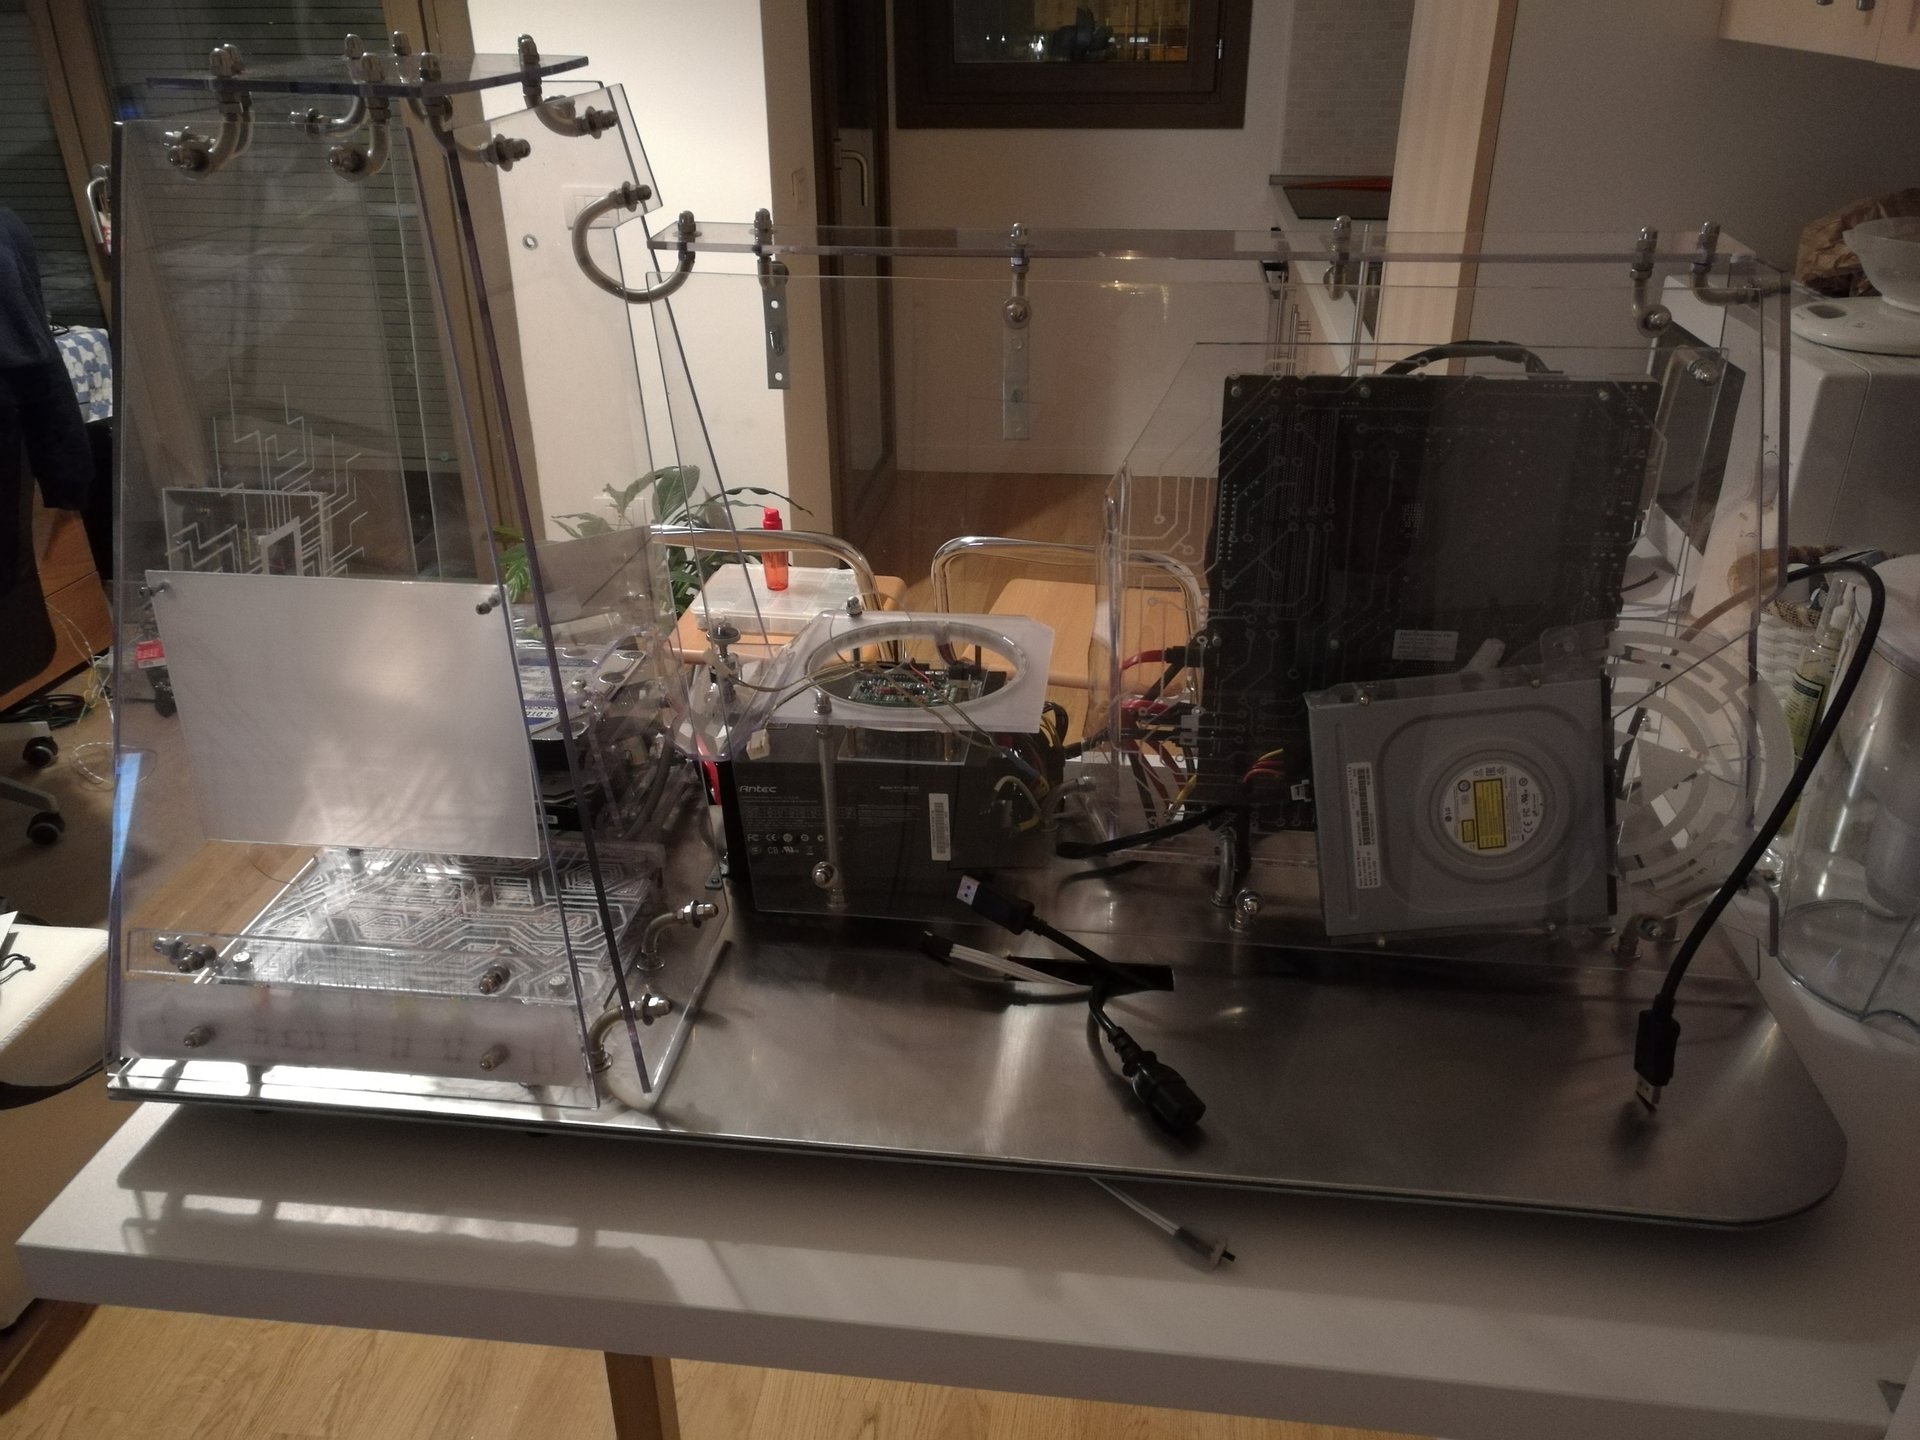
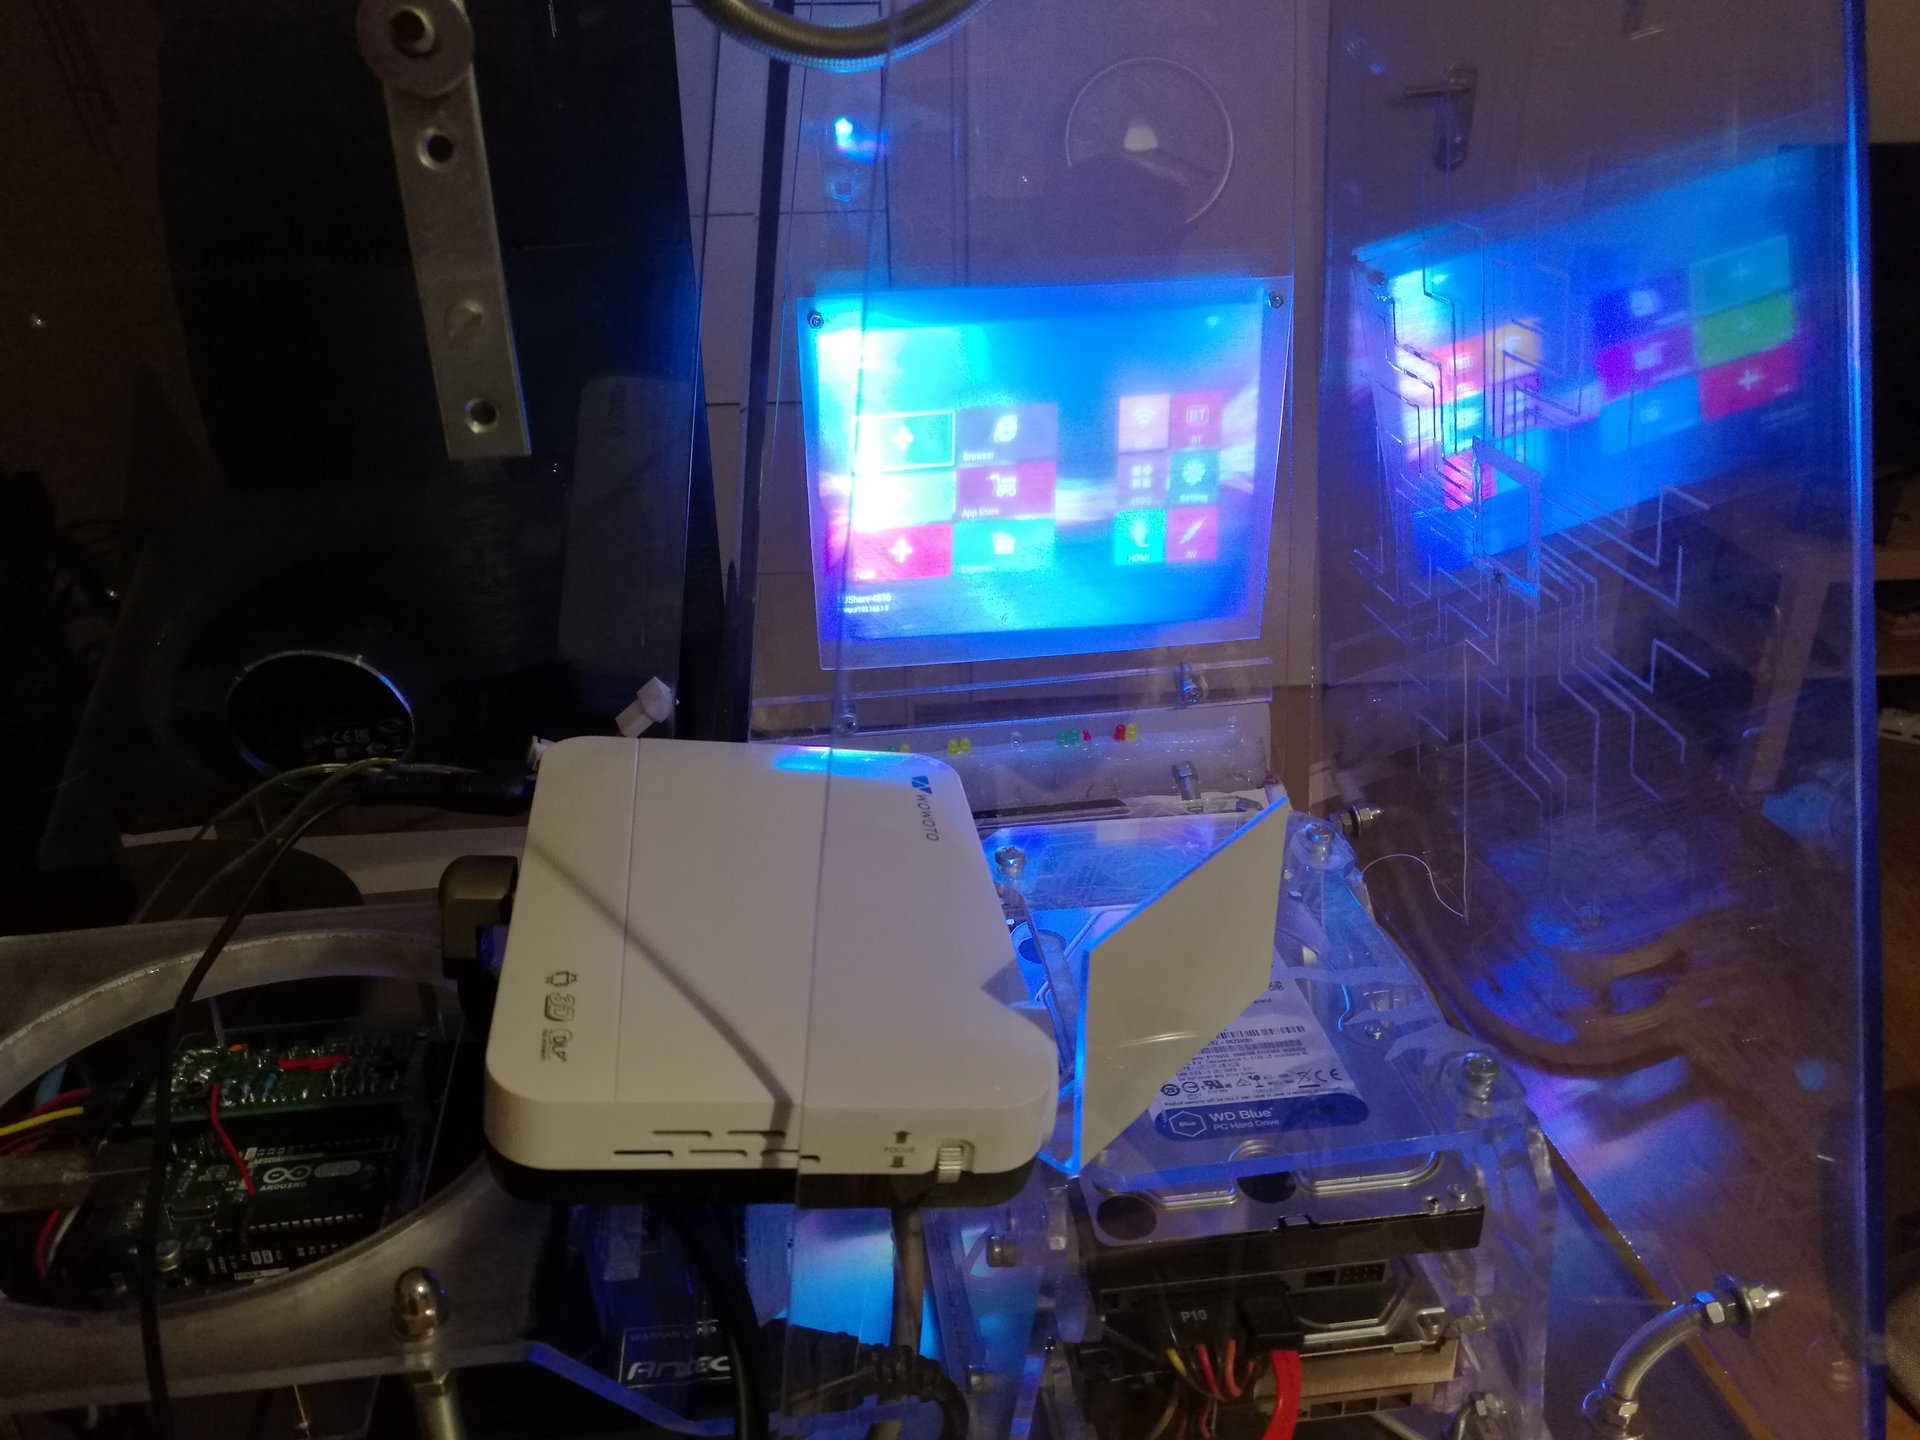
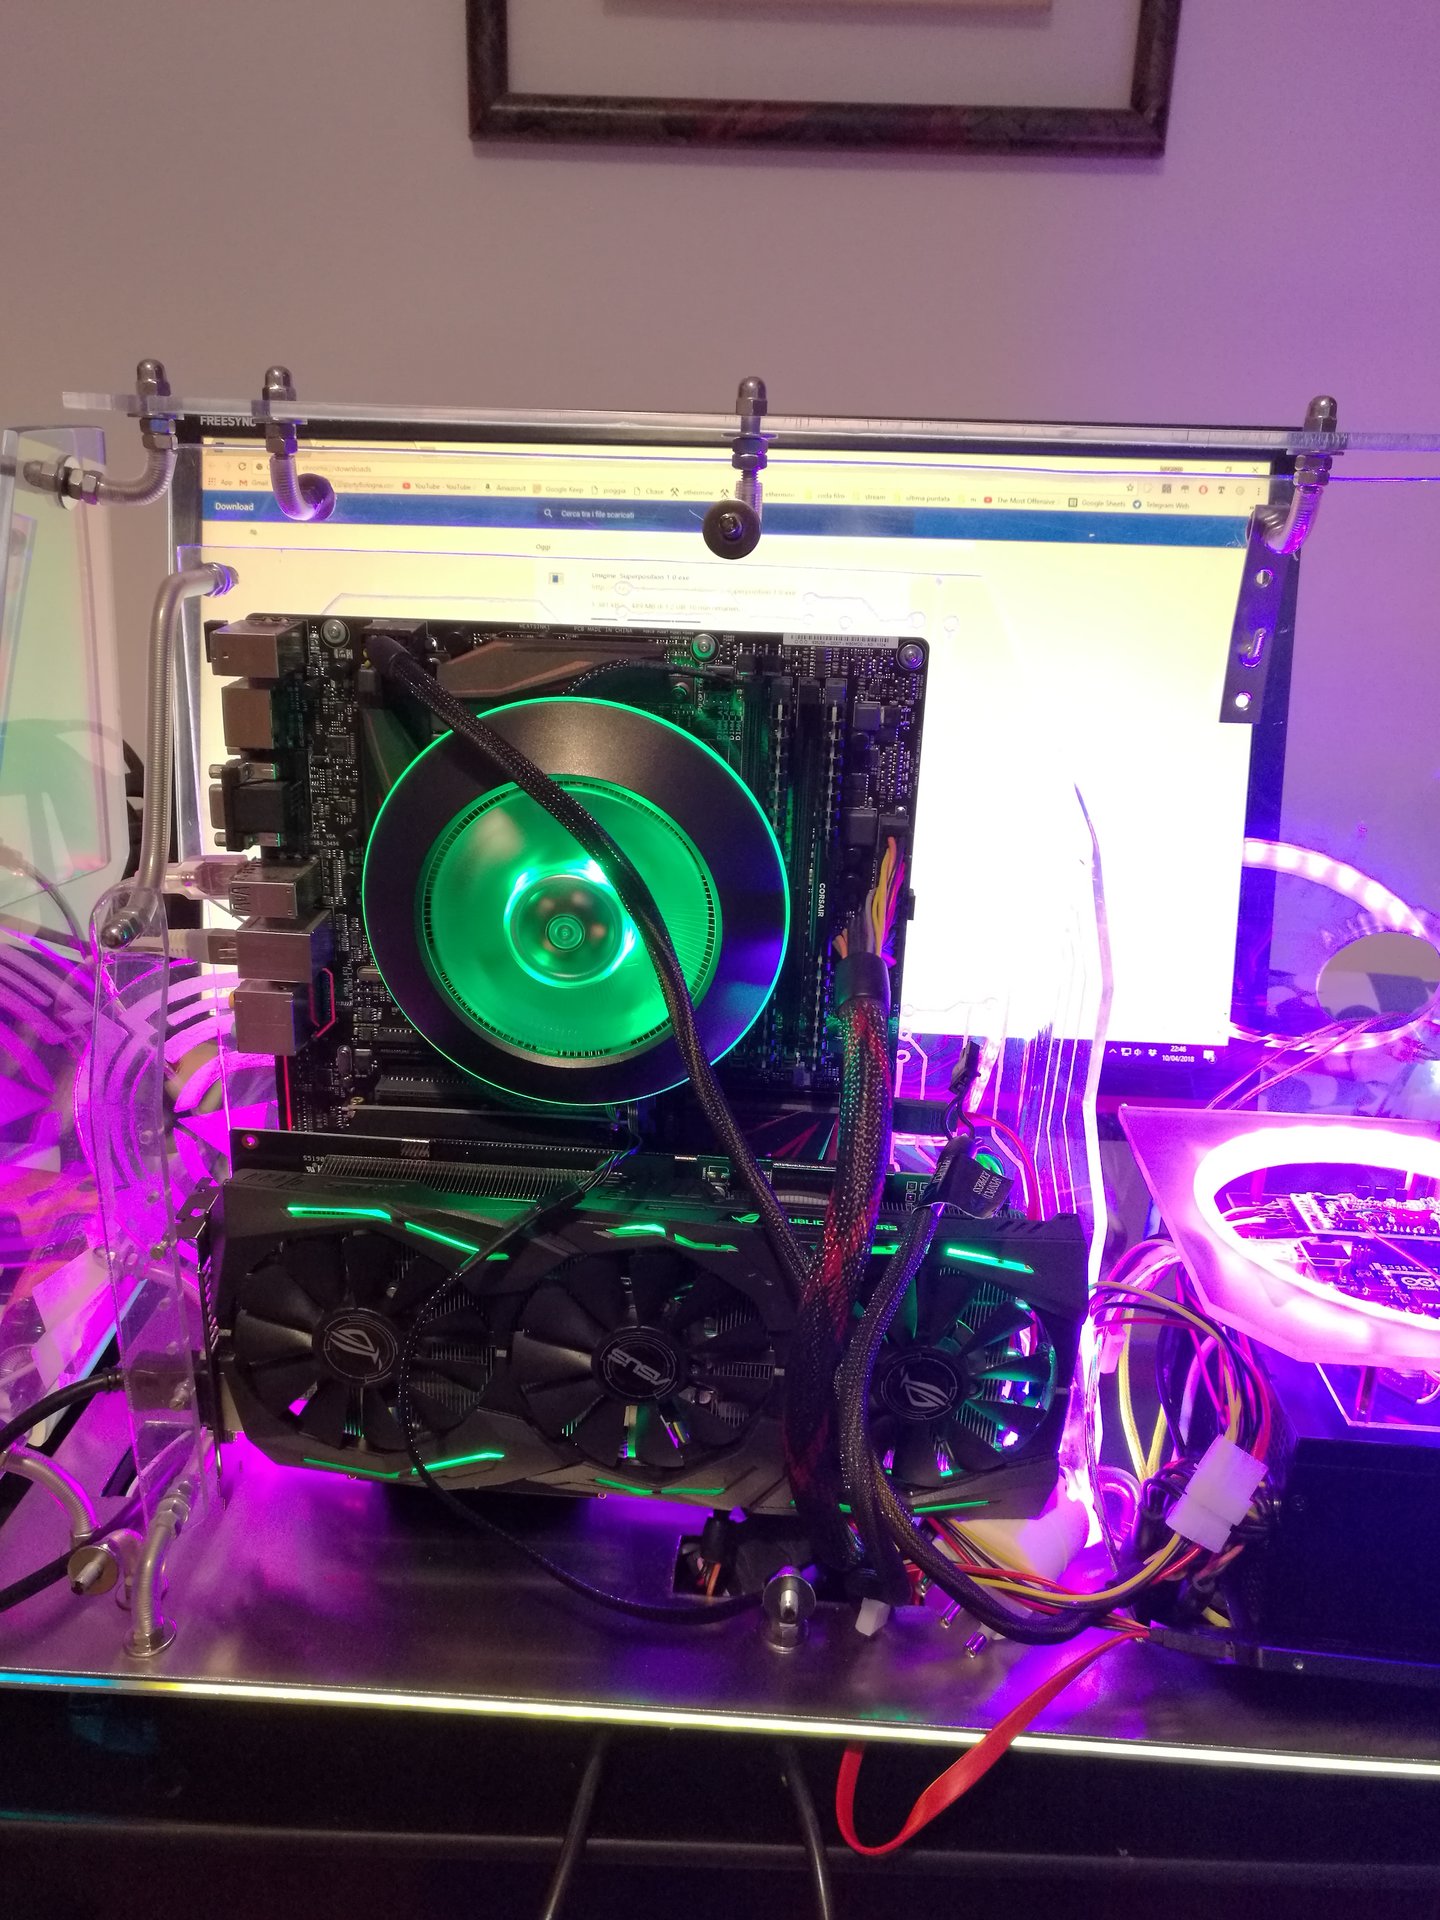
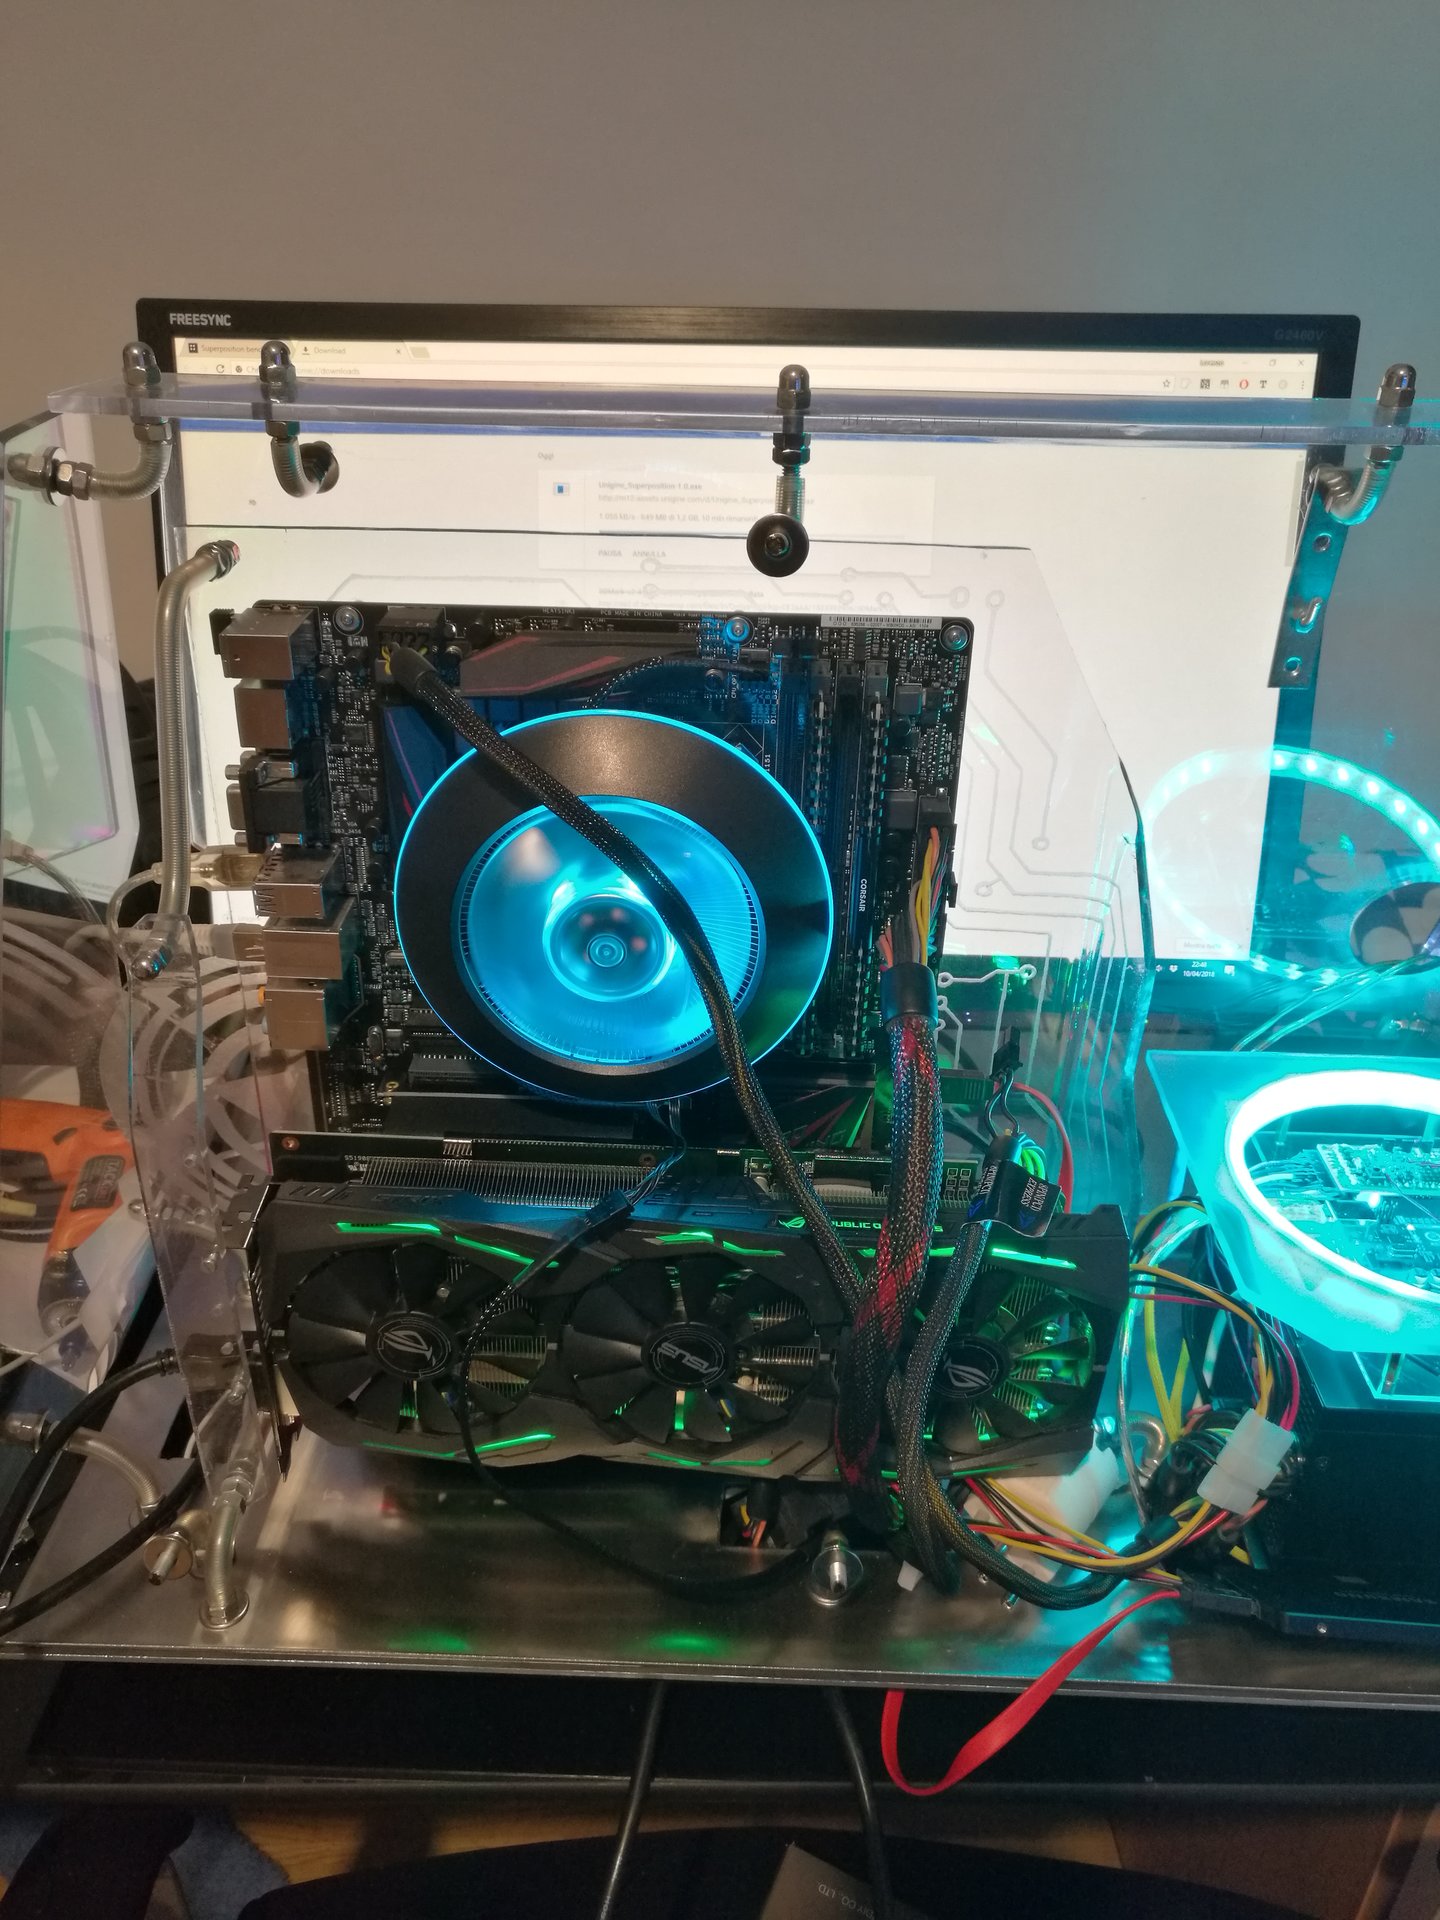
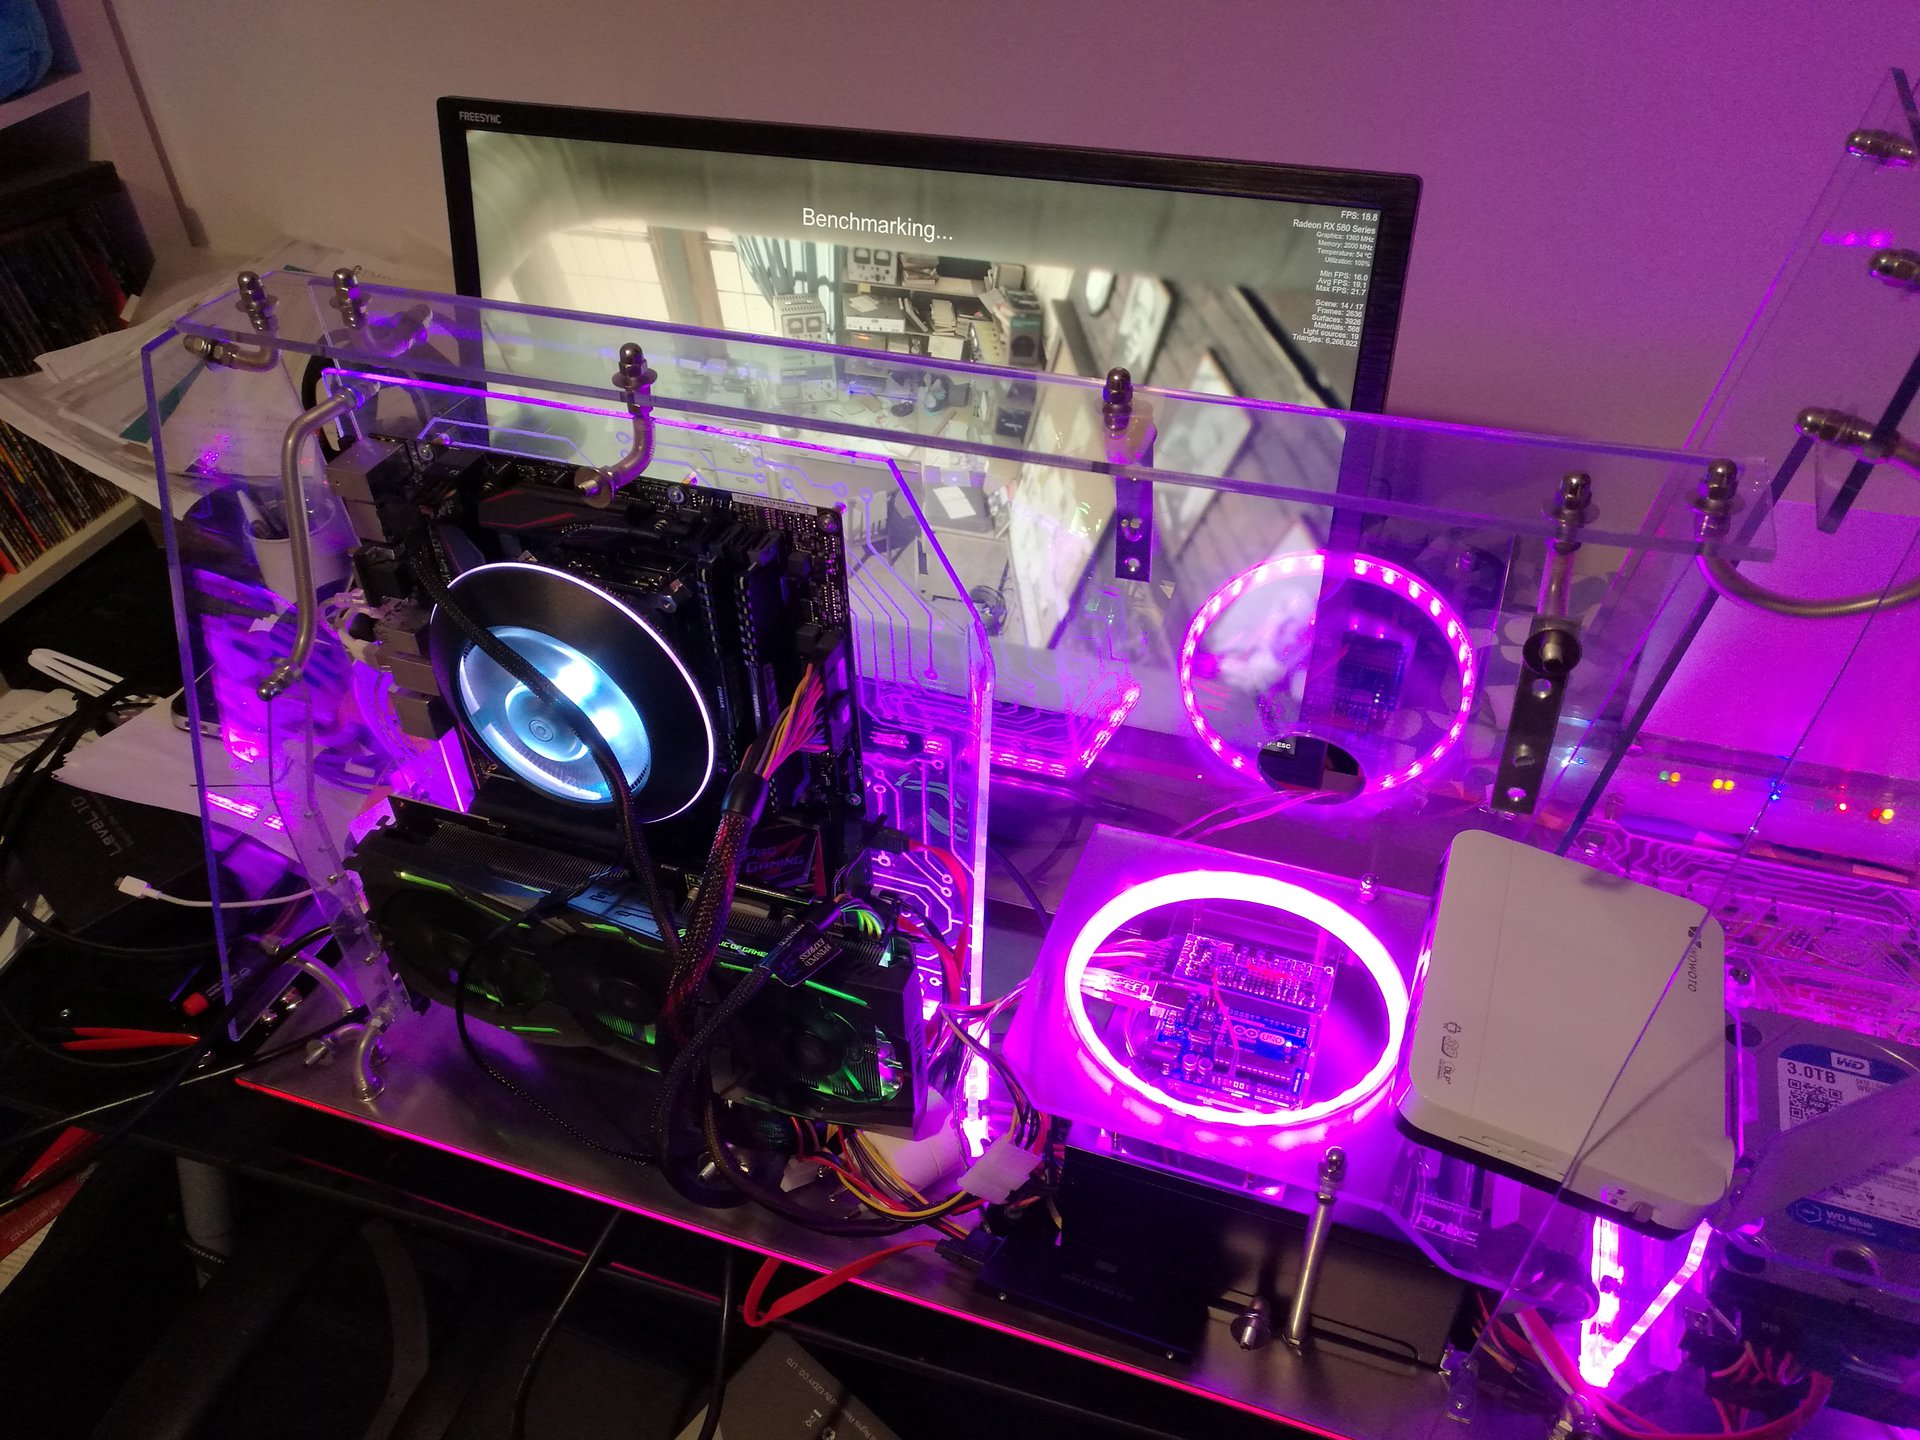
And now I try turning on the assembled PC for the first time:
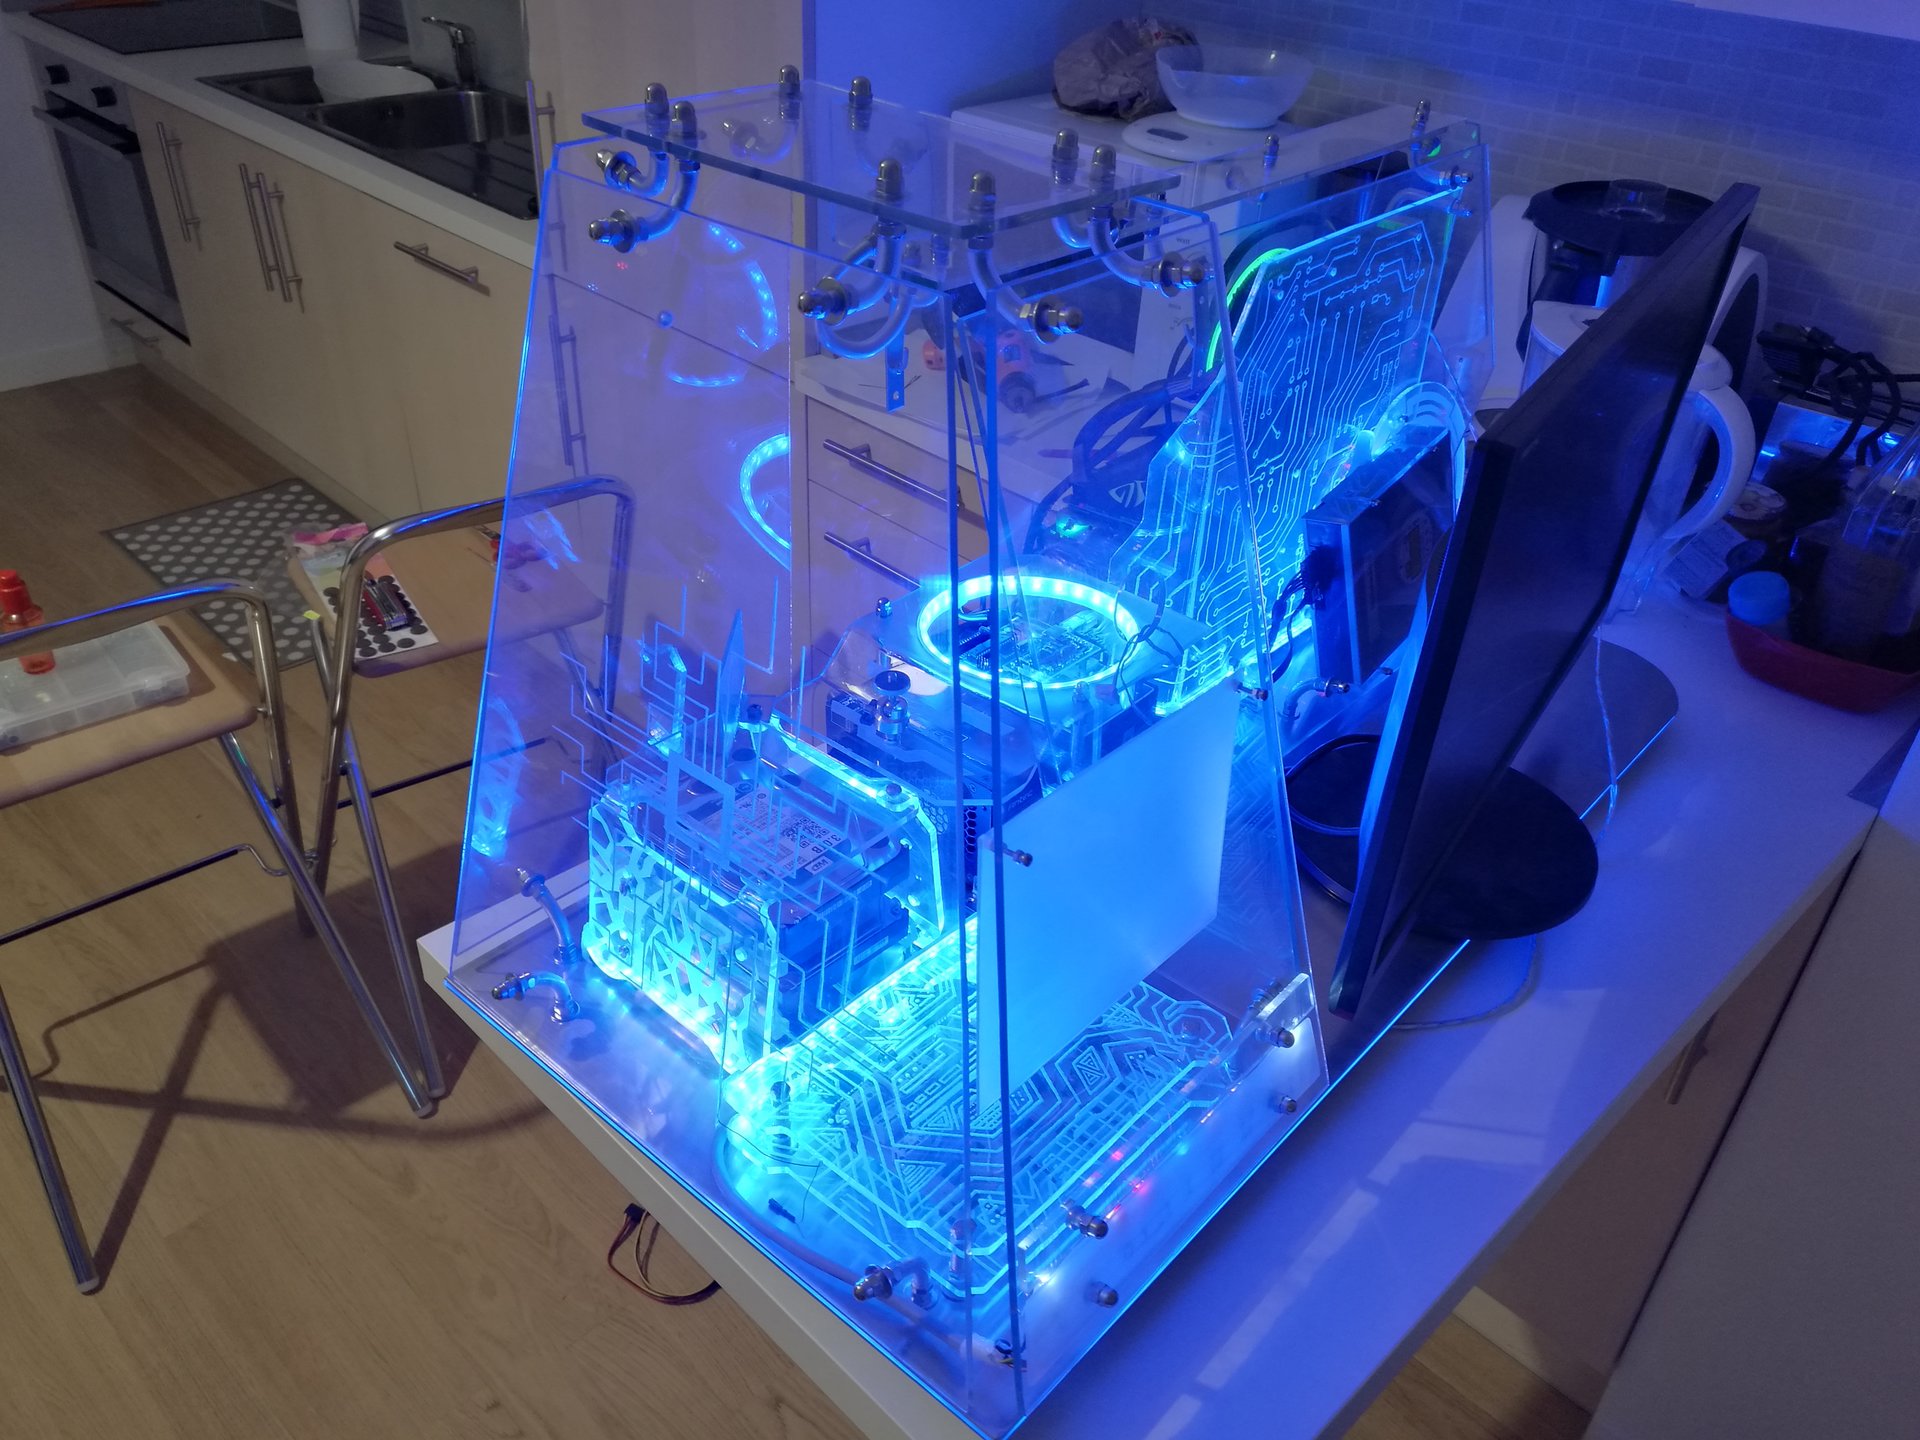

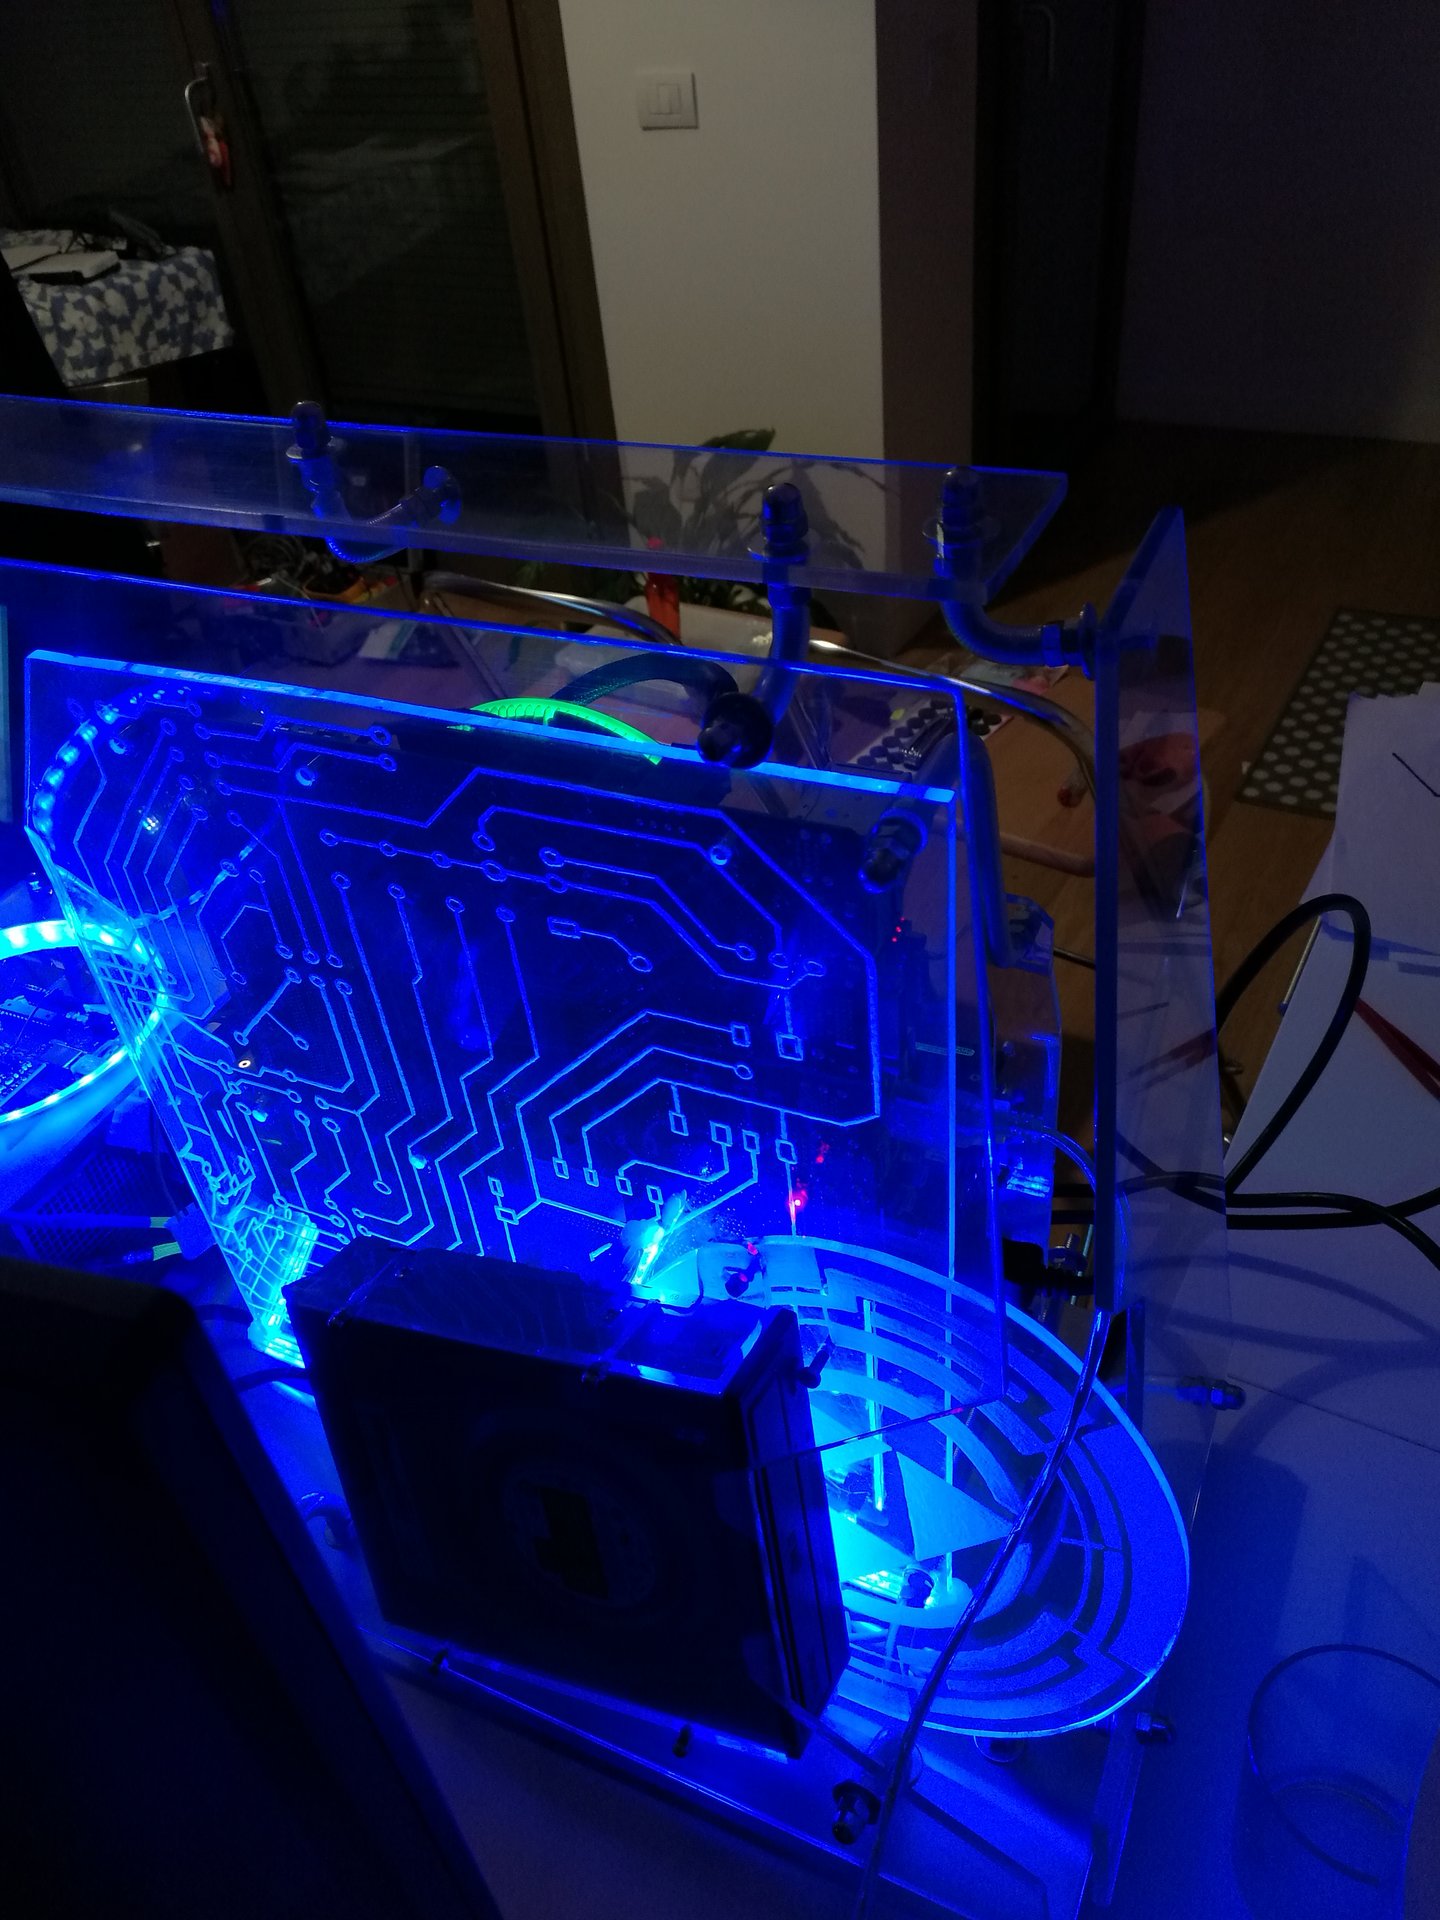

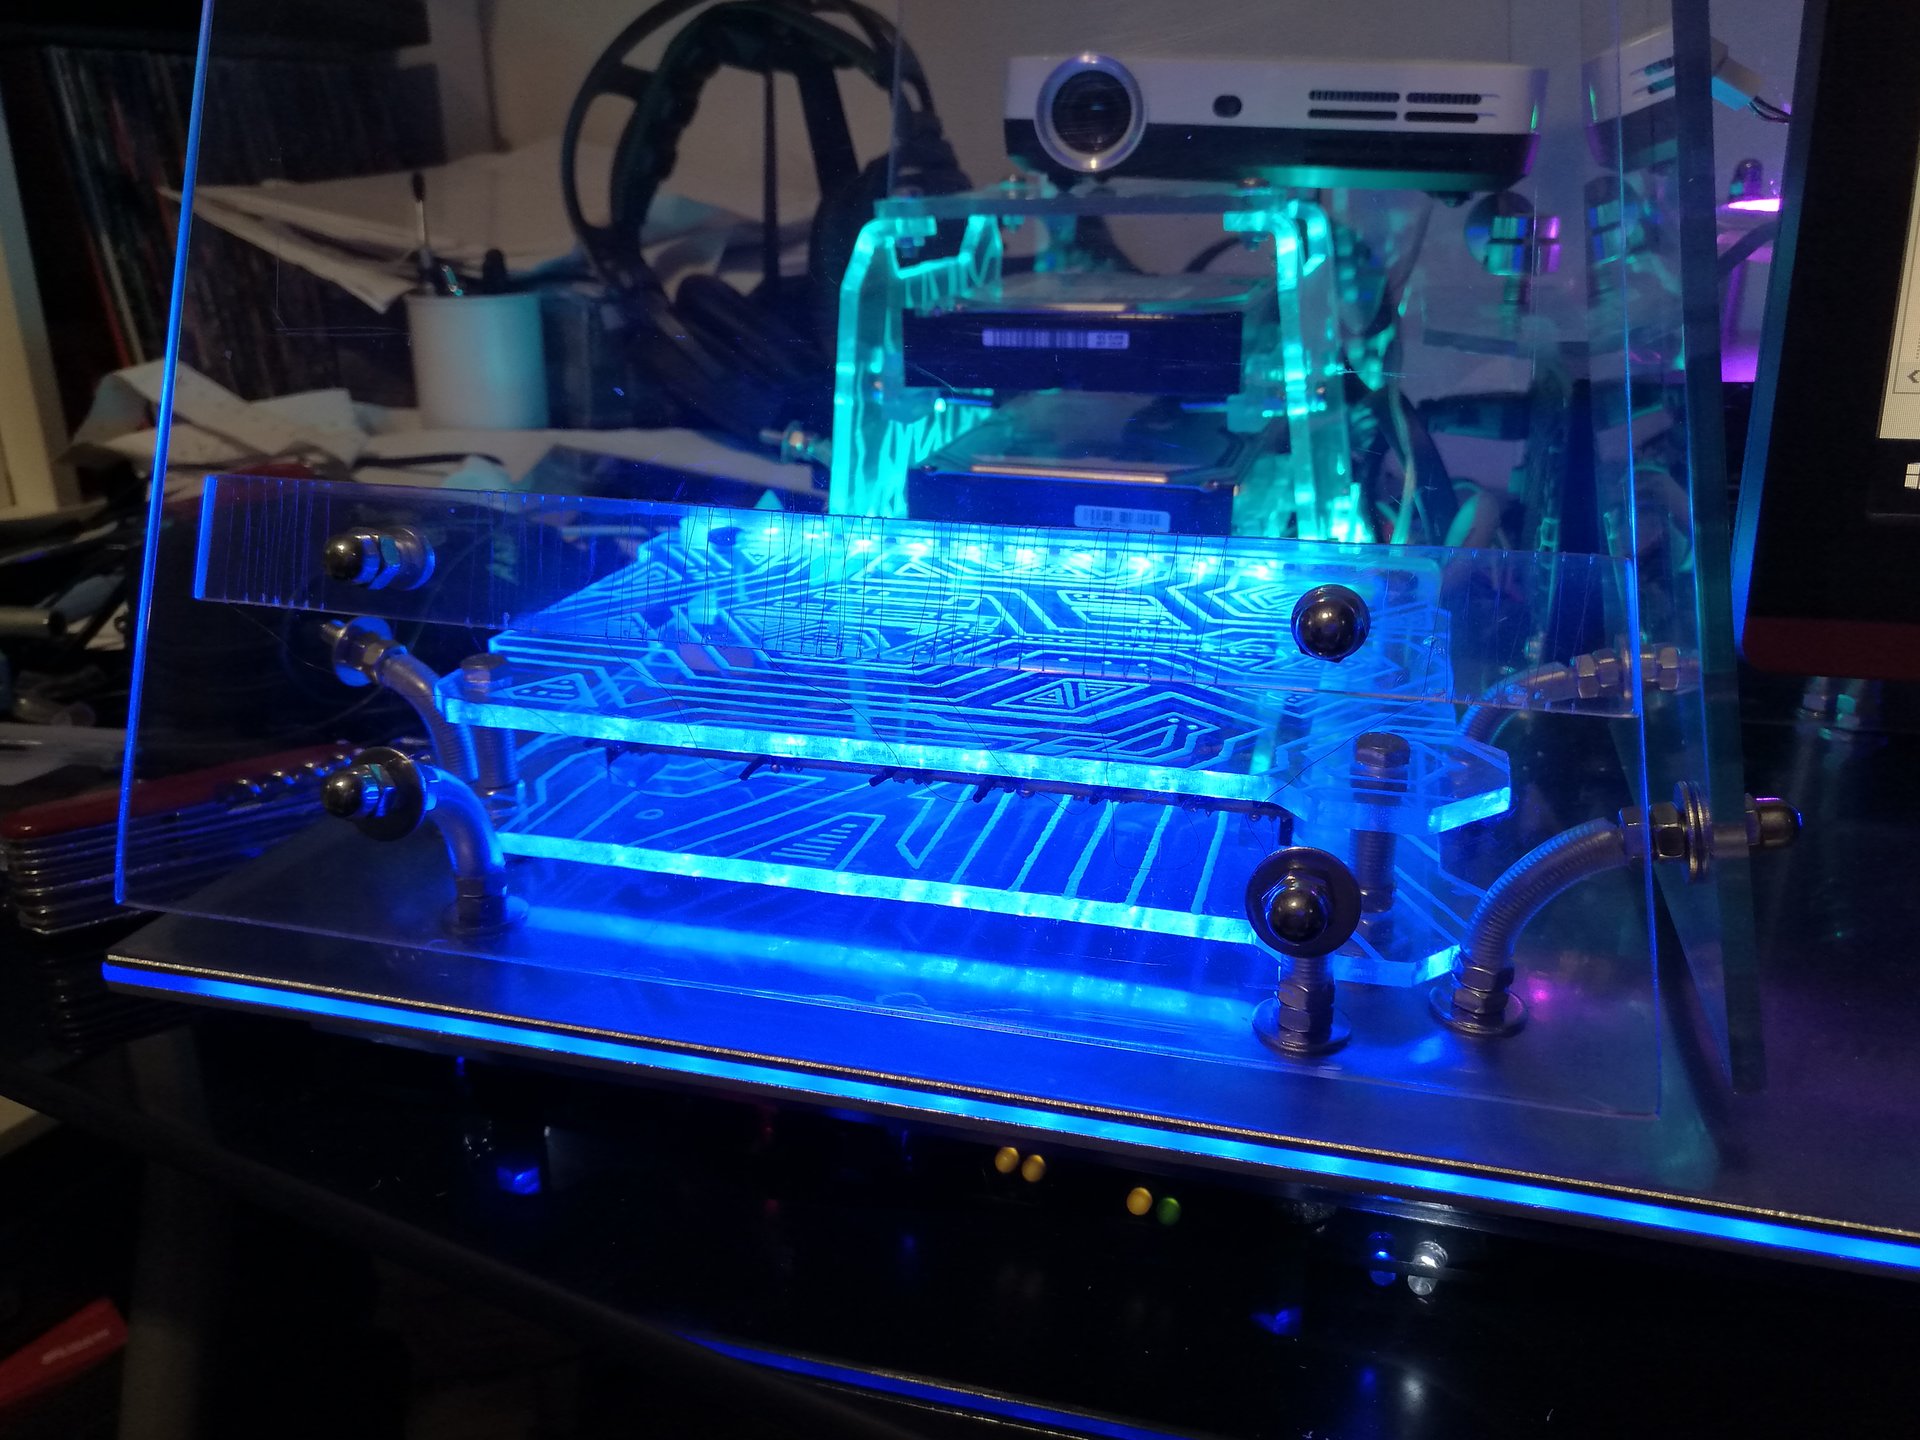
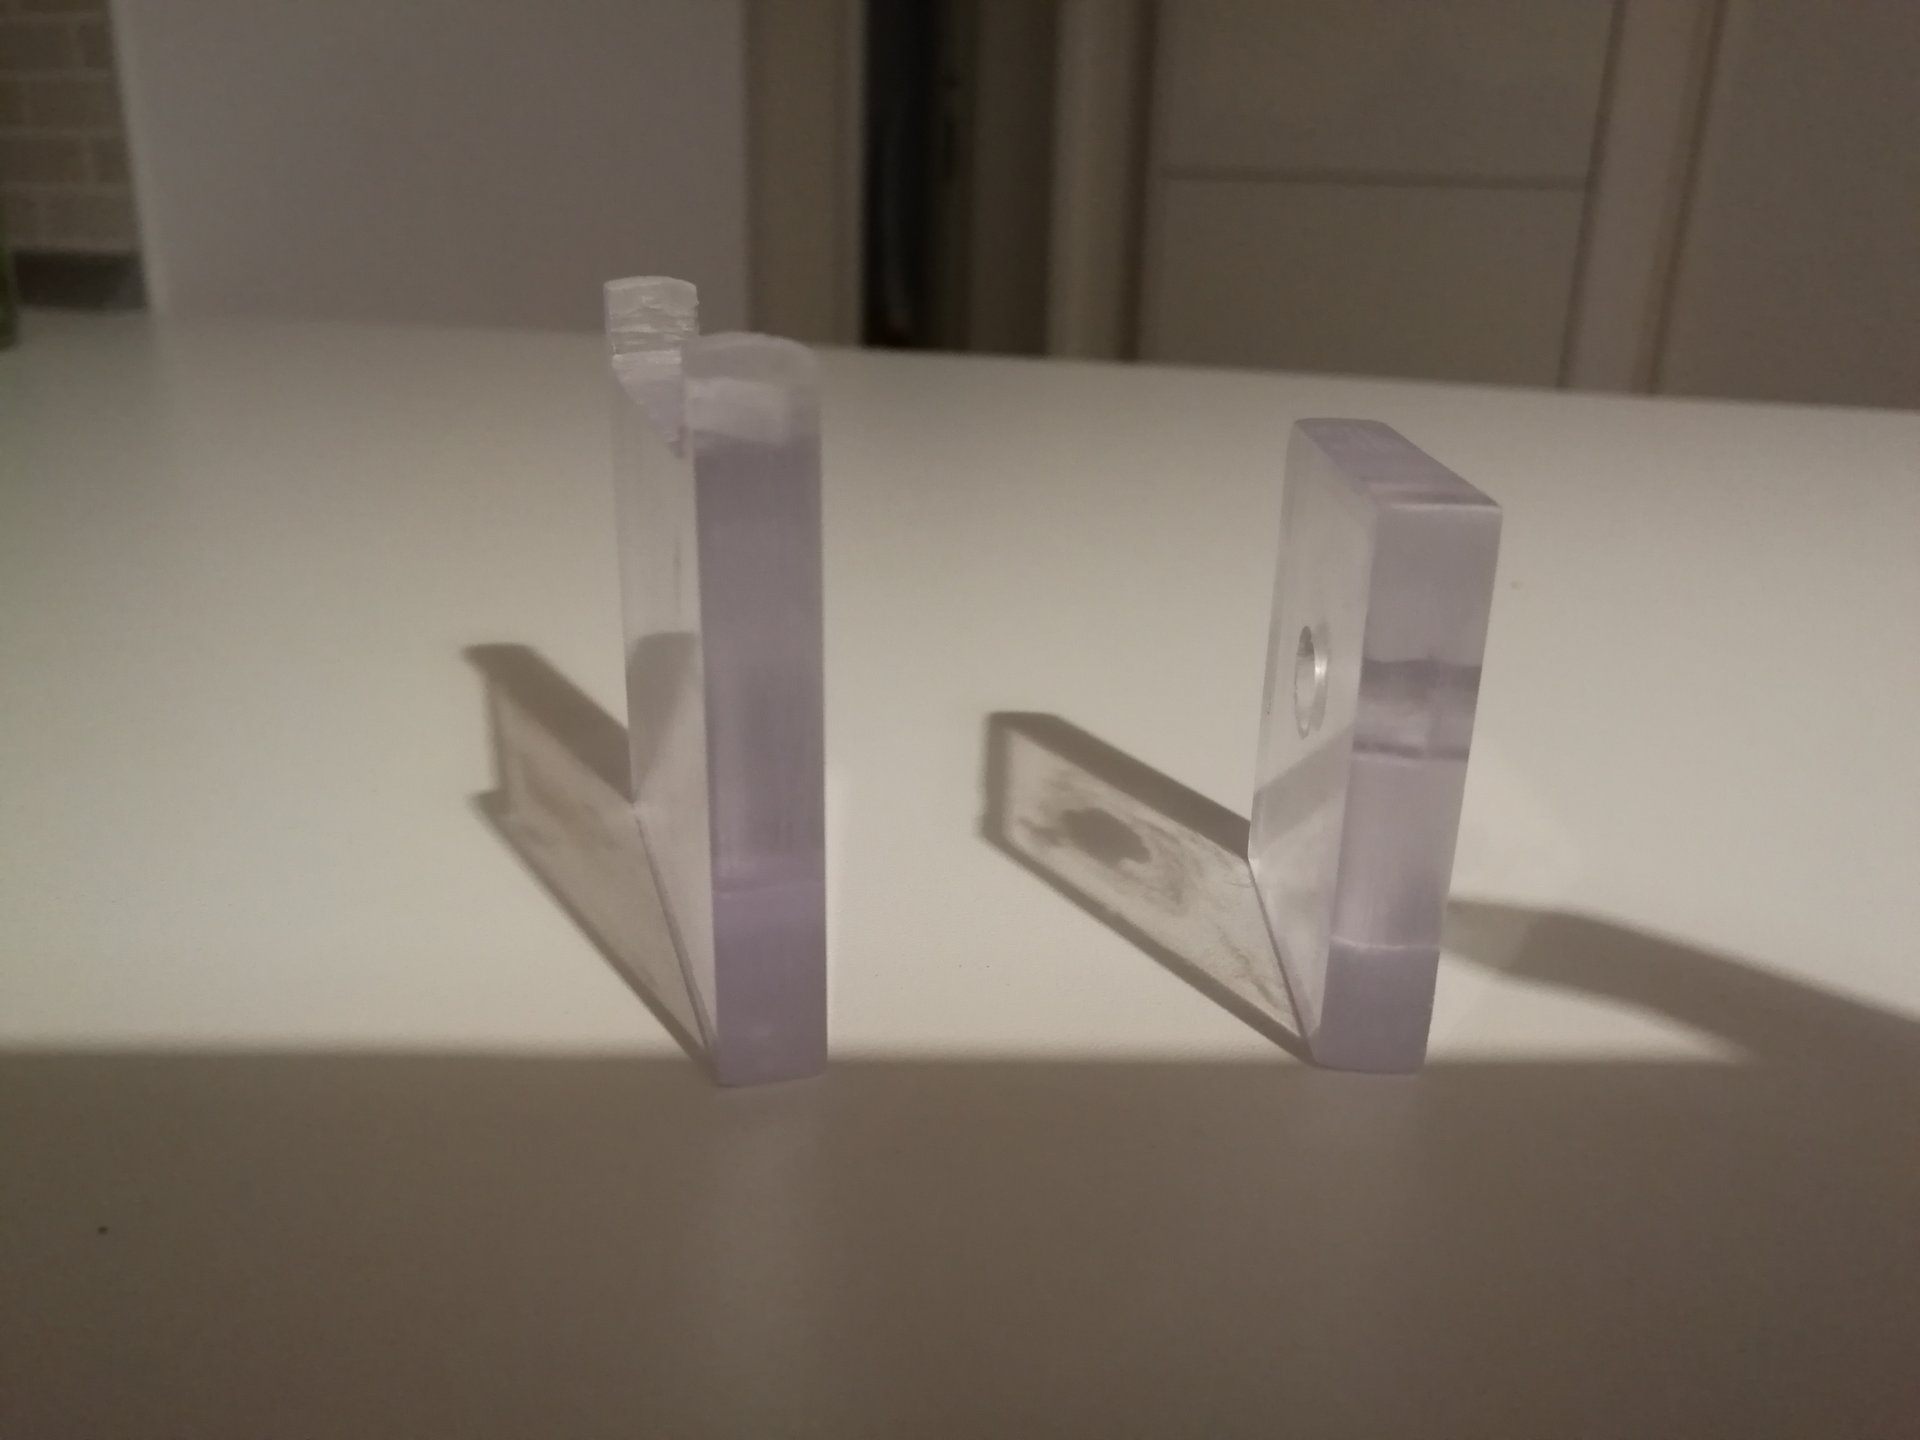
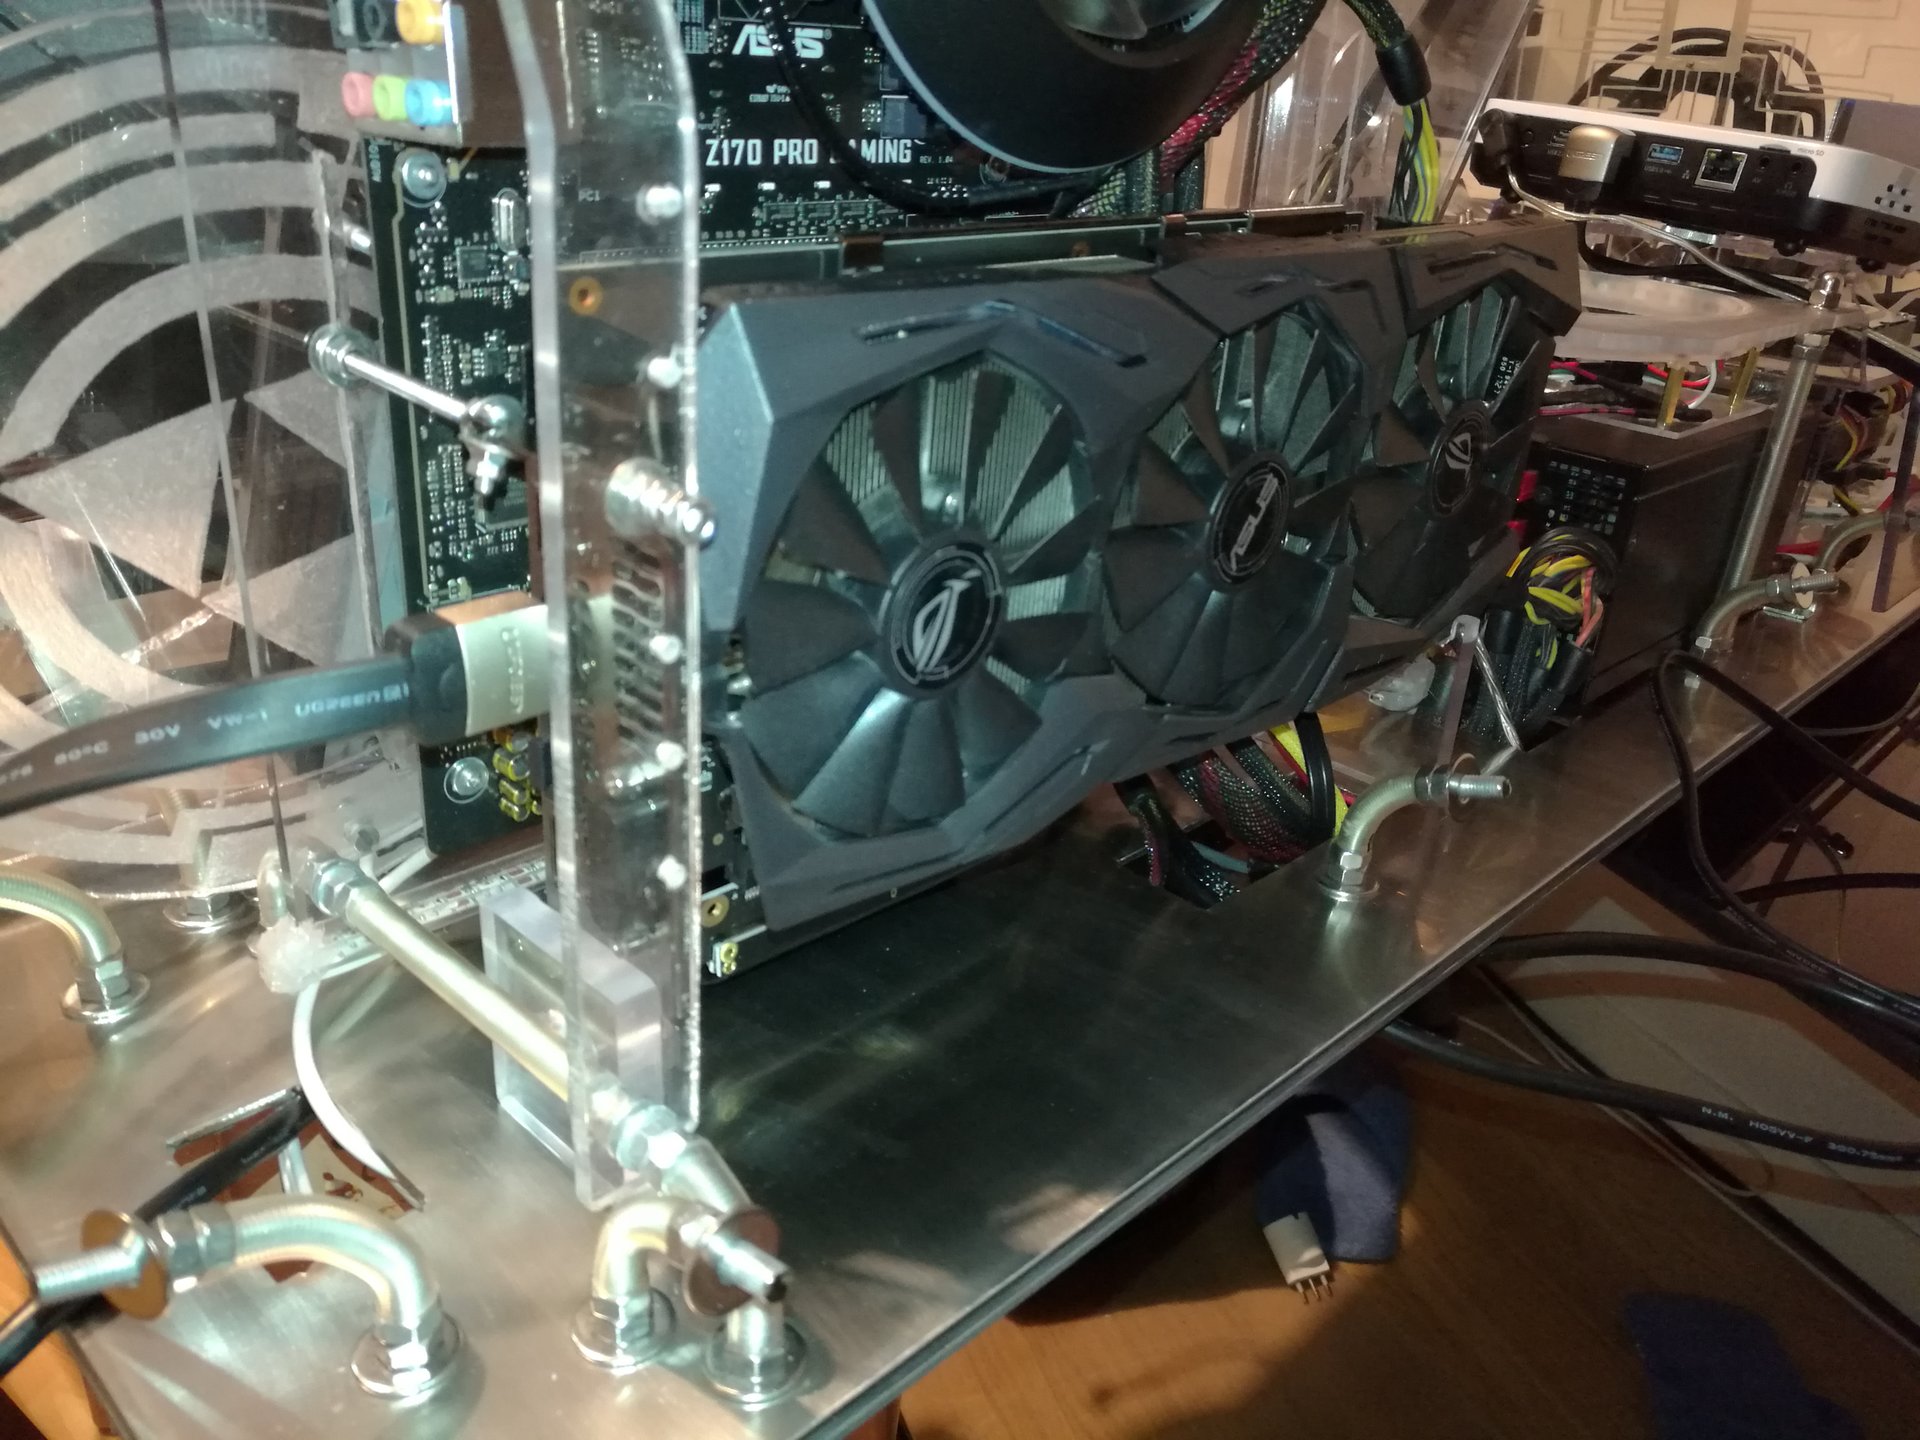
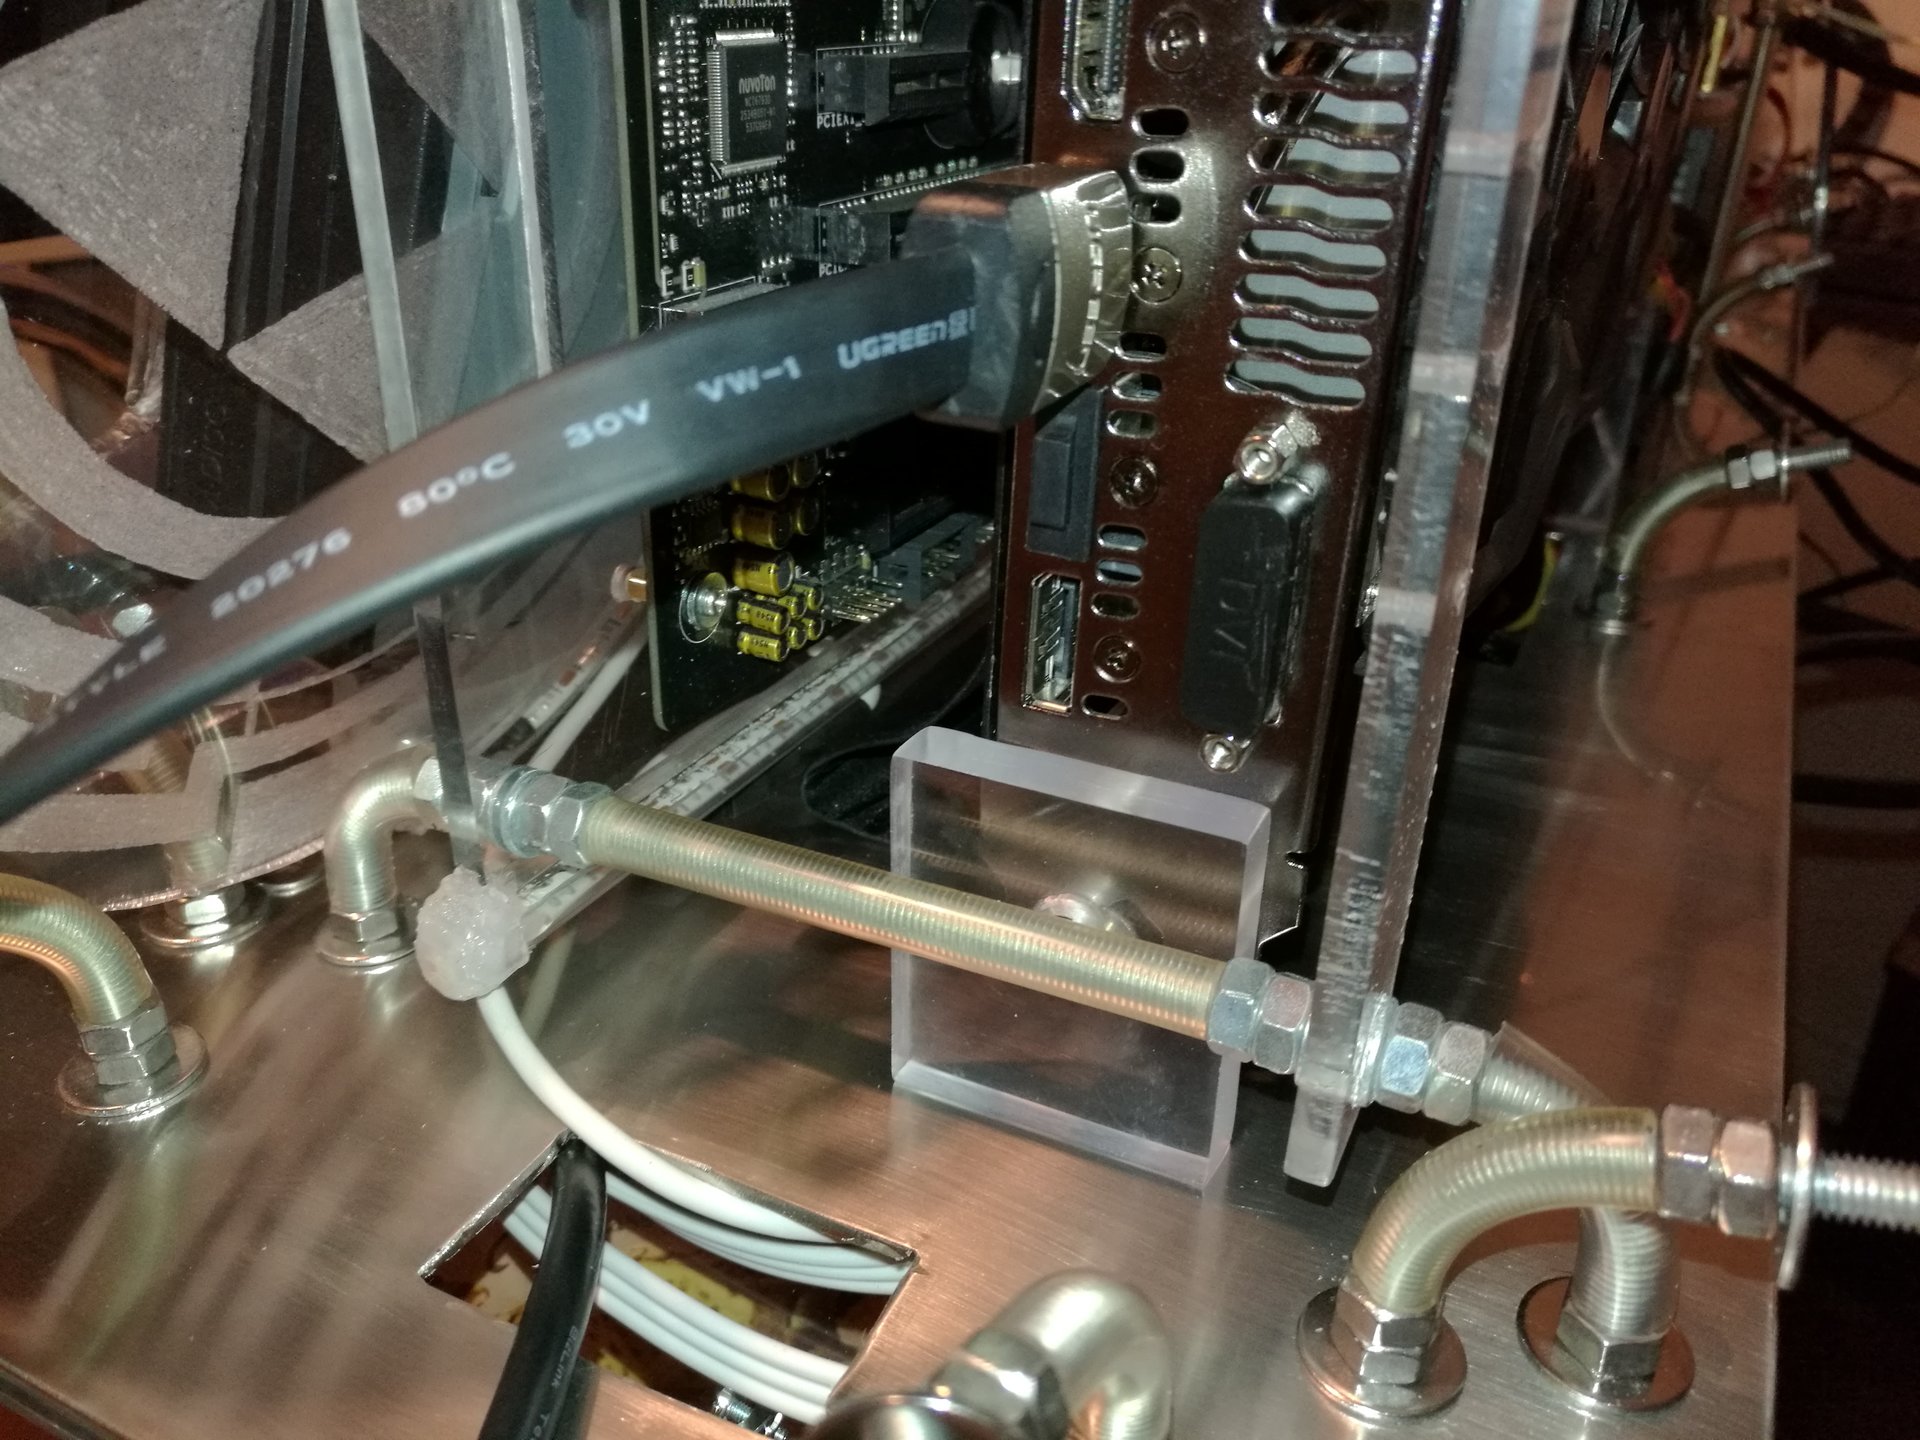
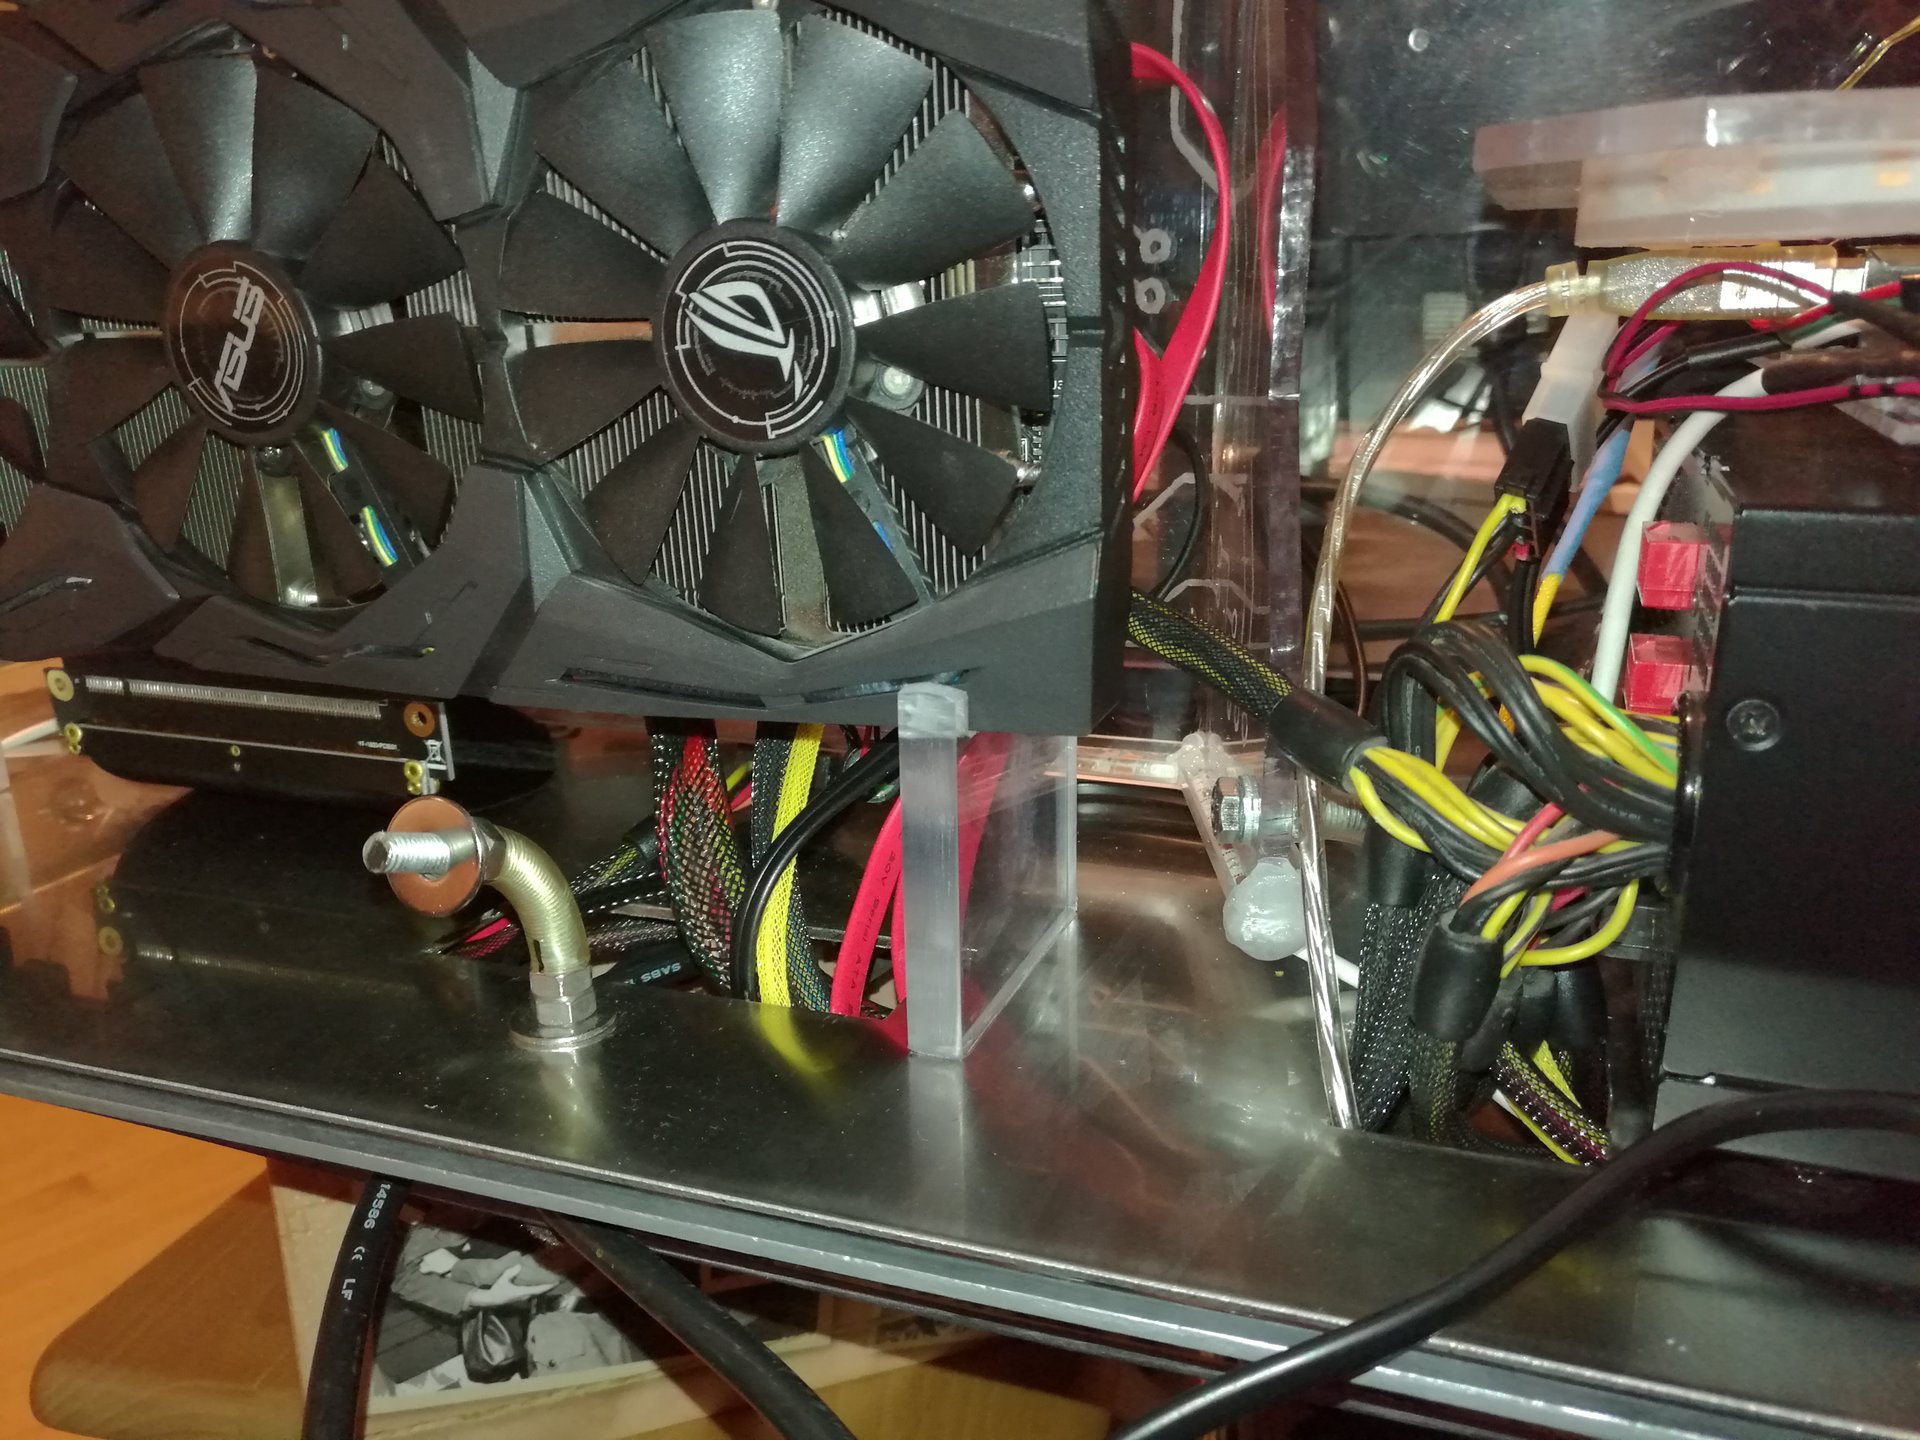
Then I have mounted the video card vertically, connecting it with a 25cm riser cable, and I have made two transparent stands from a thick panel of polycarbonate, to keep it still in position.
I also have hidden almost all the cables going to the motherboard behind the video card.


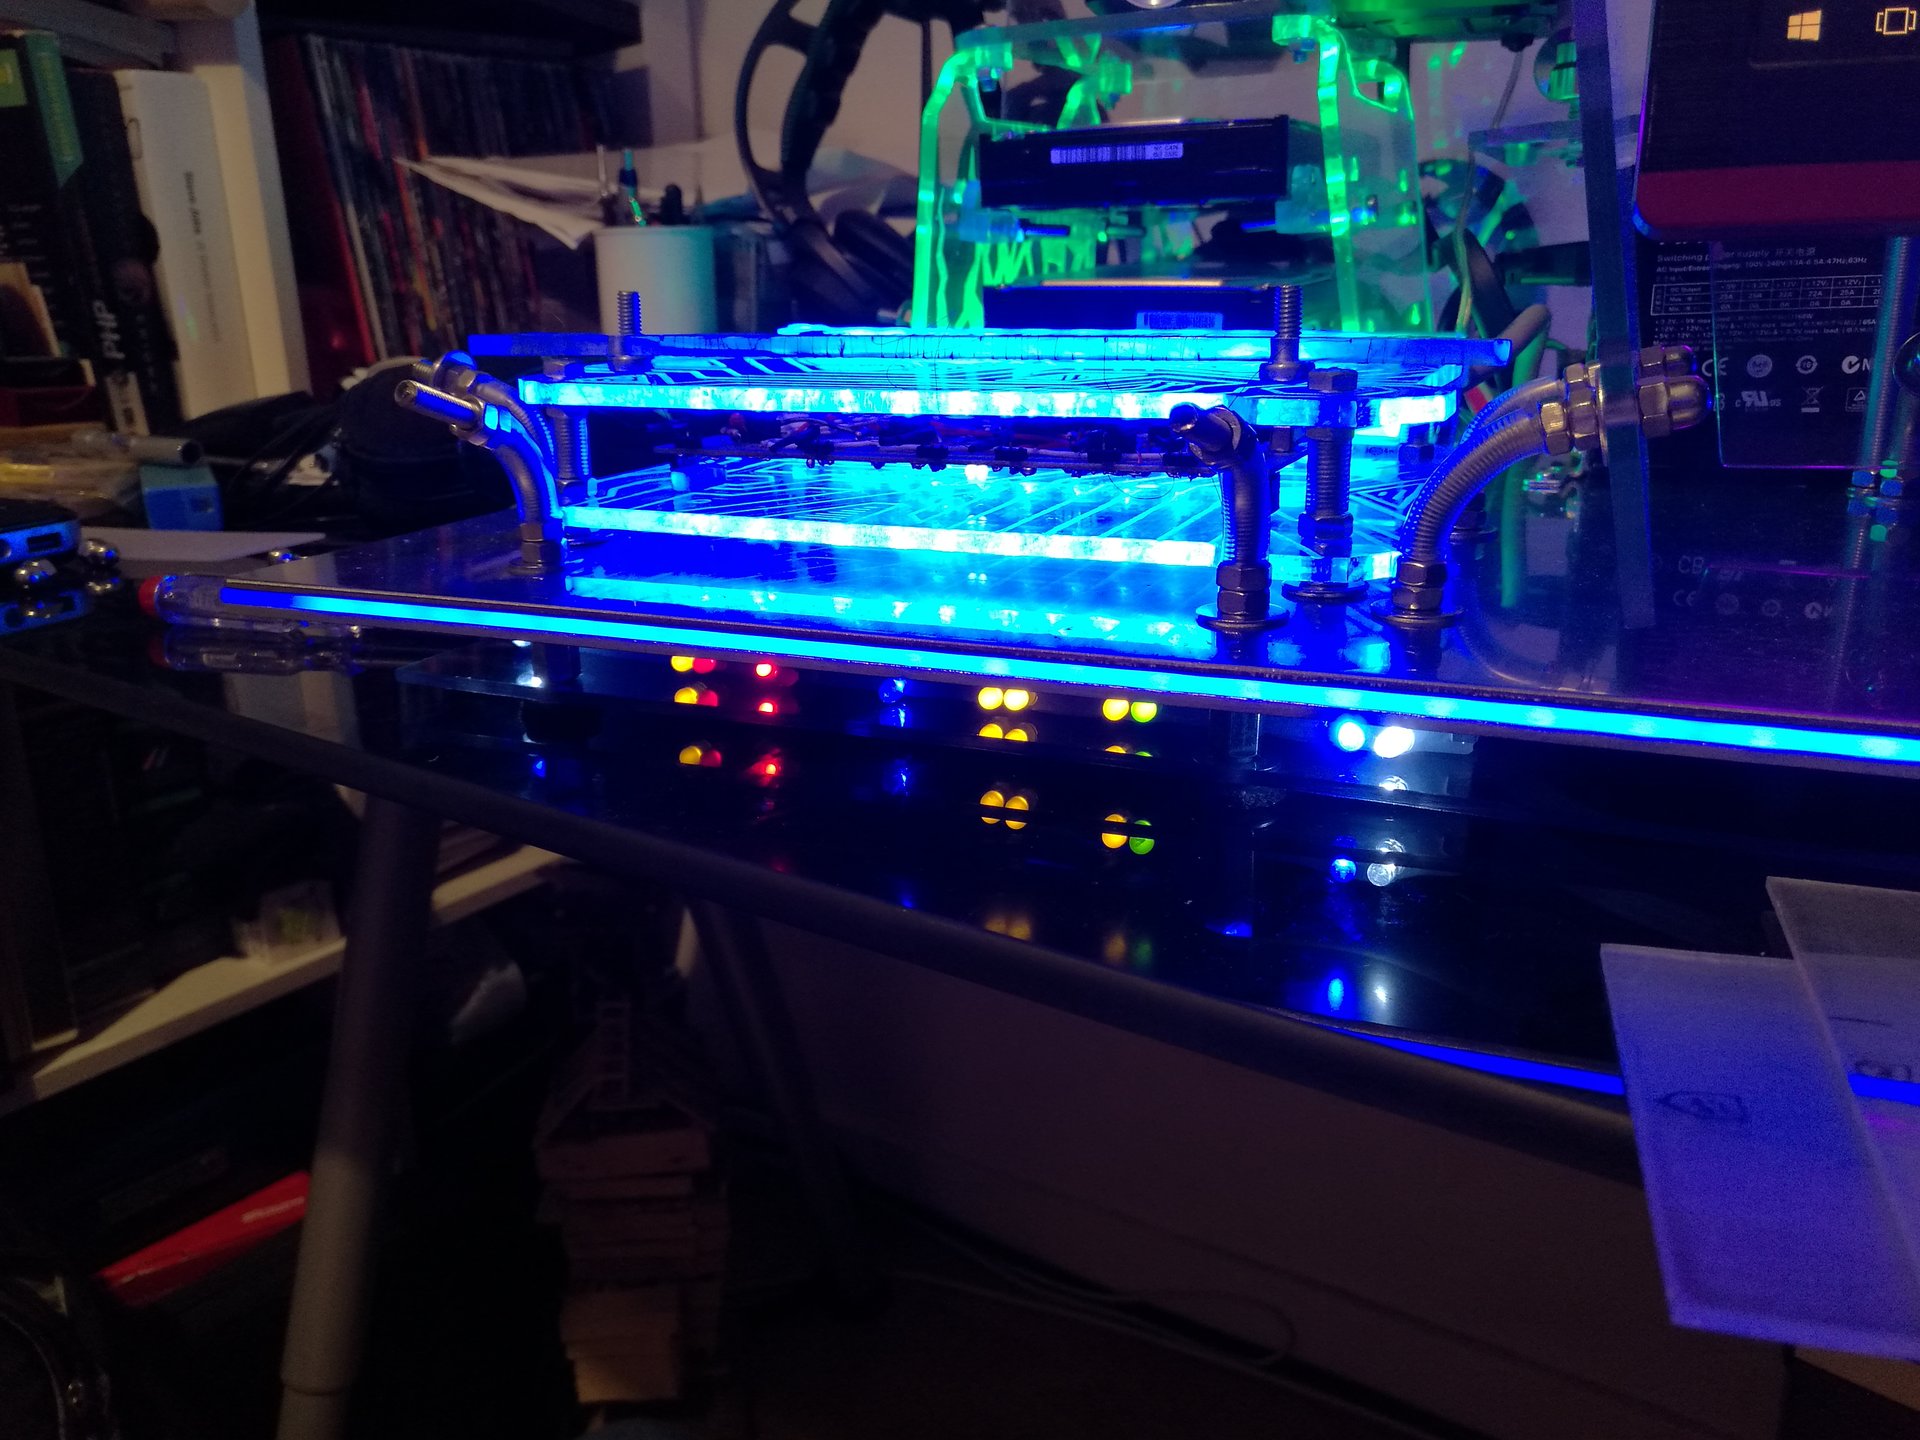
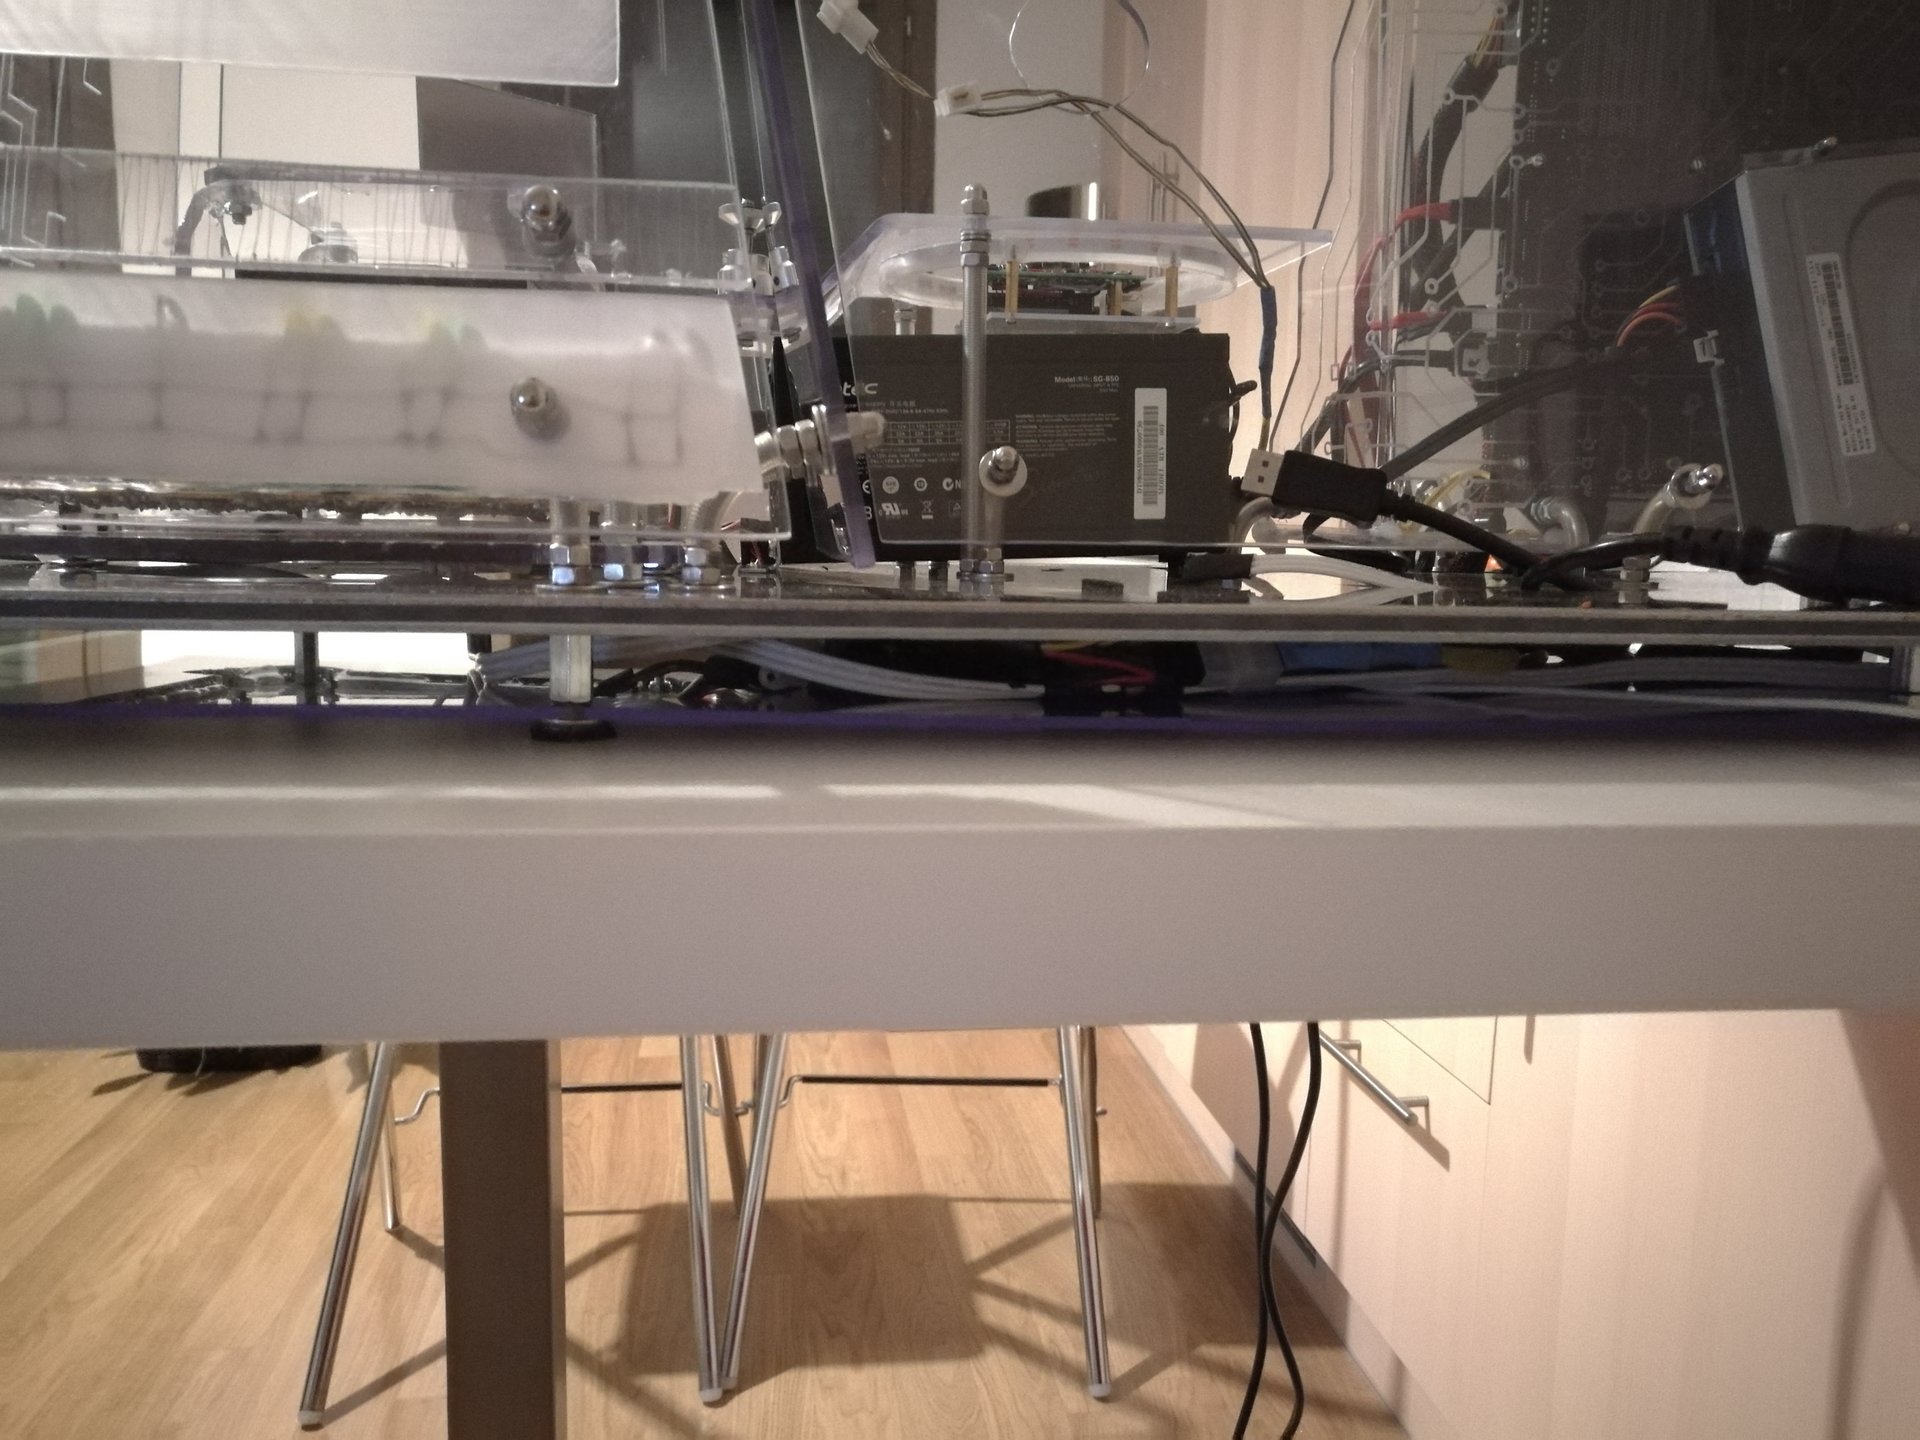
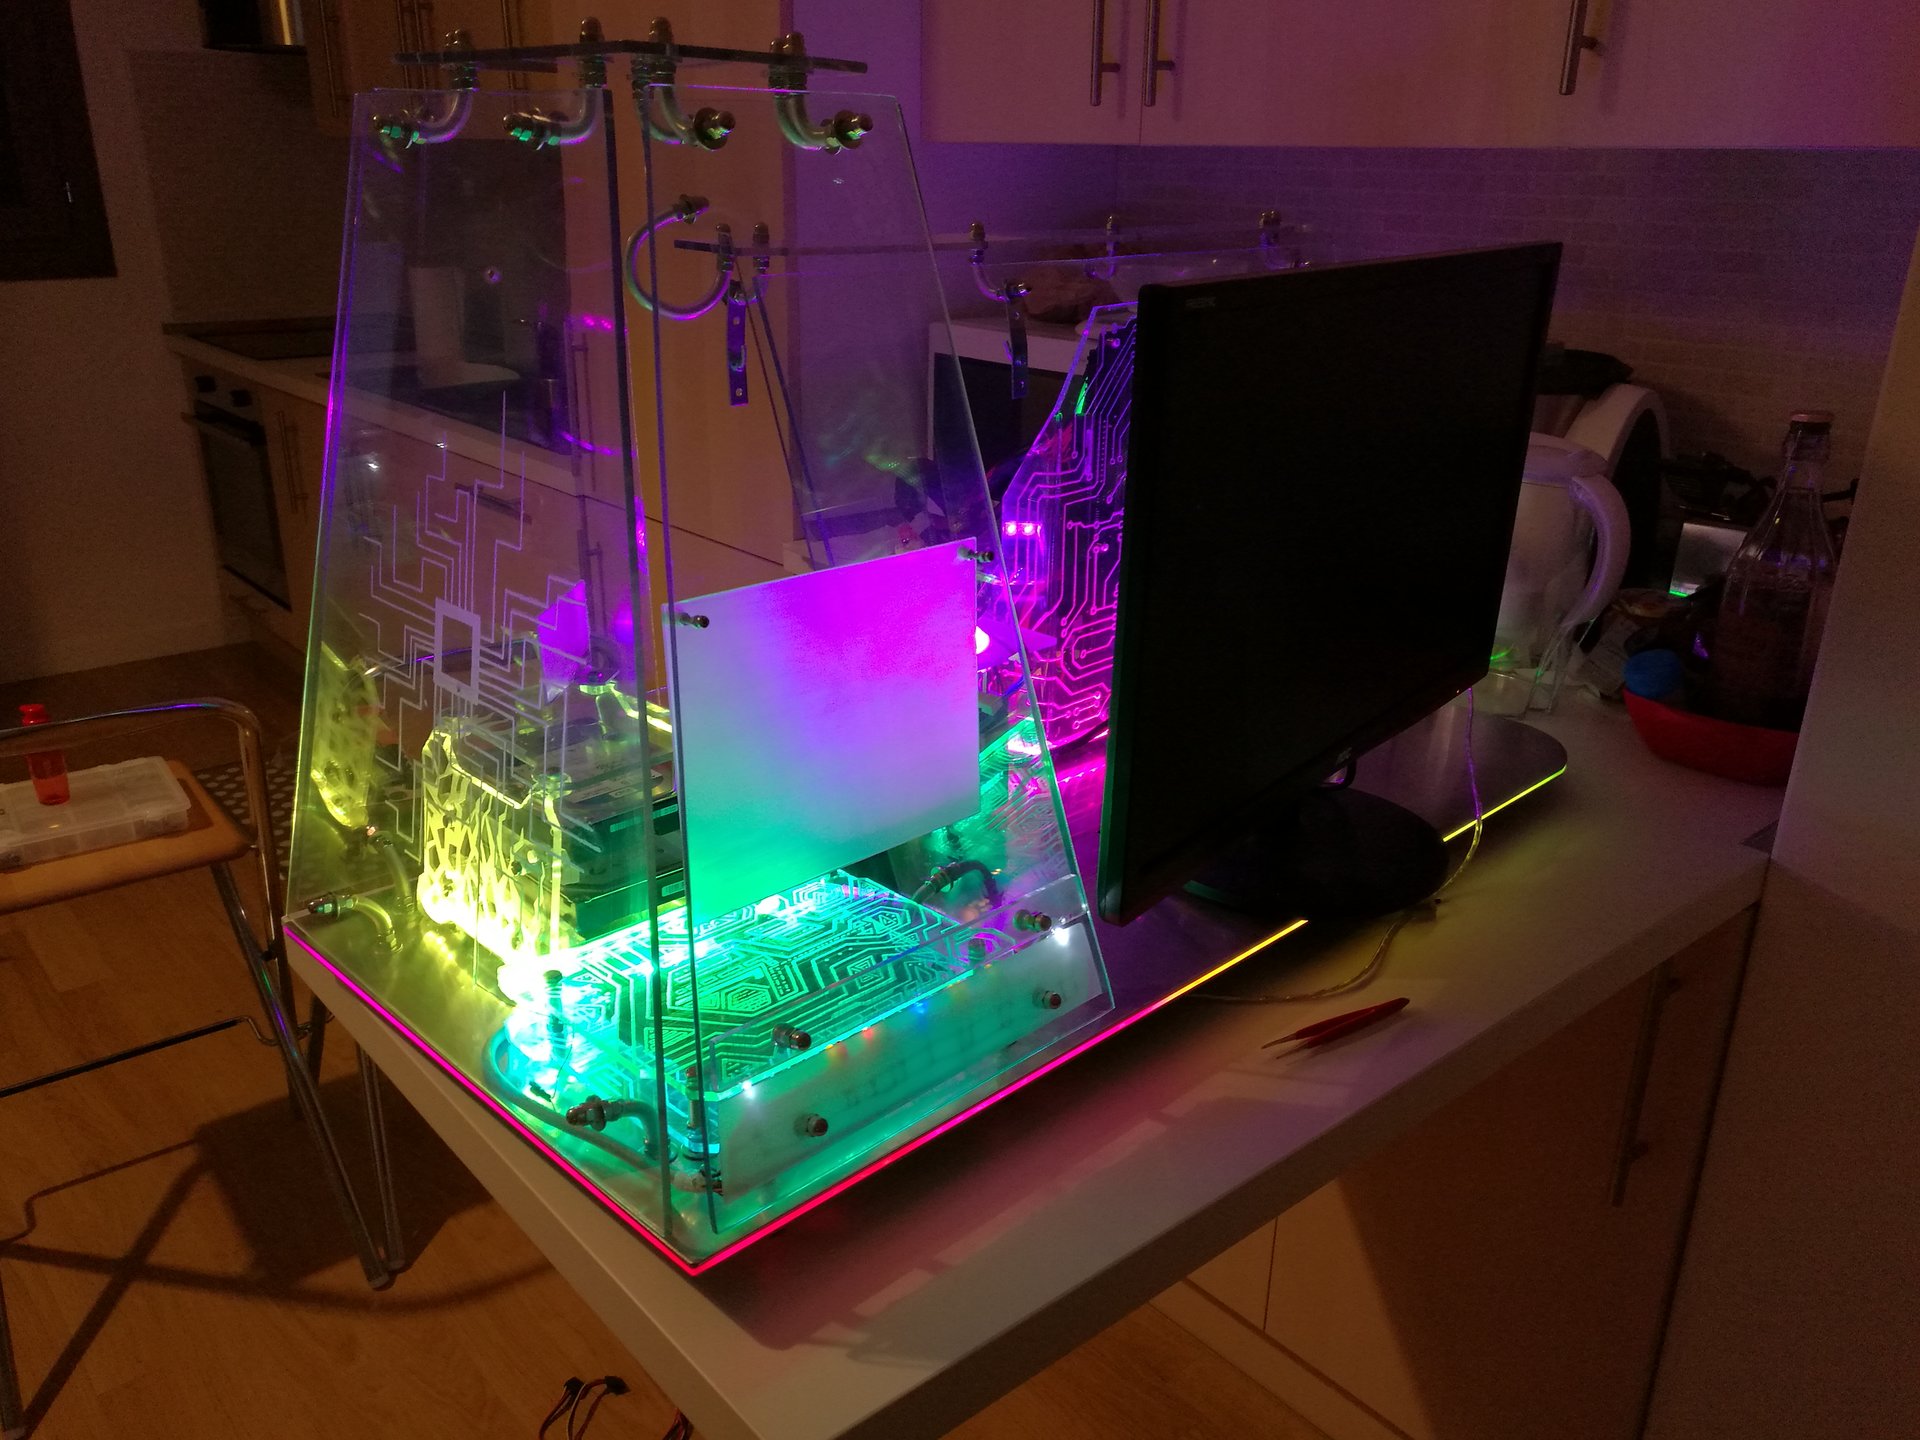
And then I modified radically another thing that I didn’t like of my old mod: the feedback led bar!
That bar was too ugly to keep it in foreground in the most visible part of the case, and also covers the engraved encasing behind, so I decided to move it in the same position, but under the base. In this way, the leds are still associated to the touch sensors over them, but now the bar is less visible. Also the front part of the case is cleaner and it shows a lot better the engraved panels inside.