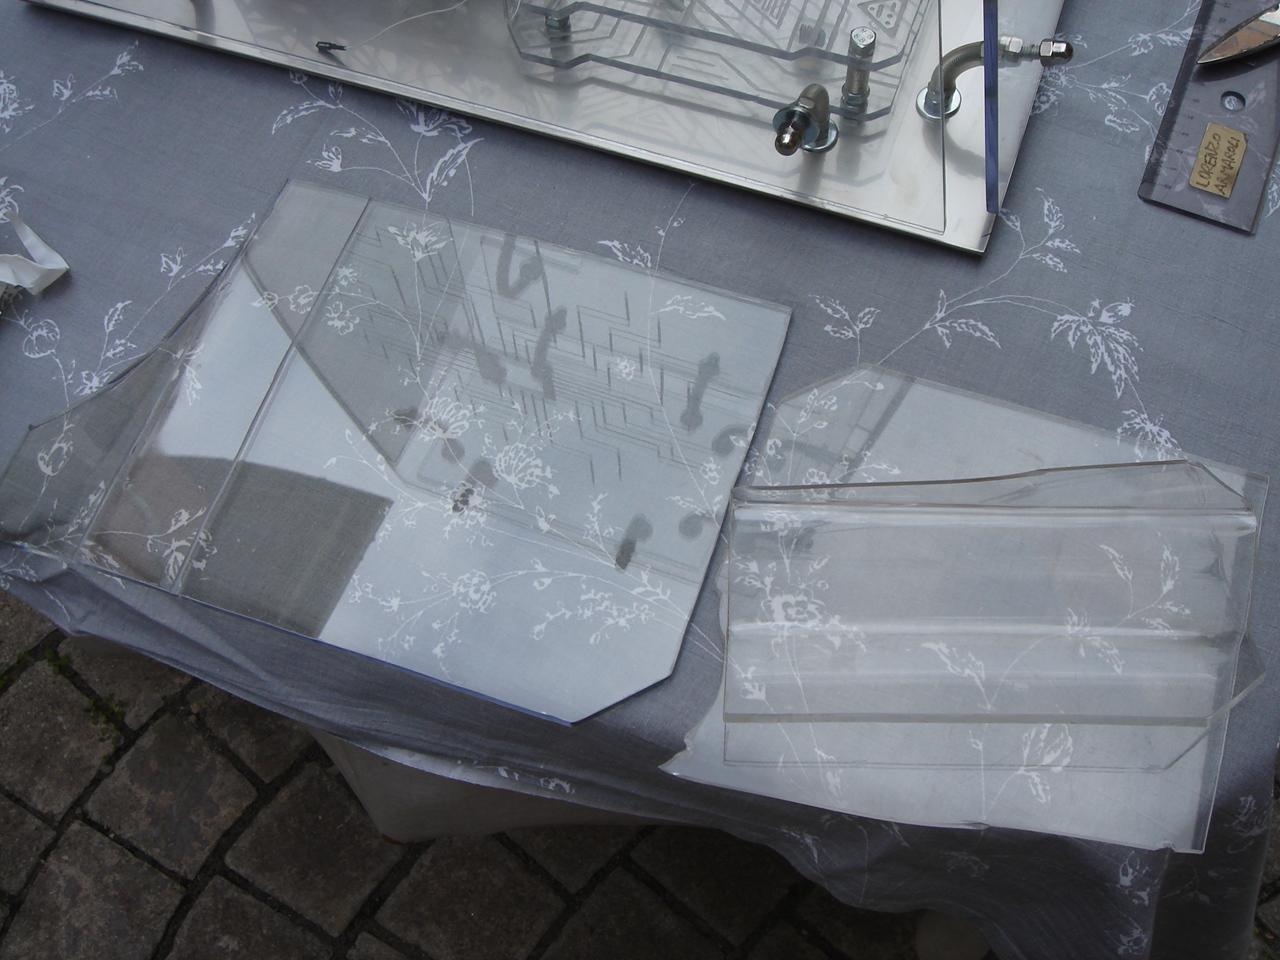
And now, the most important phase of the entire project log, a moment that I waited for 2 years!! I can finally remove all the white protective films from the panels and assemble all the case components, so I can see for the first time the real appearance of the transparent chassis and the internal structures, that until now I had only imagined 😀
And these are the phases:
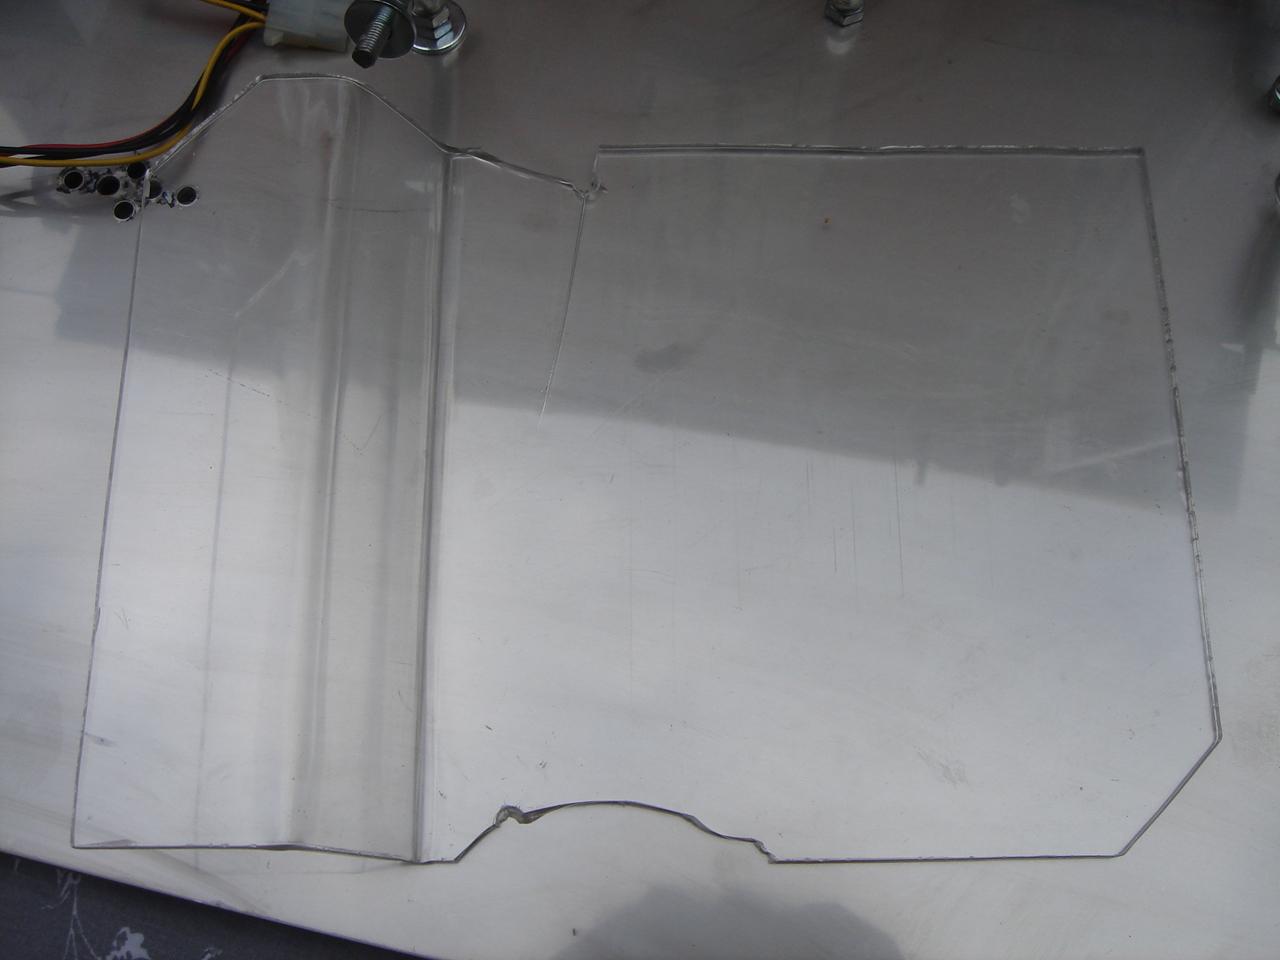
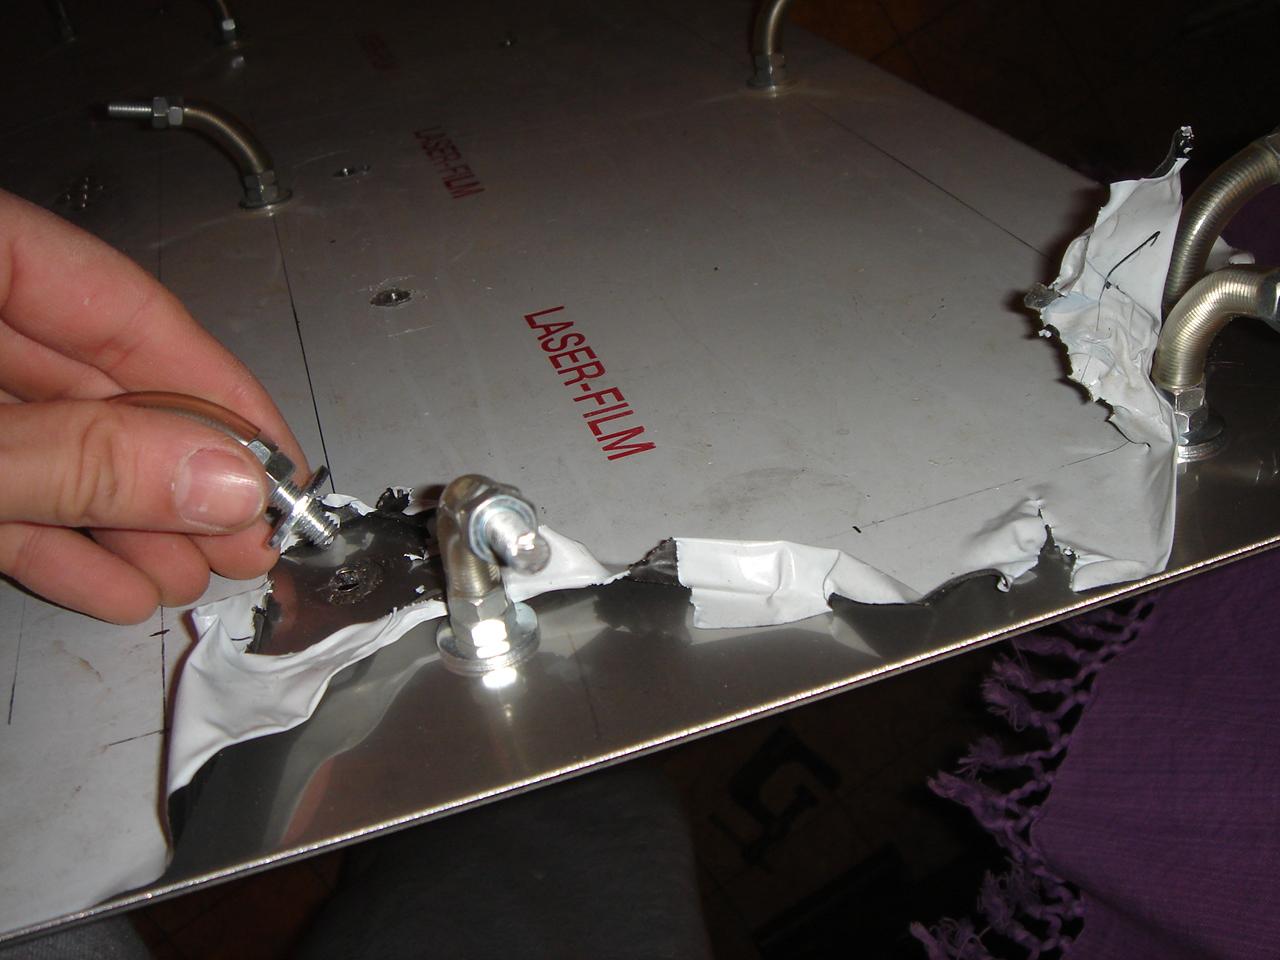
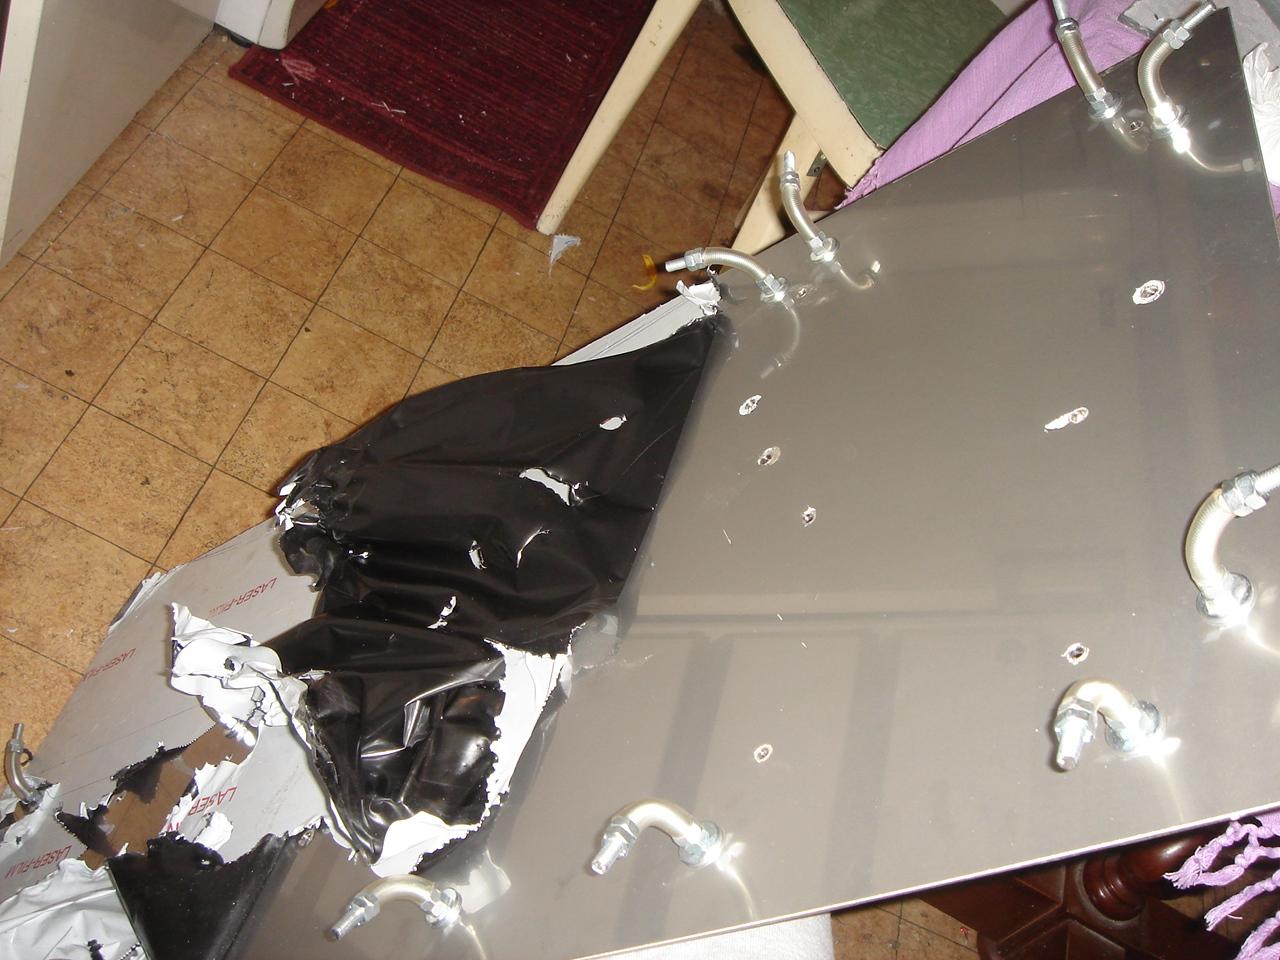
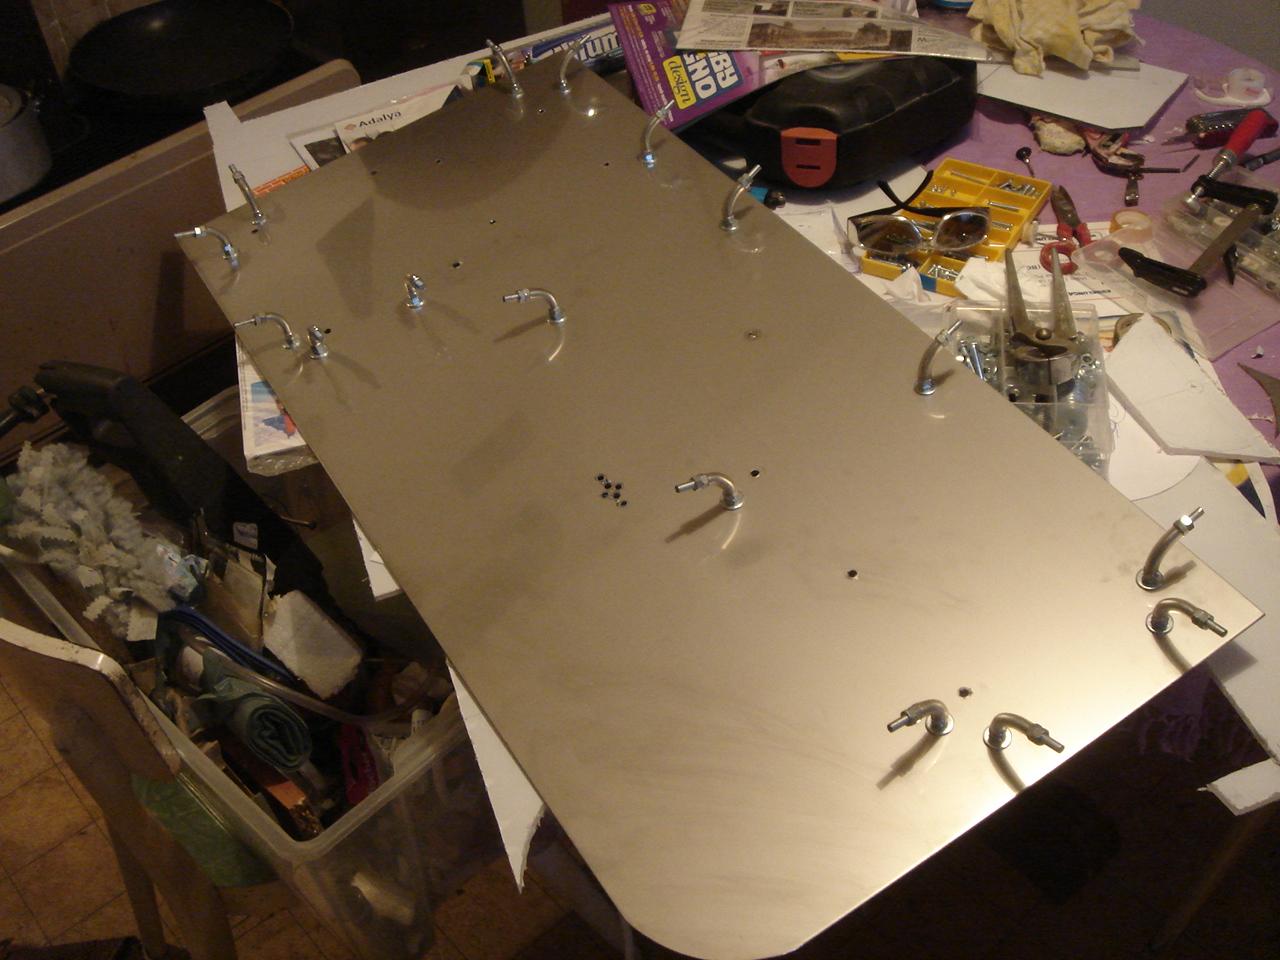
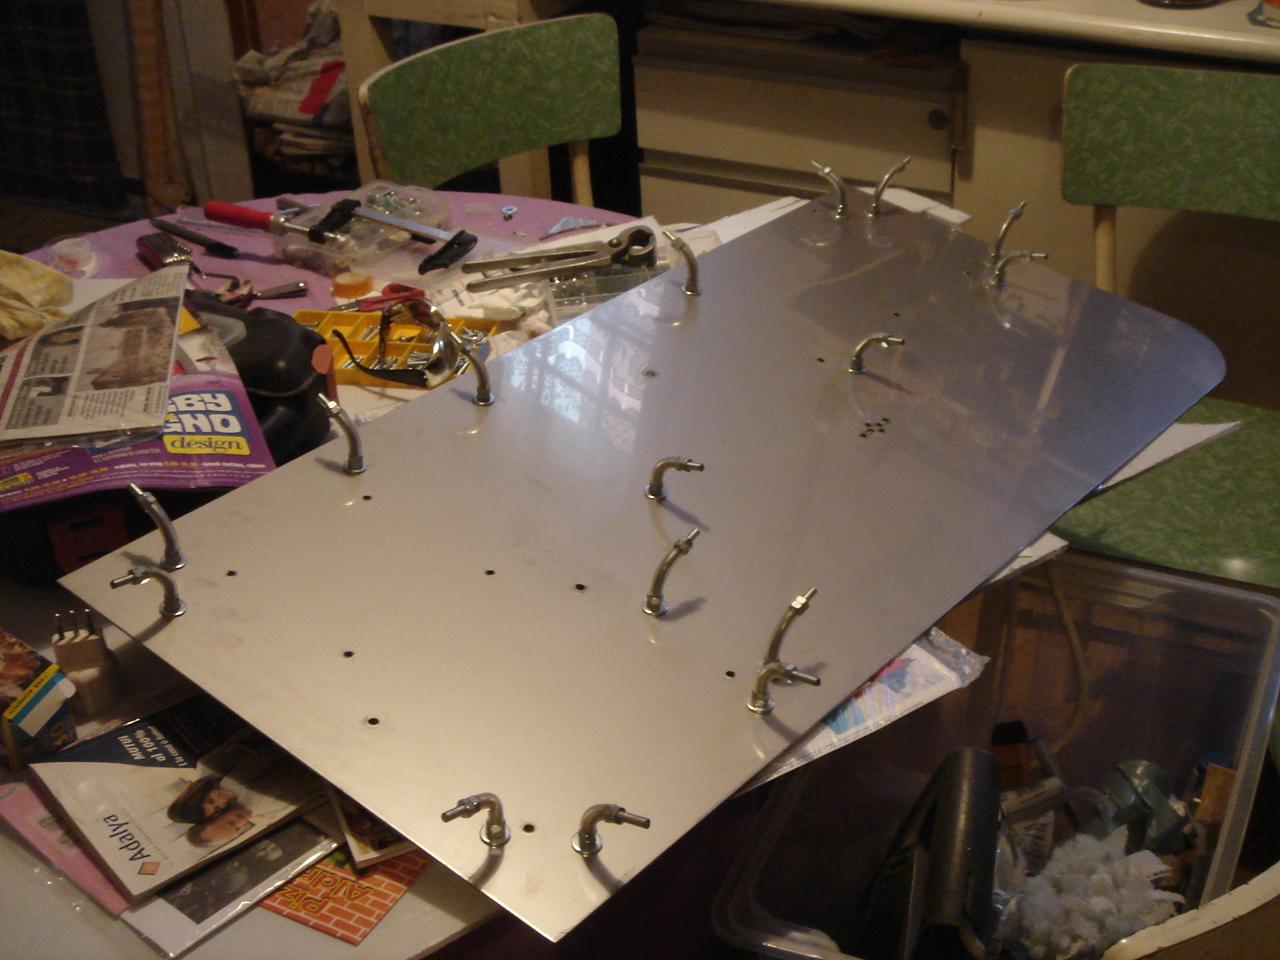
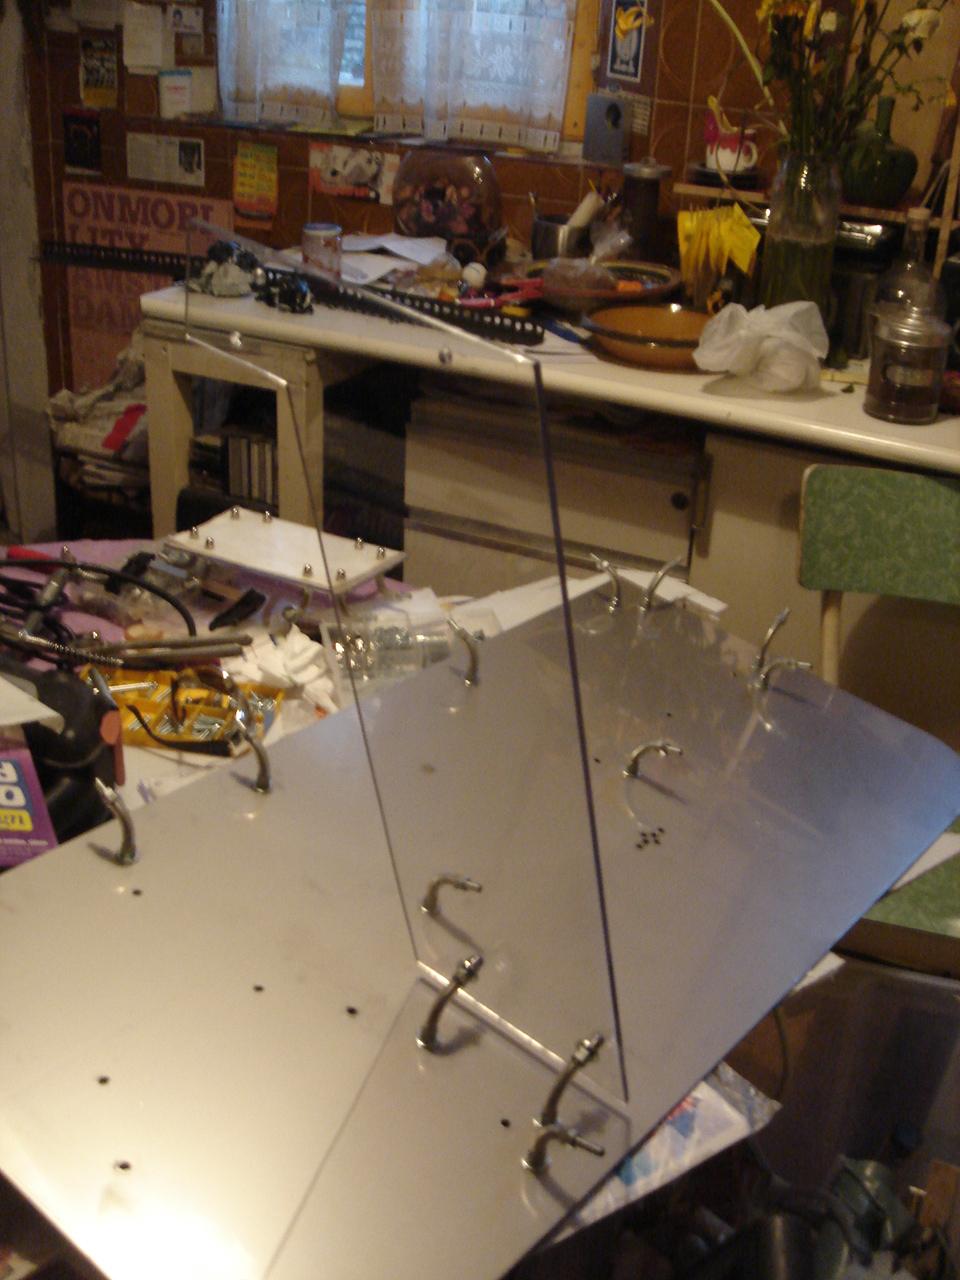
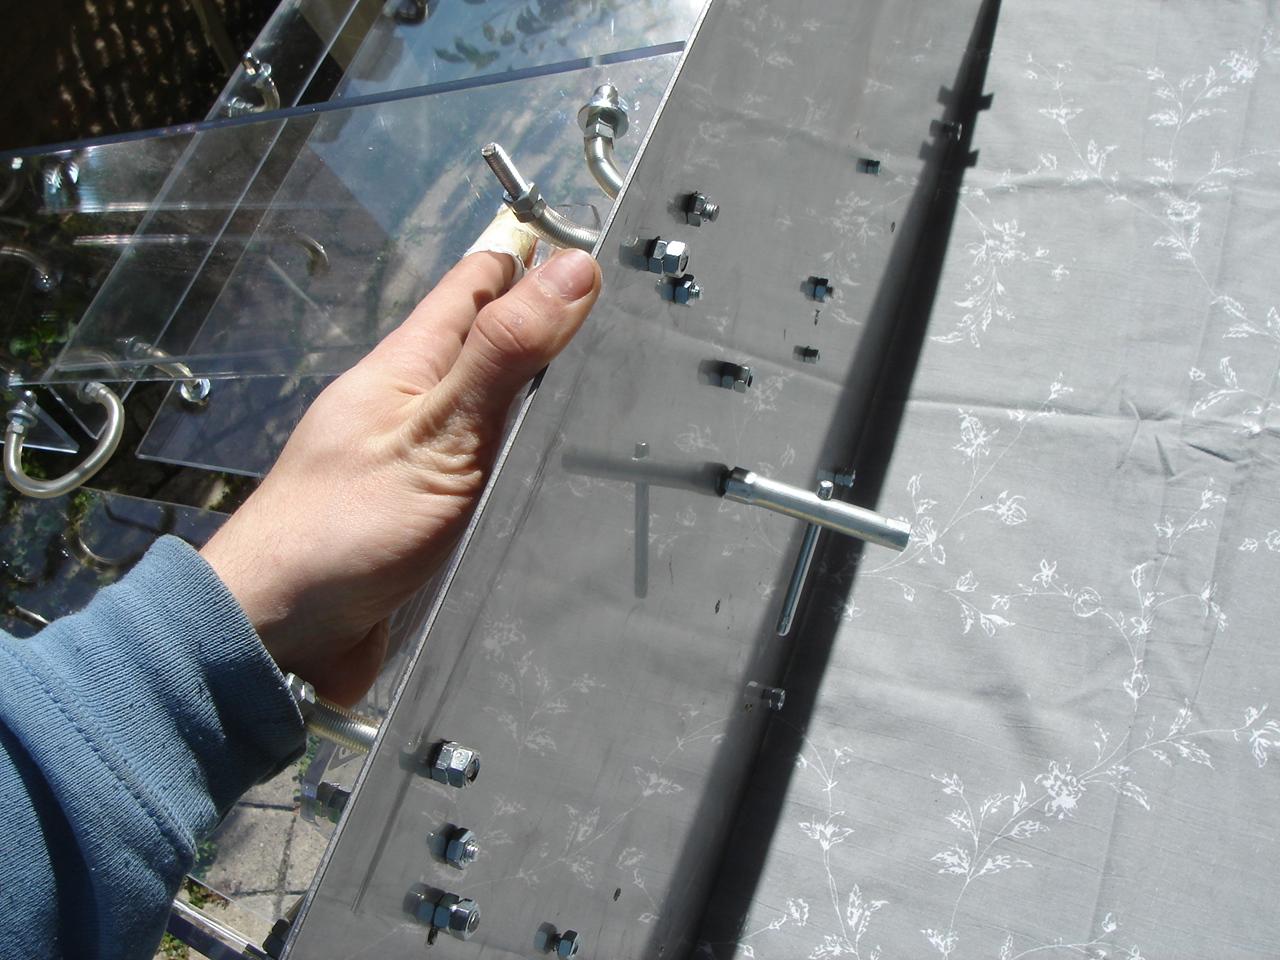
removing the film from the stainless steel base (I had to remove and remount all the joints)
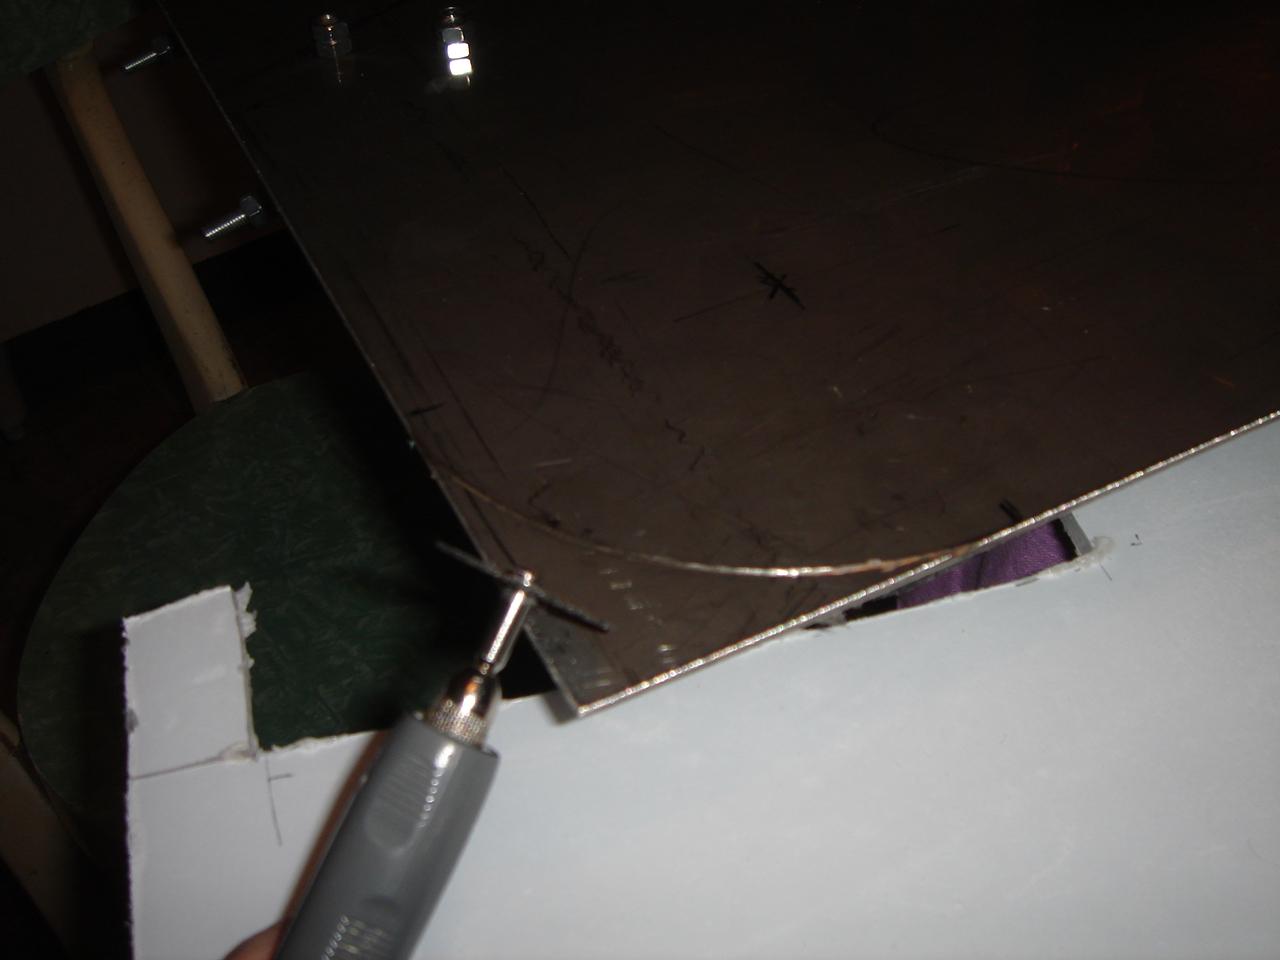
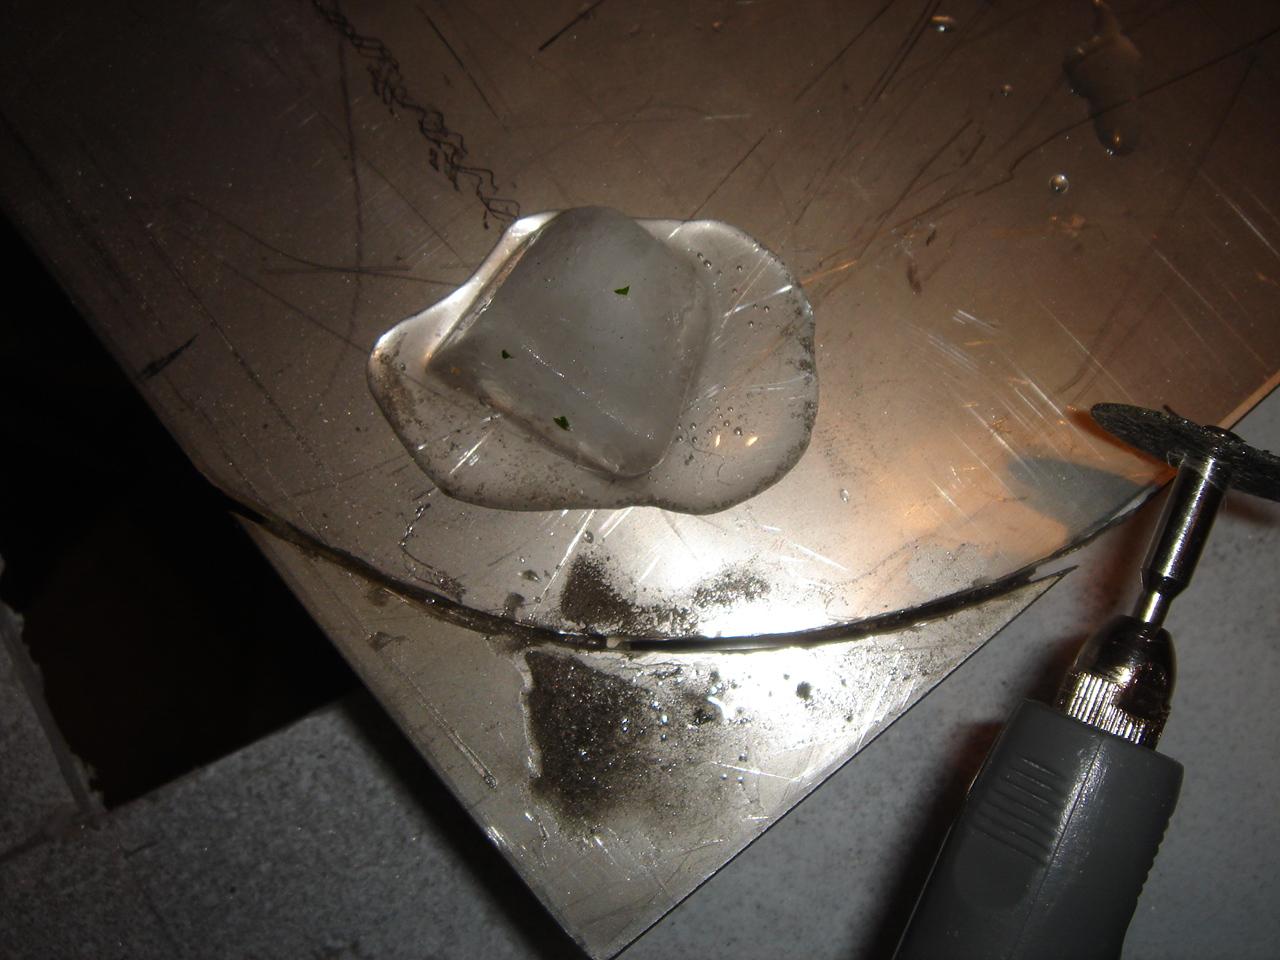
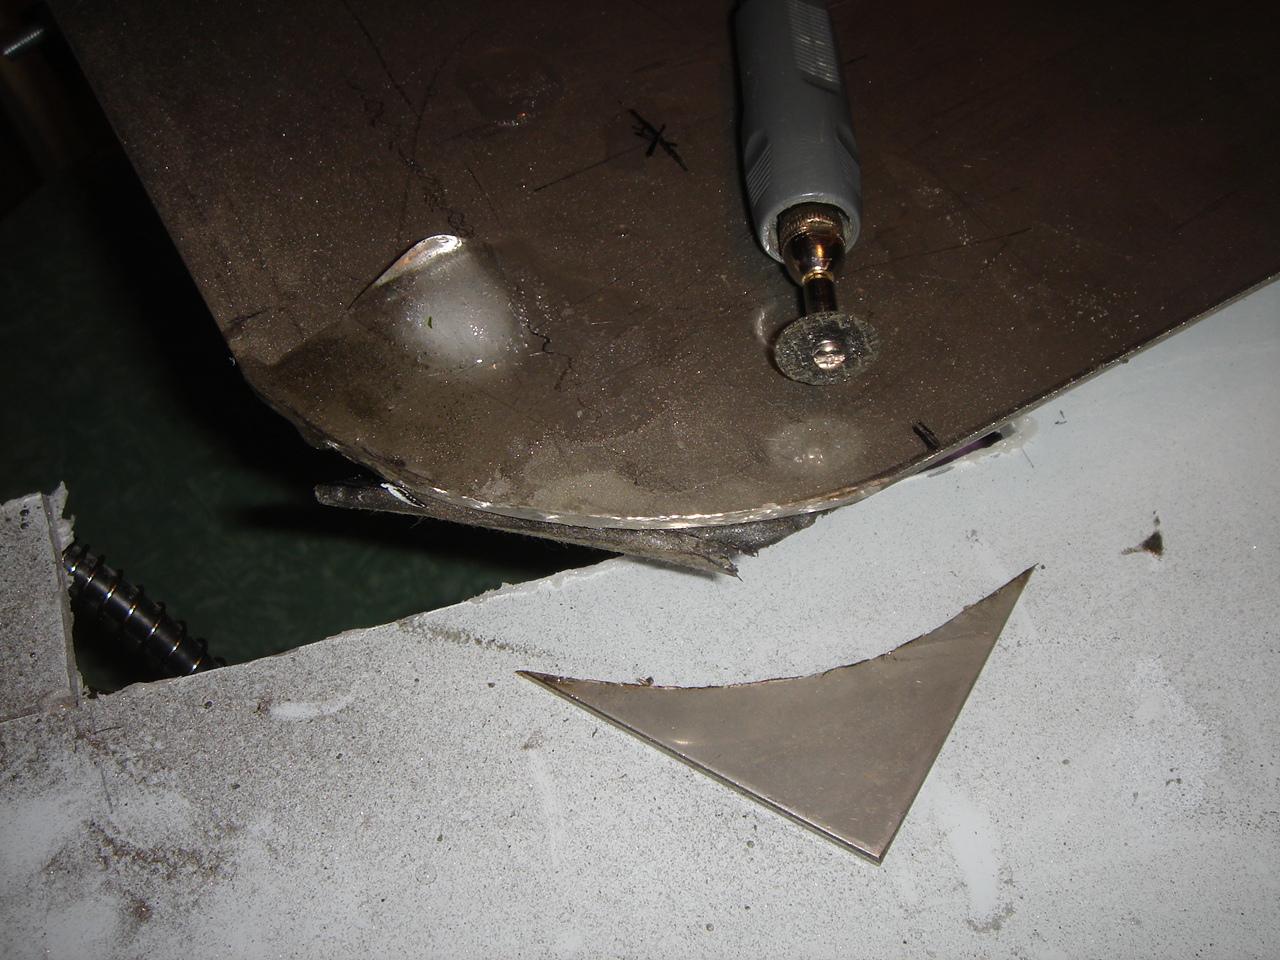
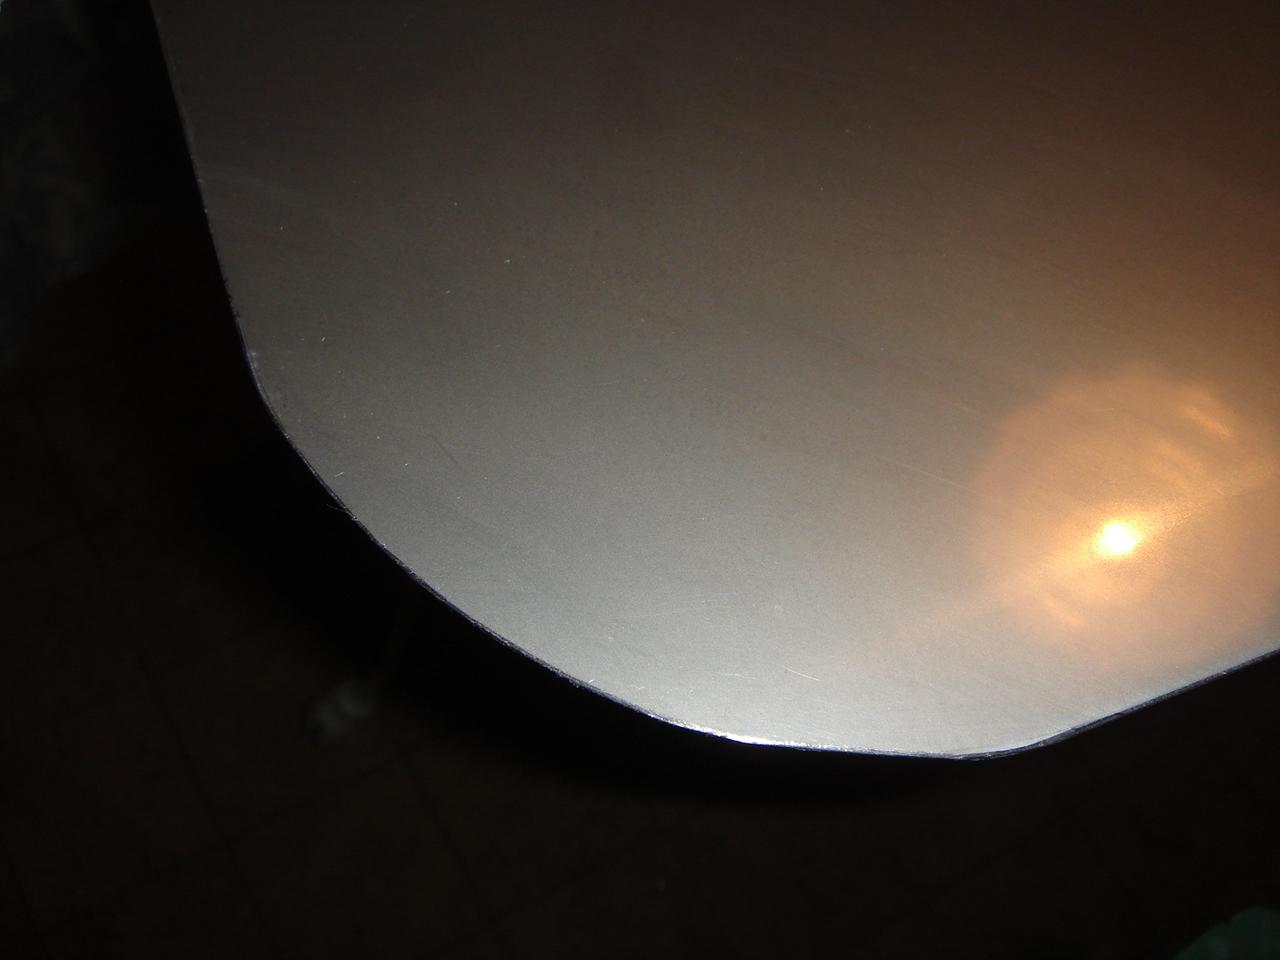
Cutting the rounded corner of the steel base:
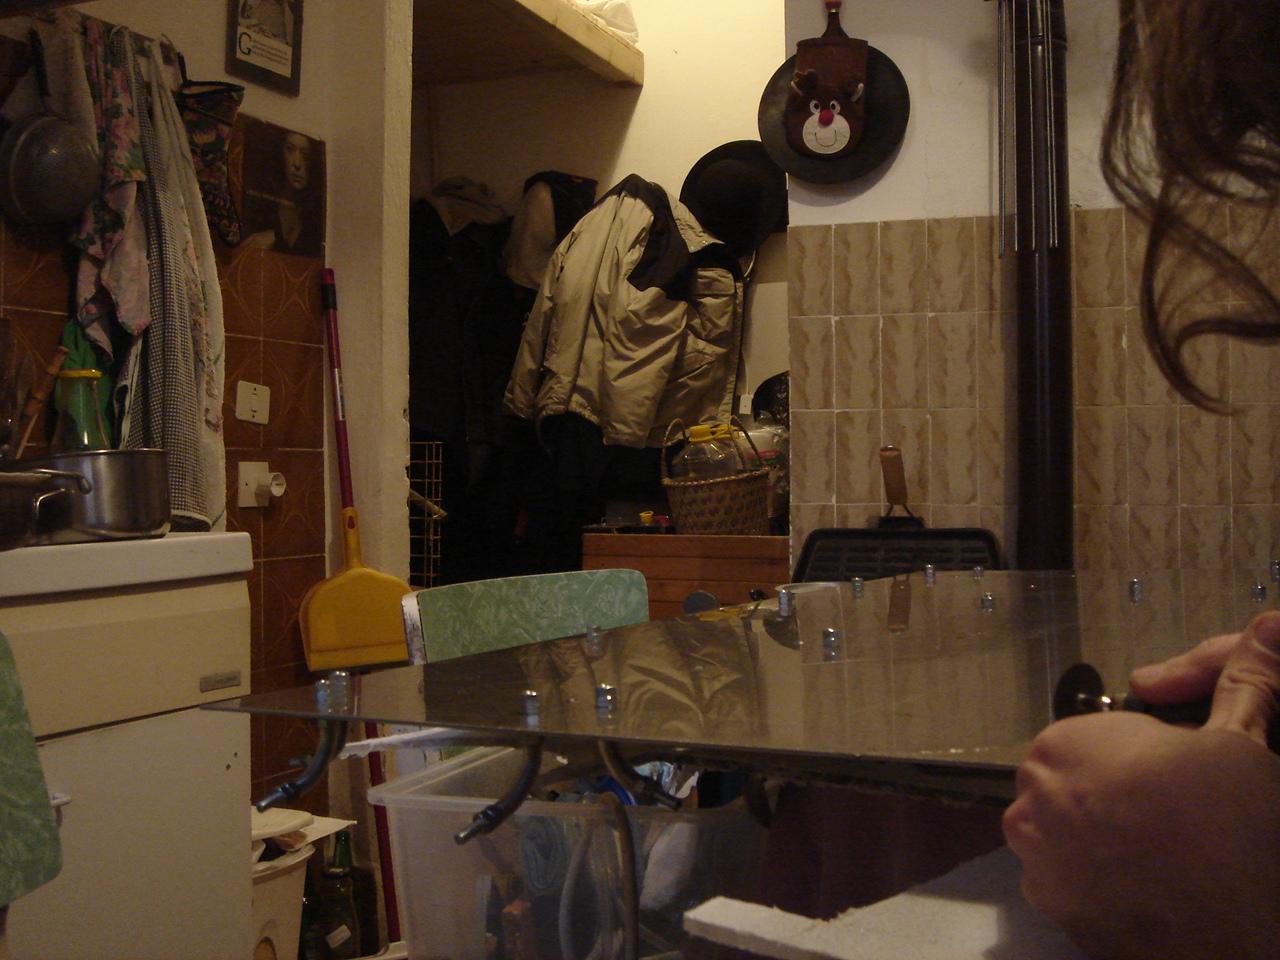

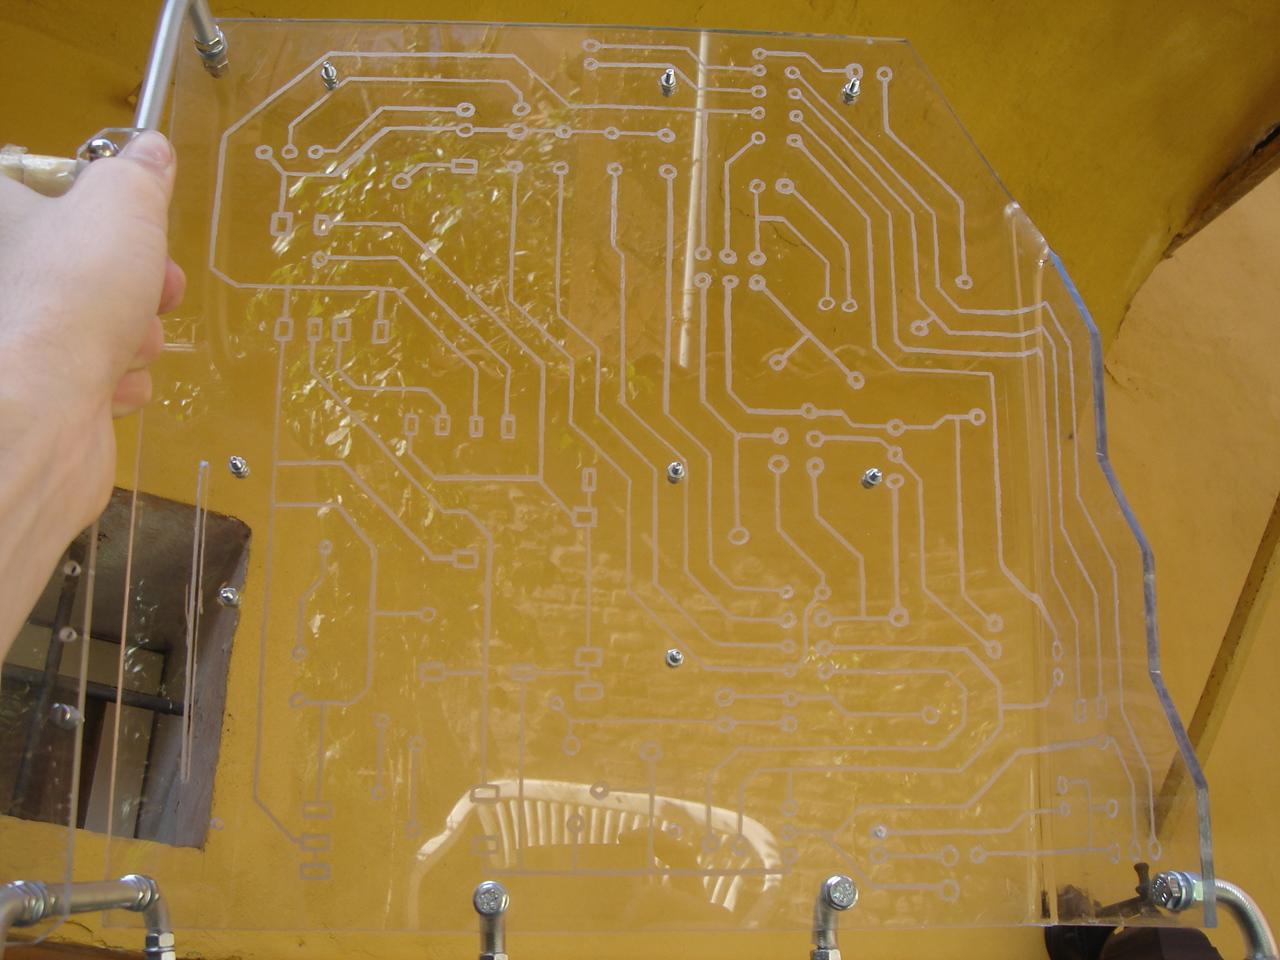
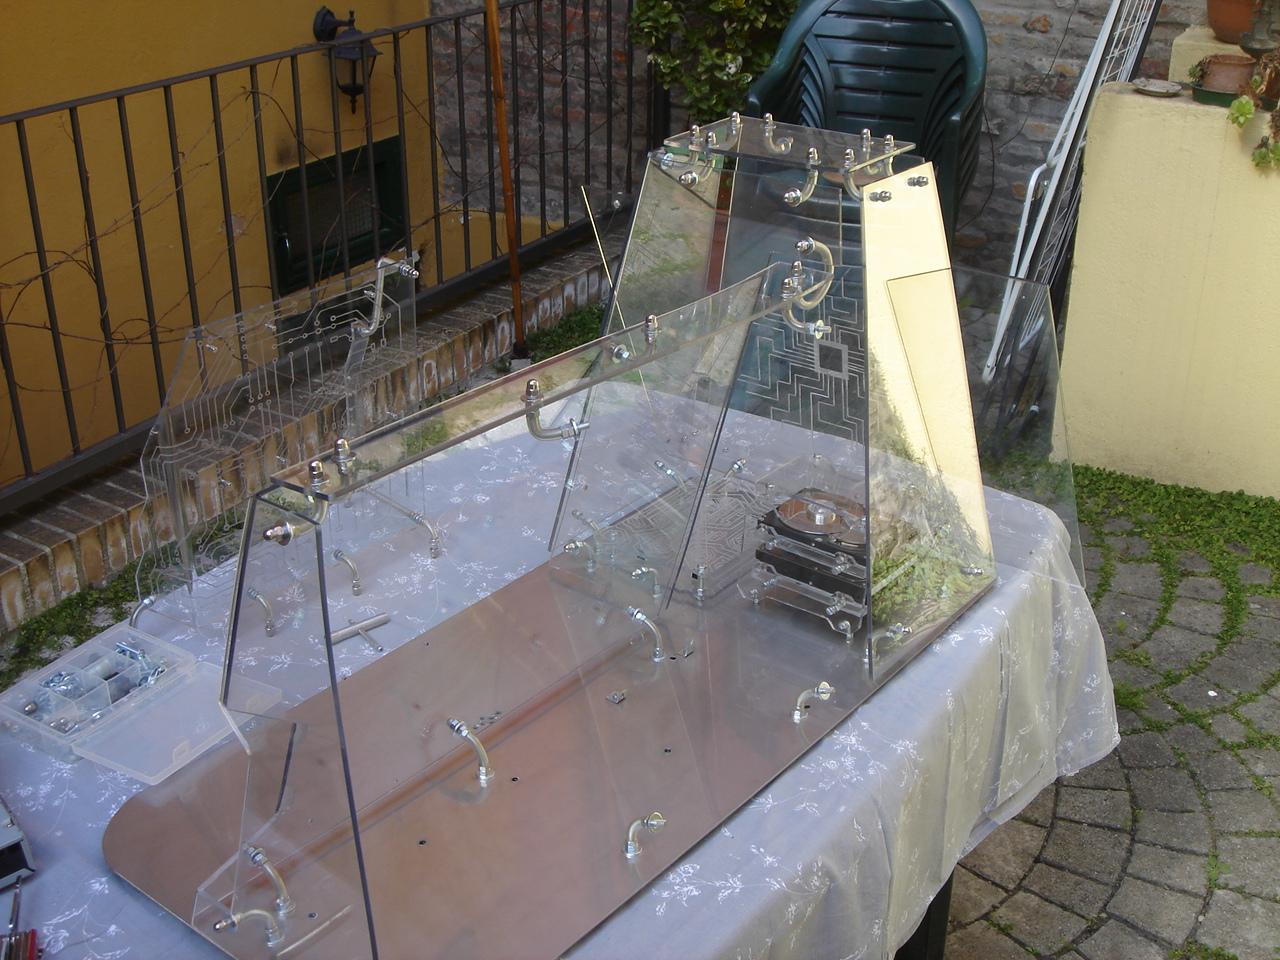
One by one, washing and assembling the walls of the outer chassis:

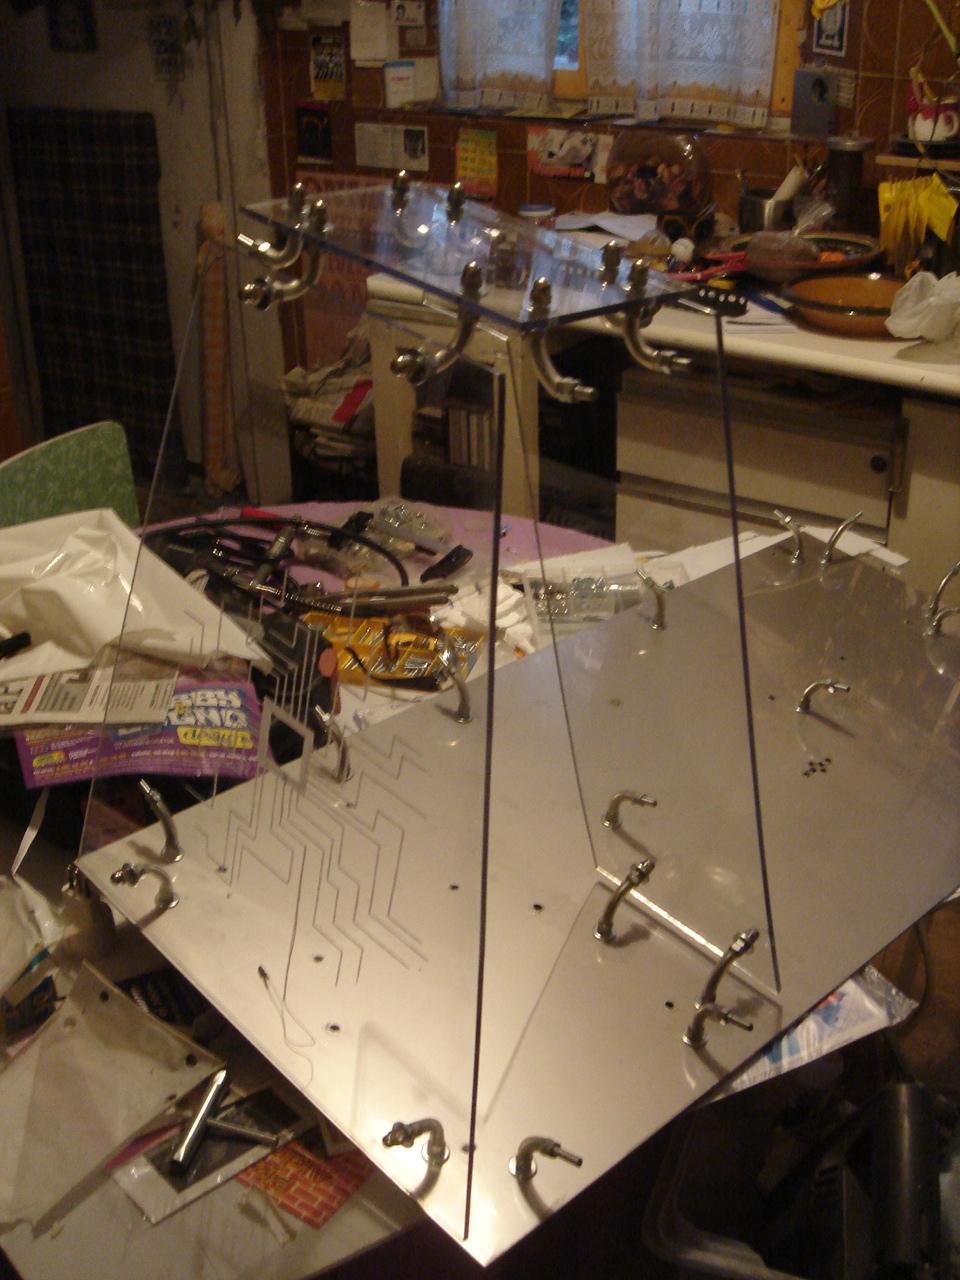
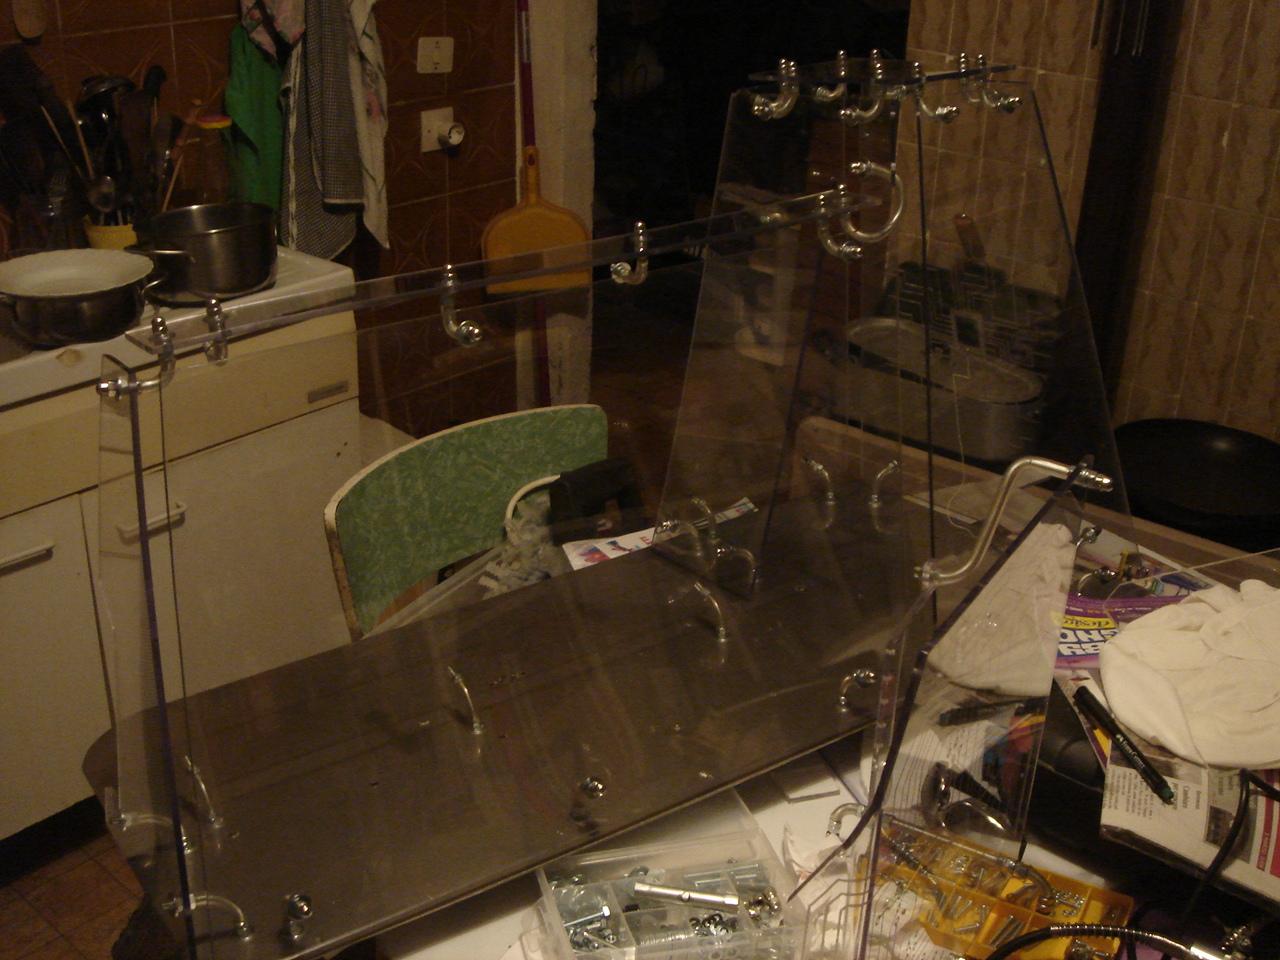
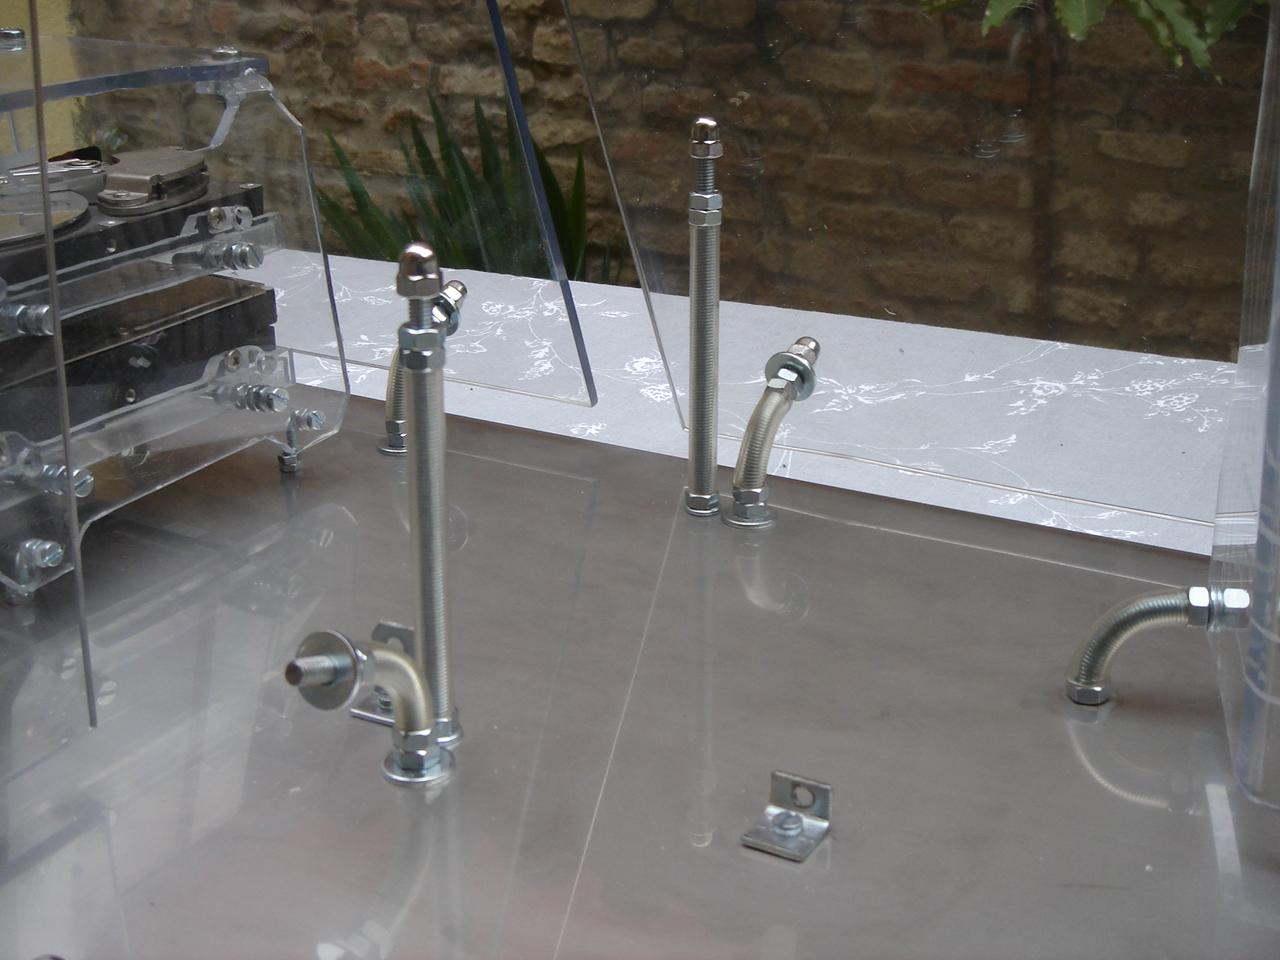
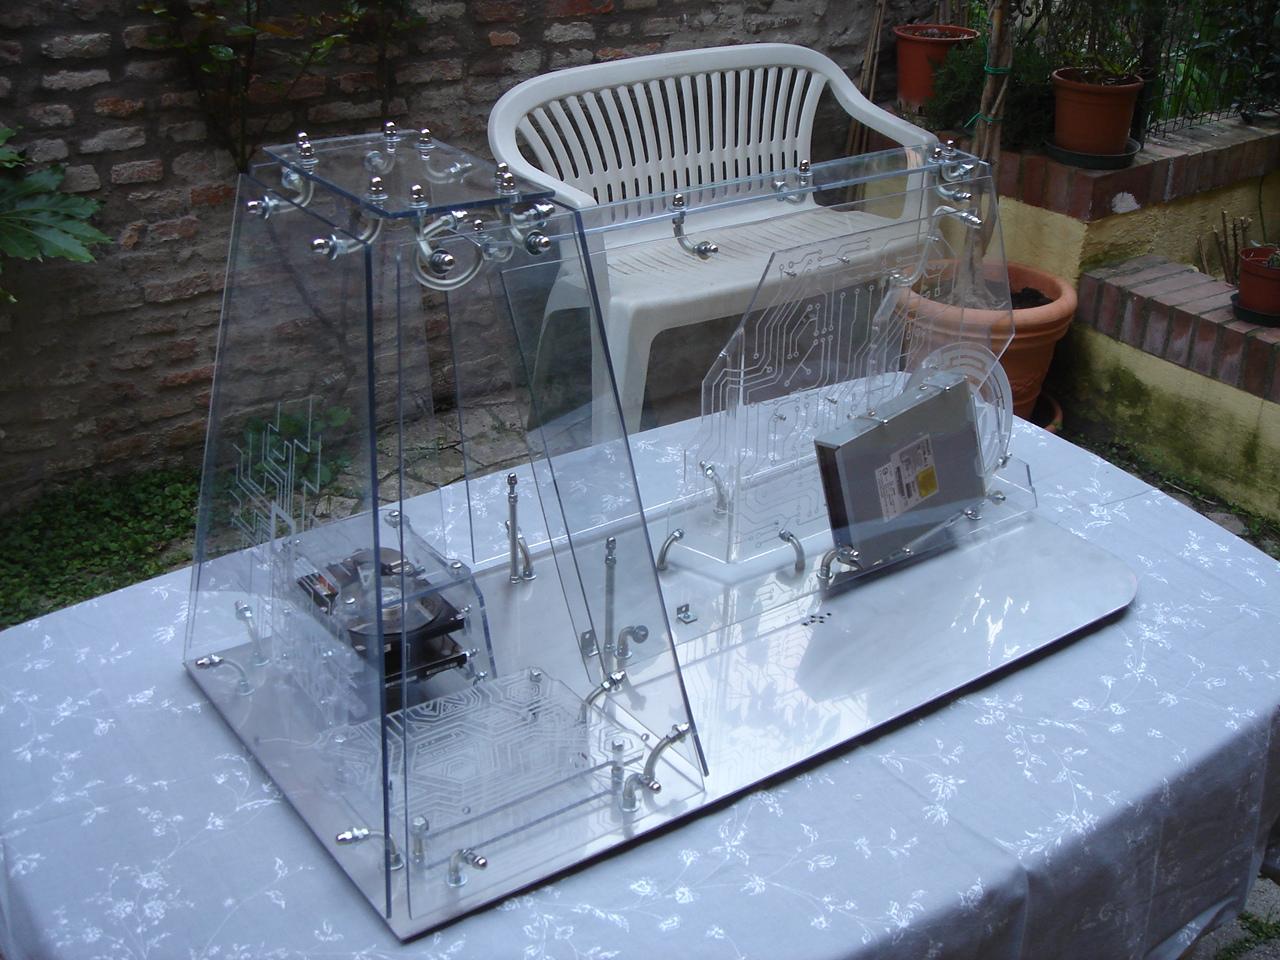
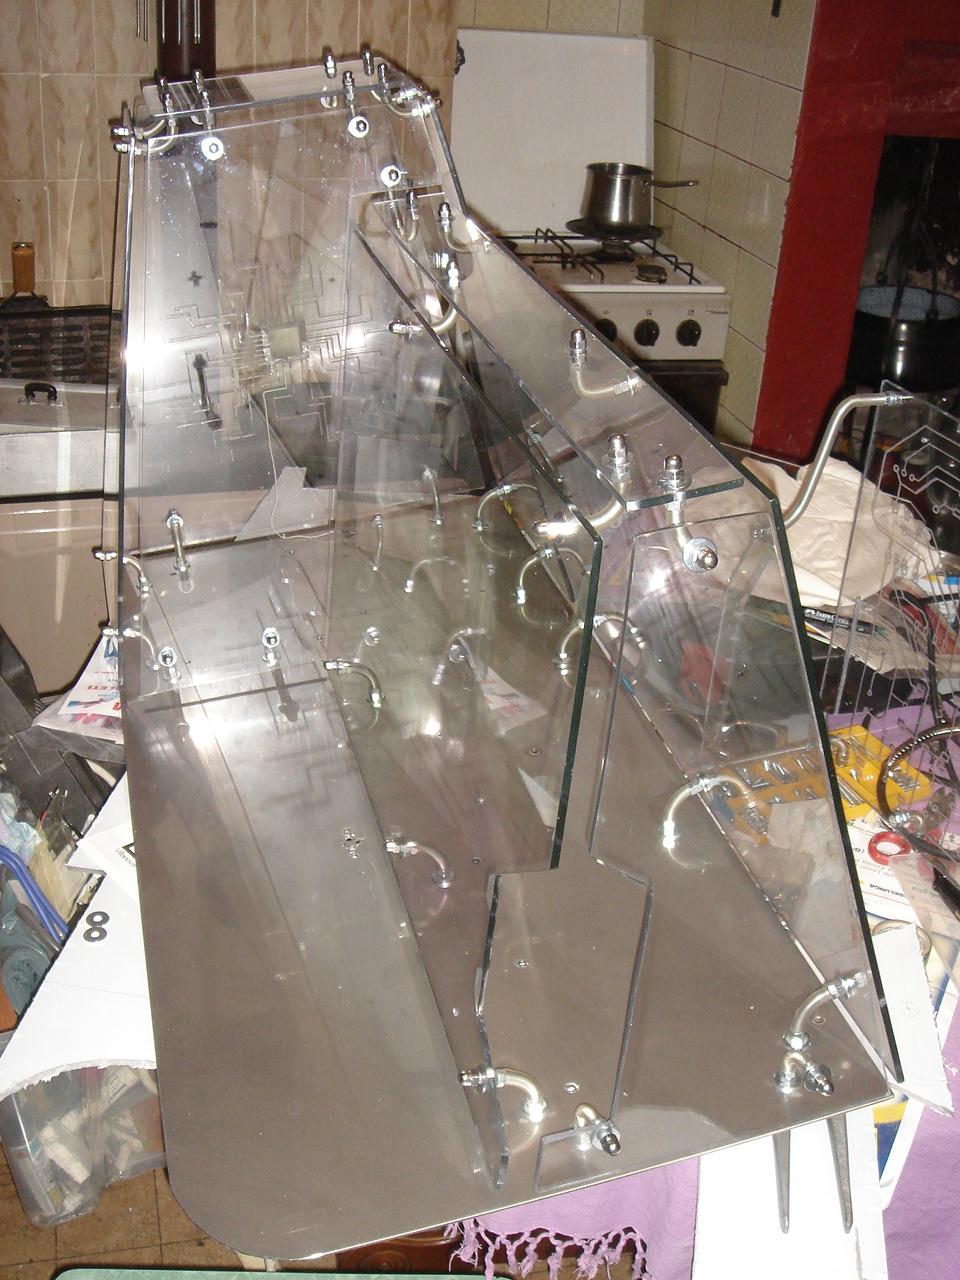
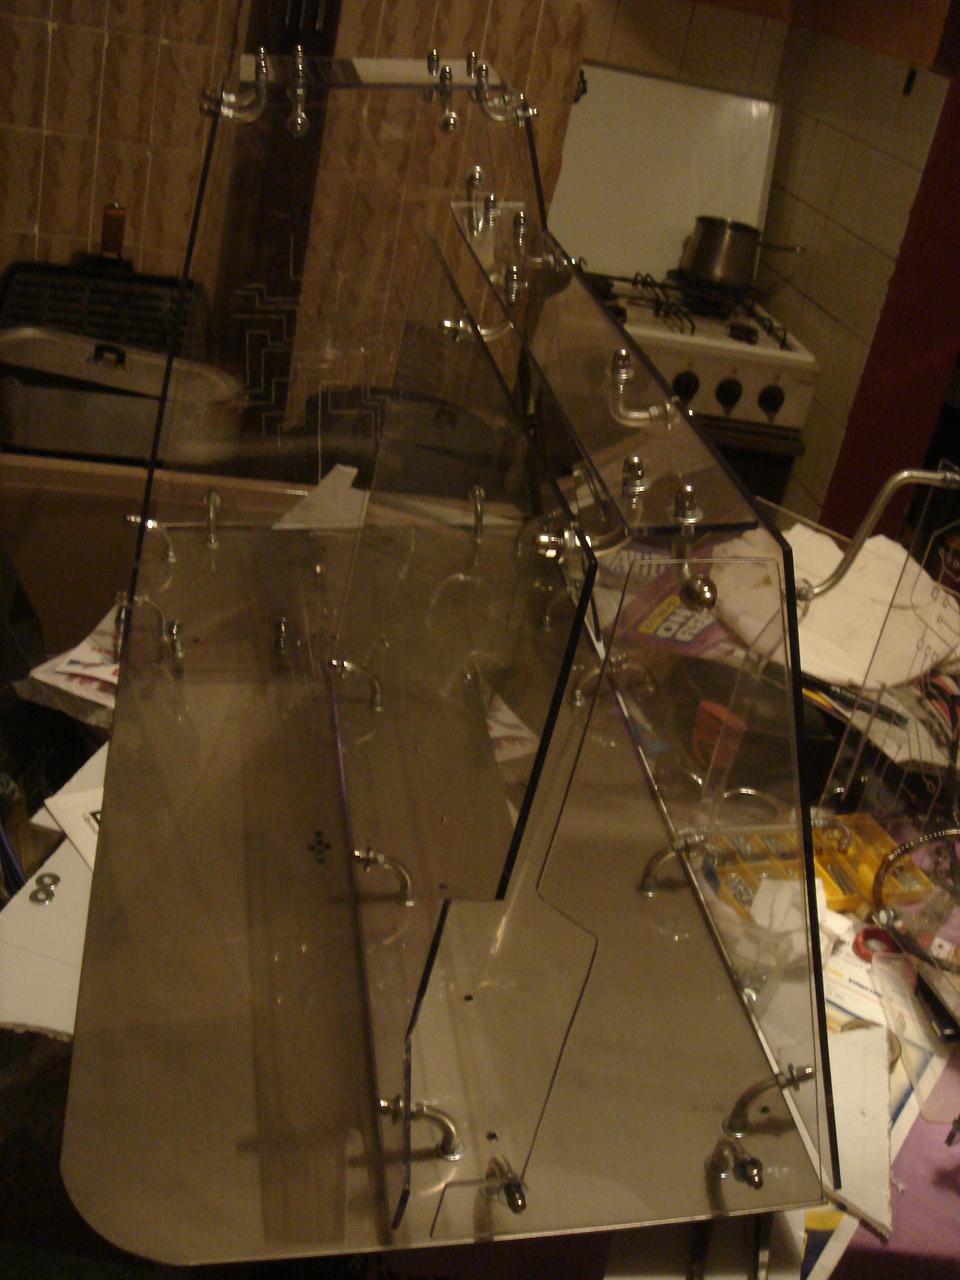
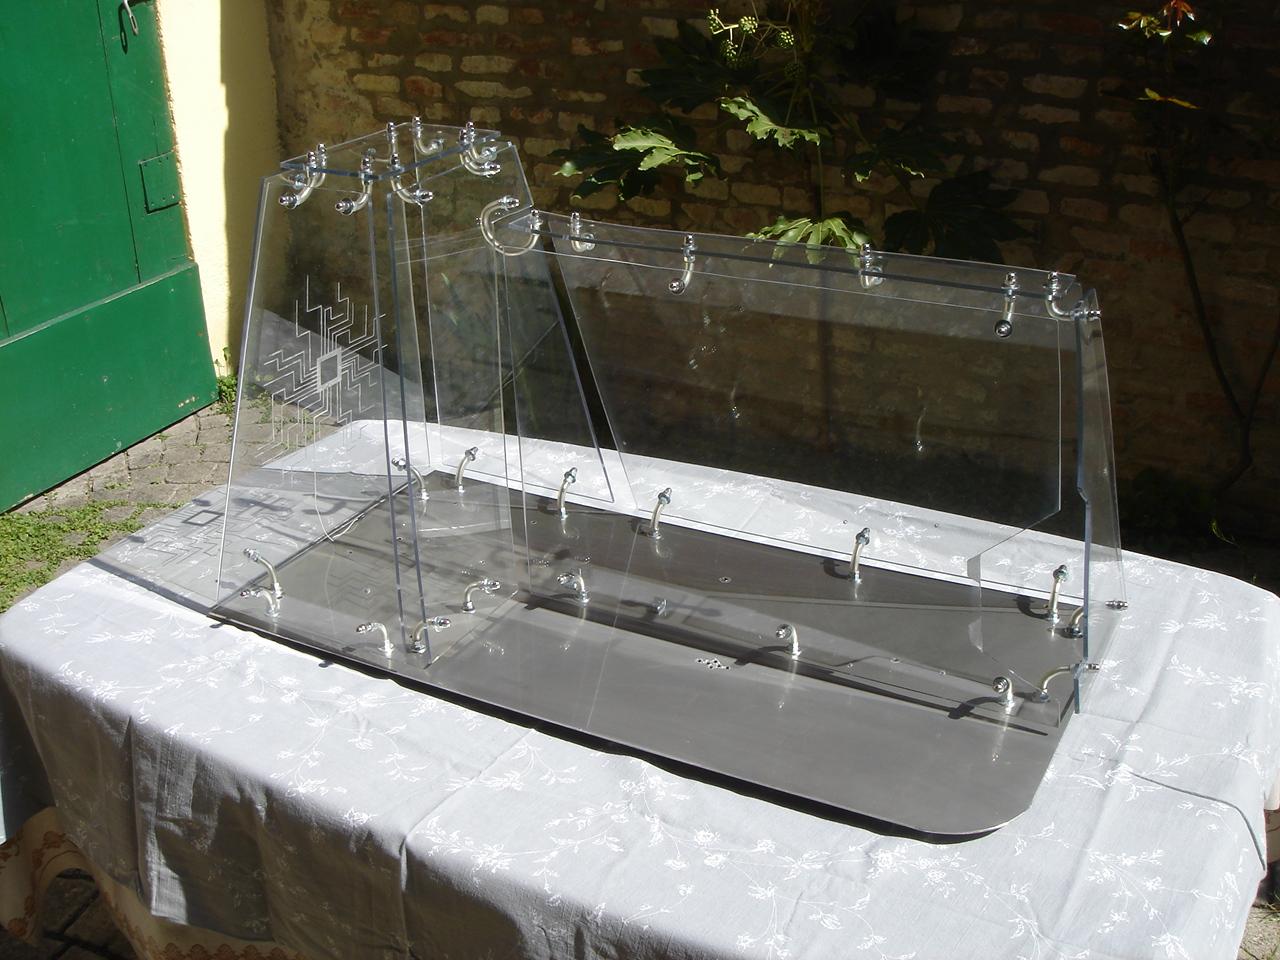
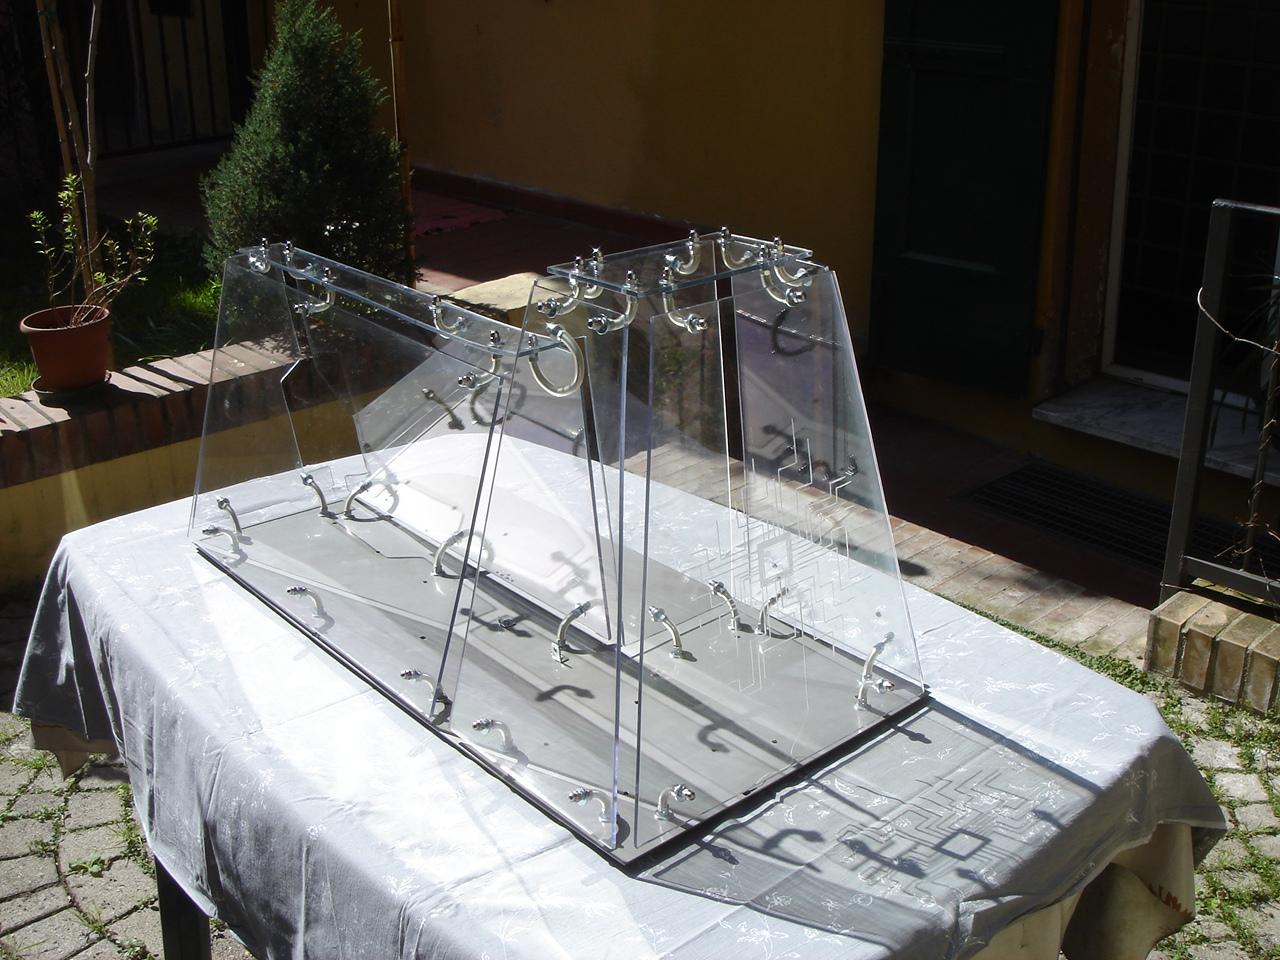
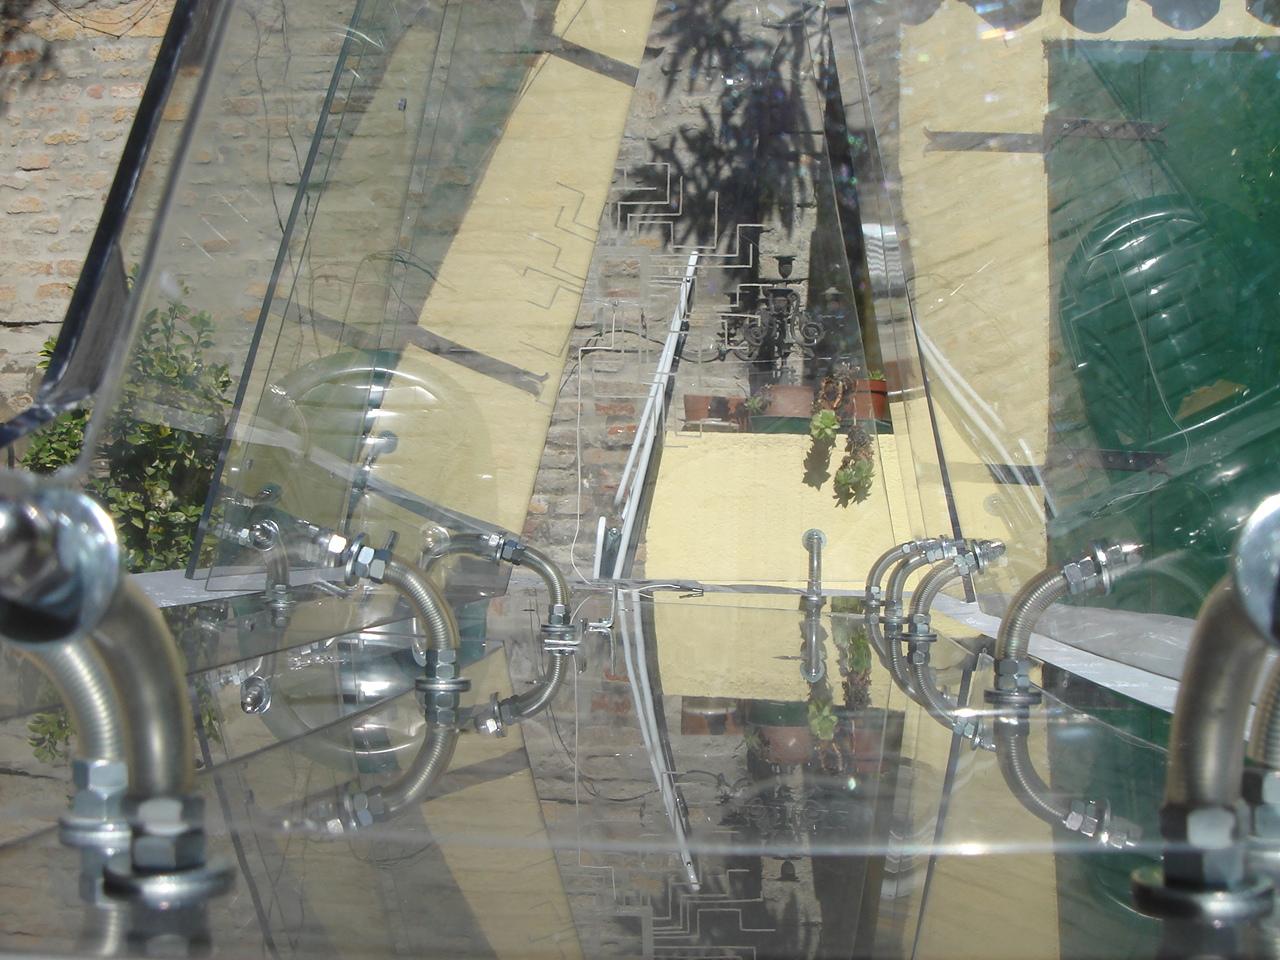
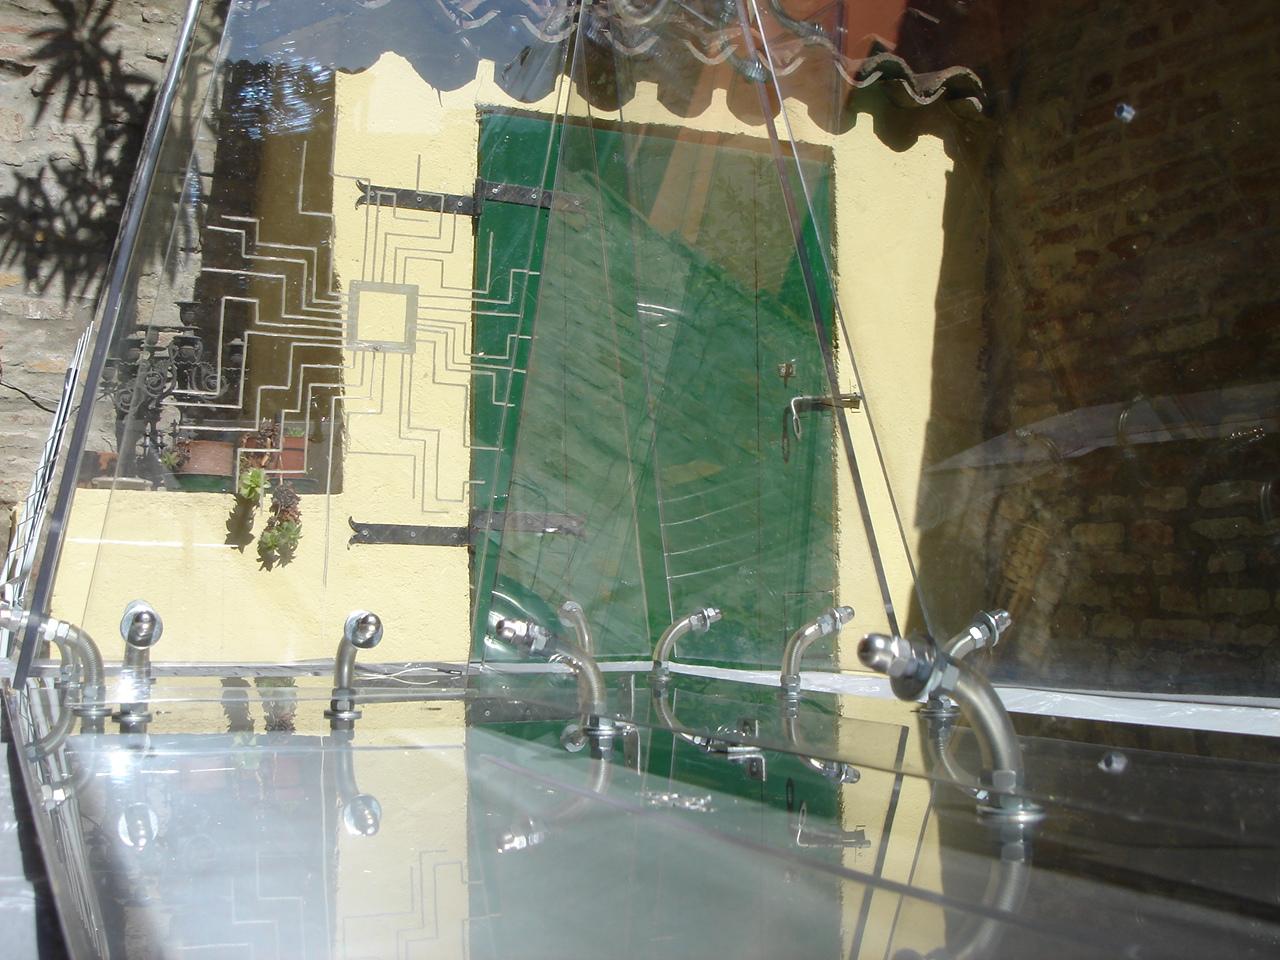
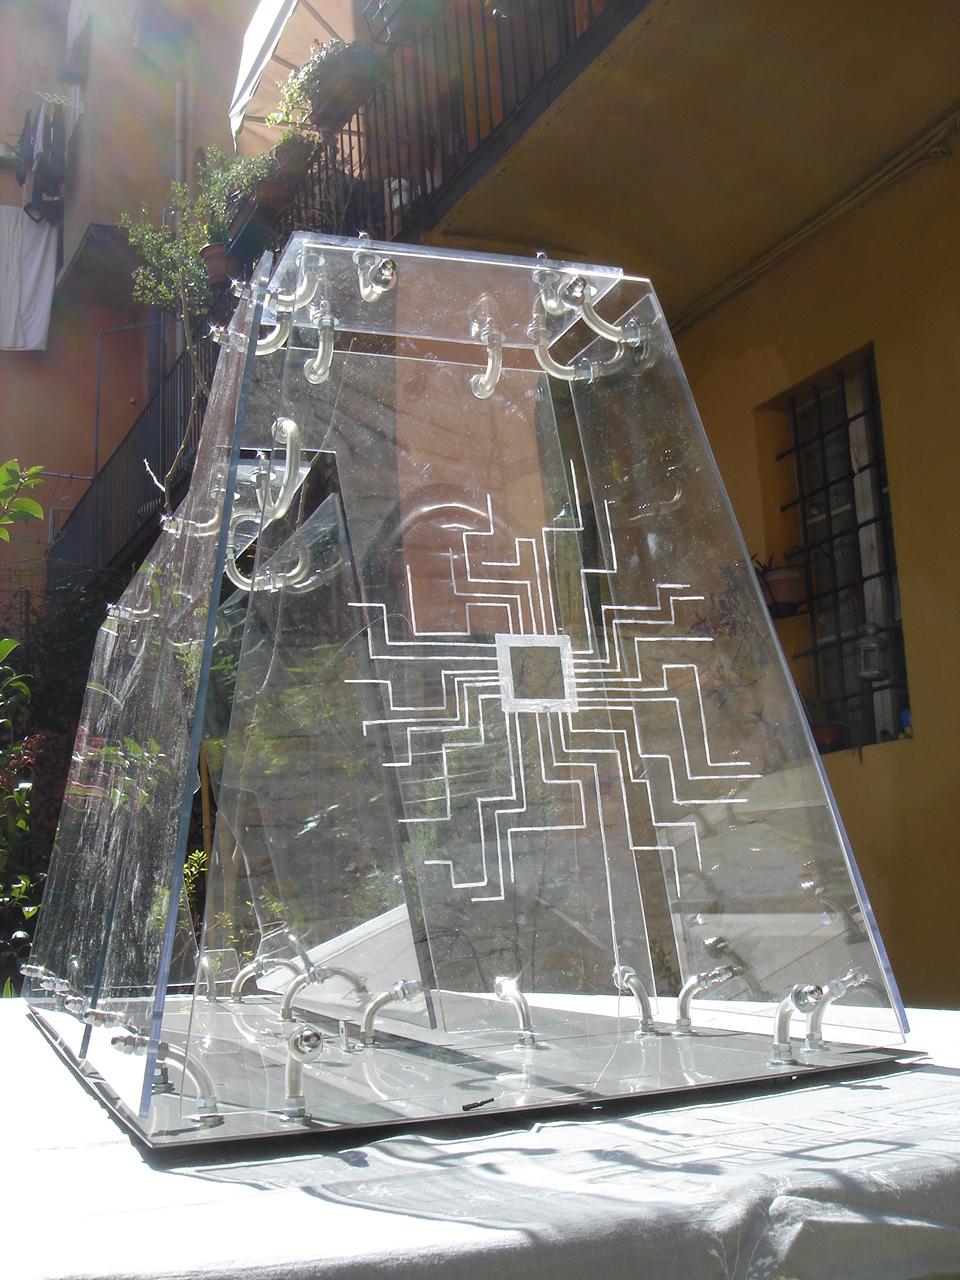
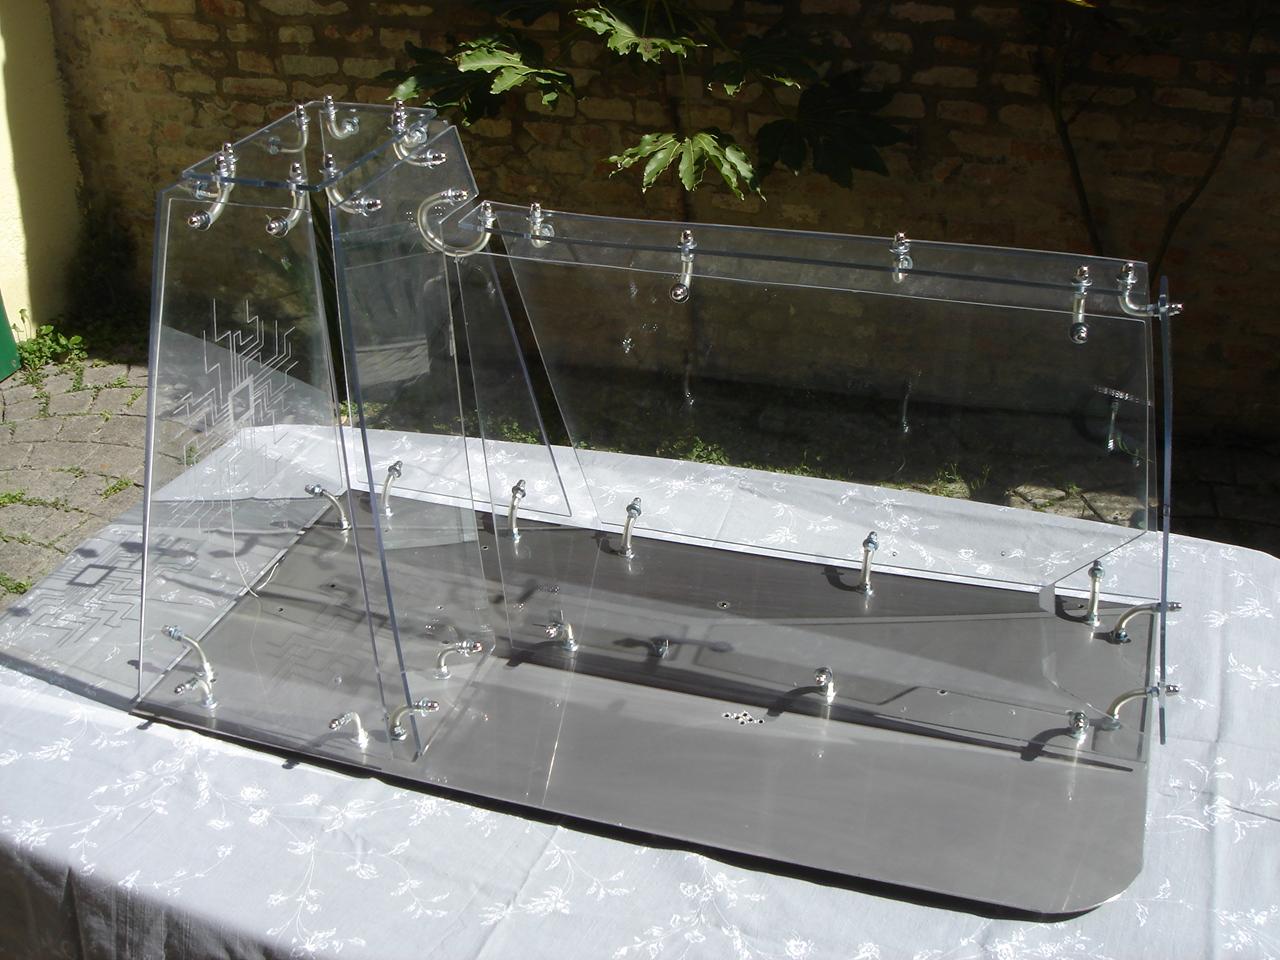
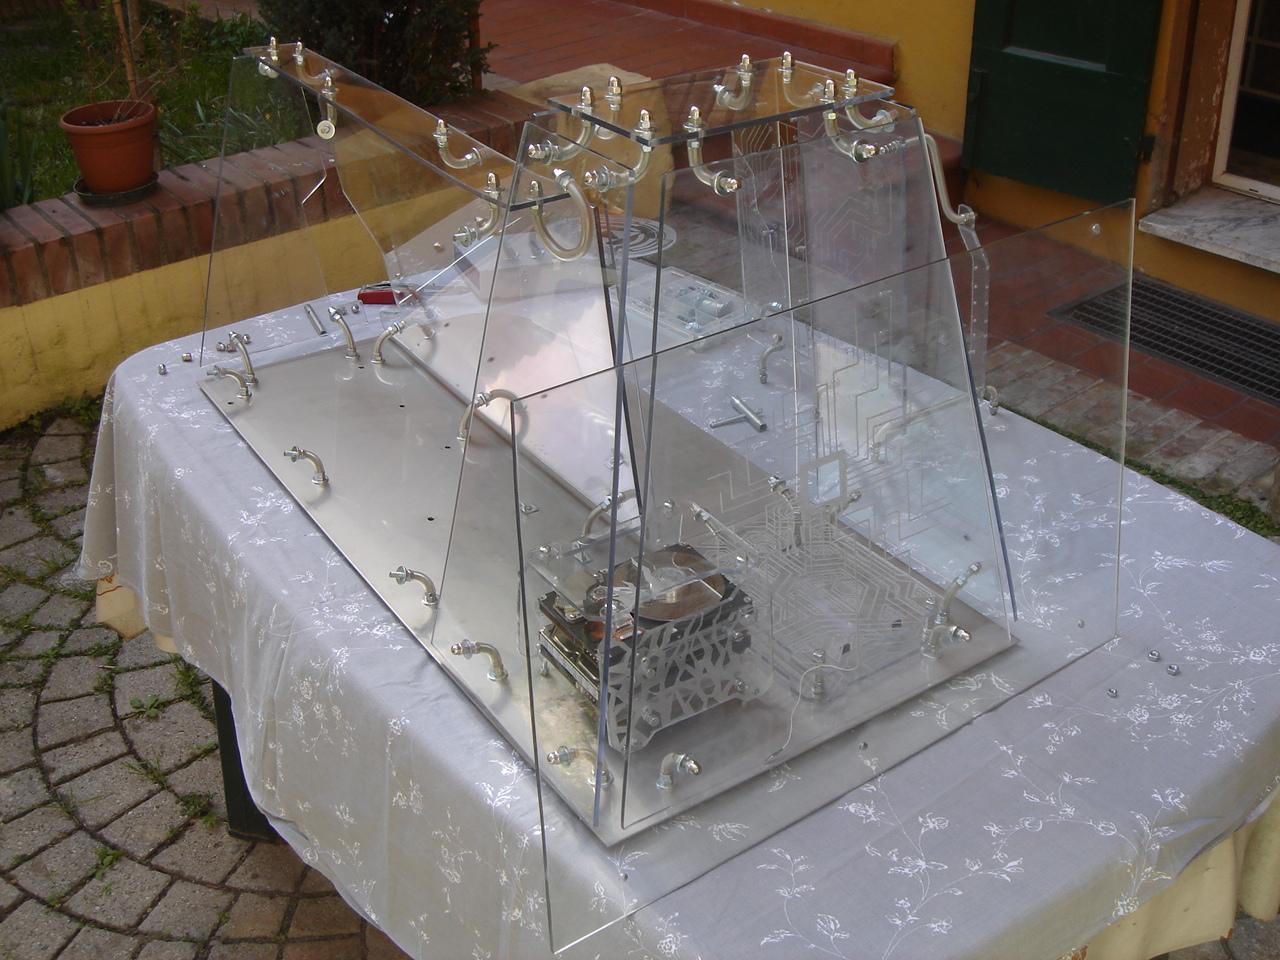
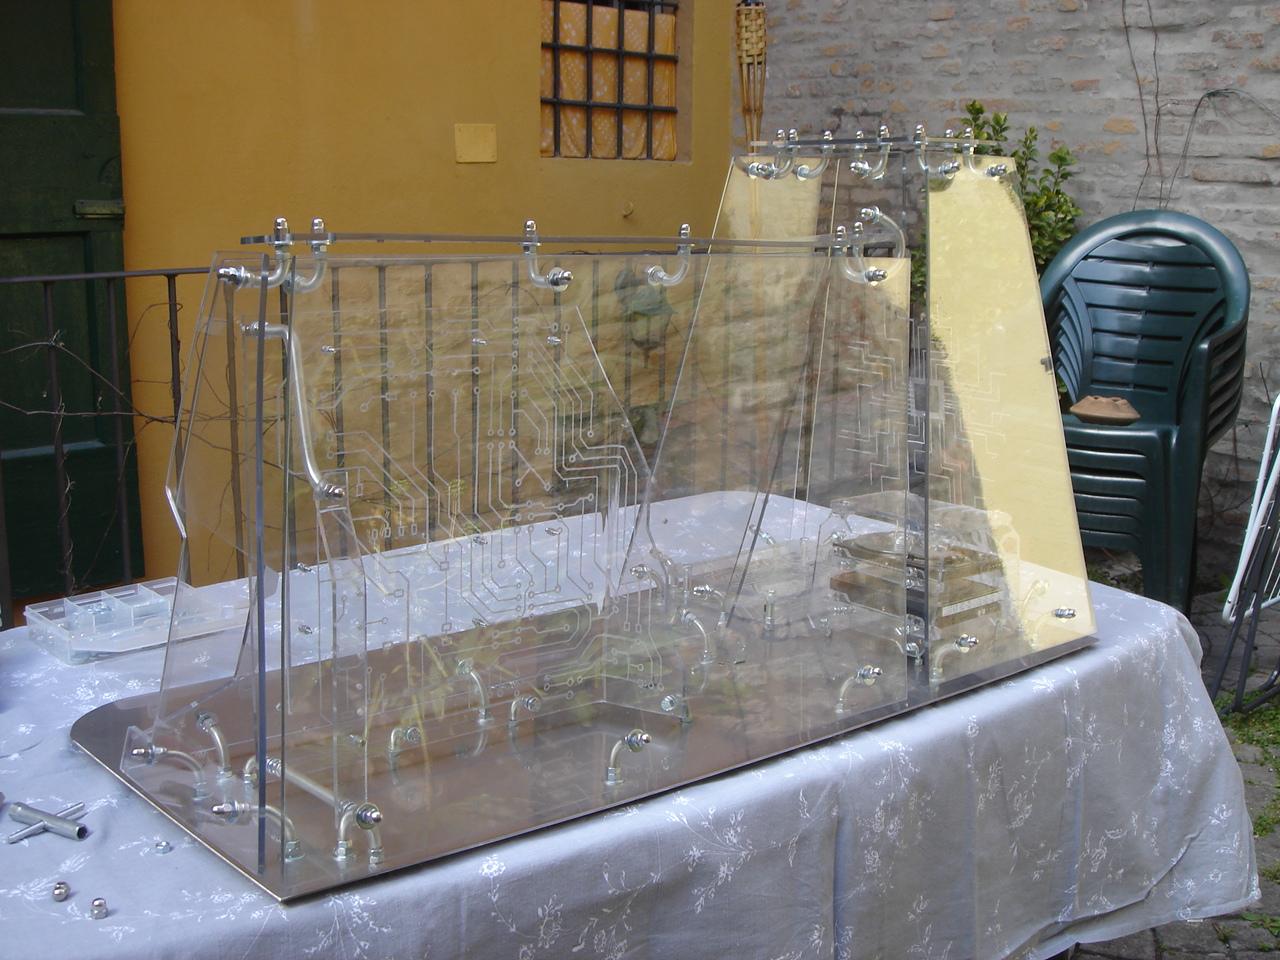
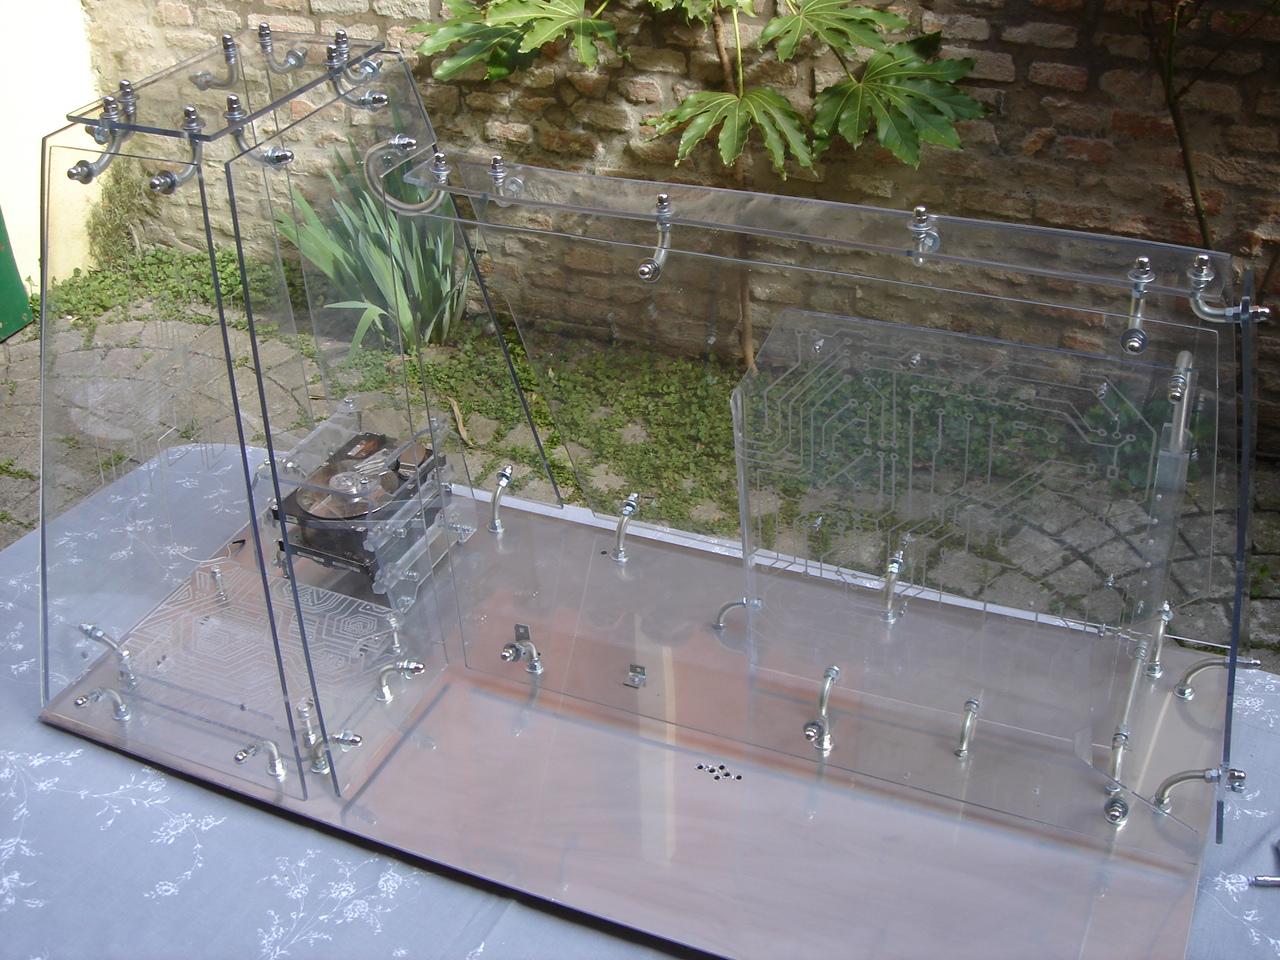
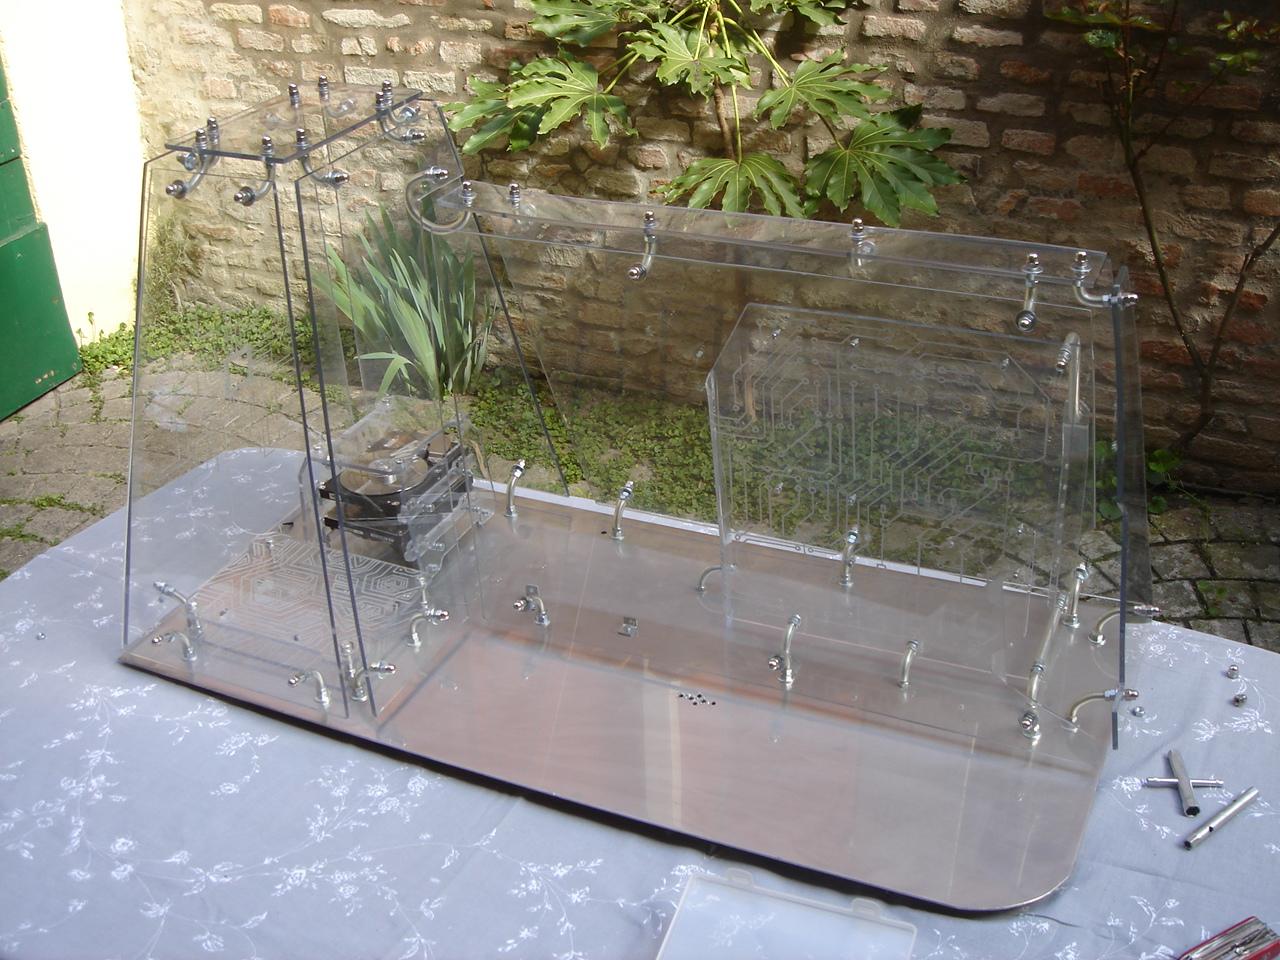
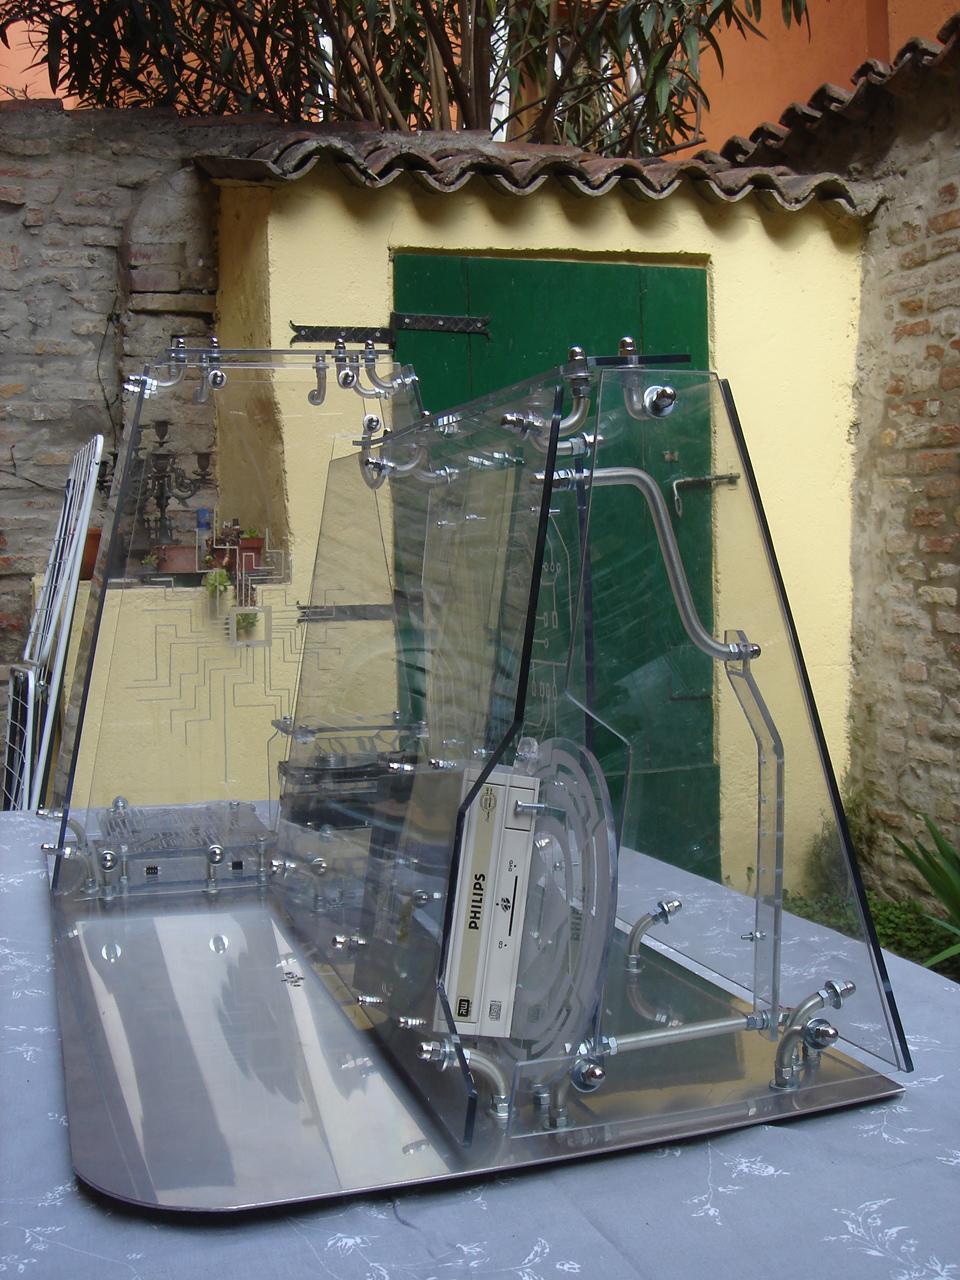
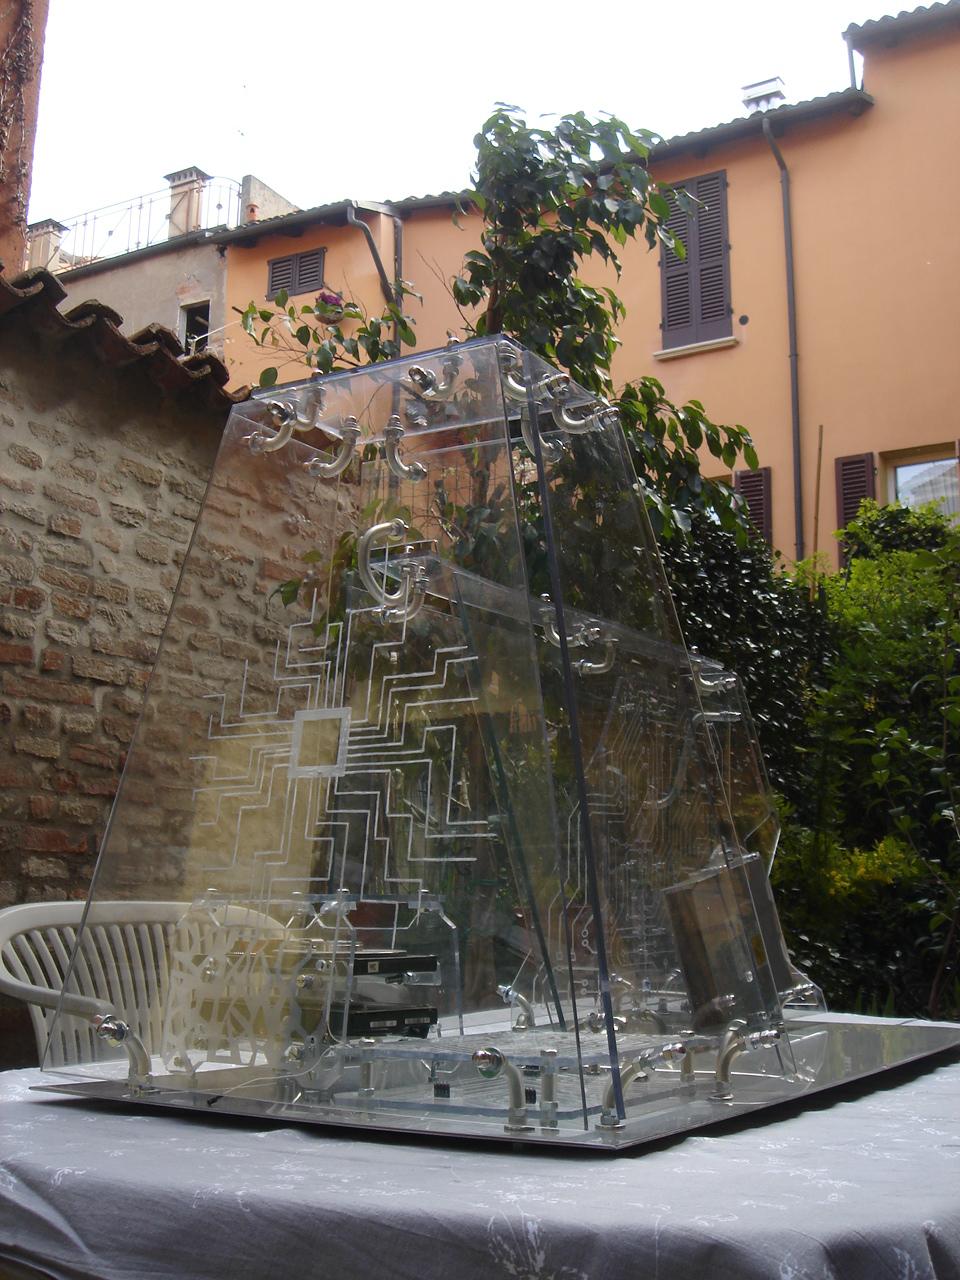
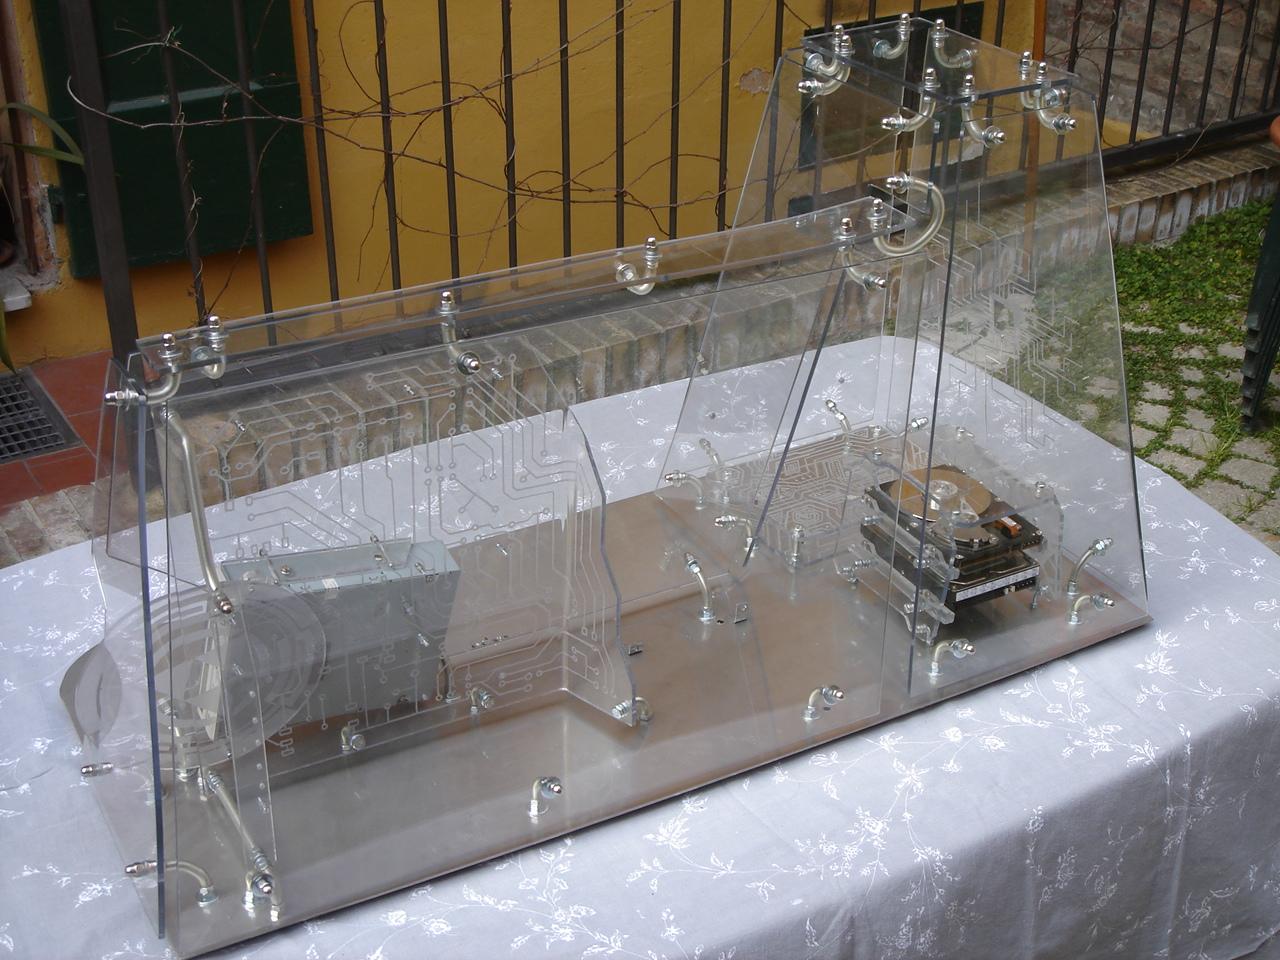
And for the first time, the outer chassis assembled without the protective films! 😀
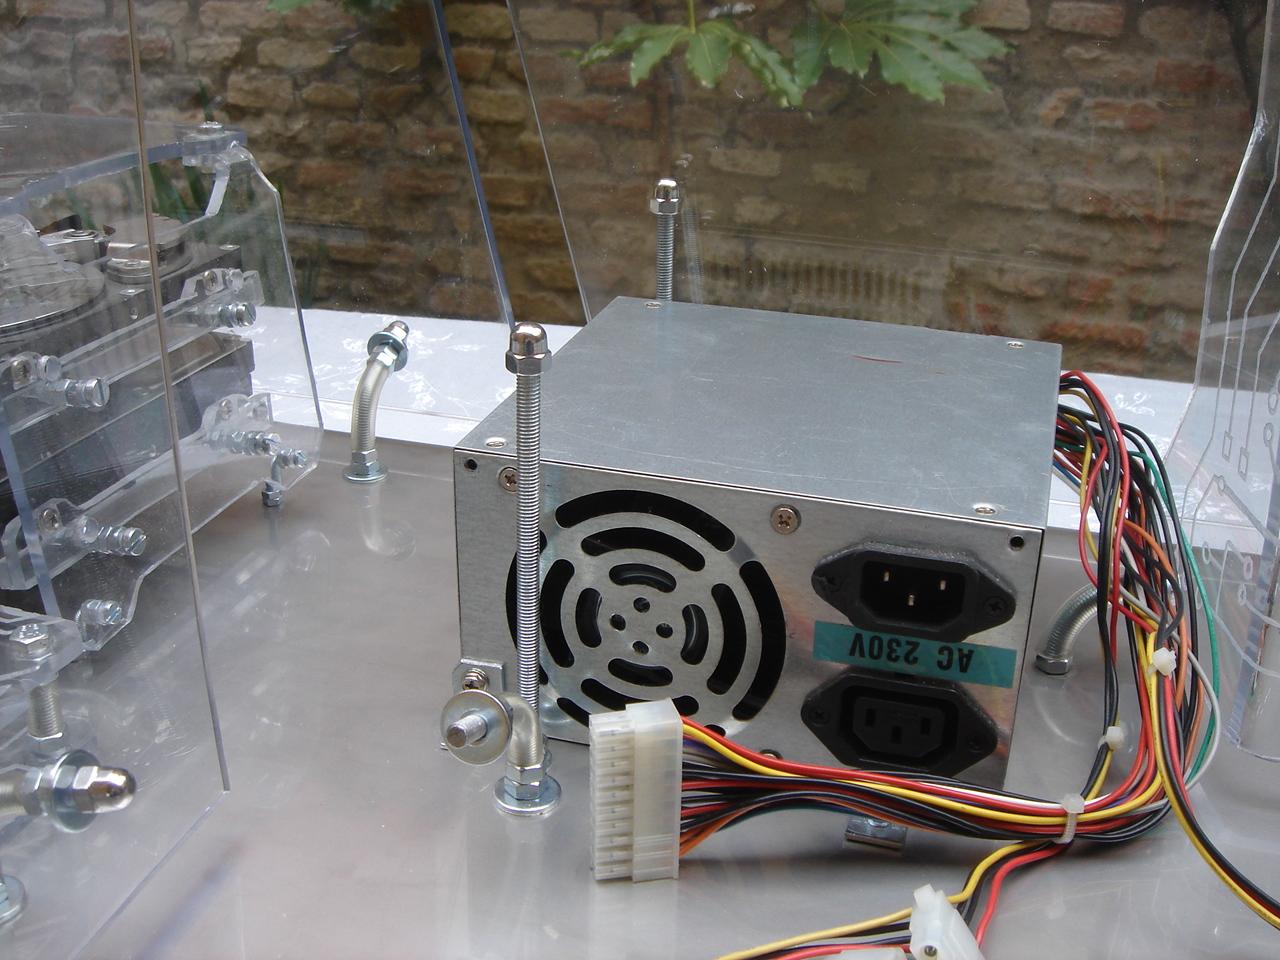
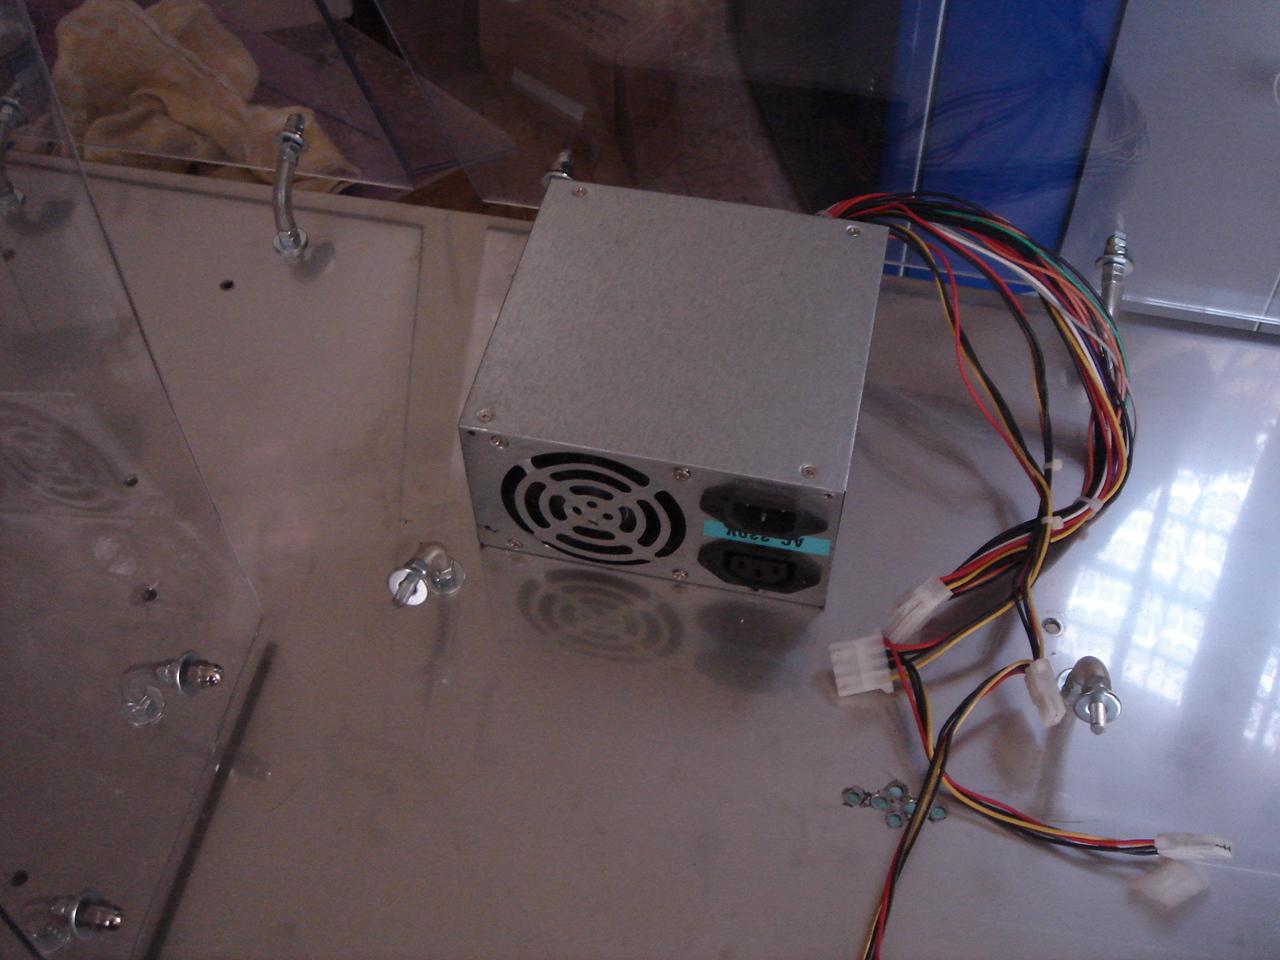
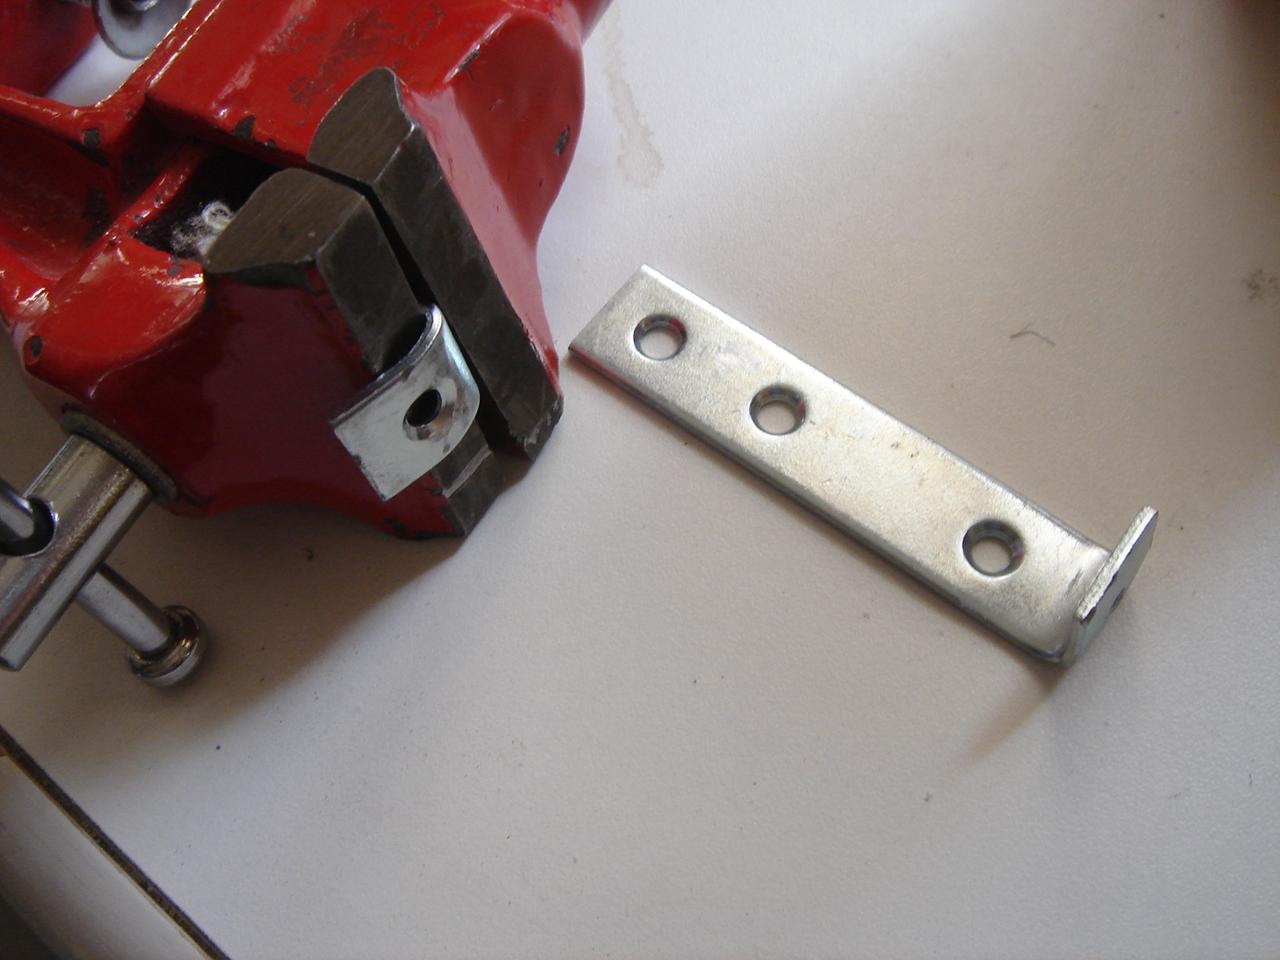
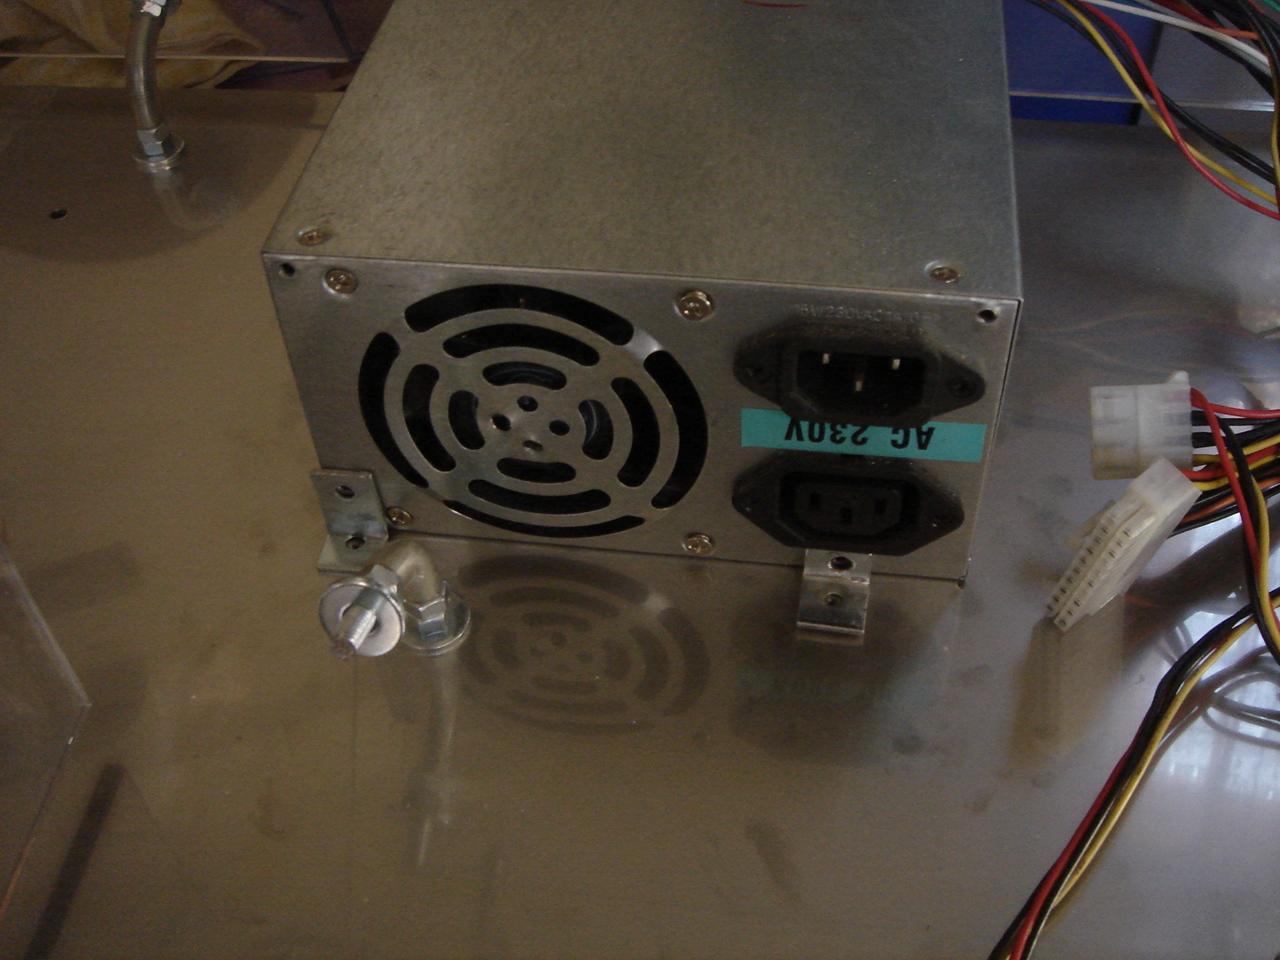
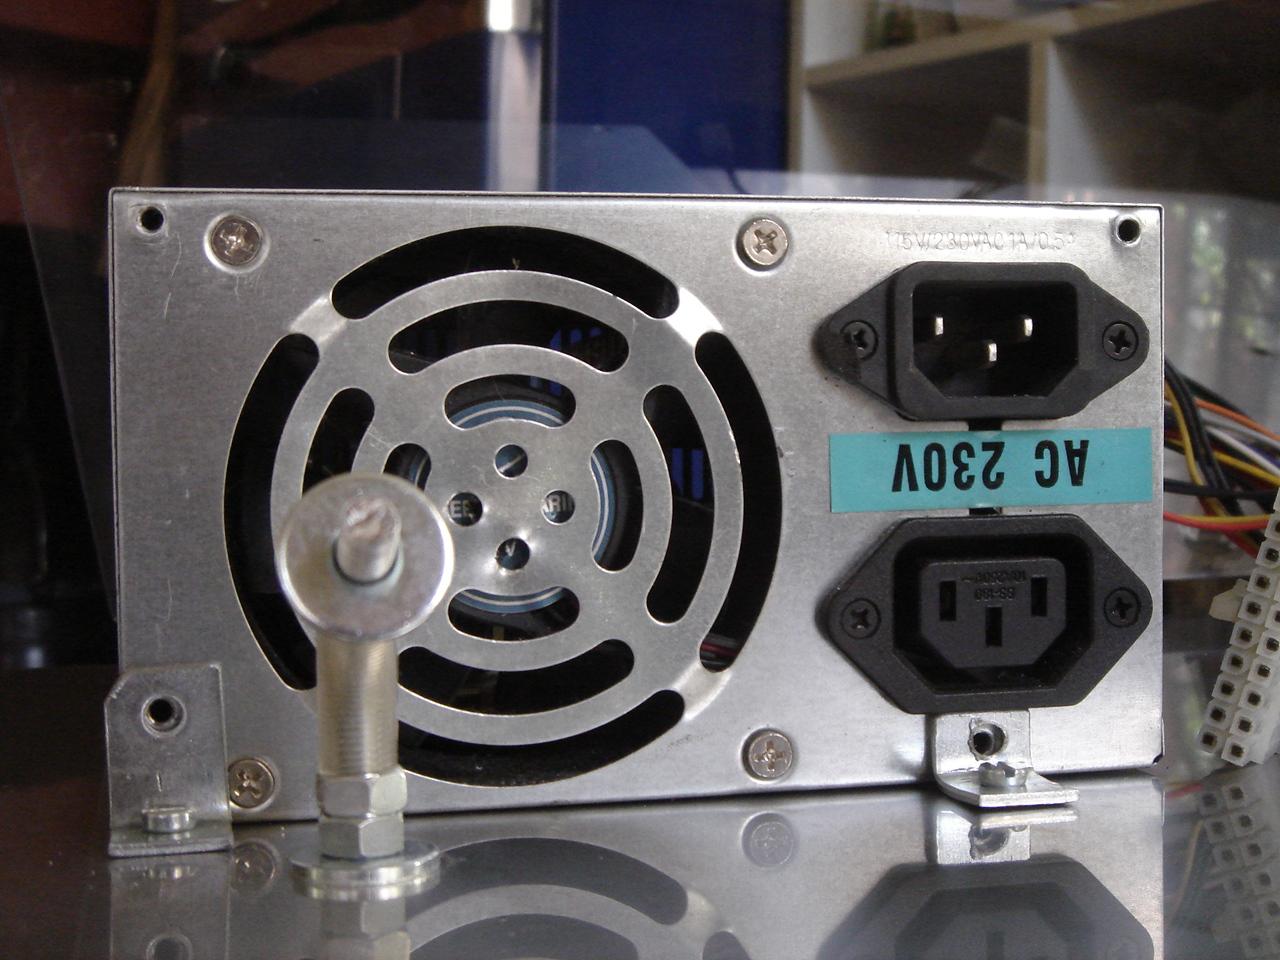
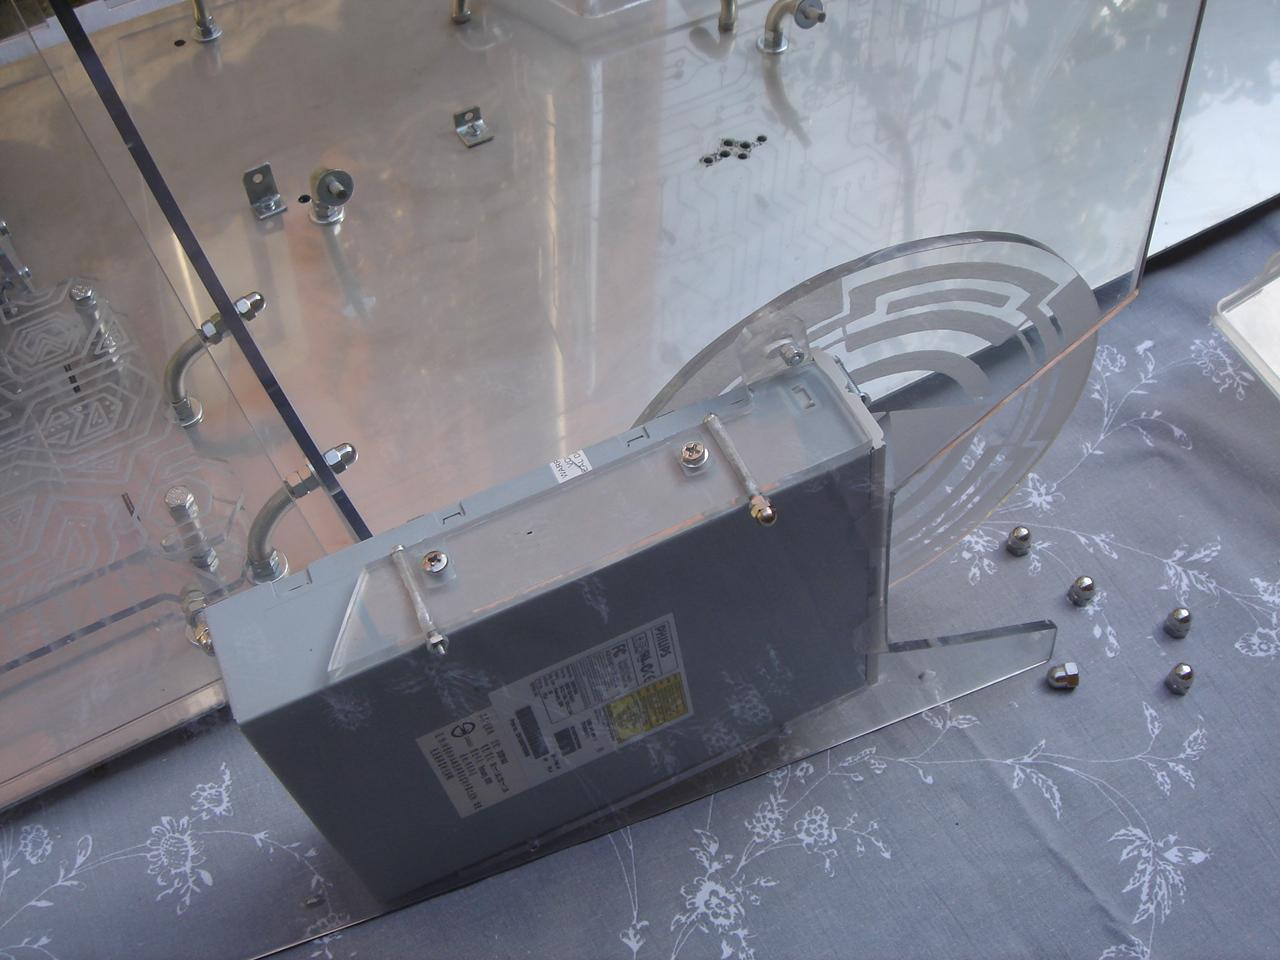
two L shaped bars to fix the PSU on the base:
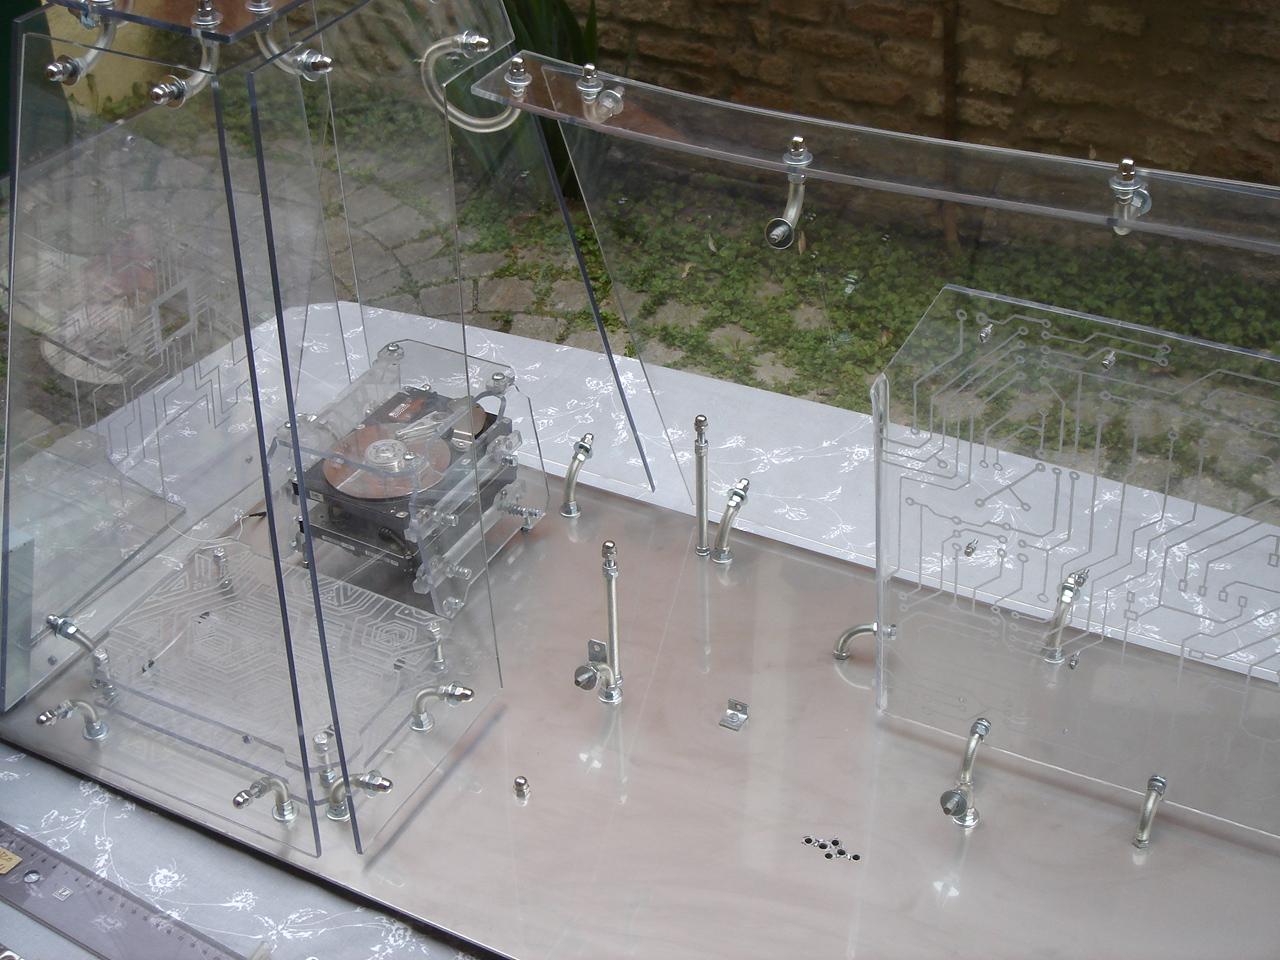
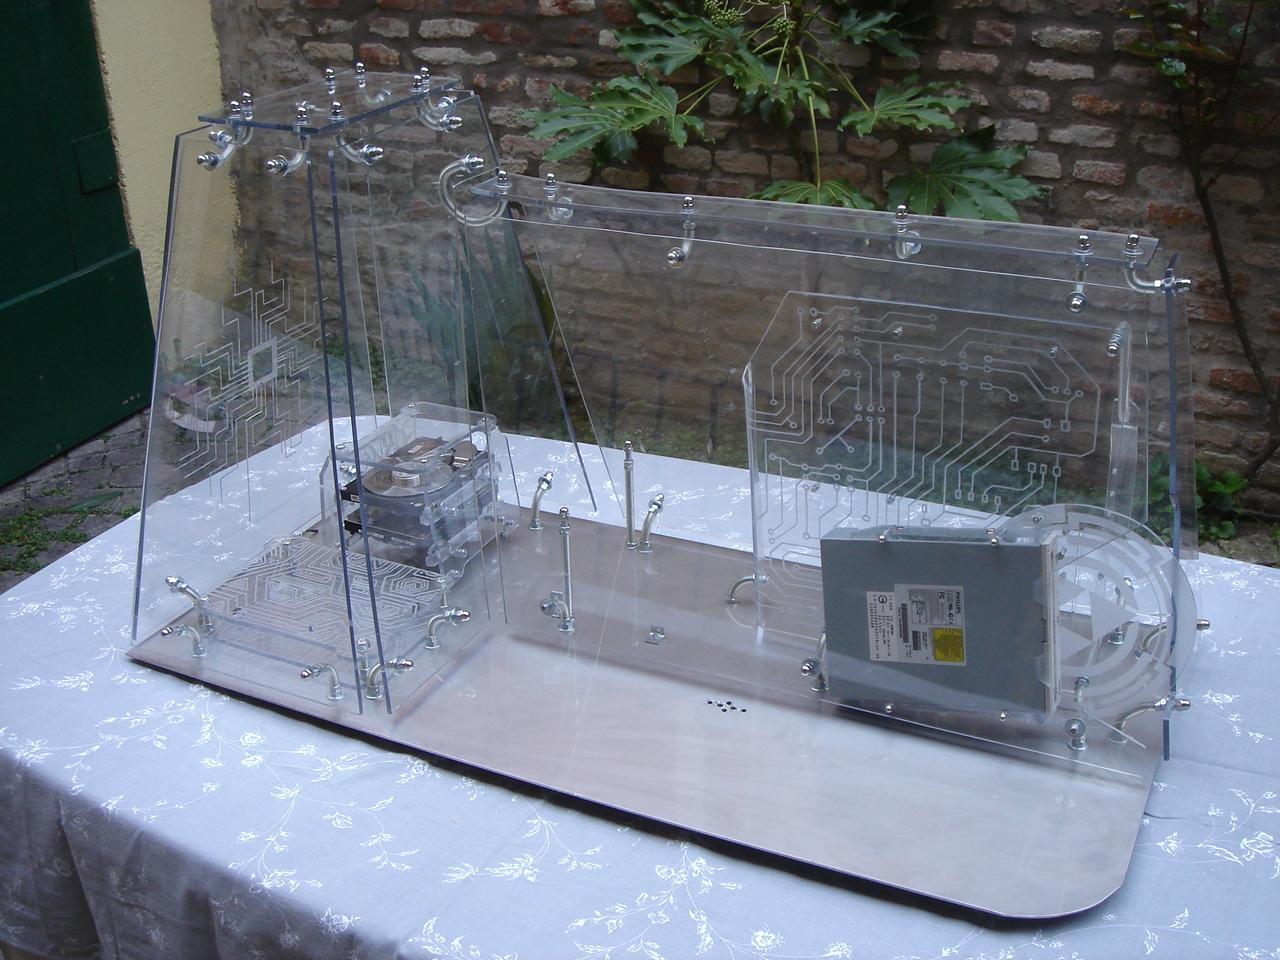
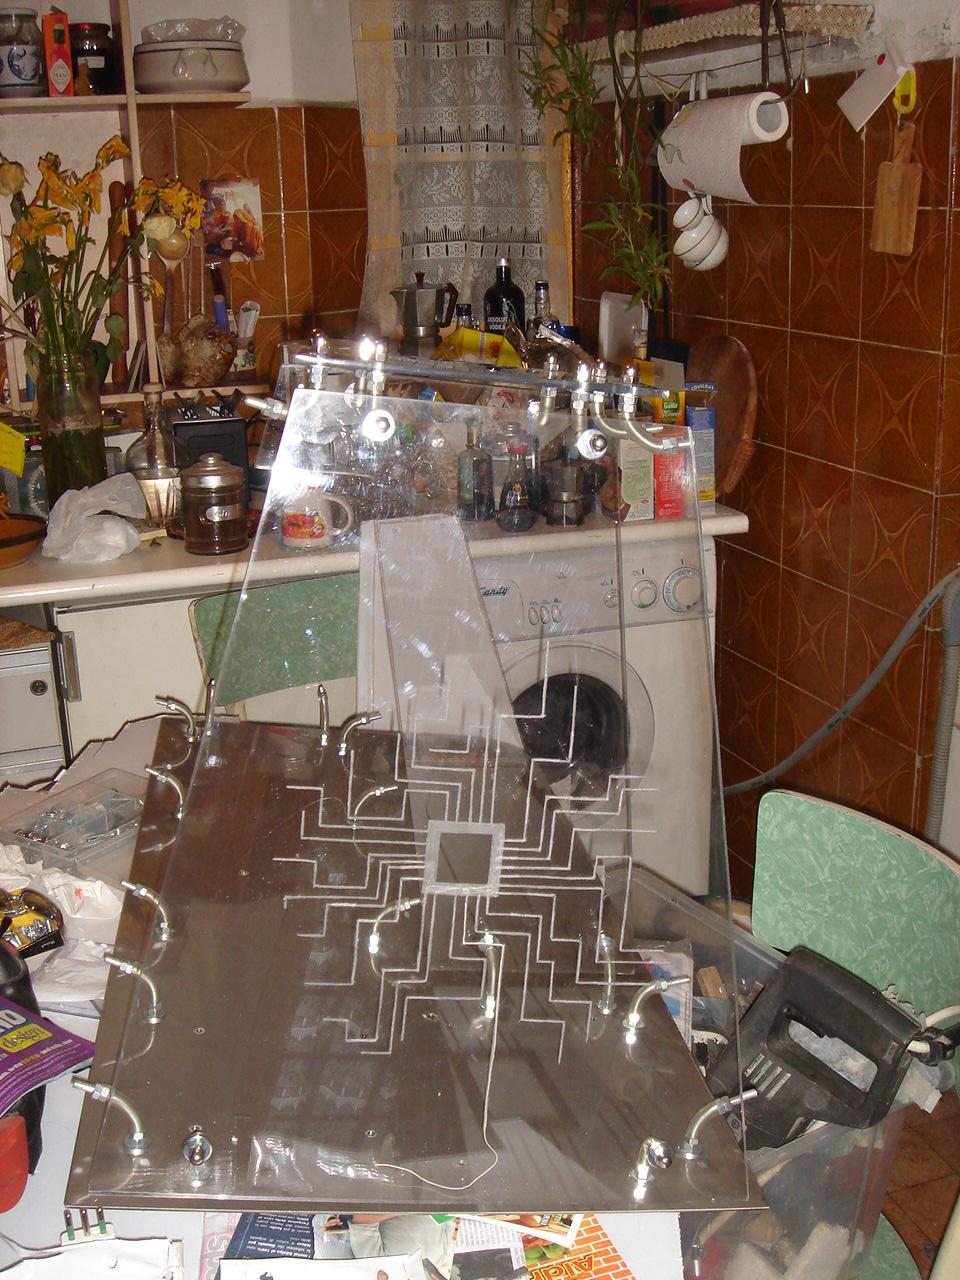
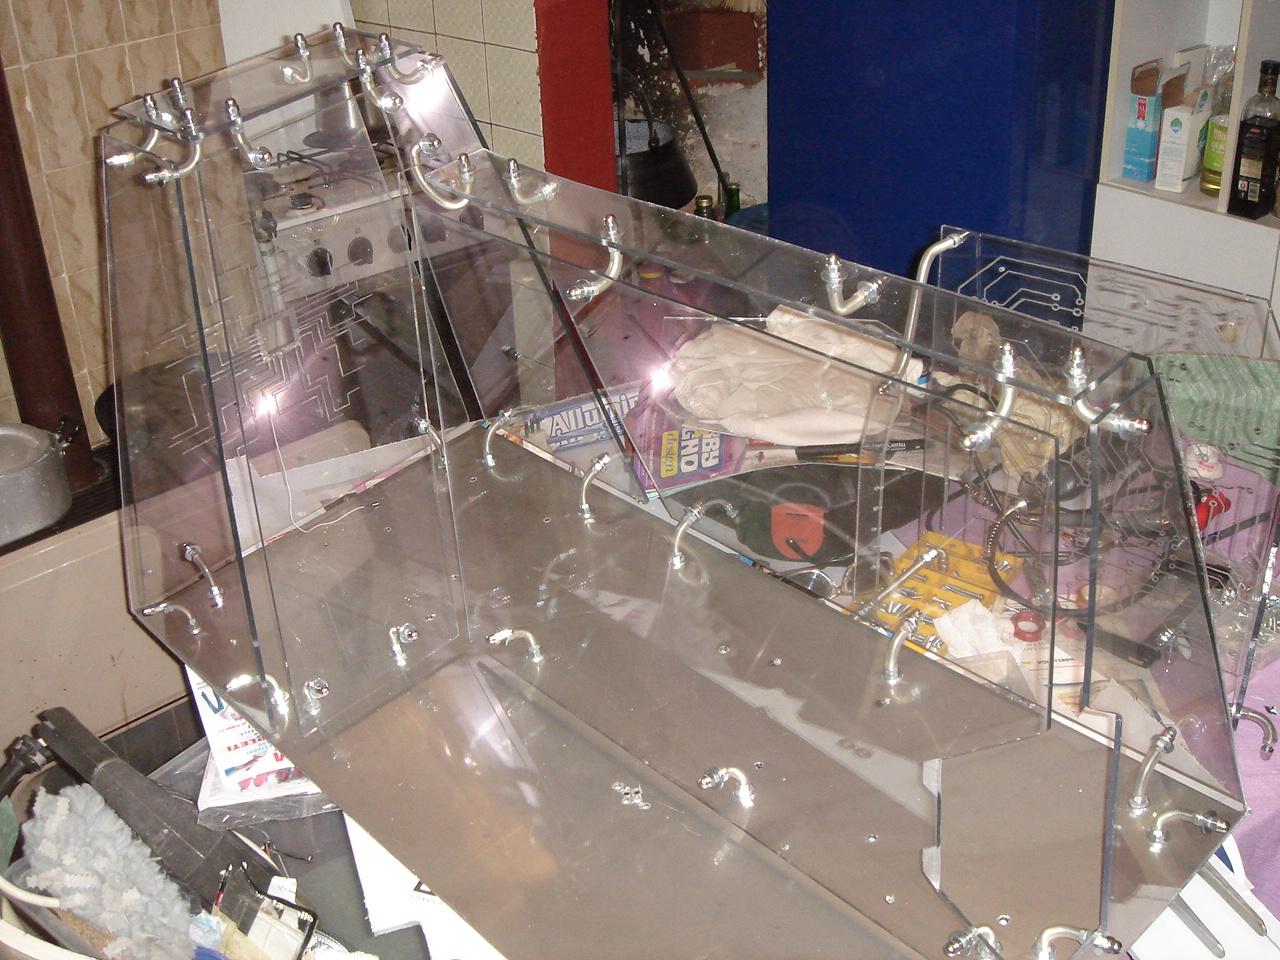
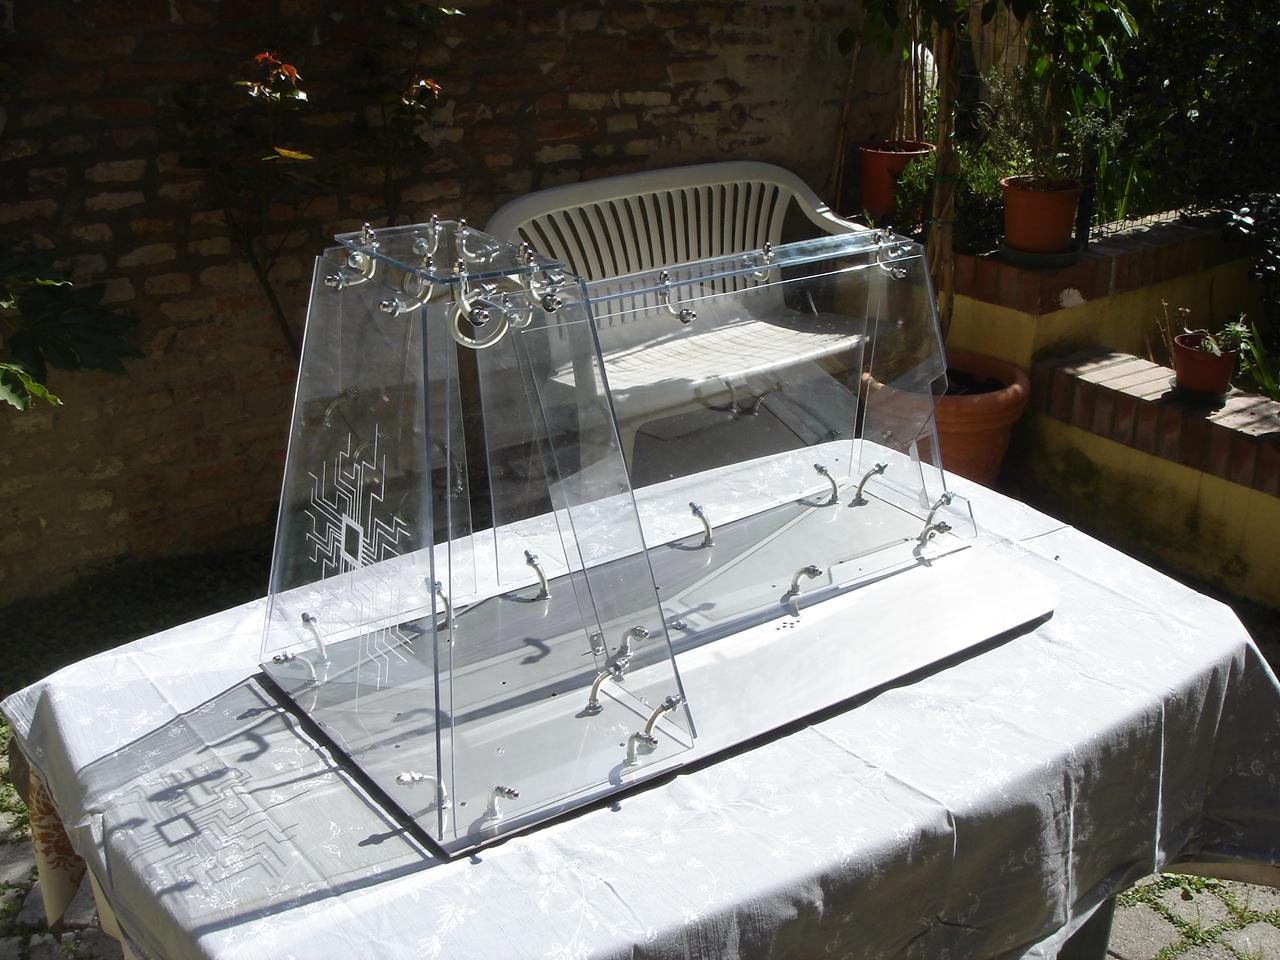
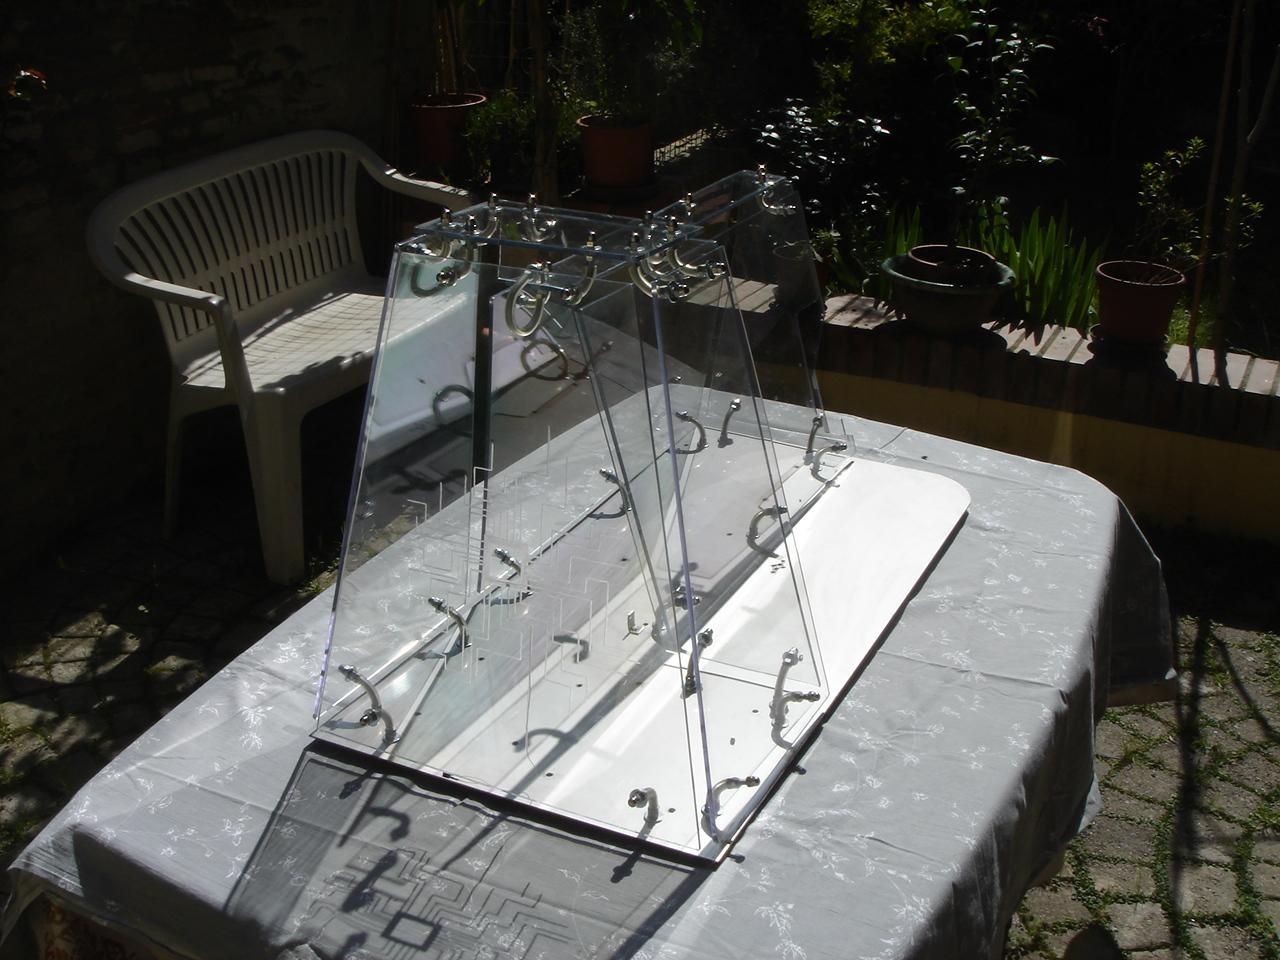
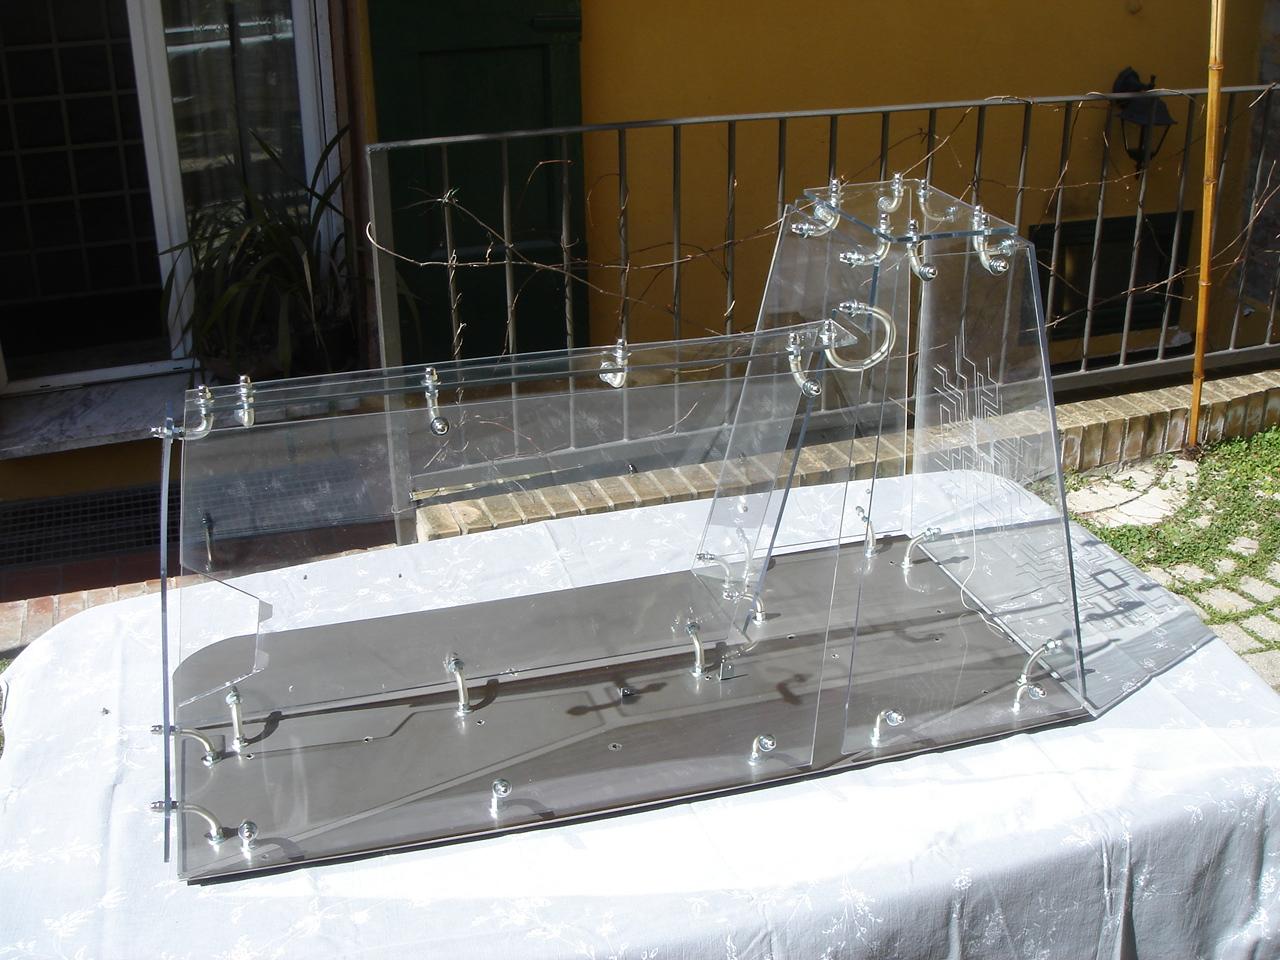
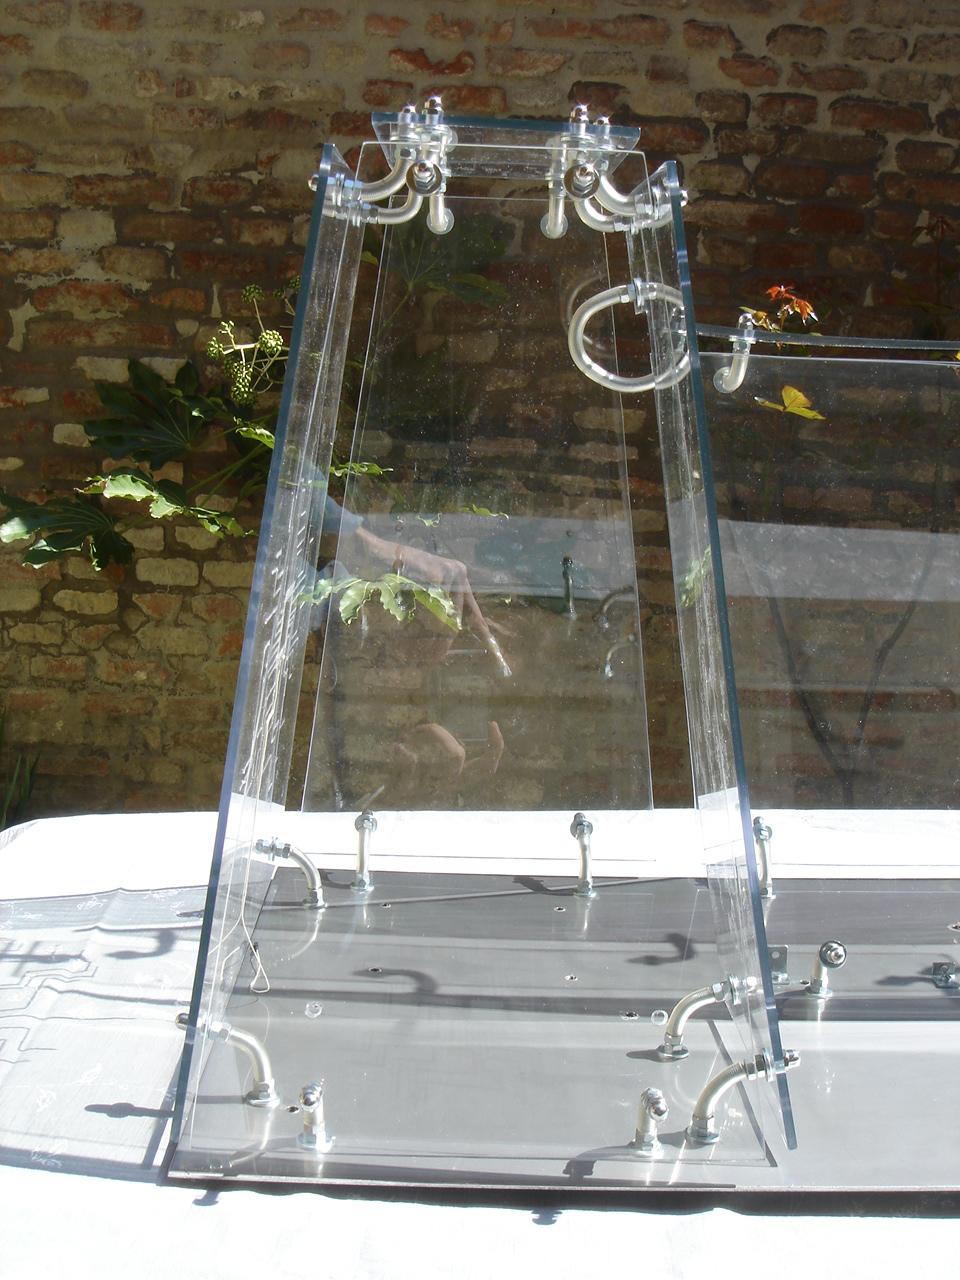
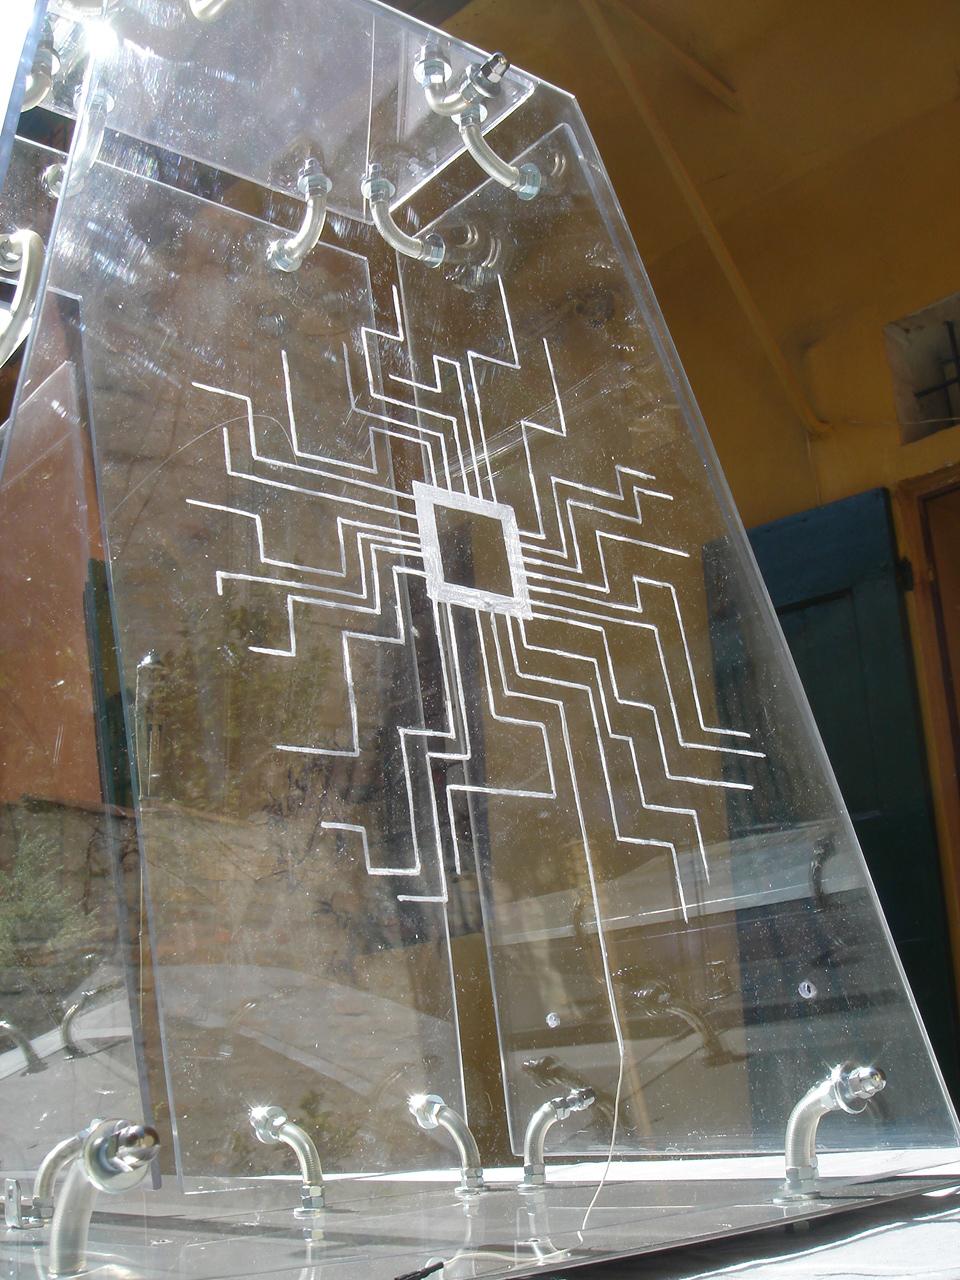
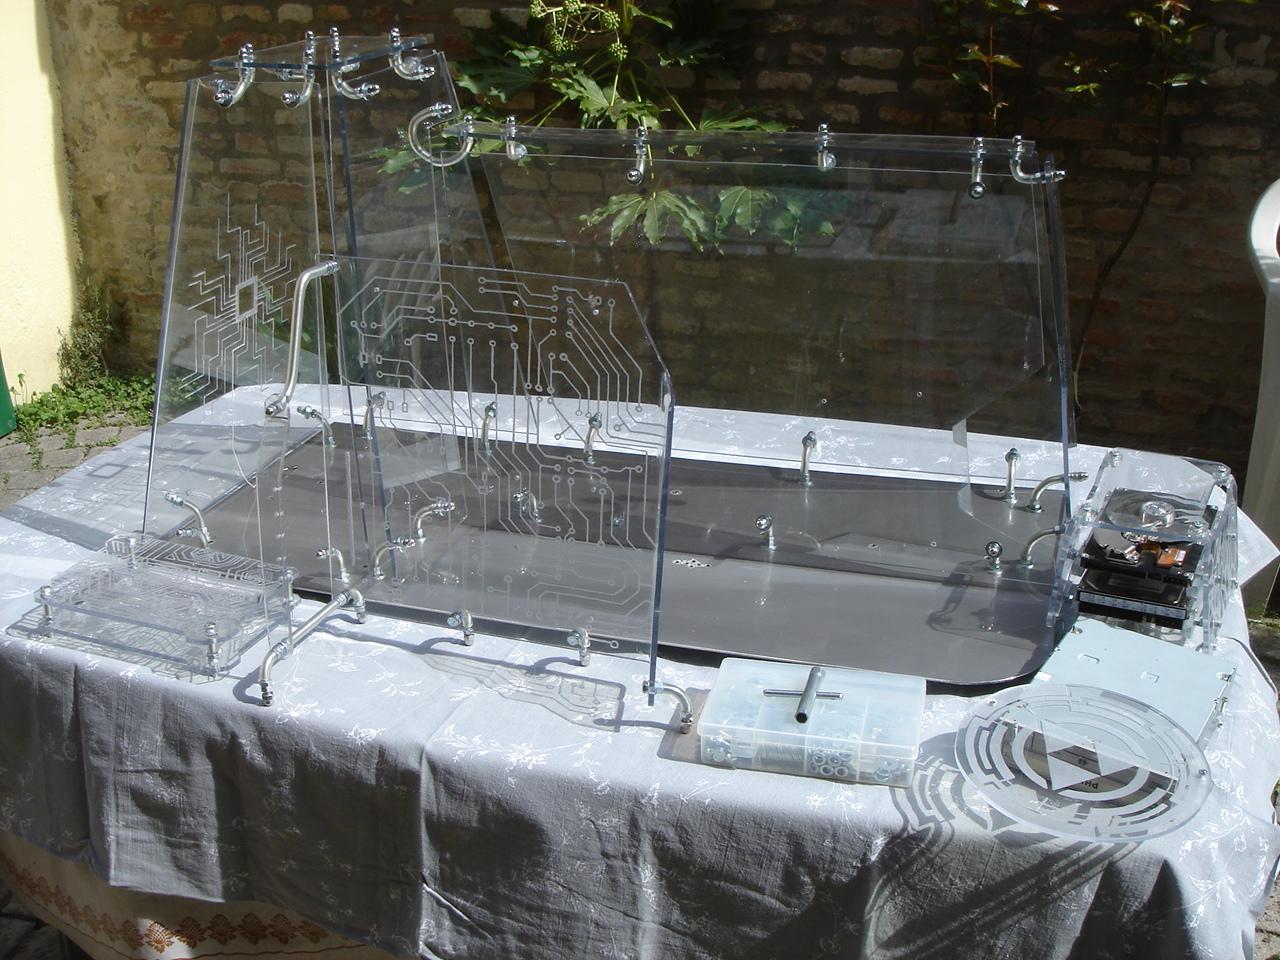
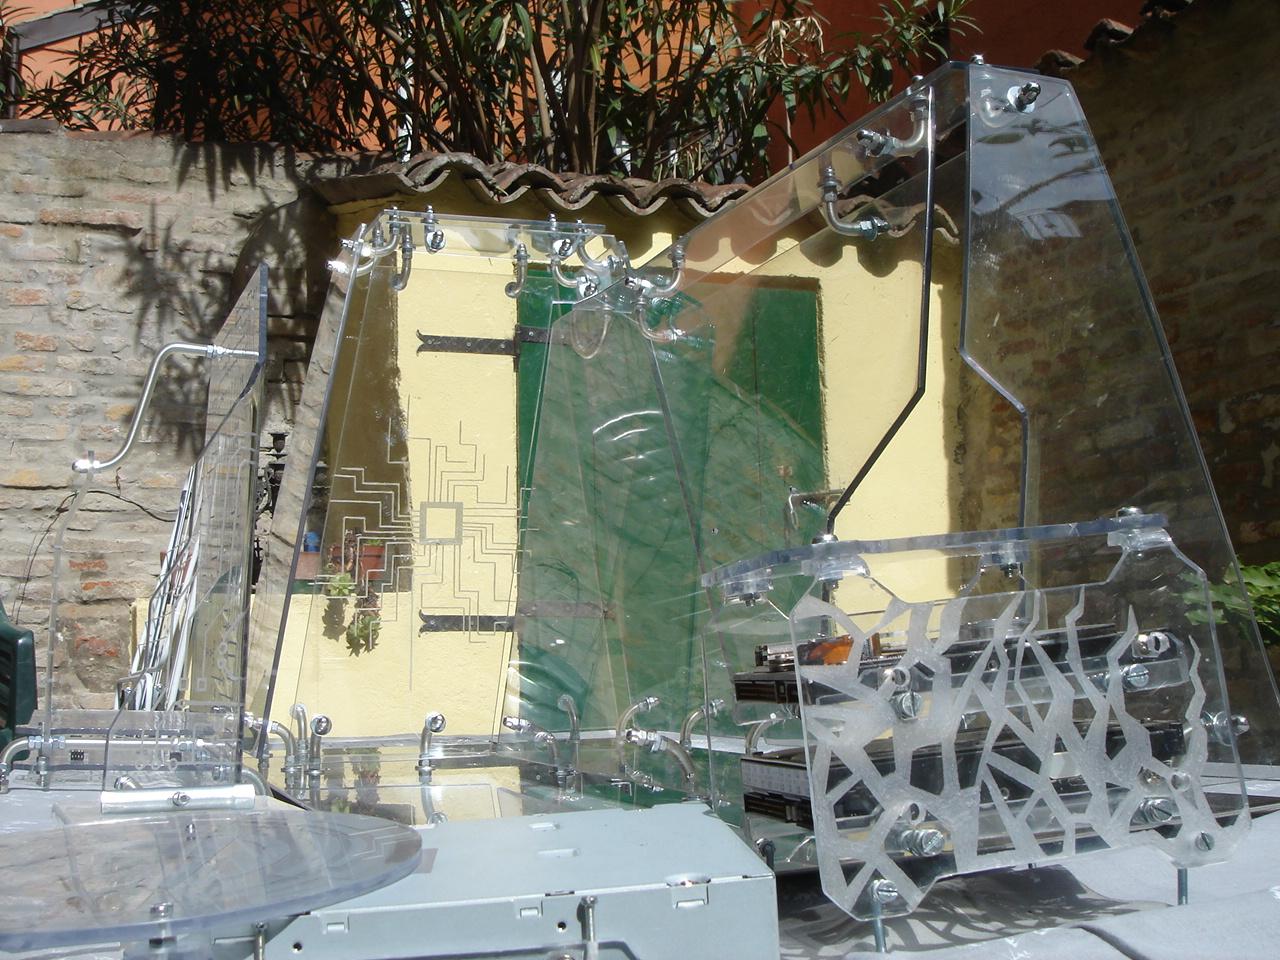
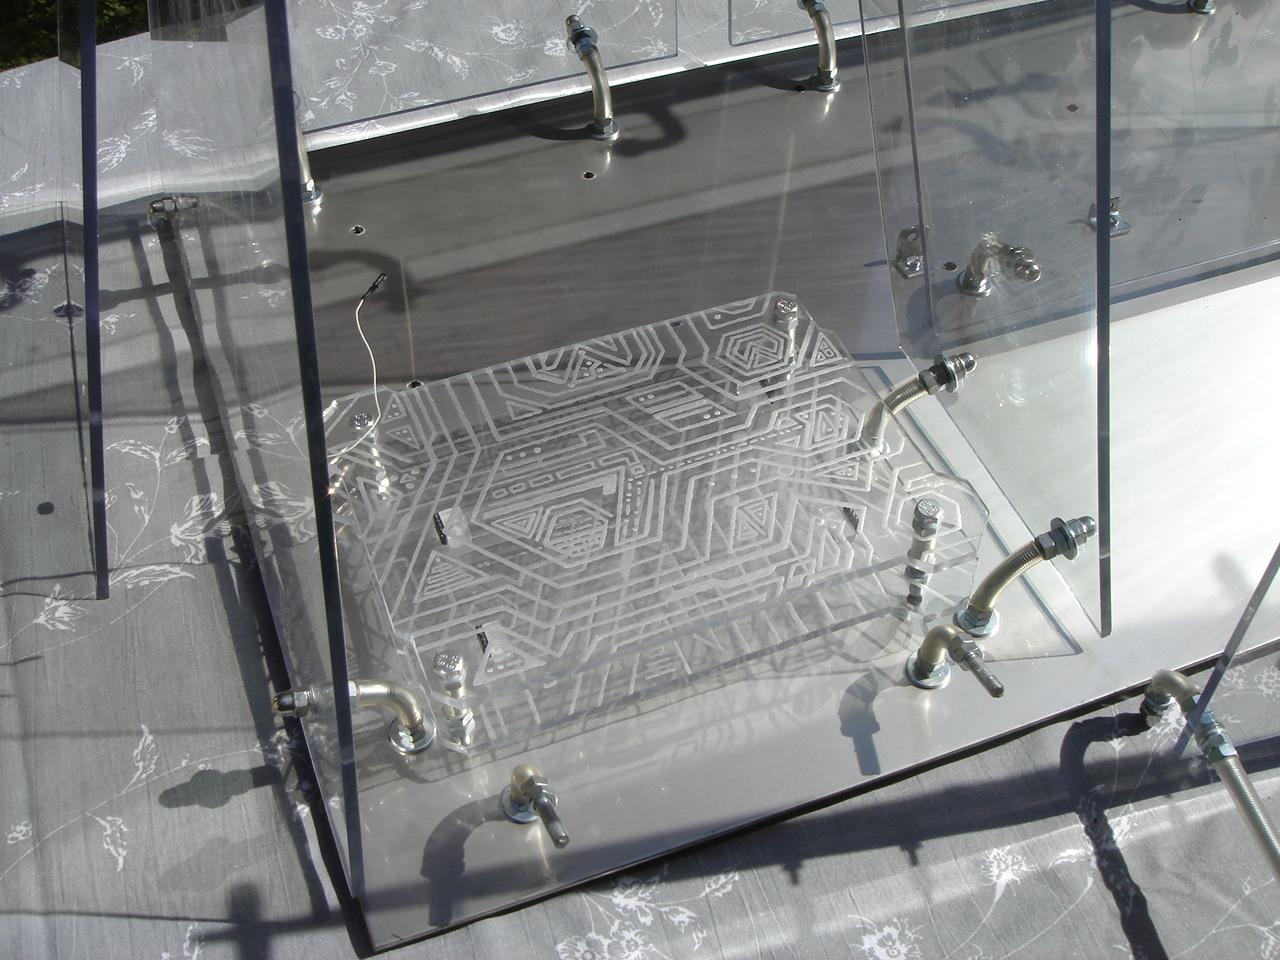
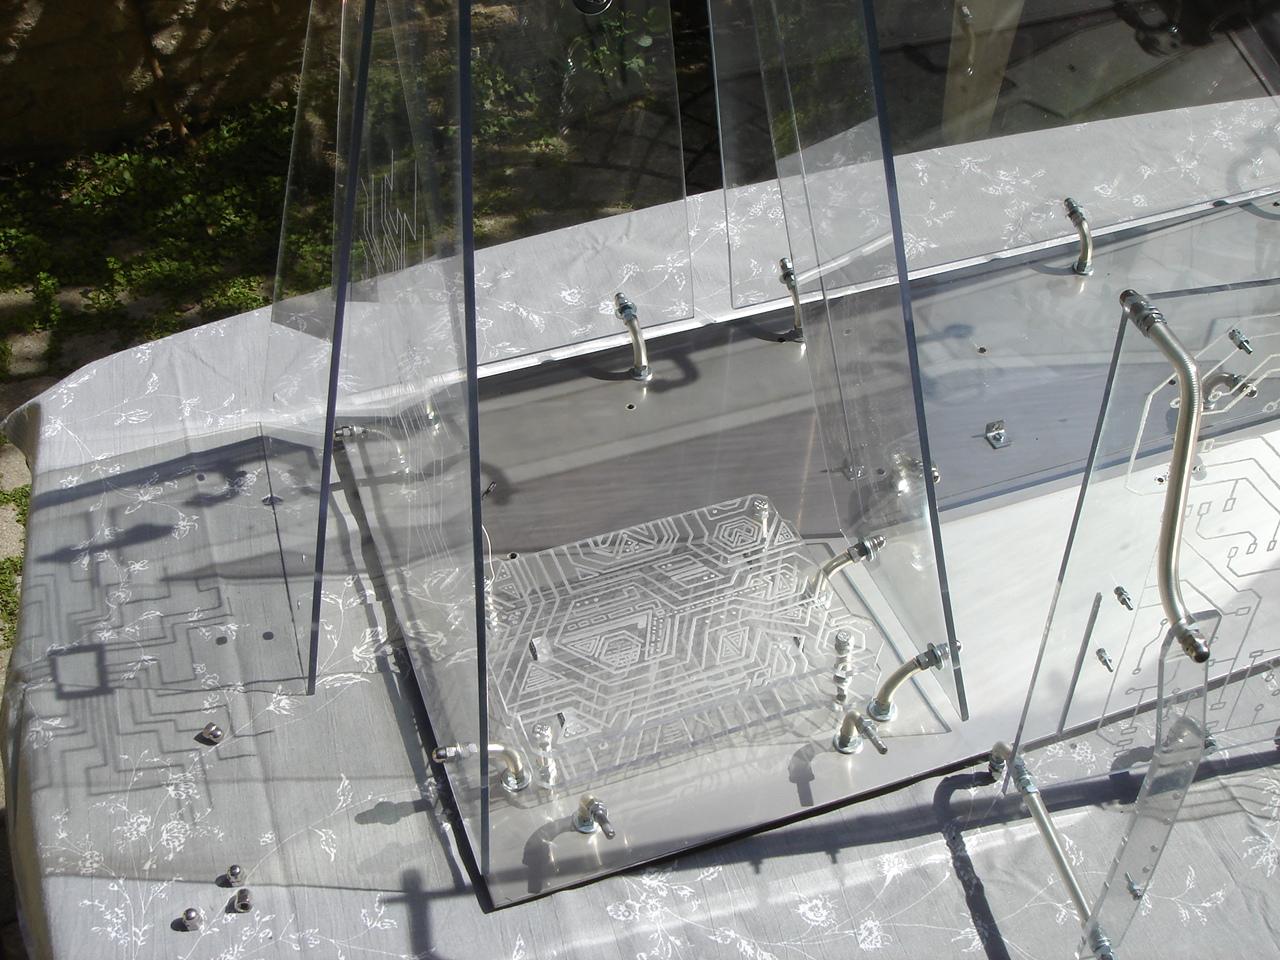
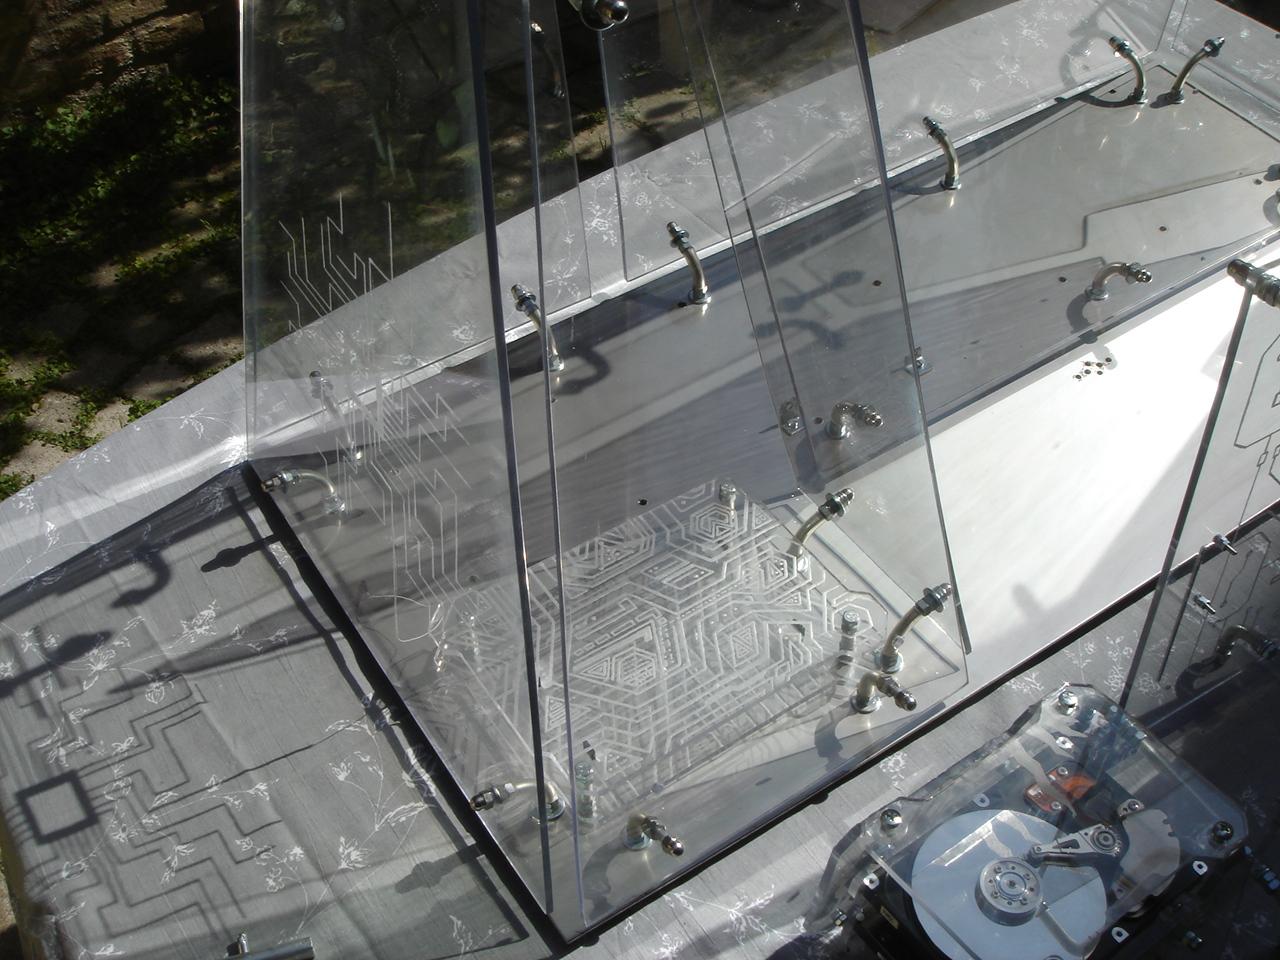
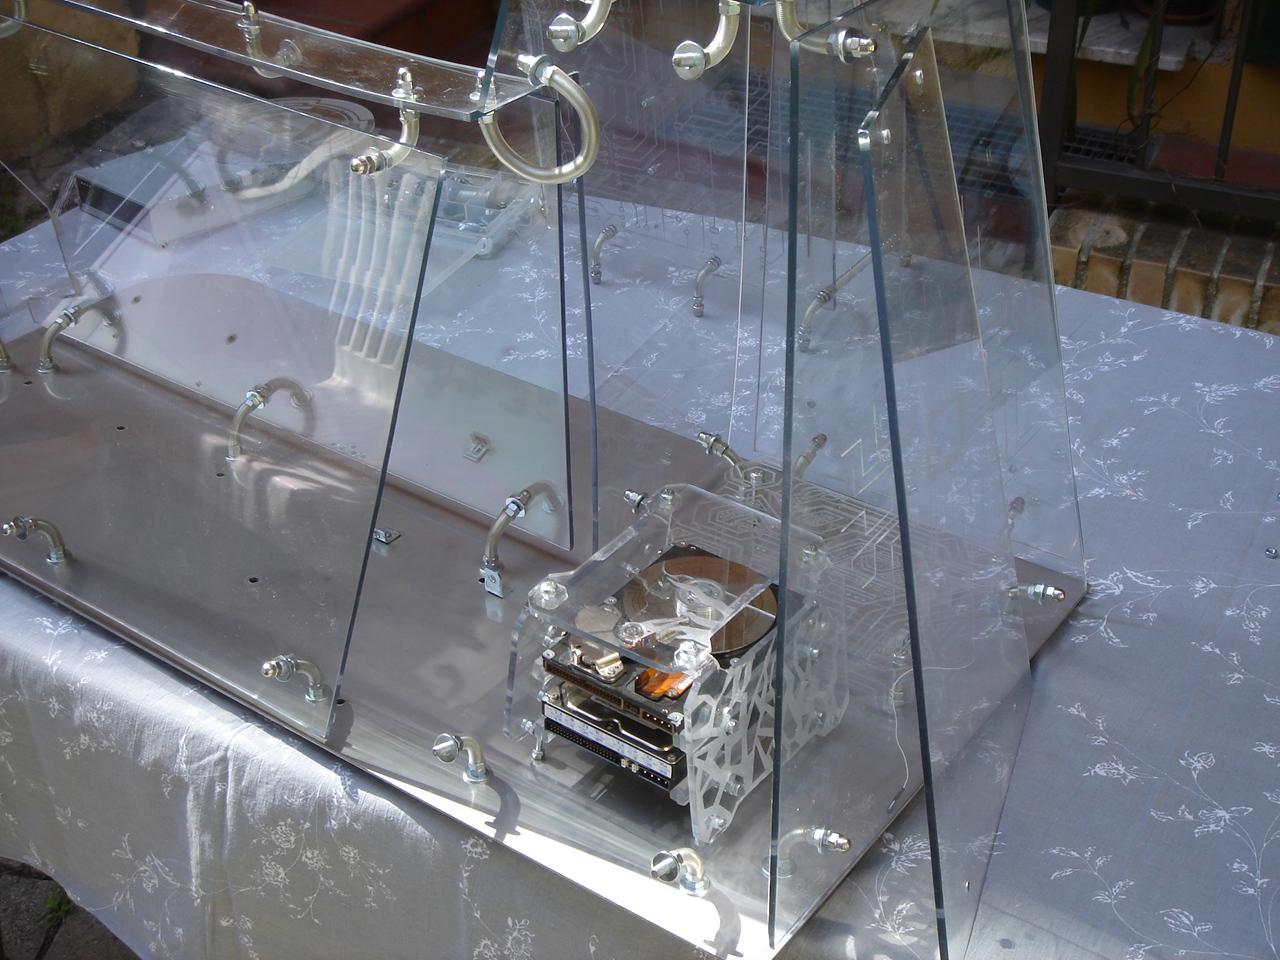
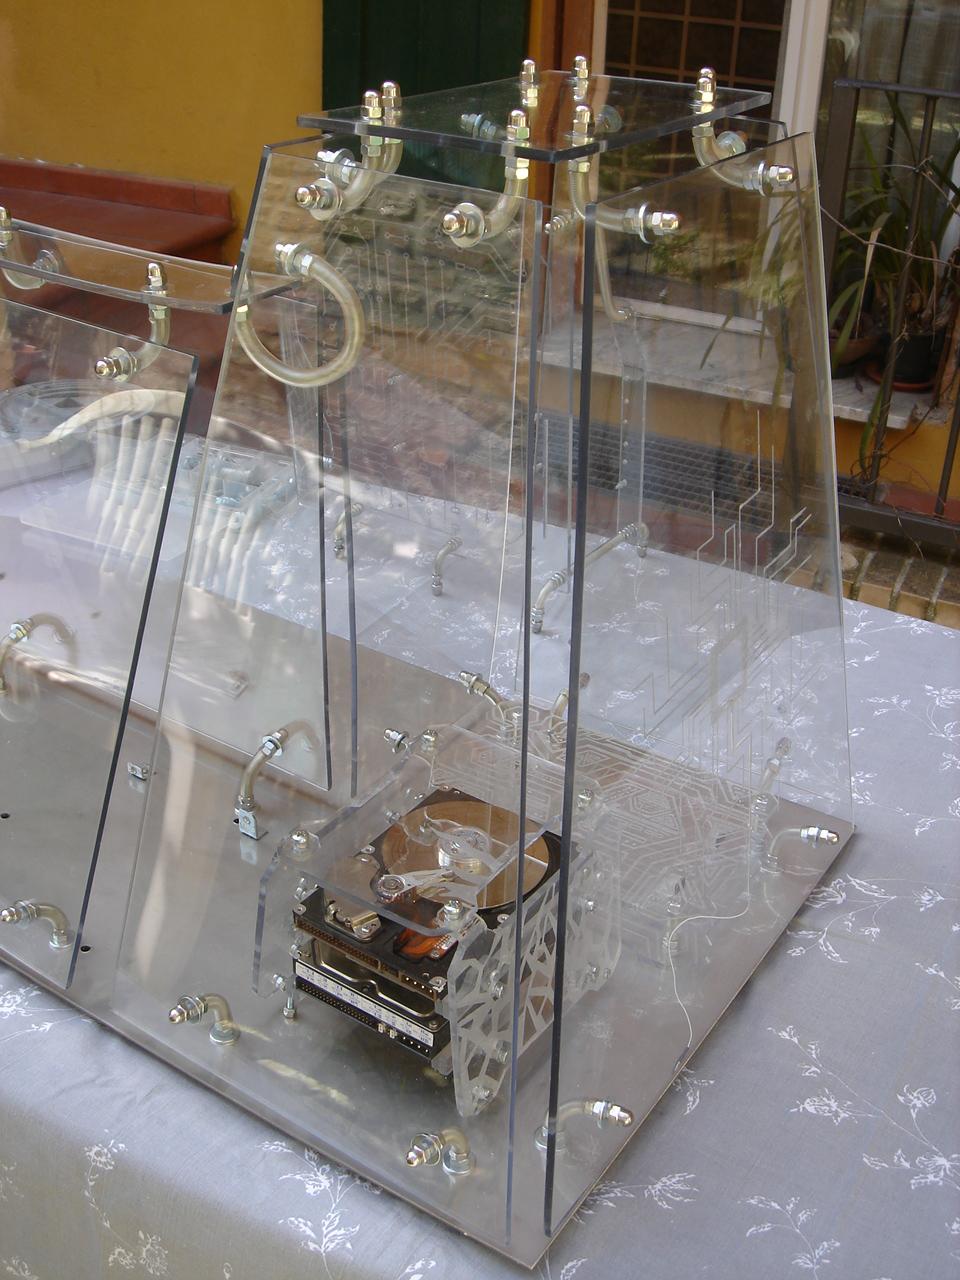
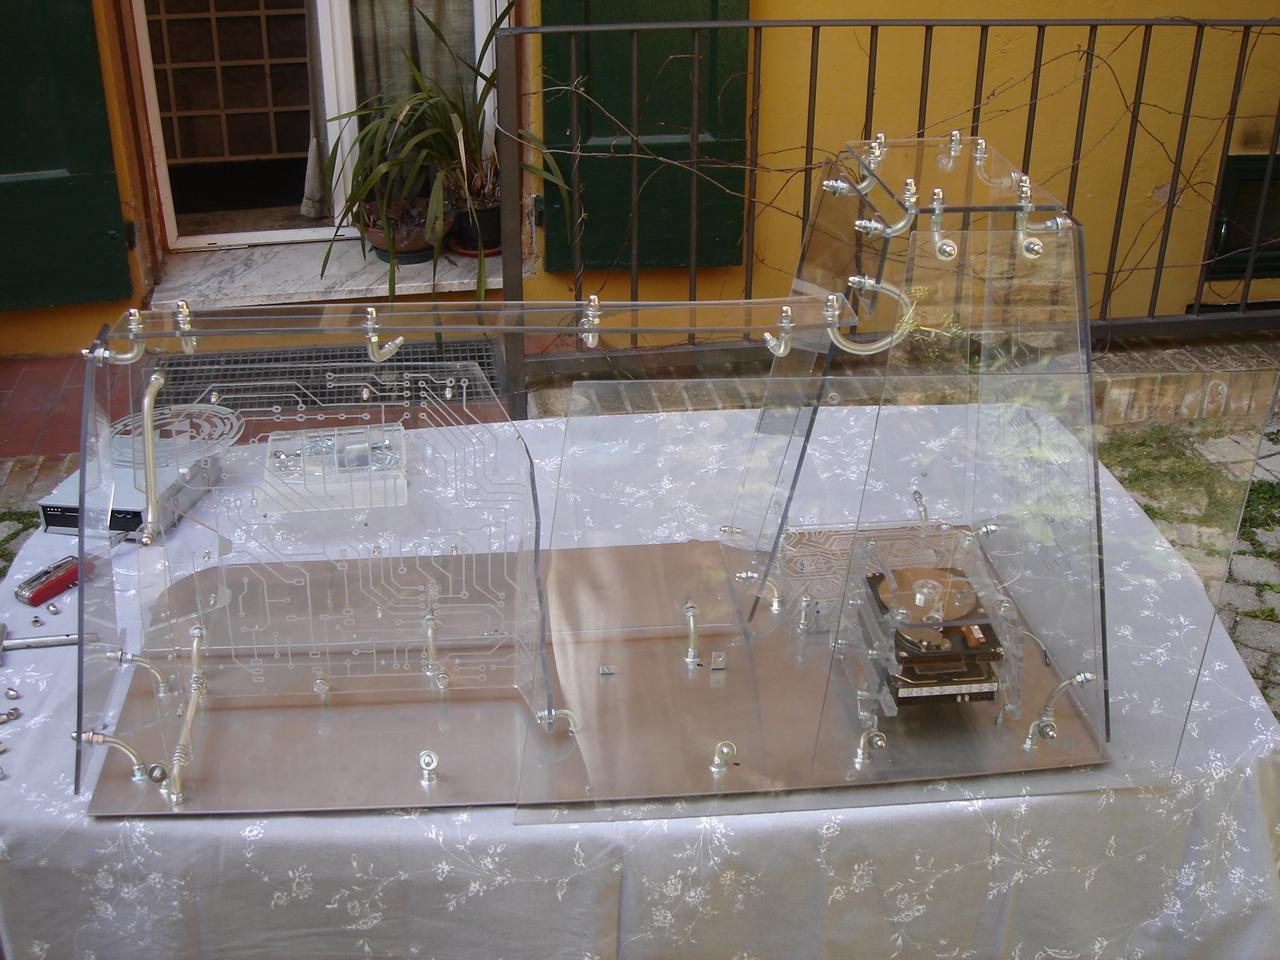
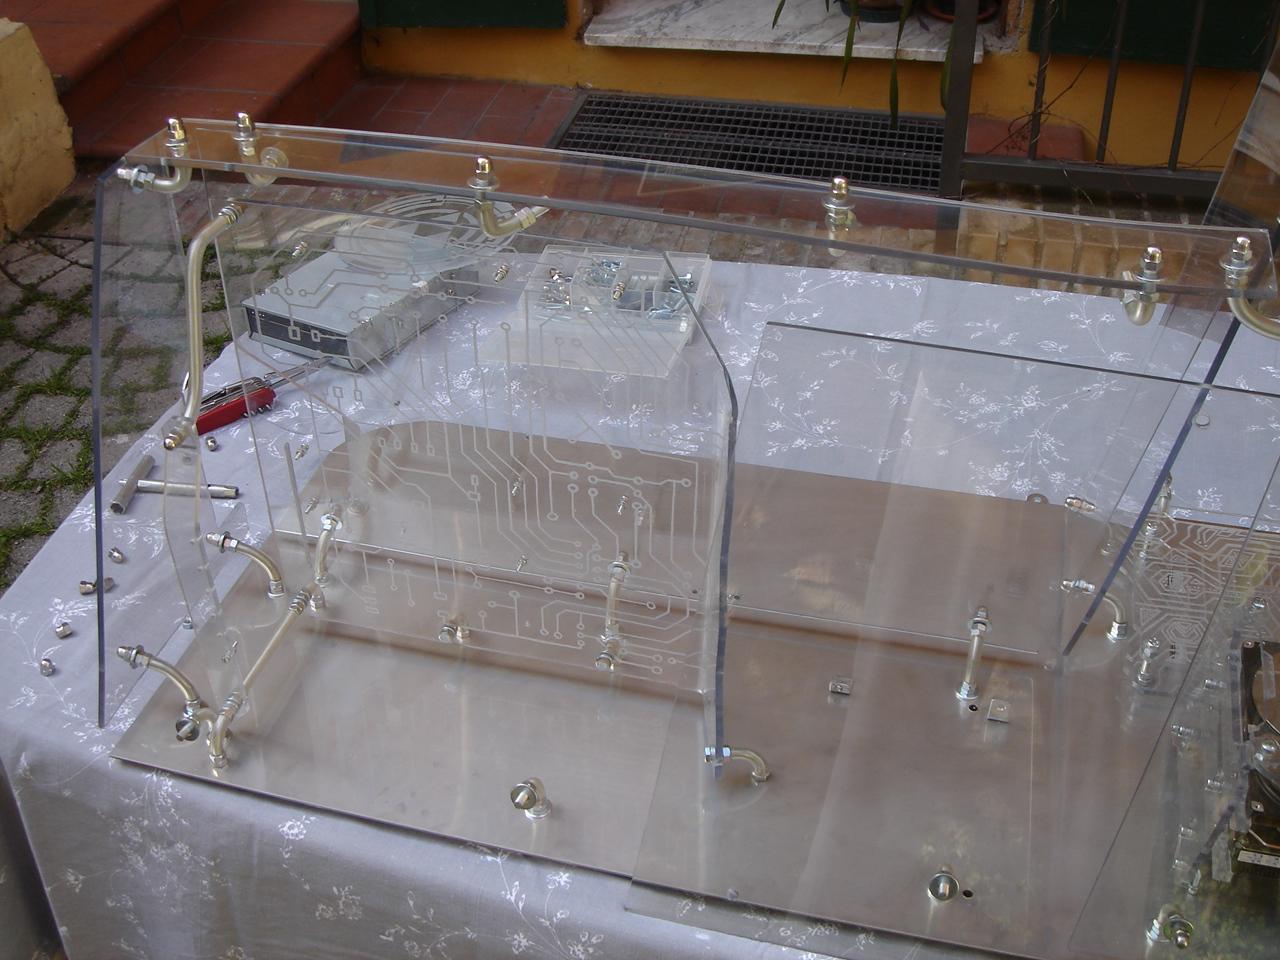
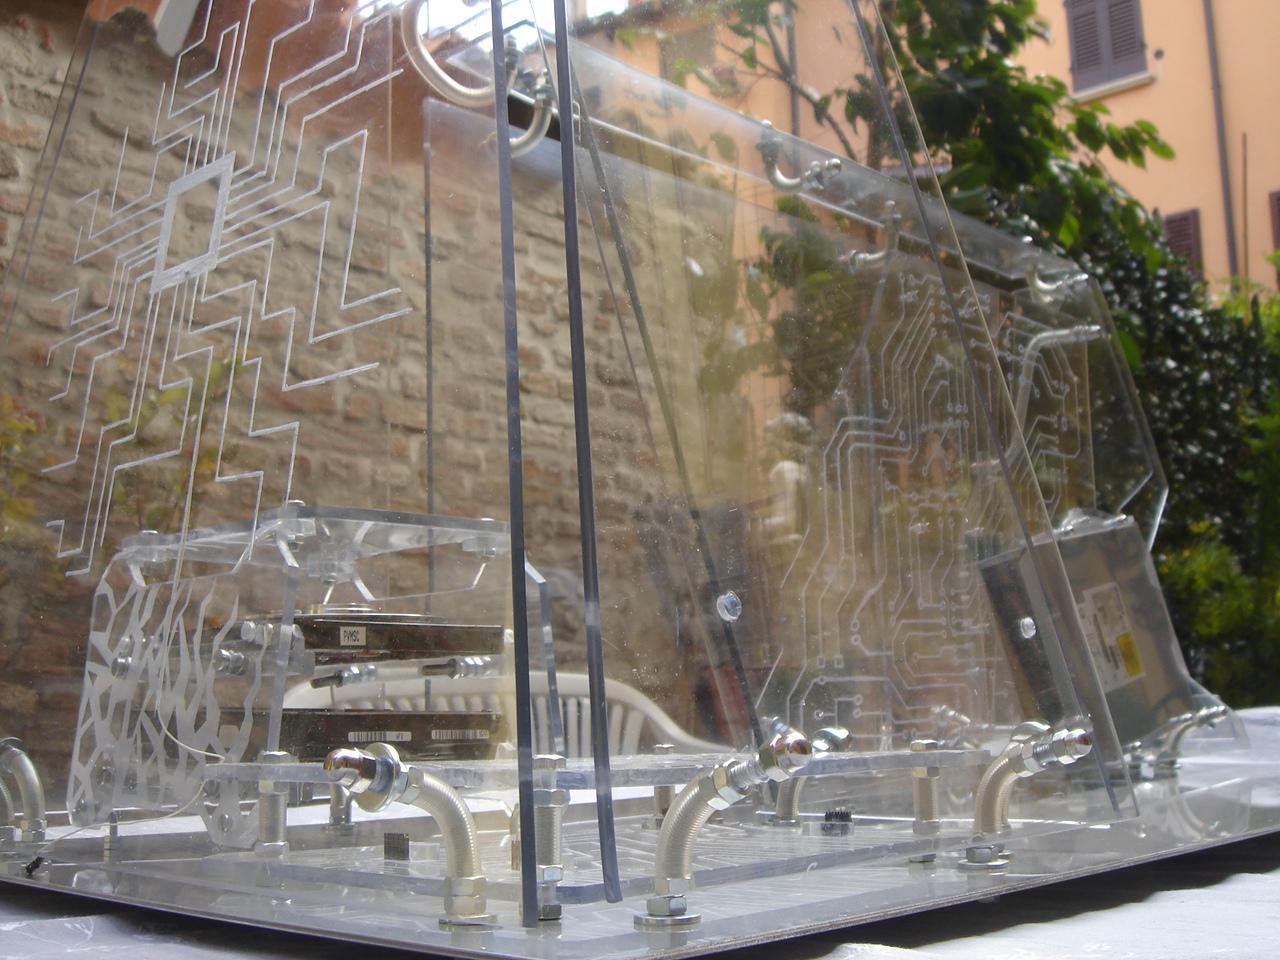
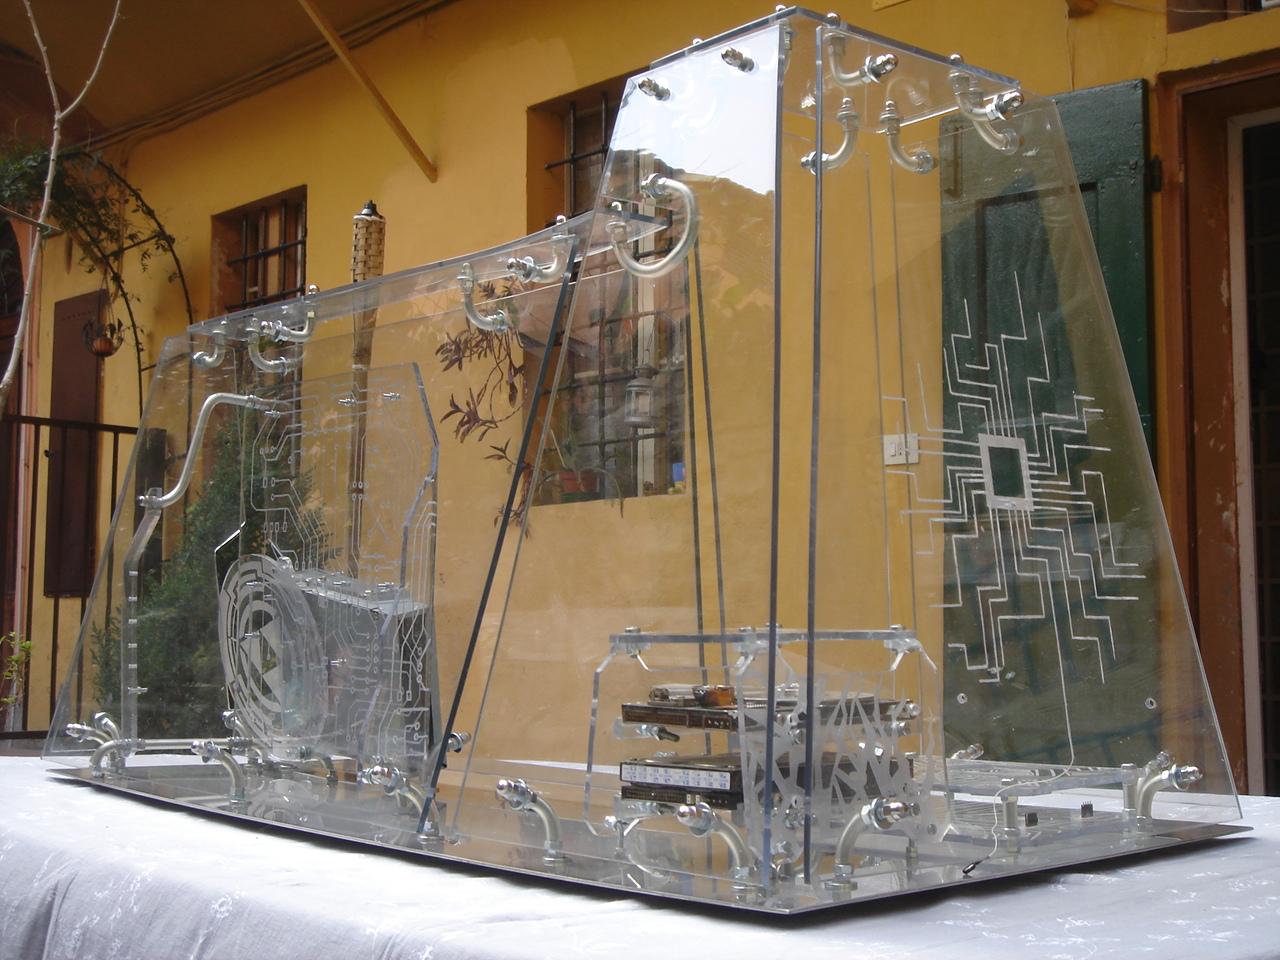
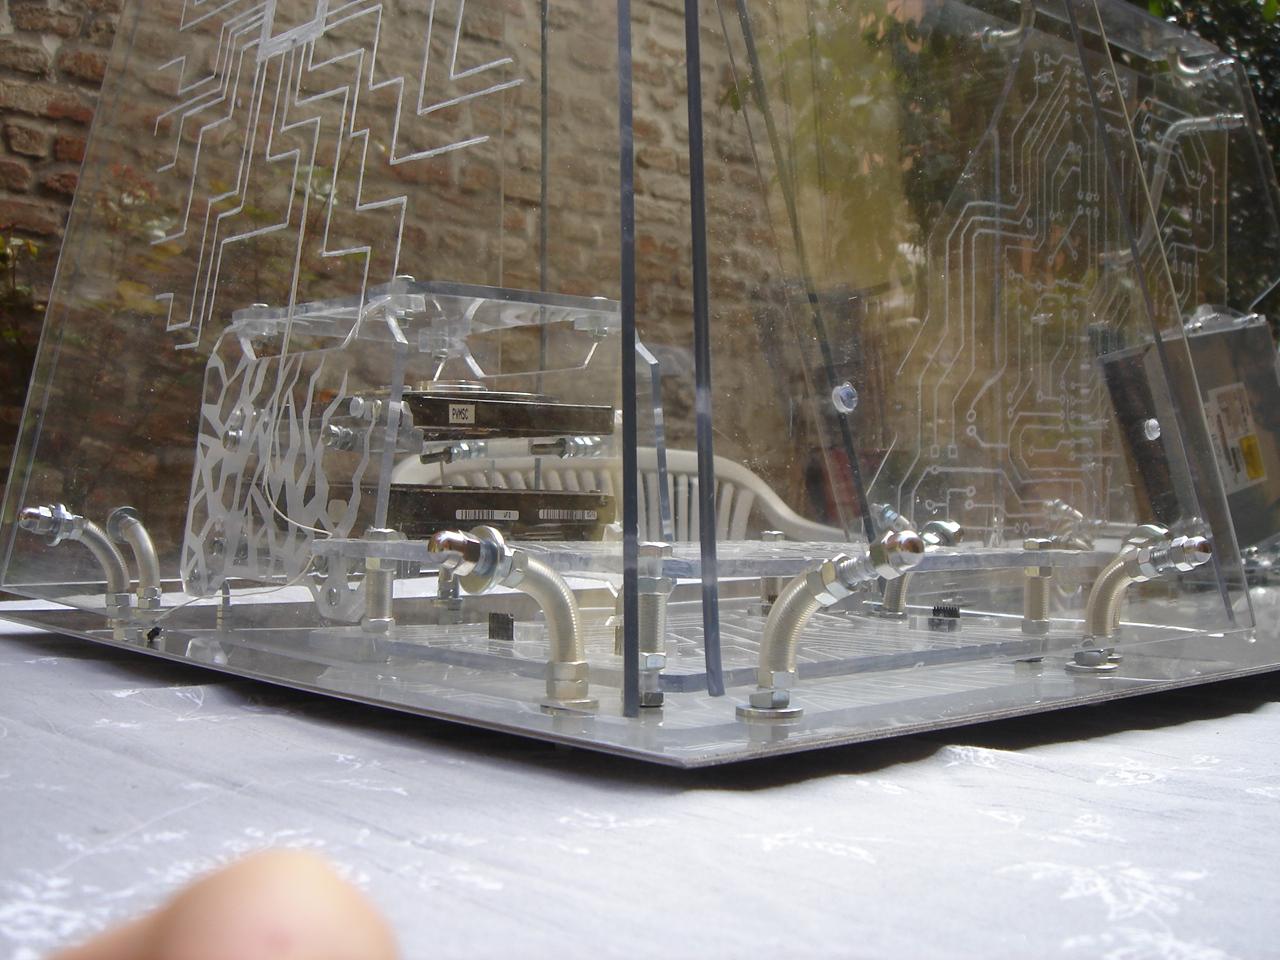
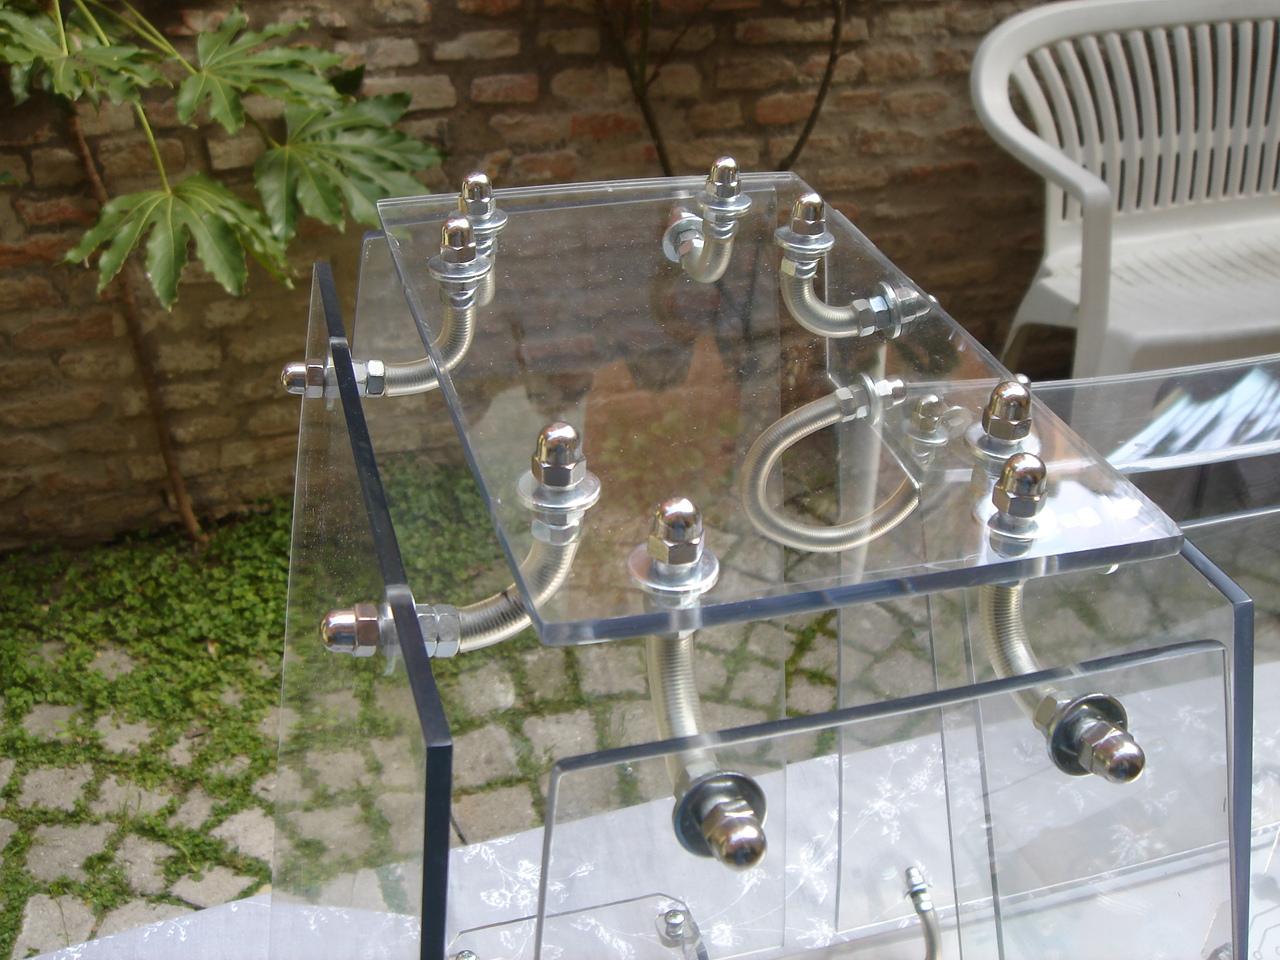
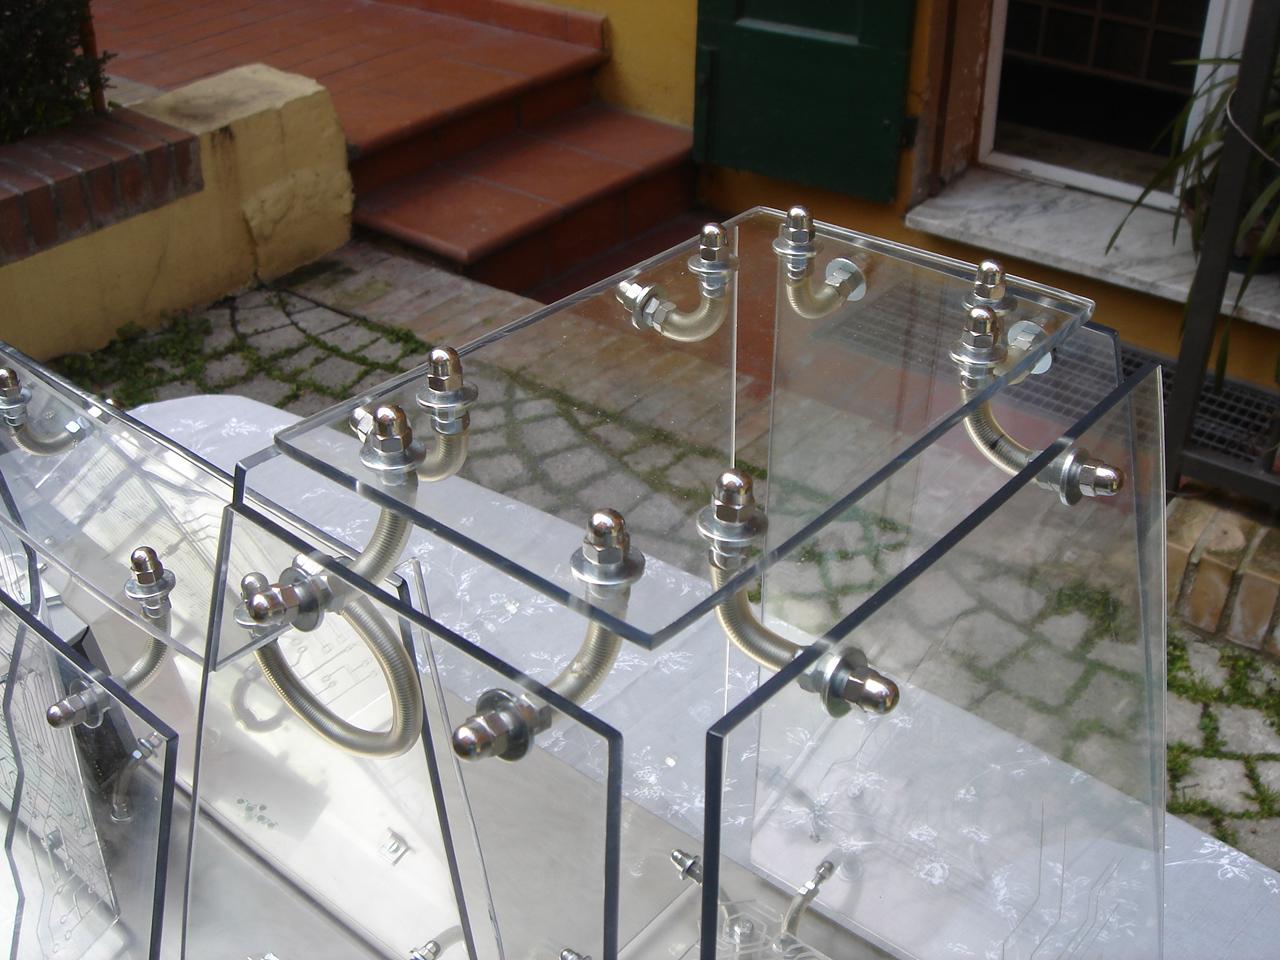
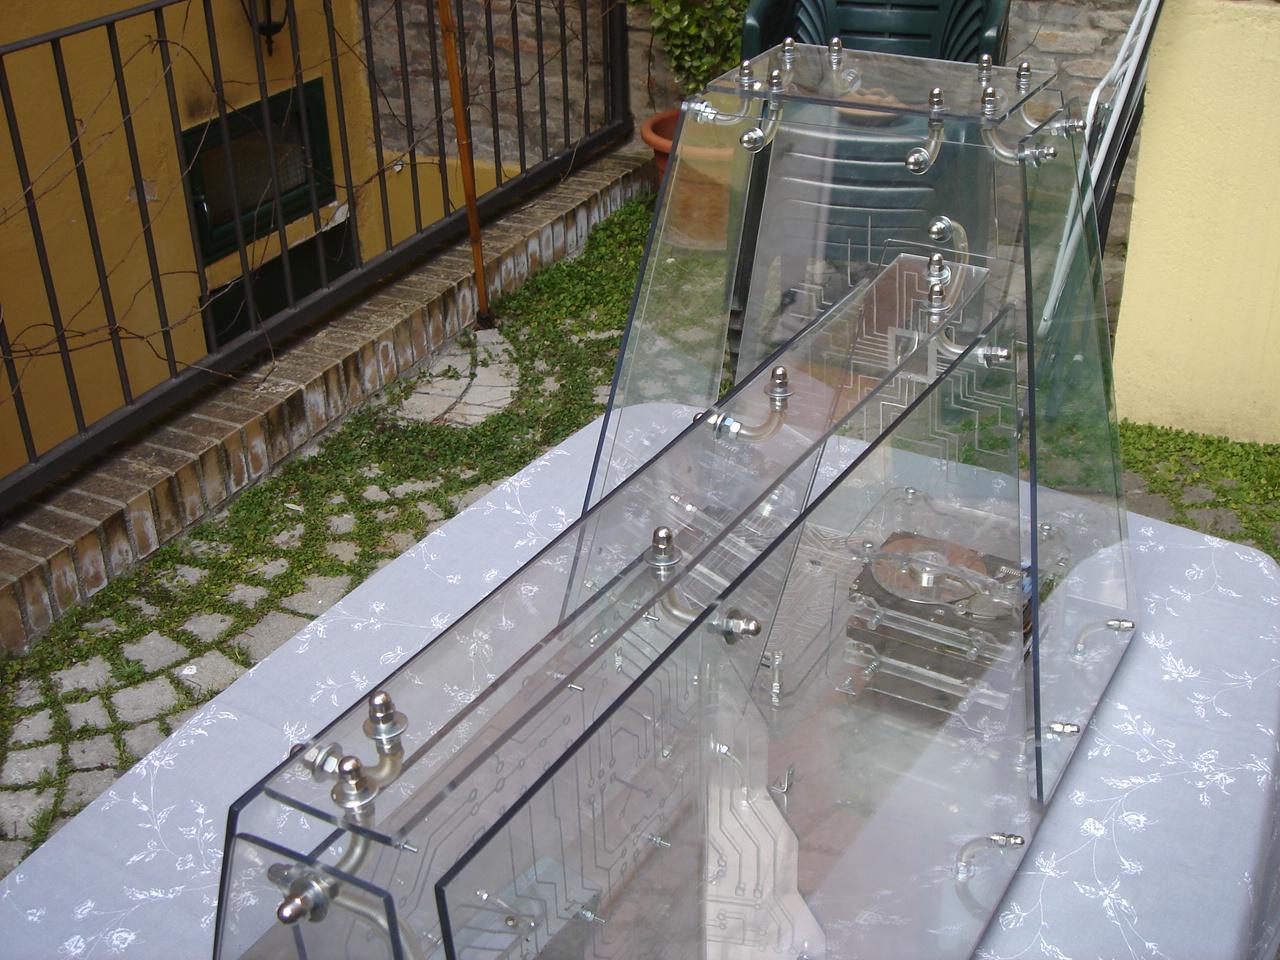
And now, a lot of pics of the assembled case! 😀
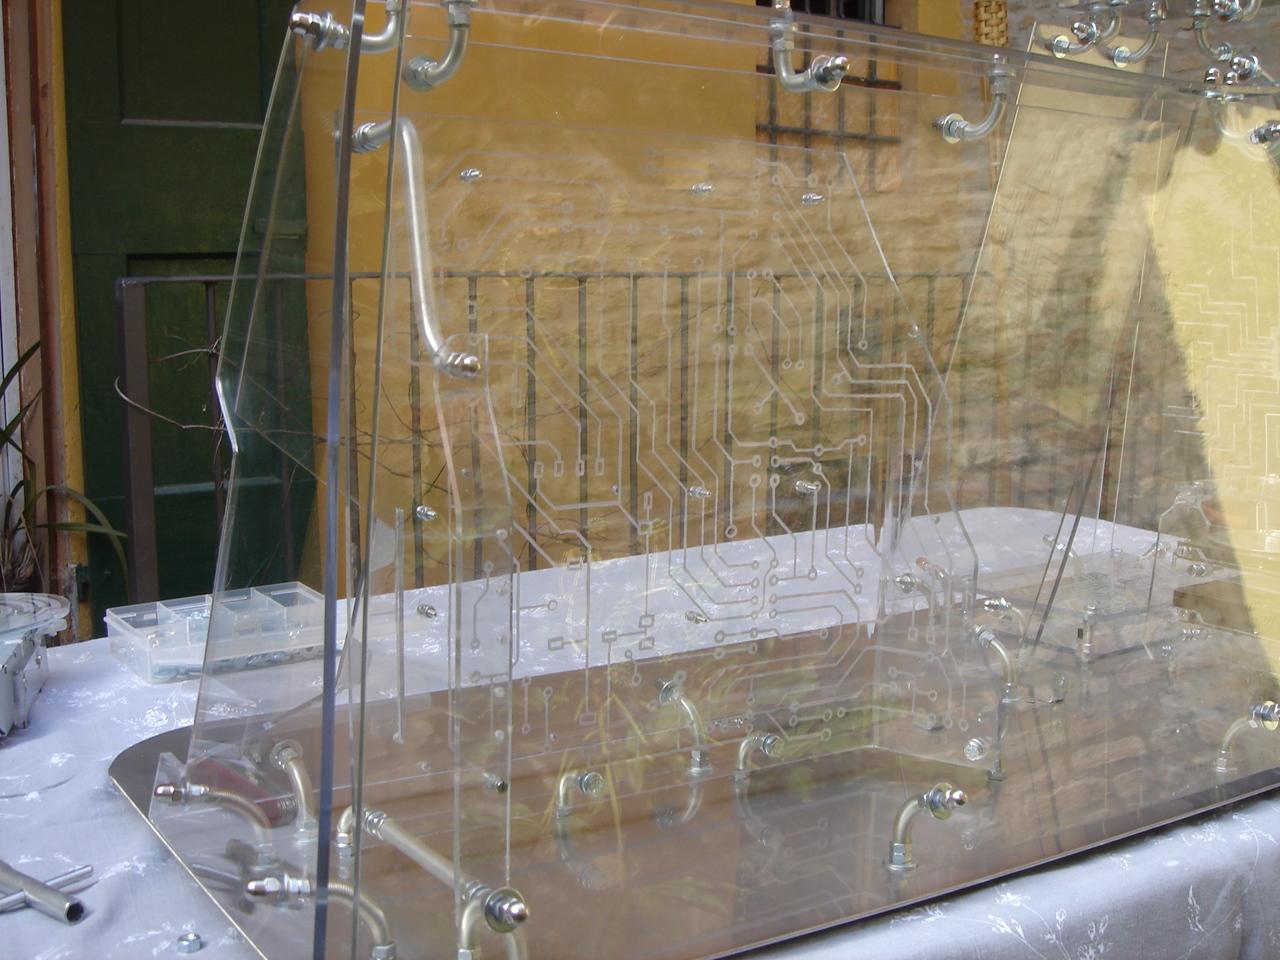
The outer chassis:

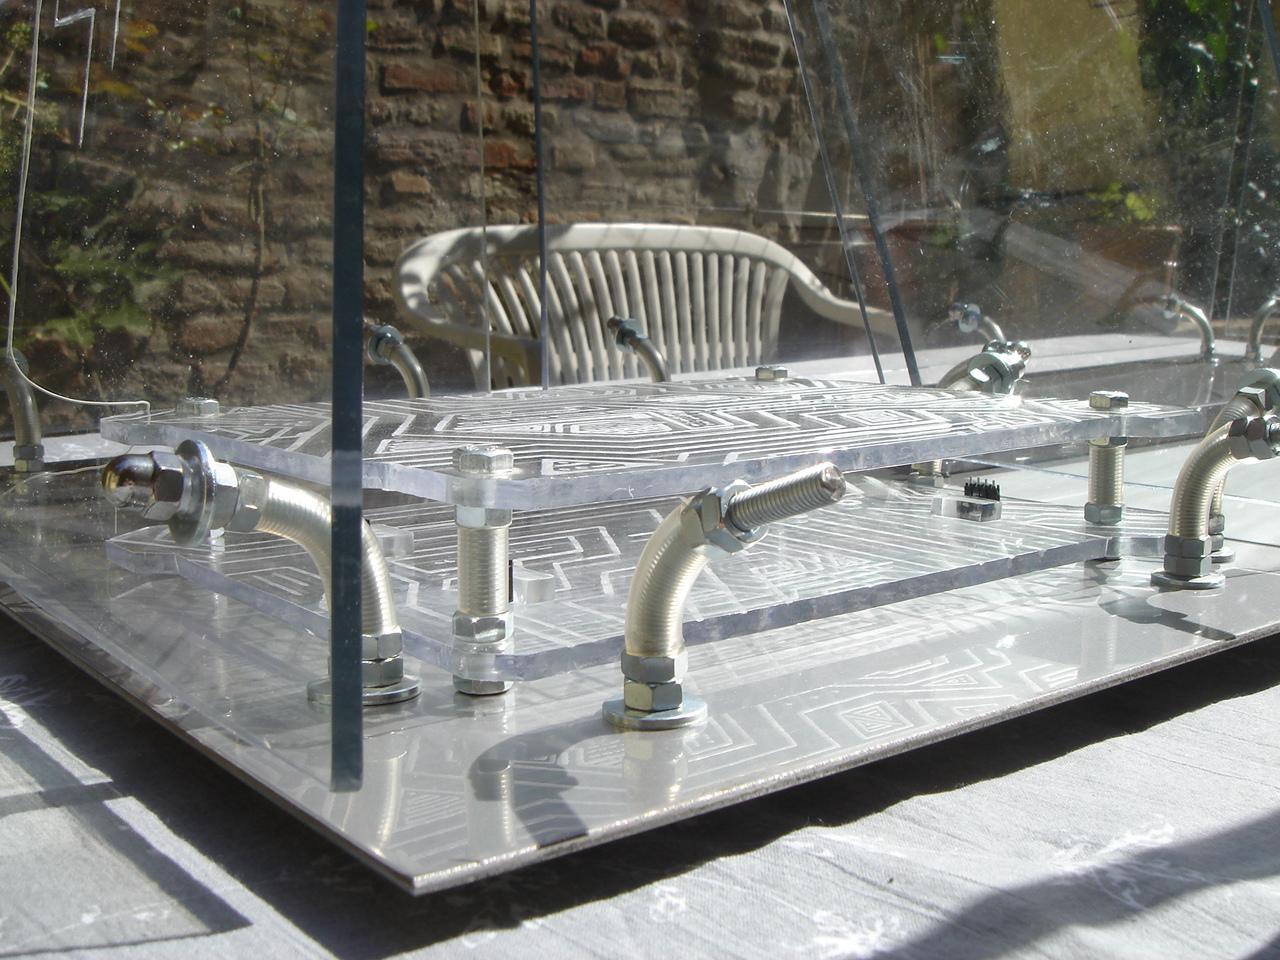
Assembling the internal structures:

Here I put the bolts on the motherboard structure:
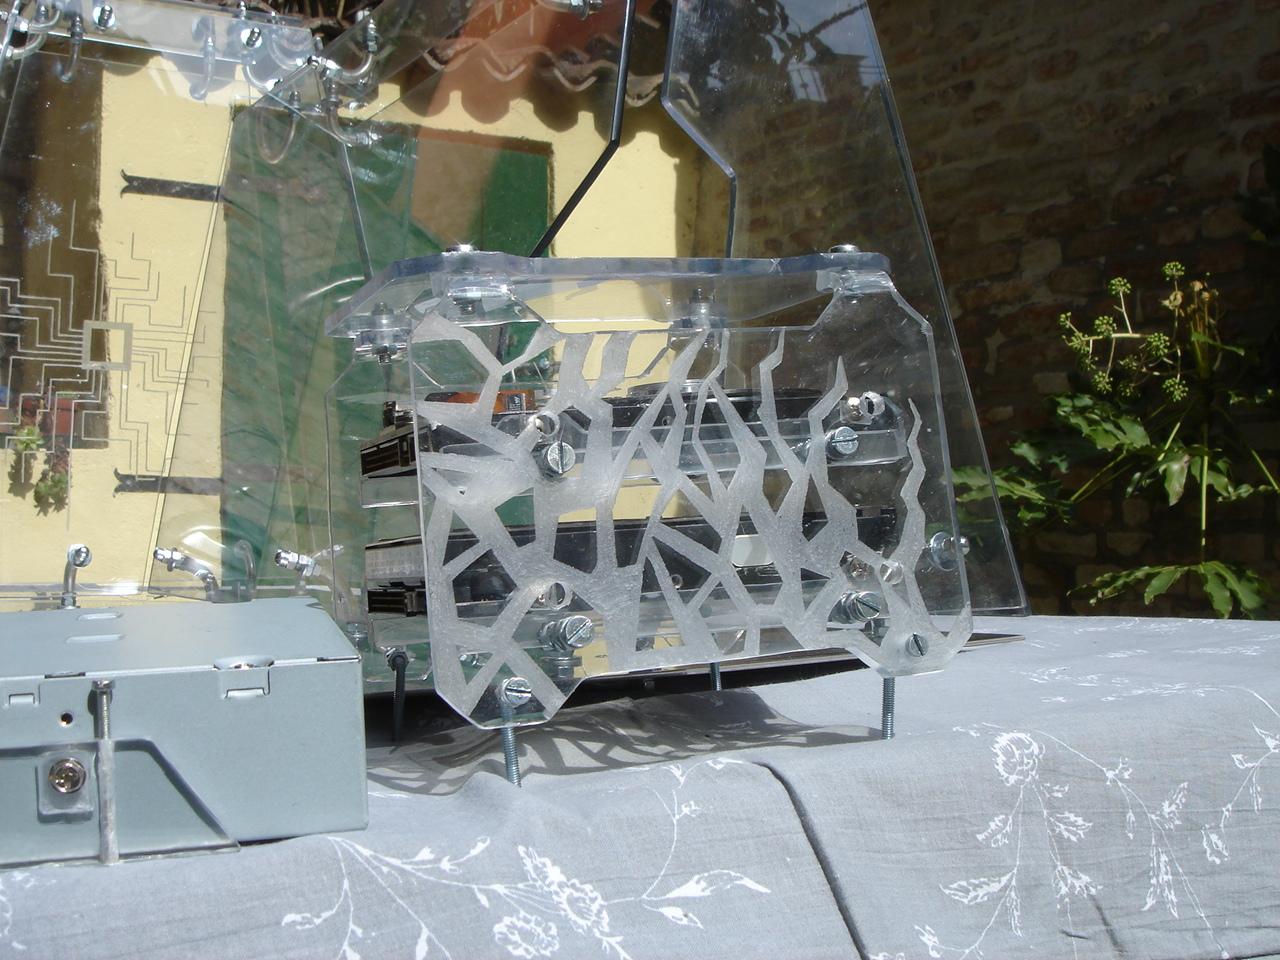
The sensors circuit encasing:
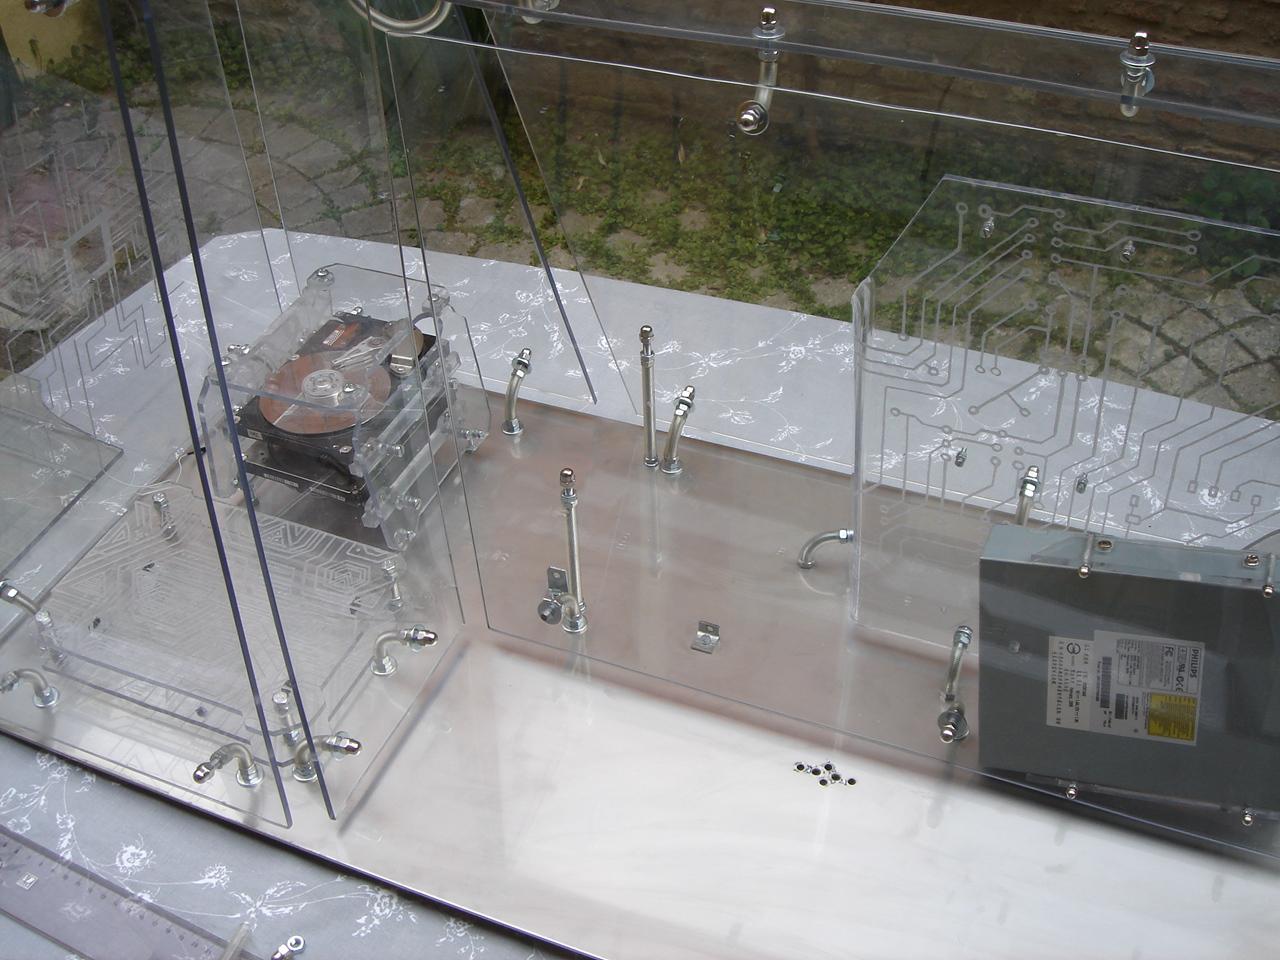
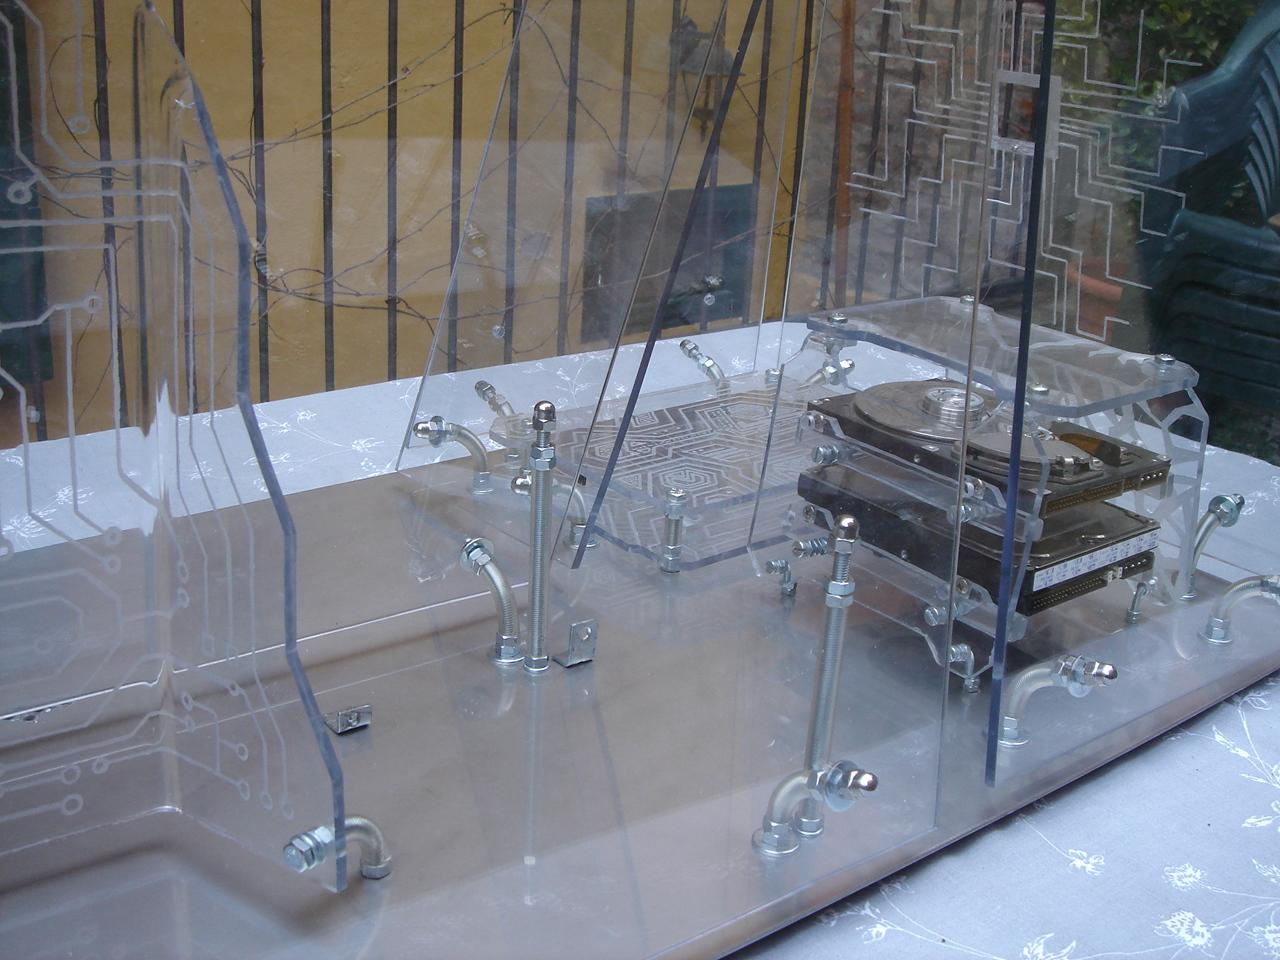
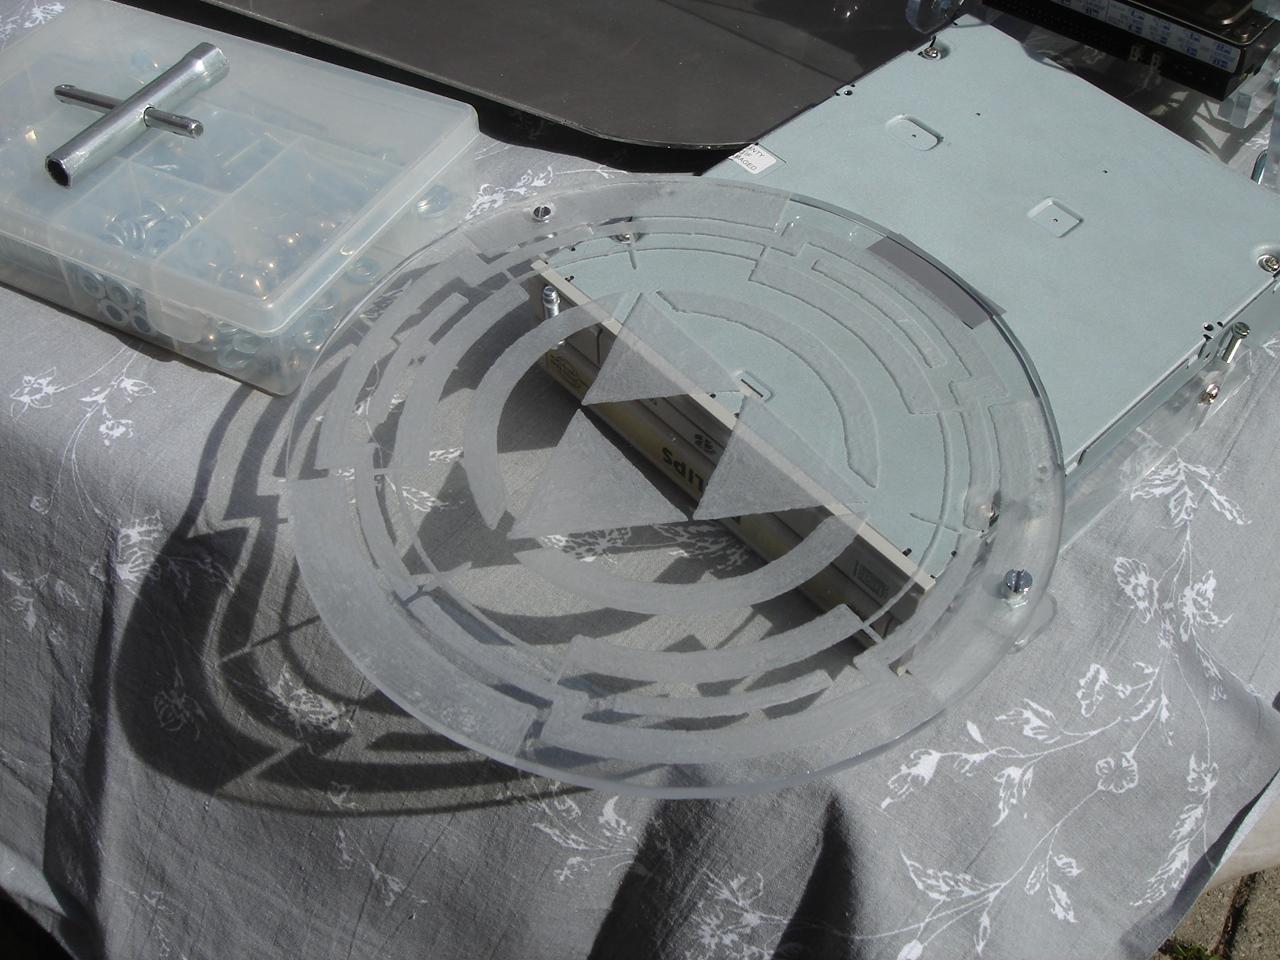
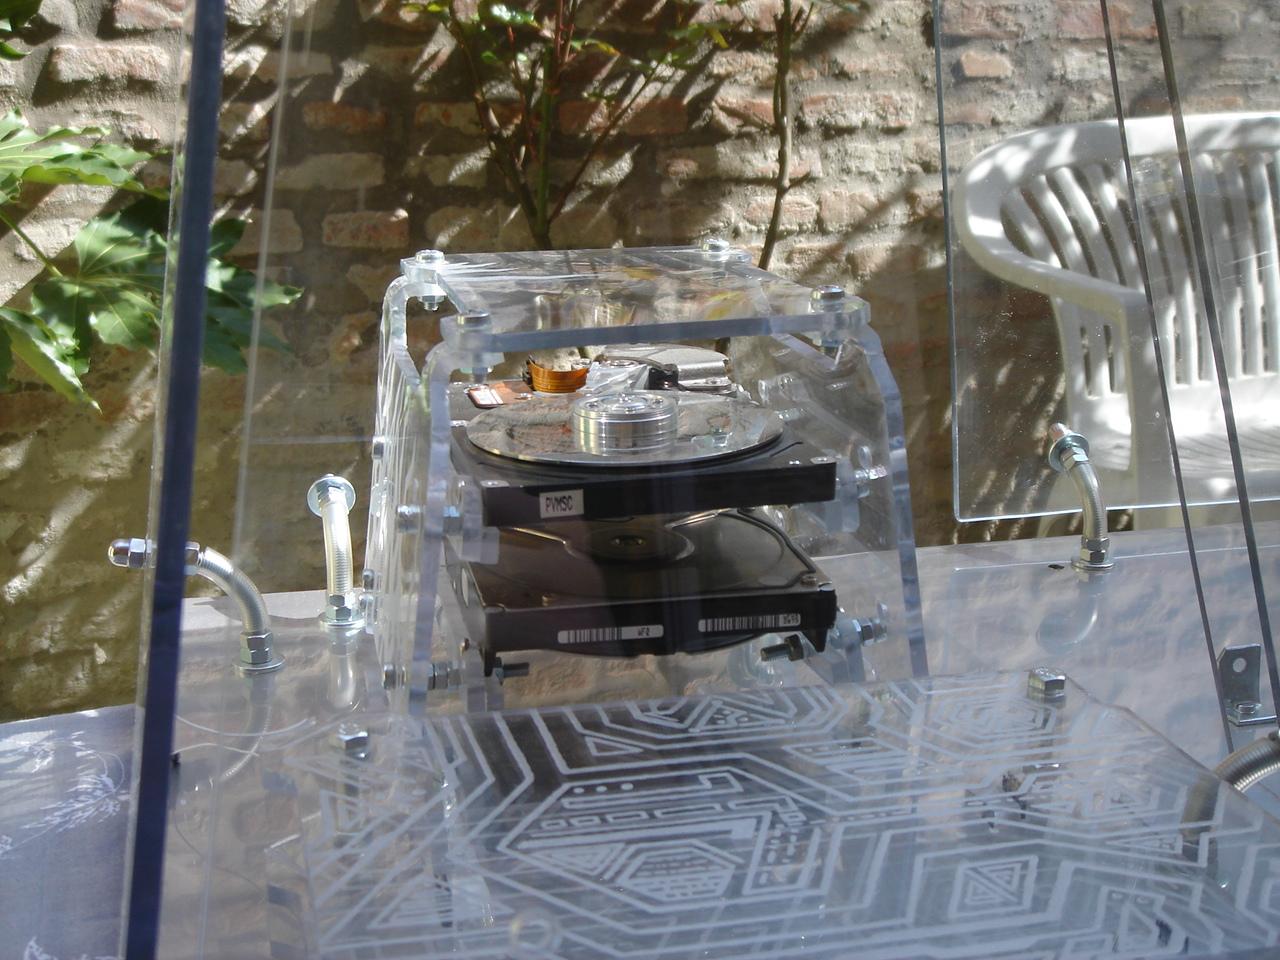
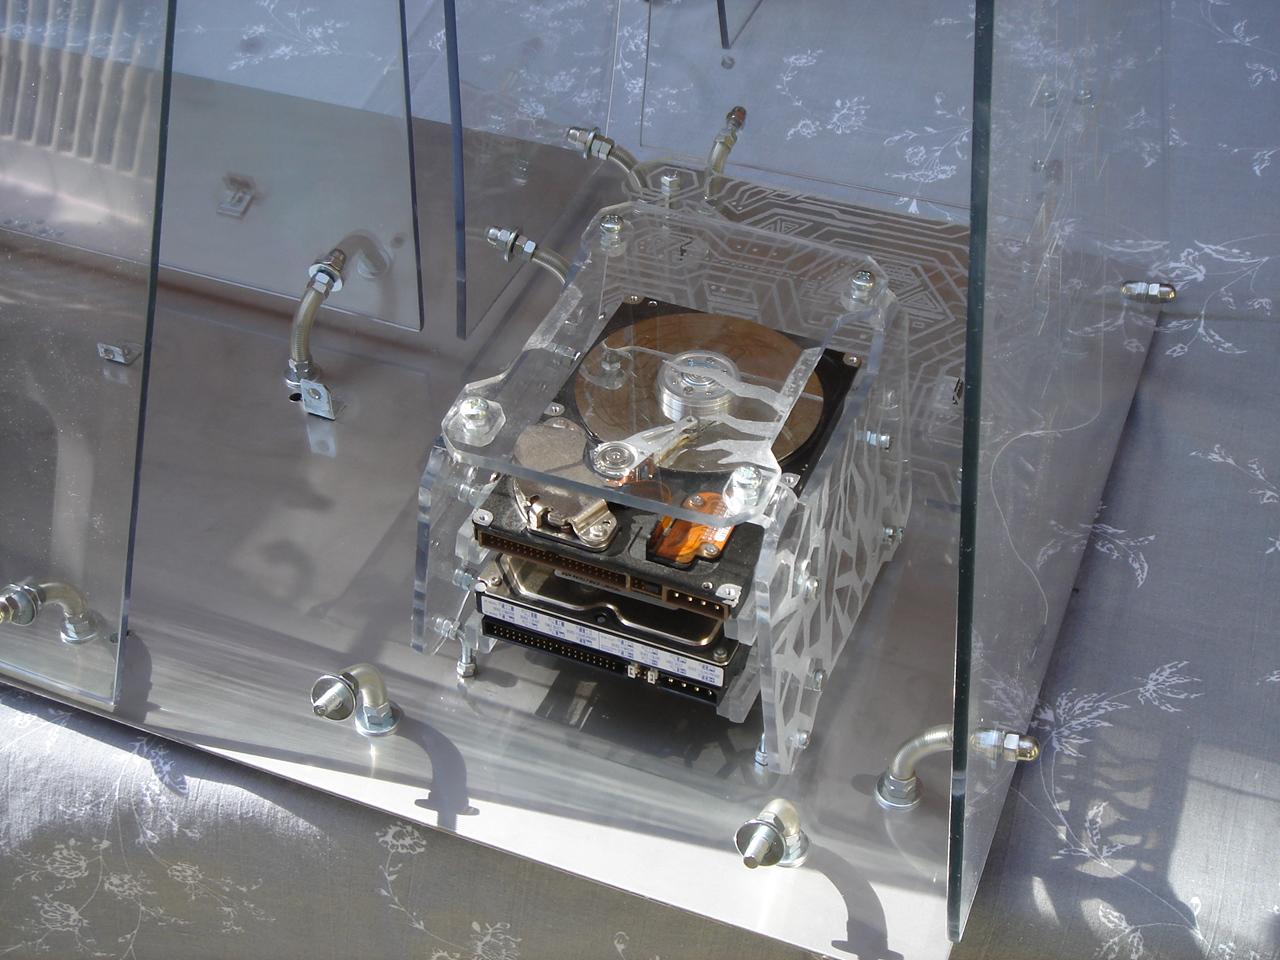
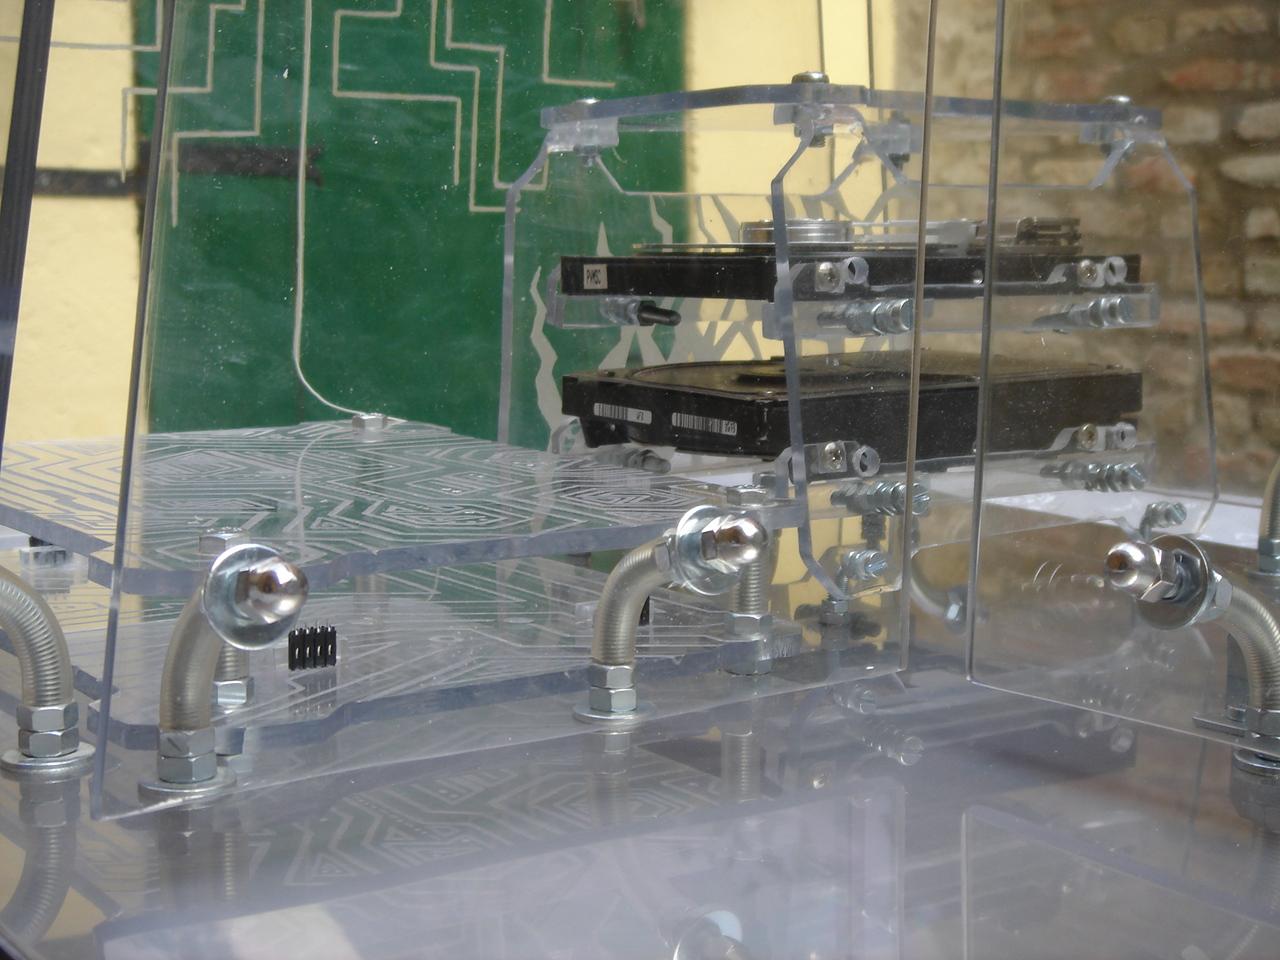
The hard disk structure:
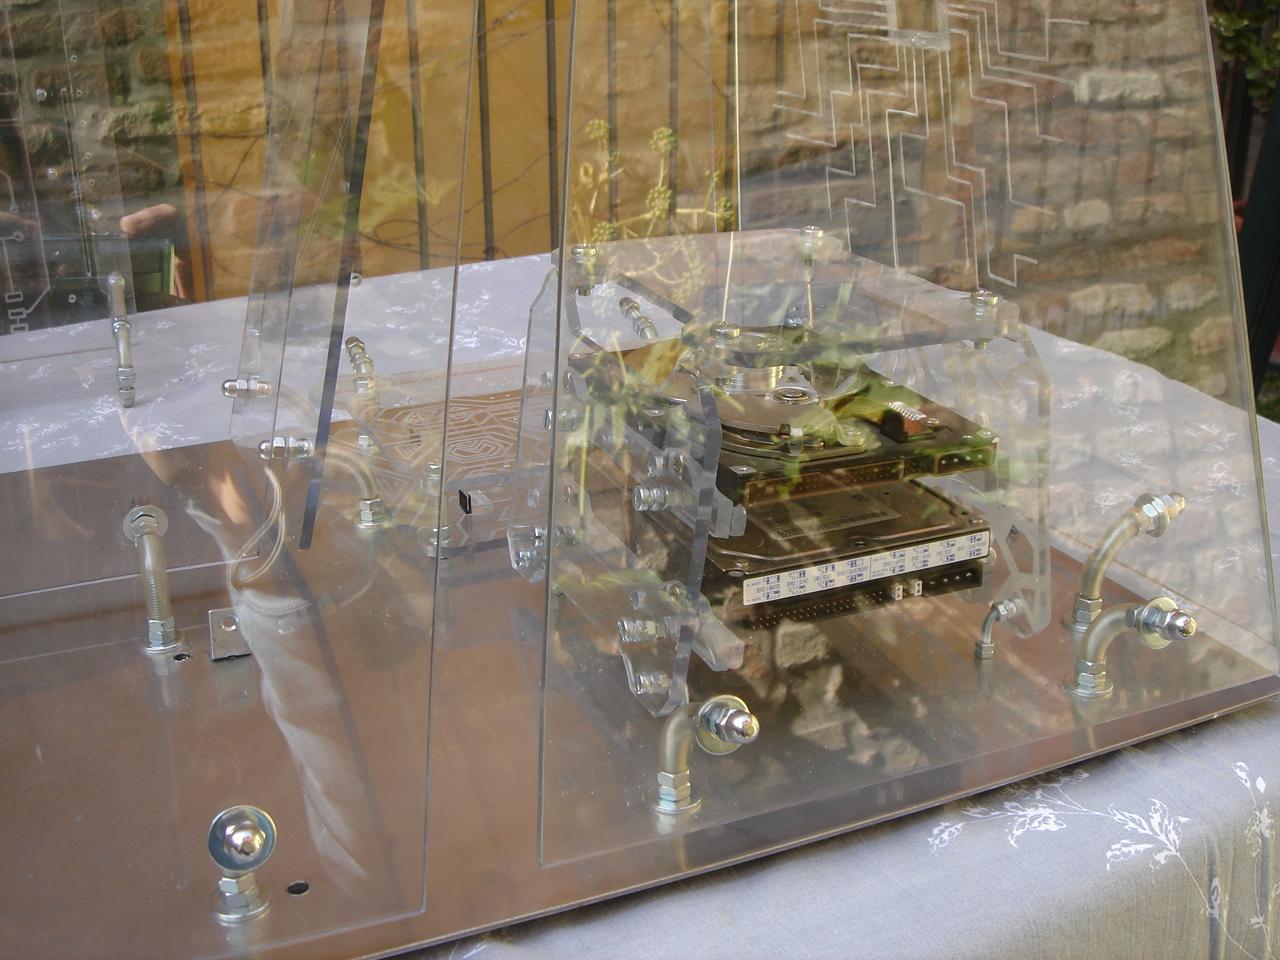
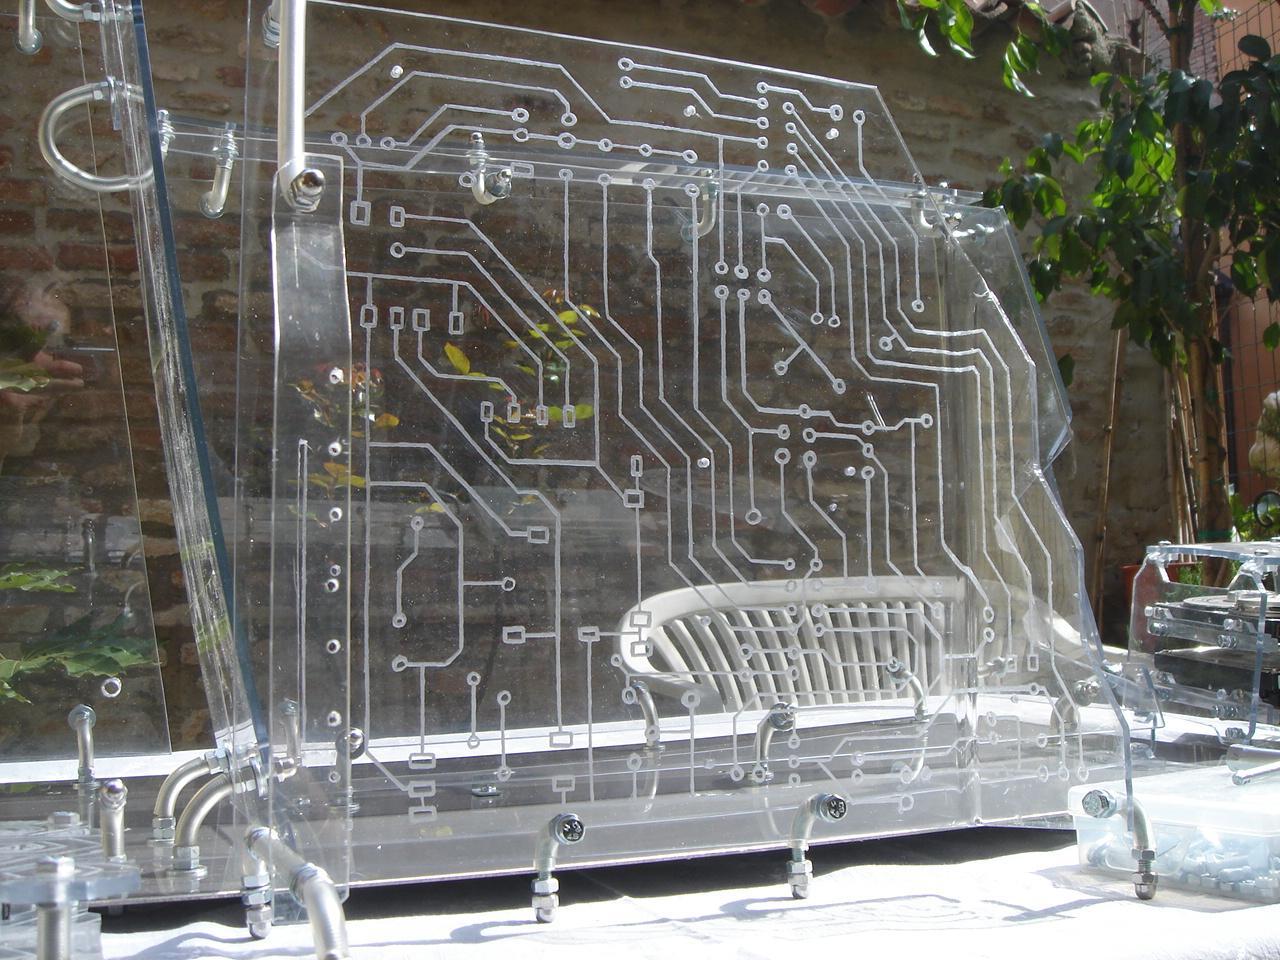
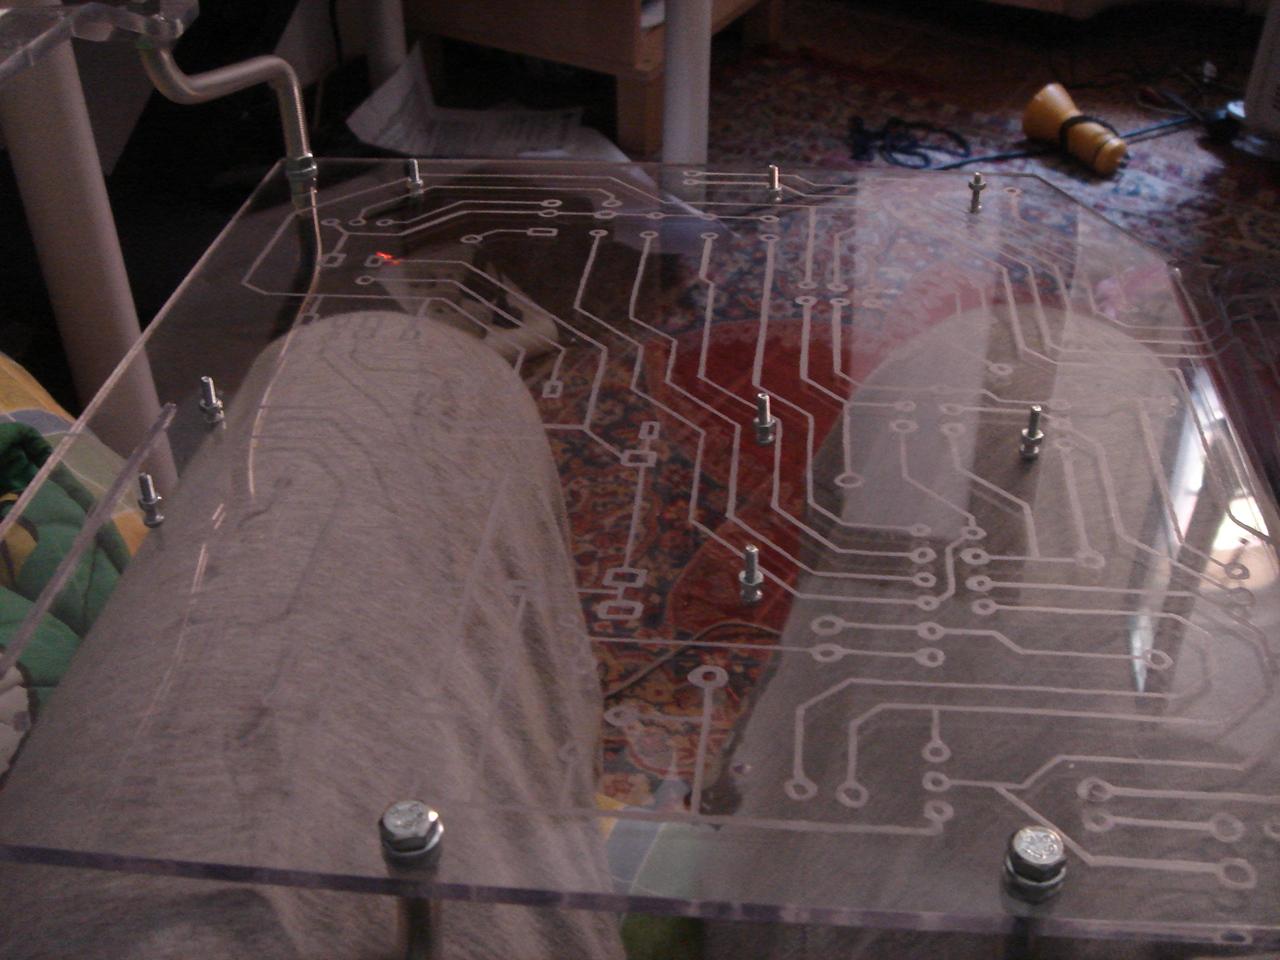
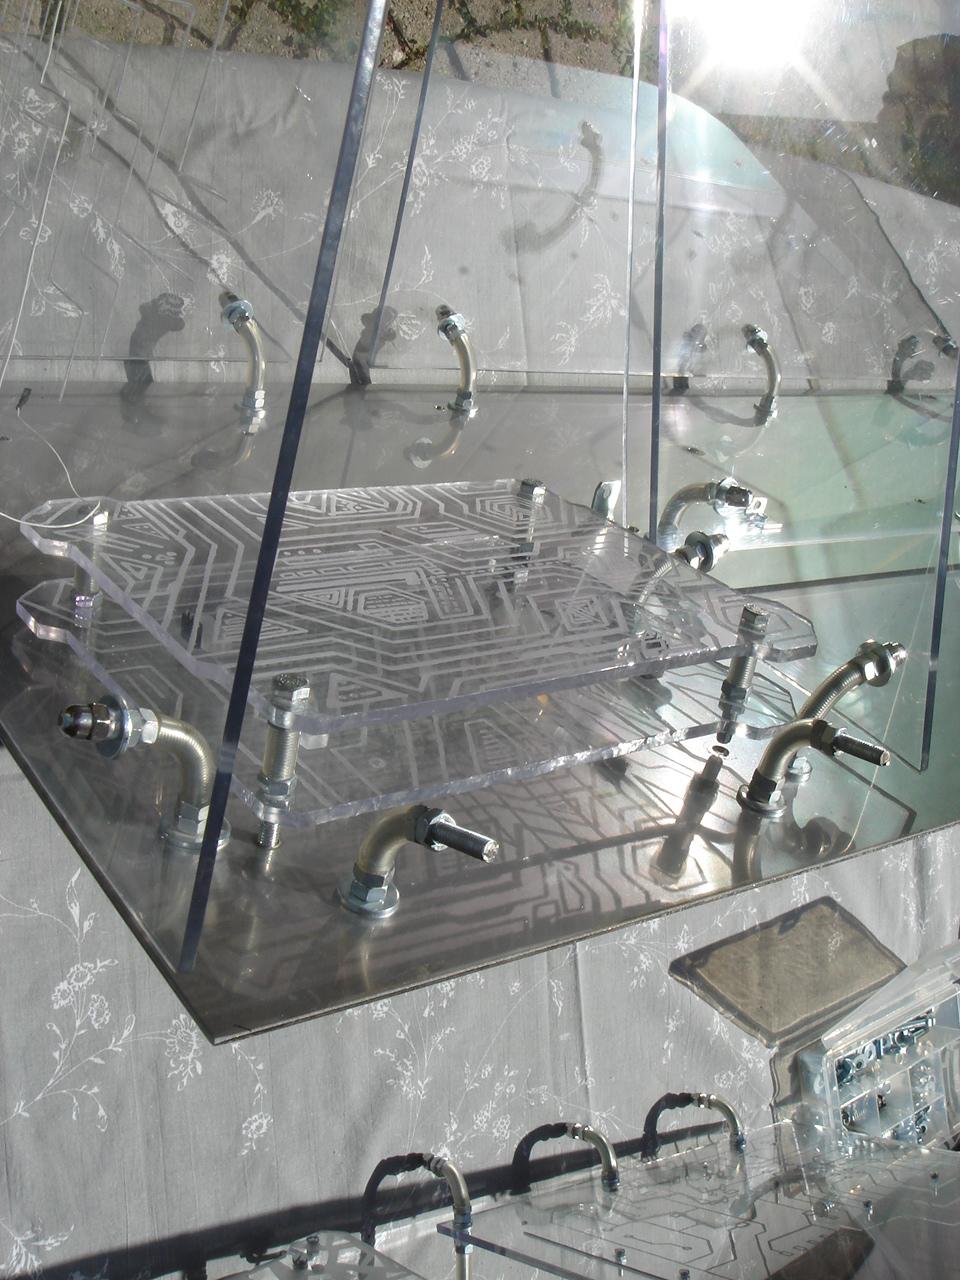
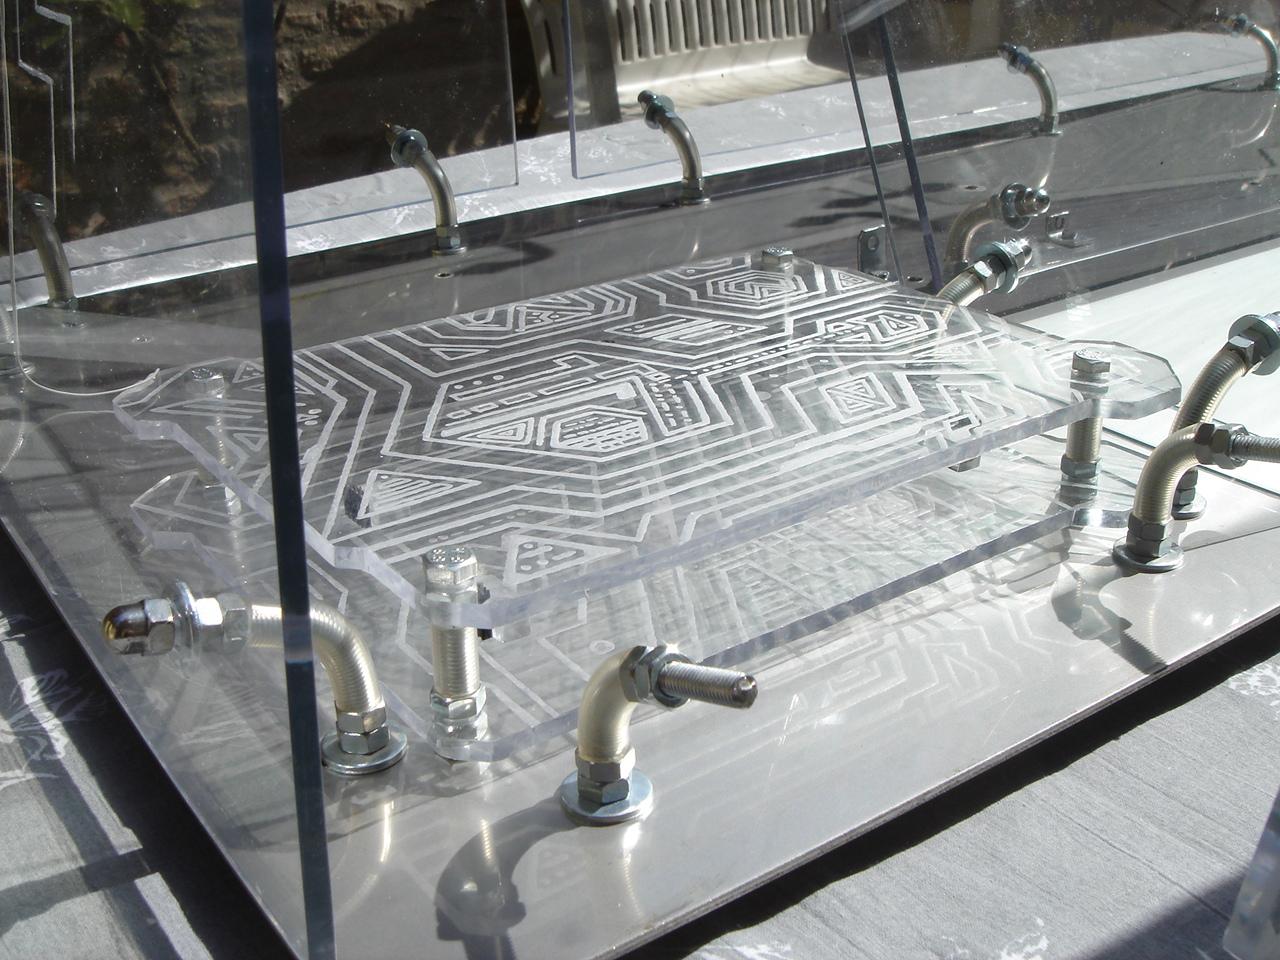
The motherboard structure:
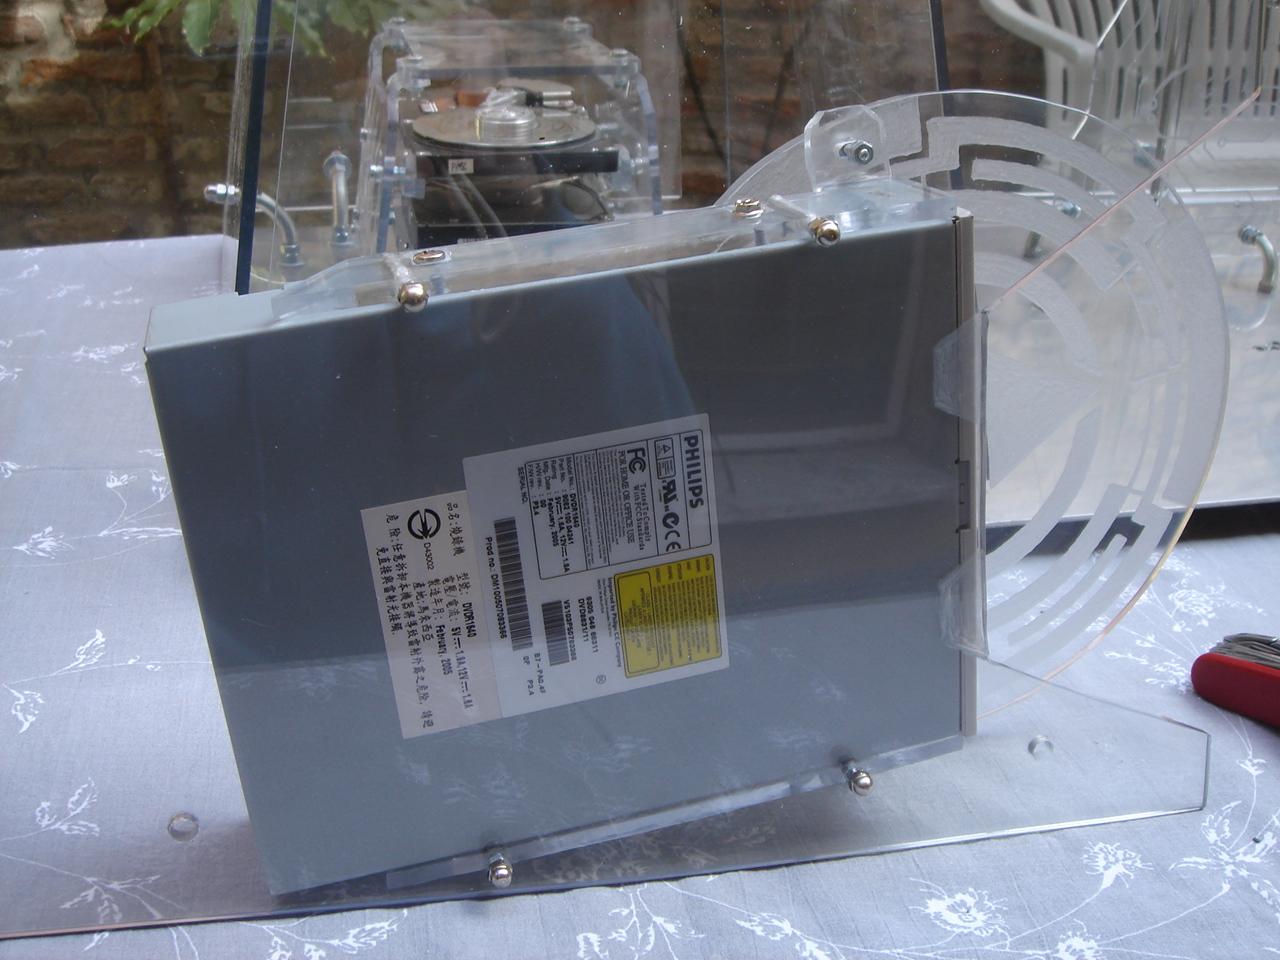
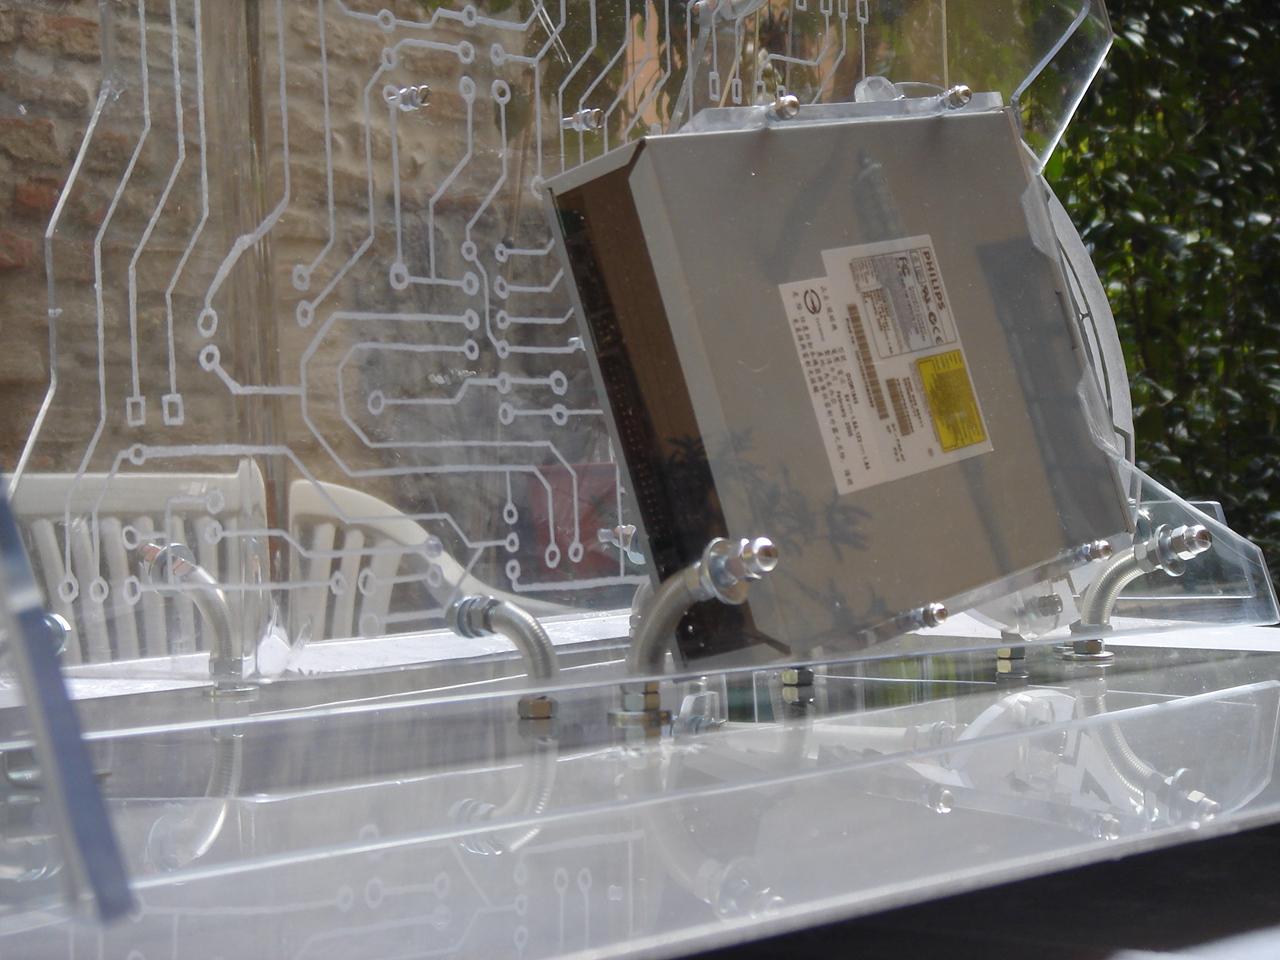
The optical drive structure:
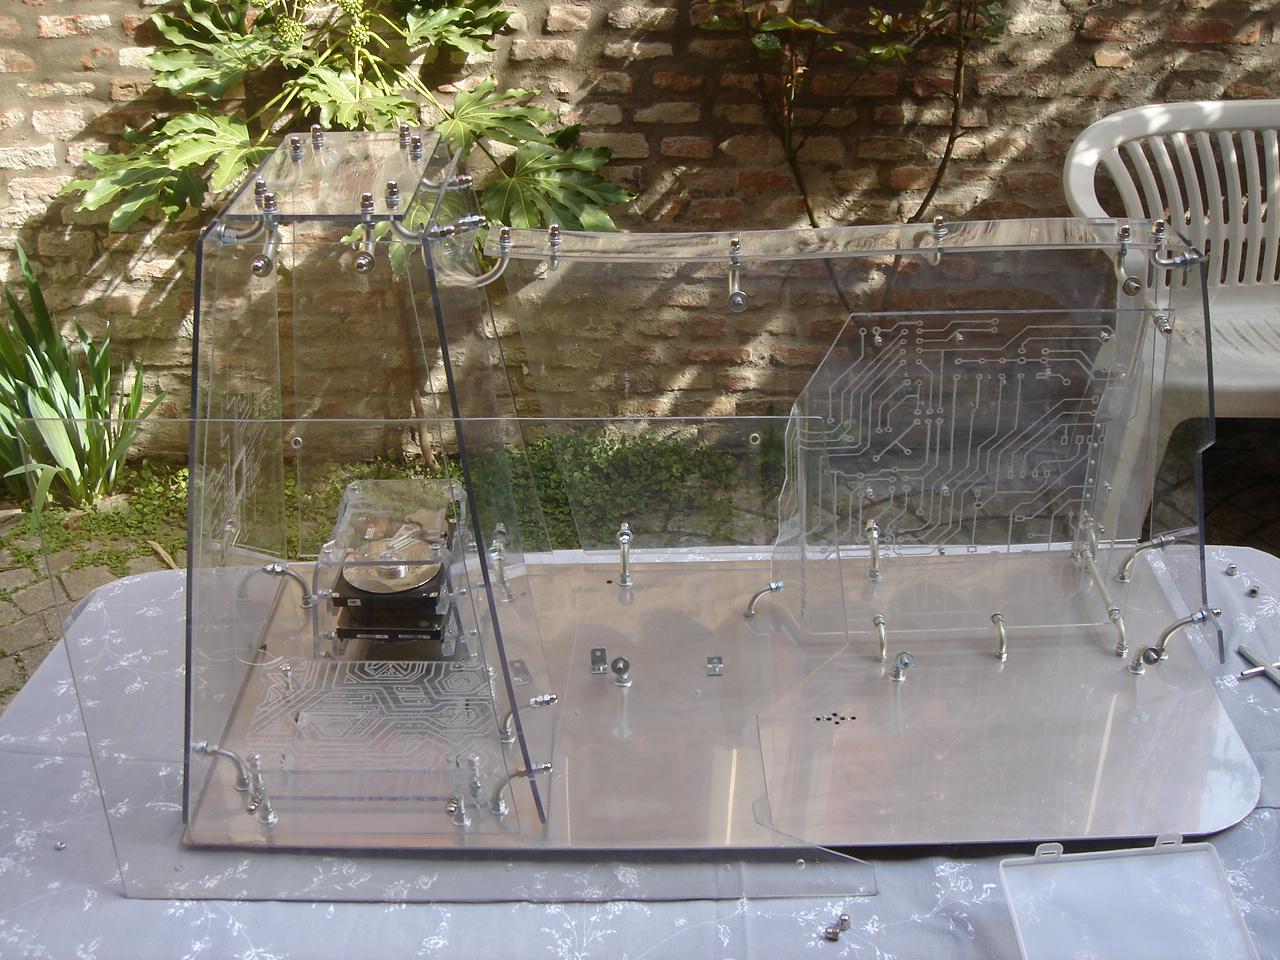
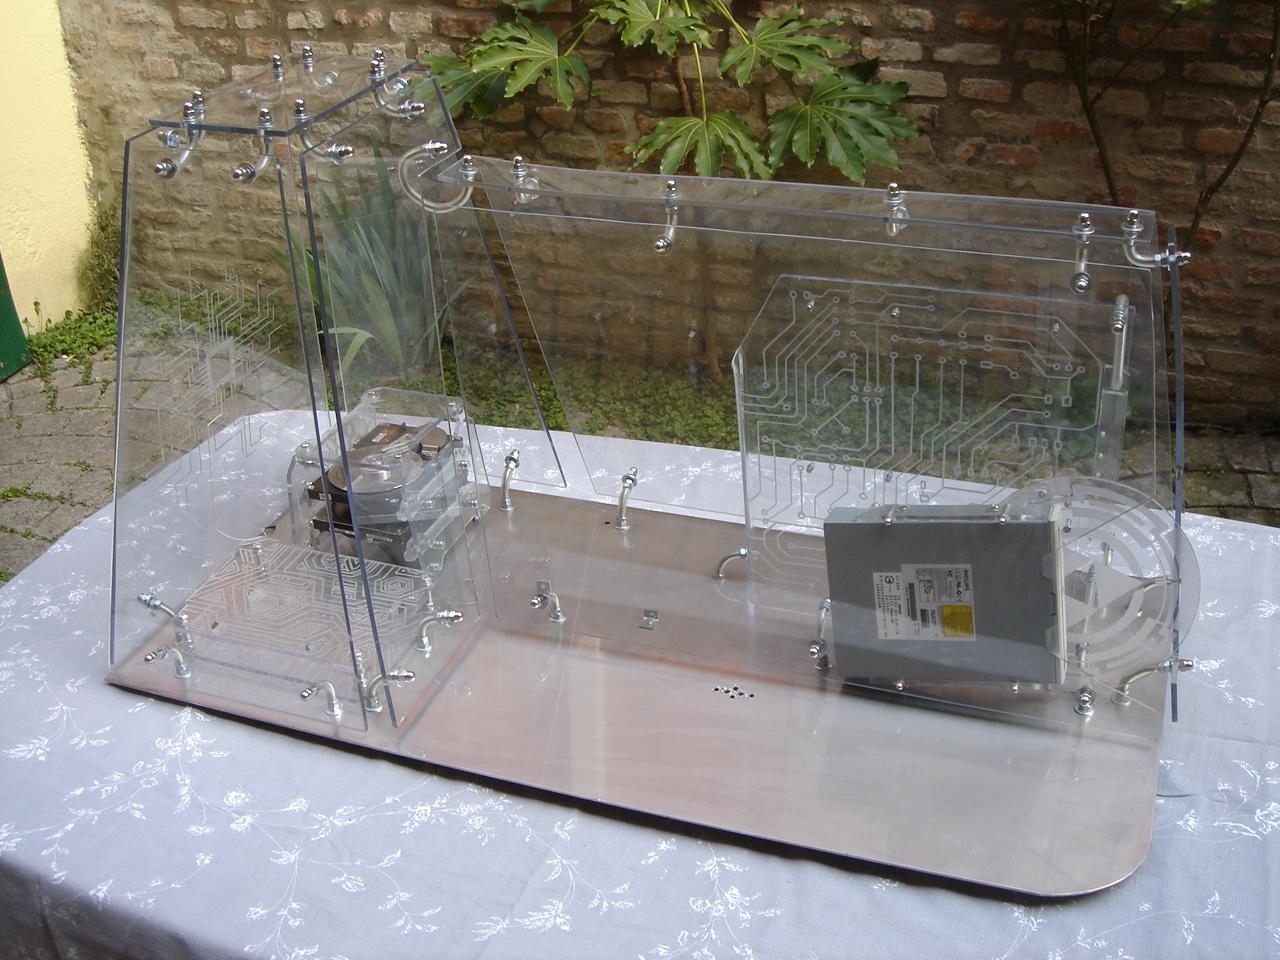
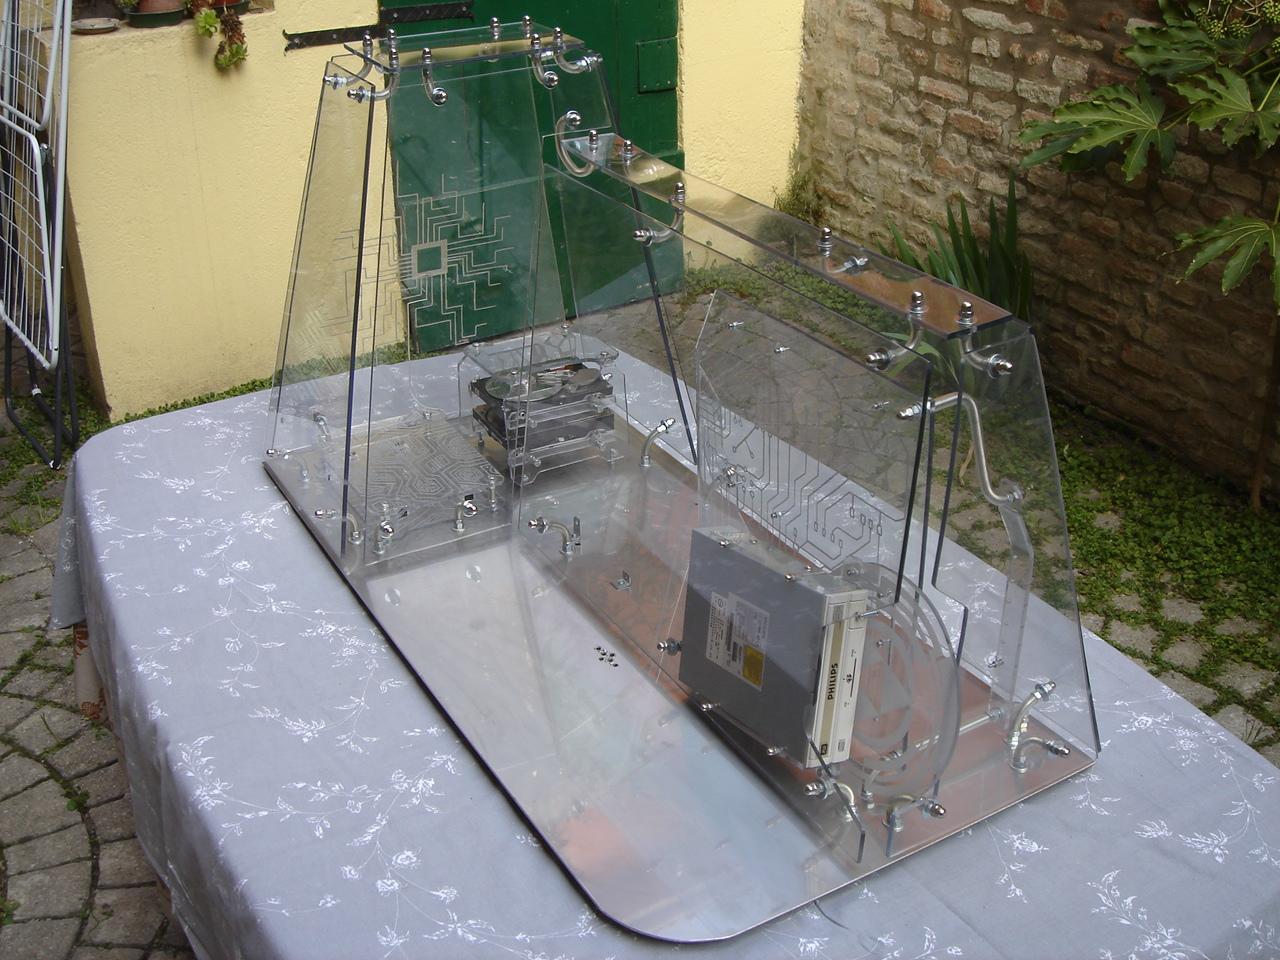
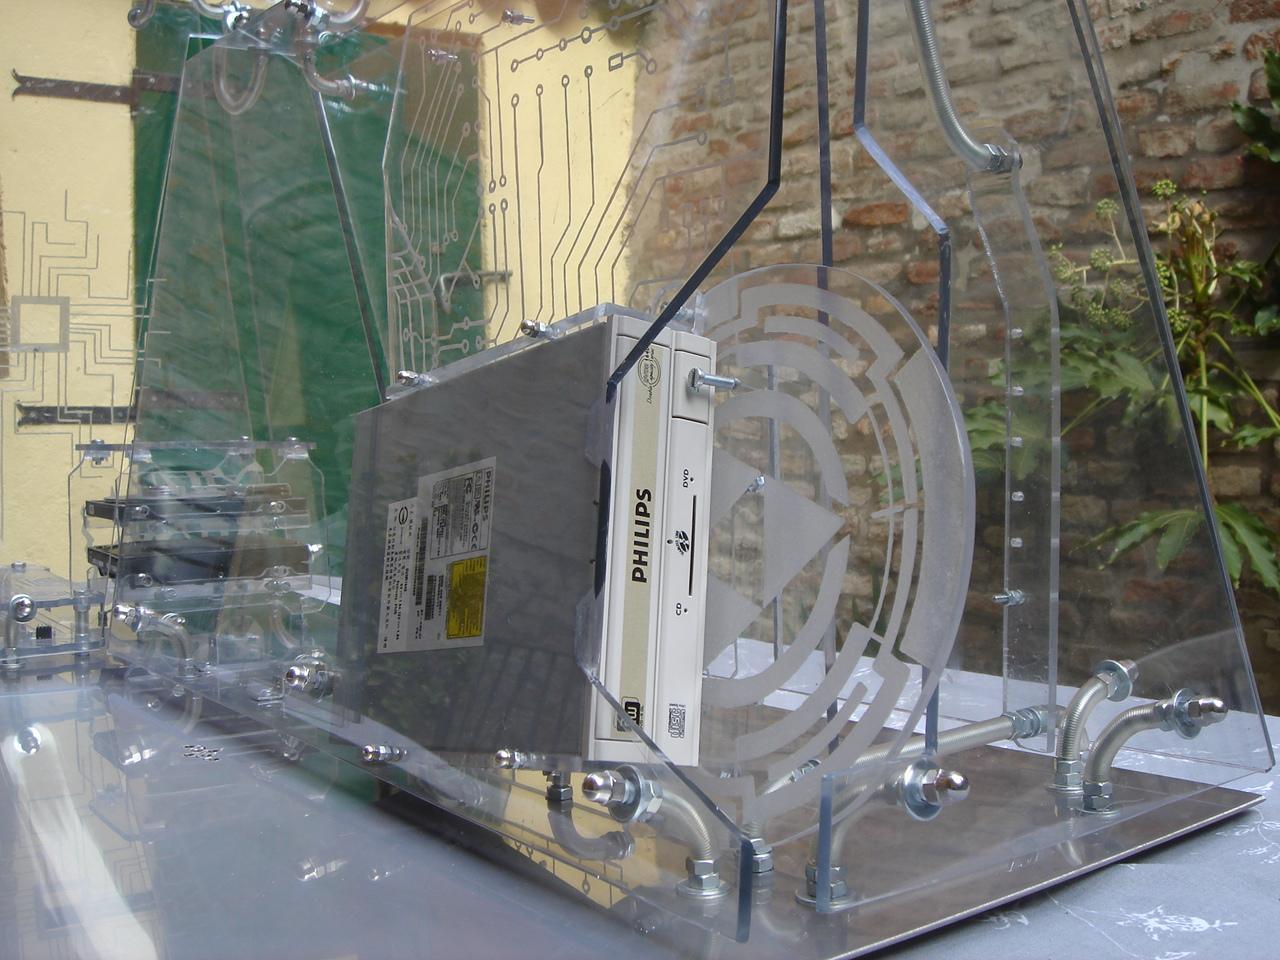
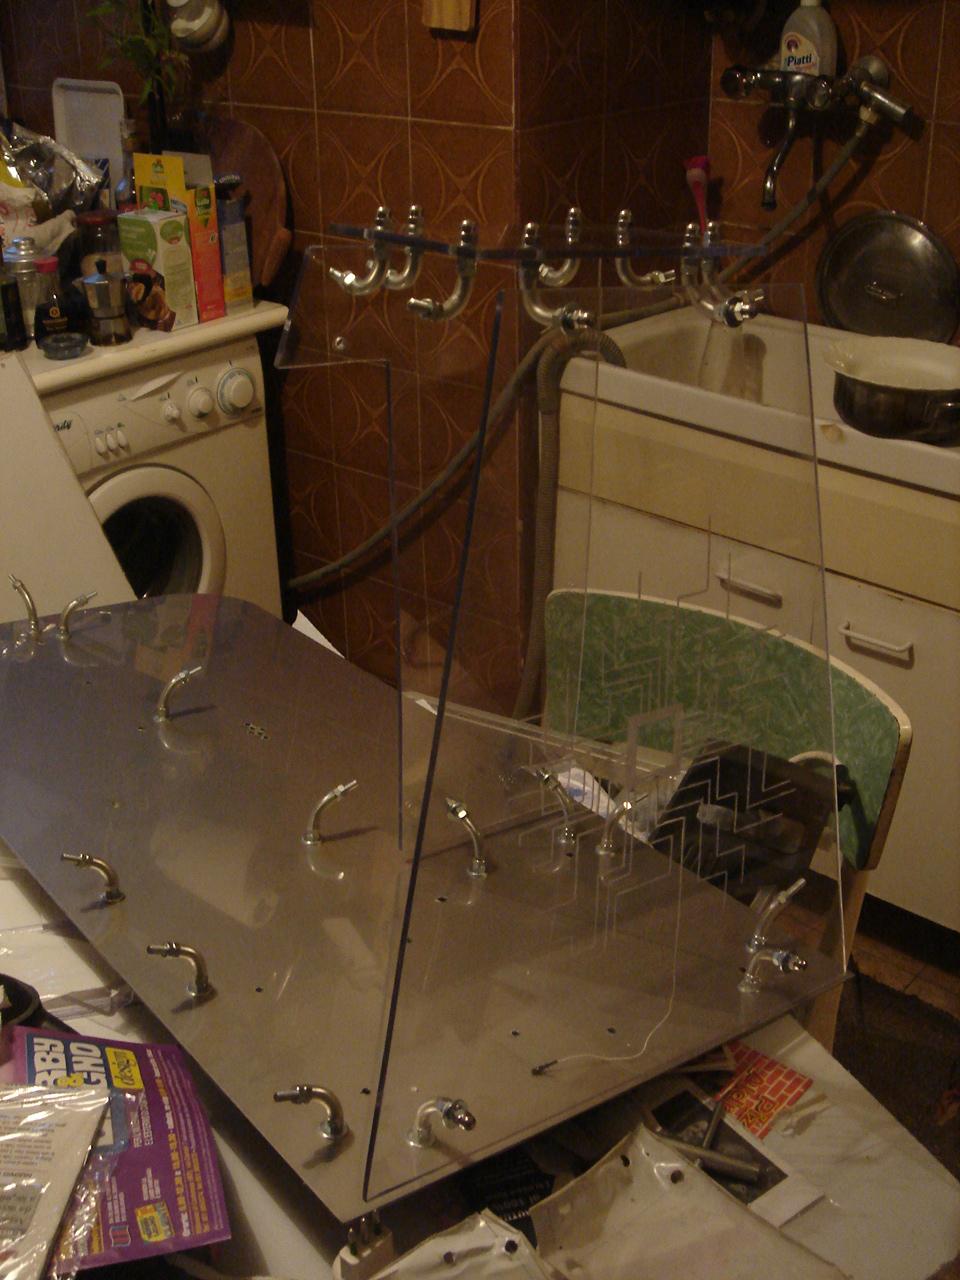
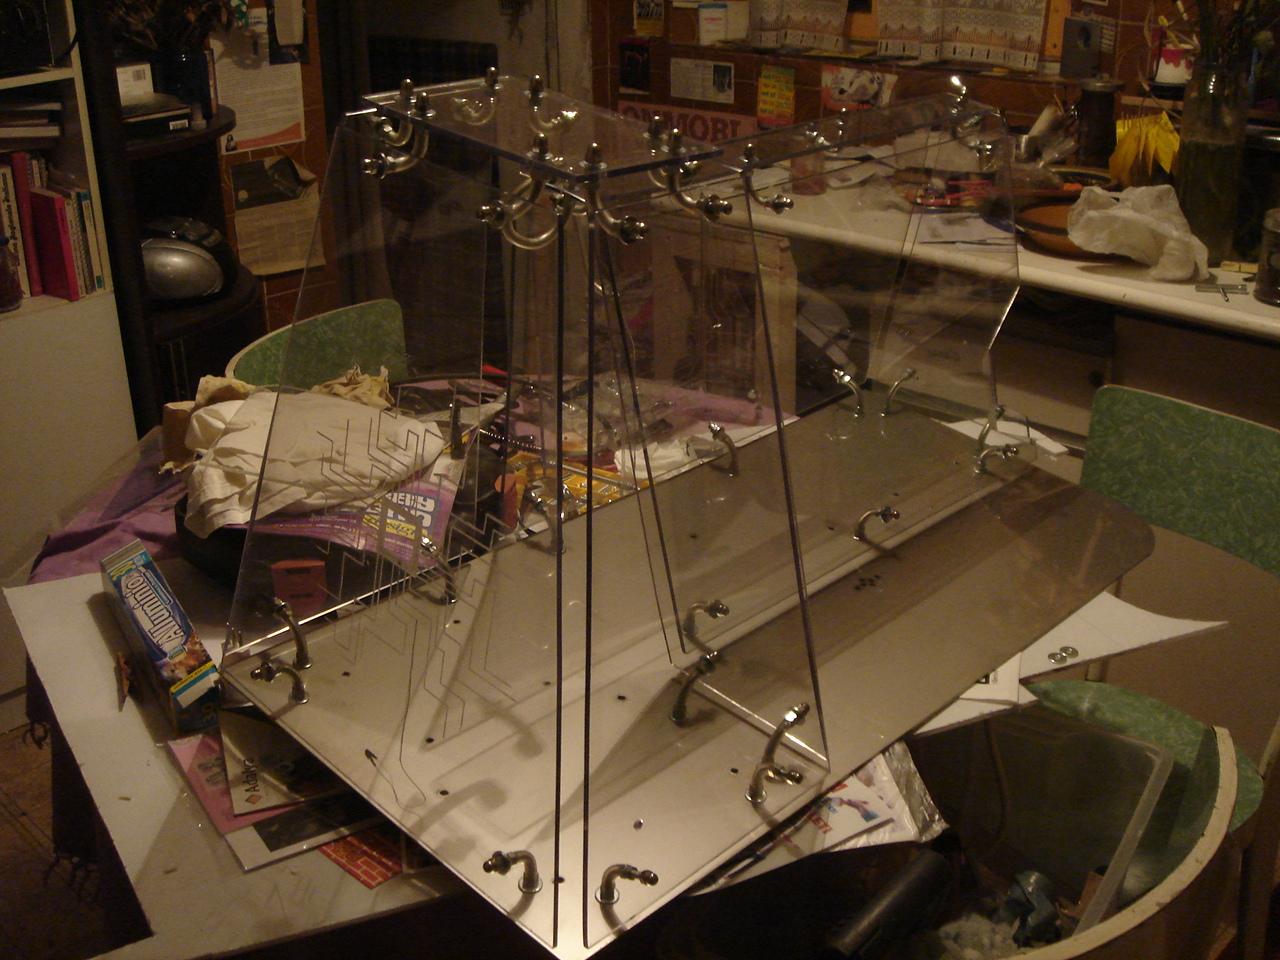
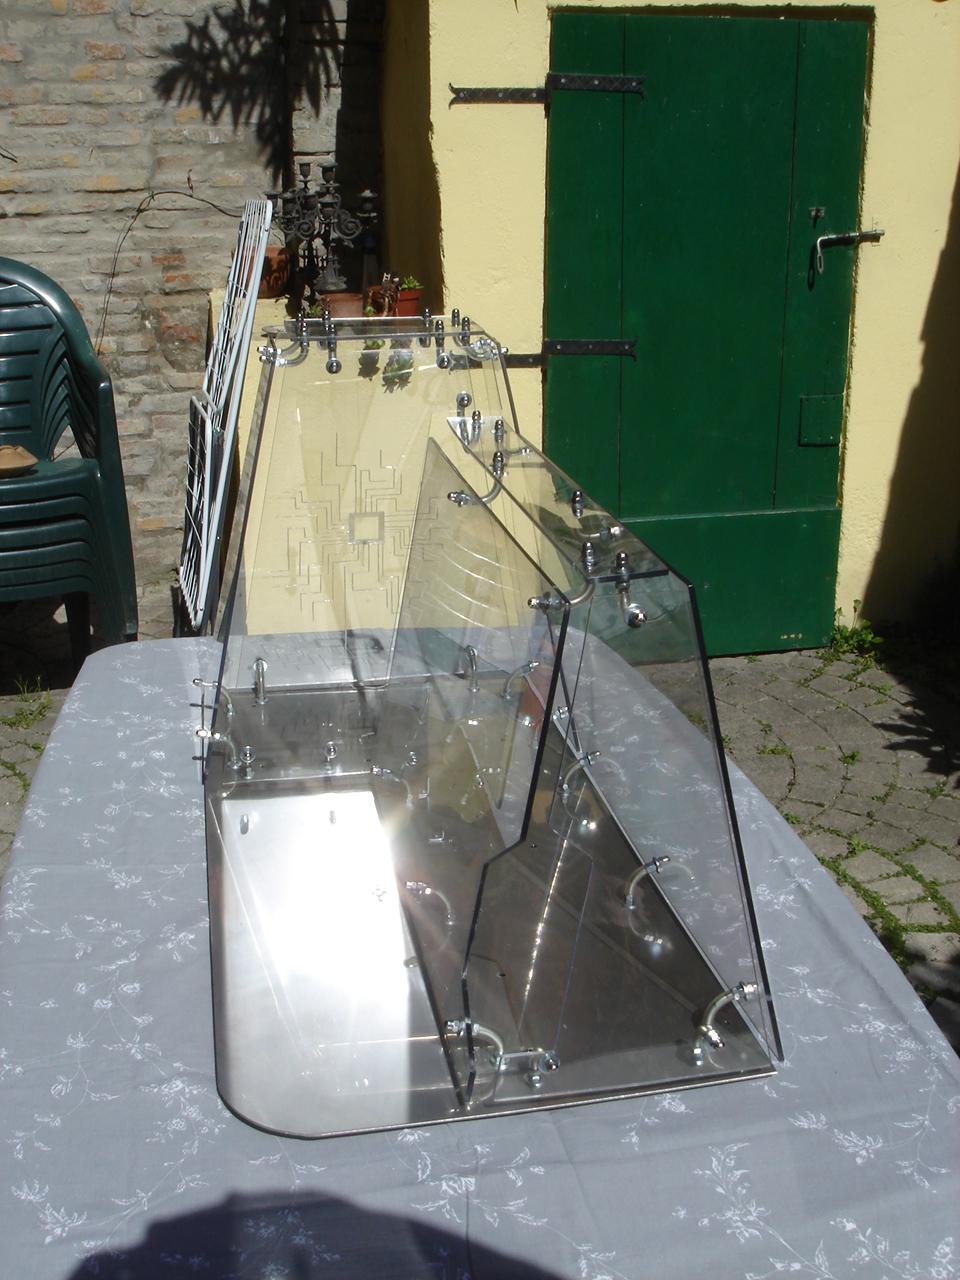
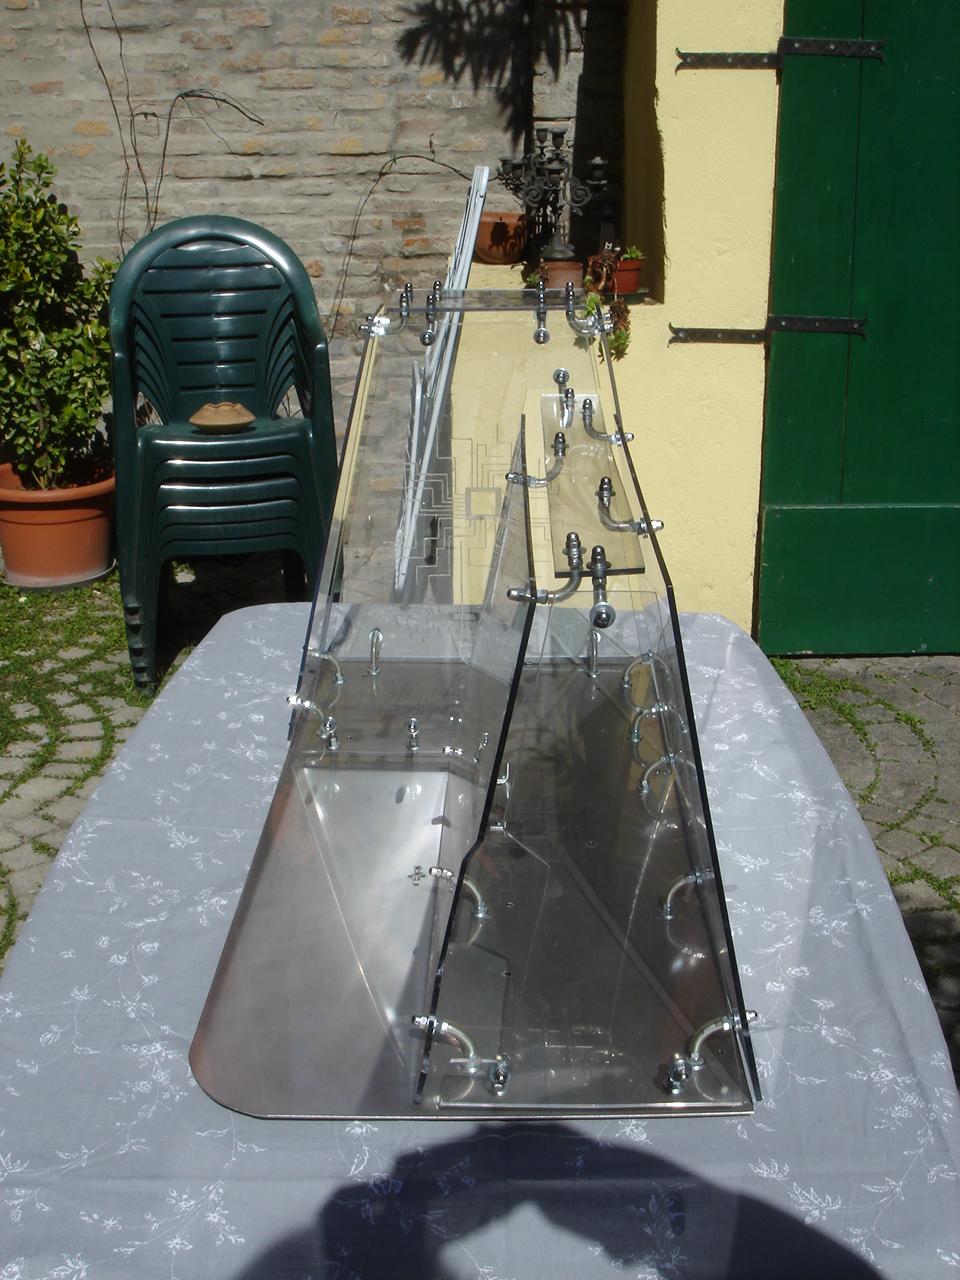
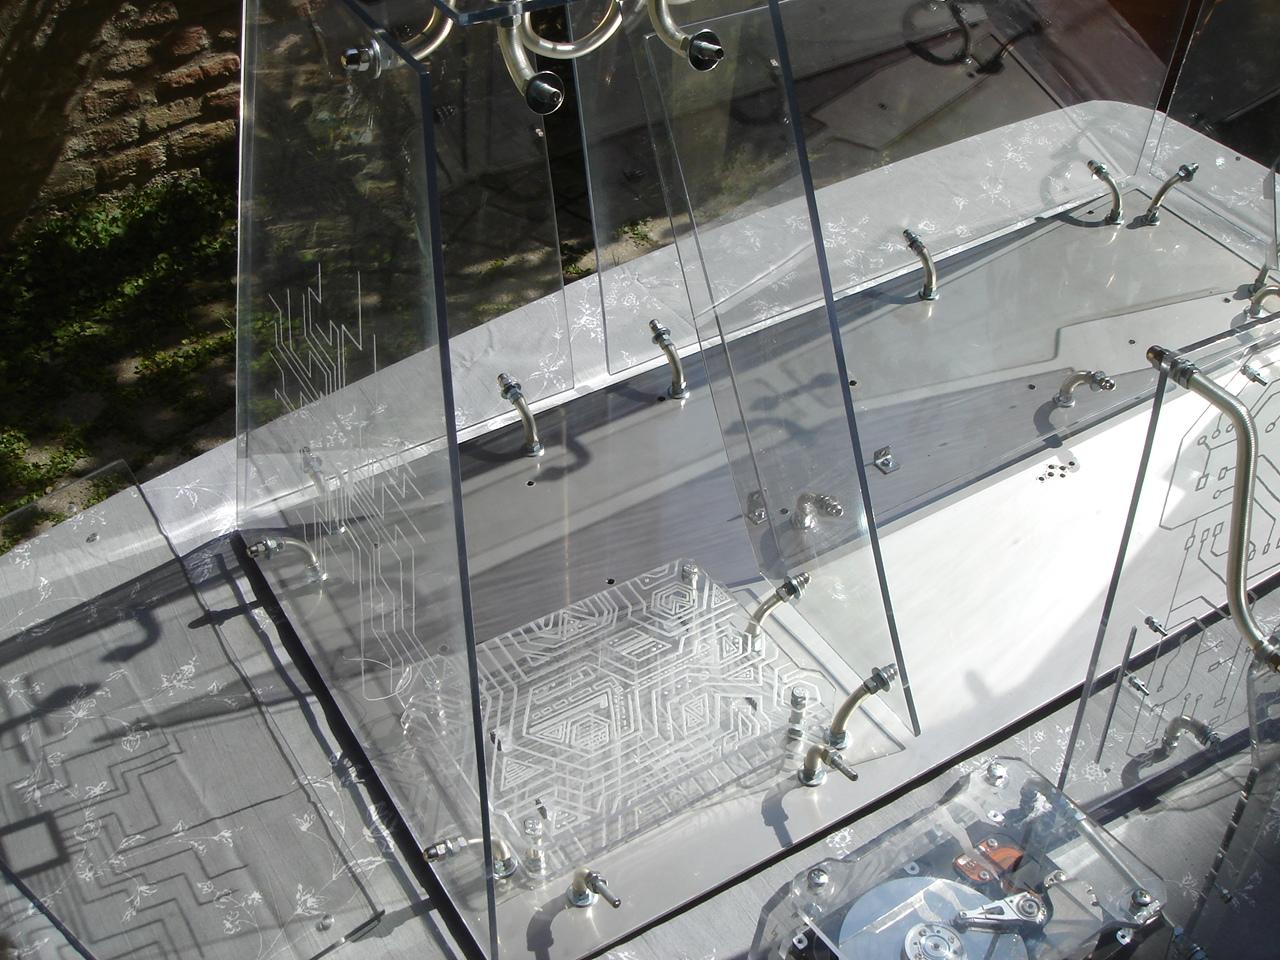
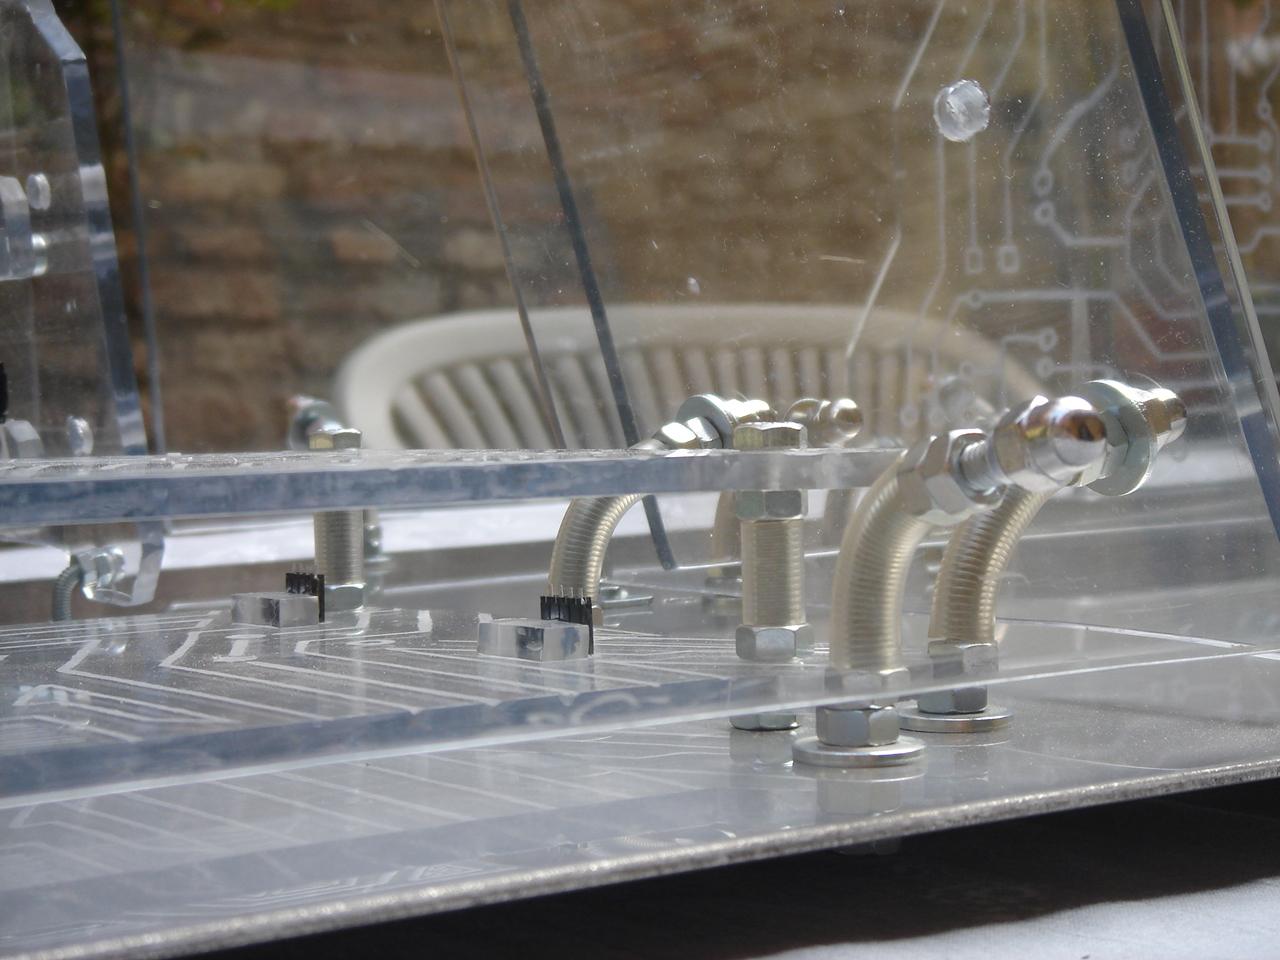
And now an overview with (almost) all the assembled components, and some details:
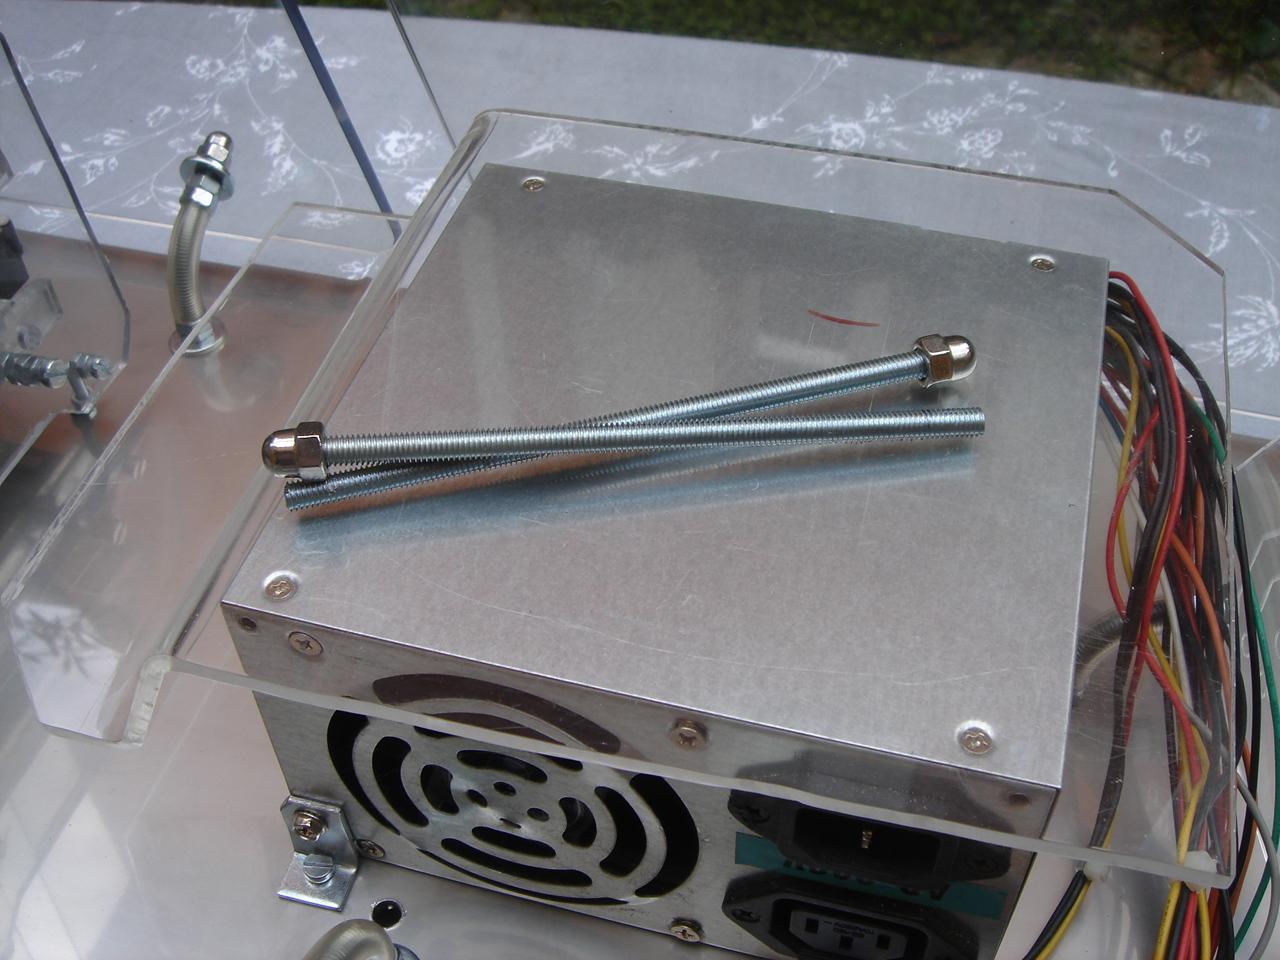
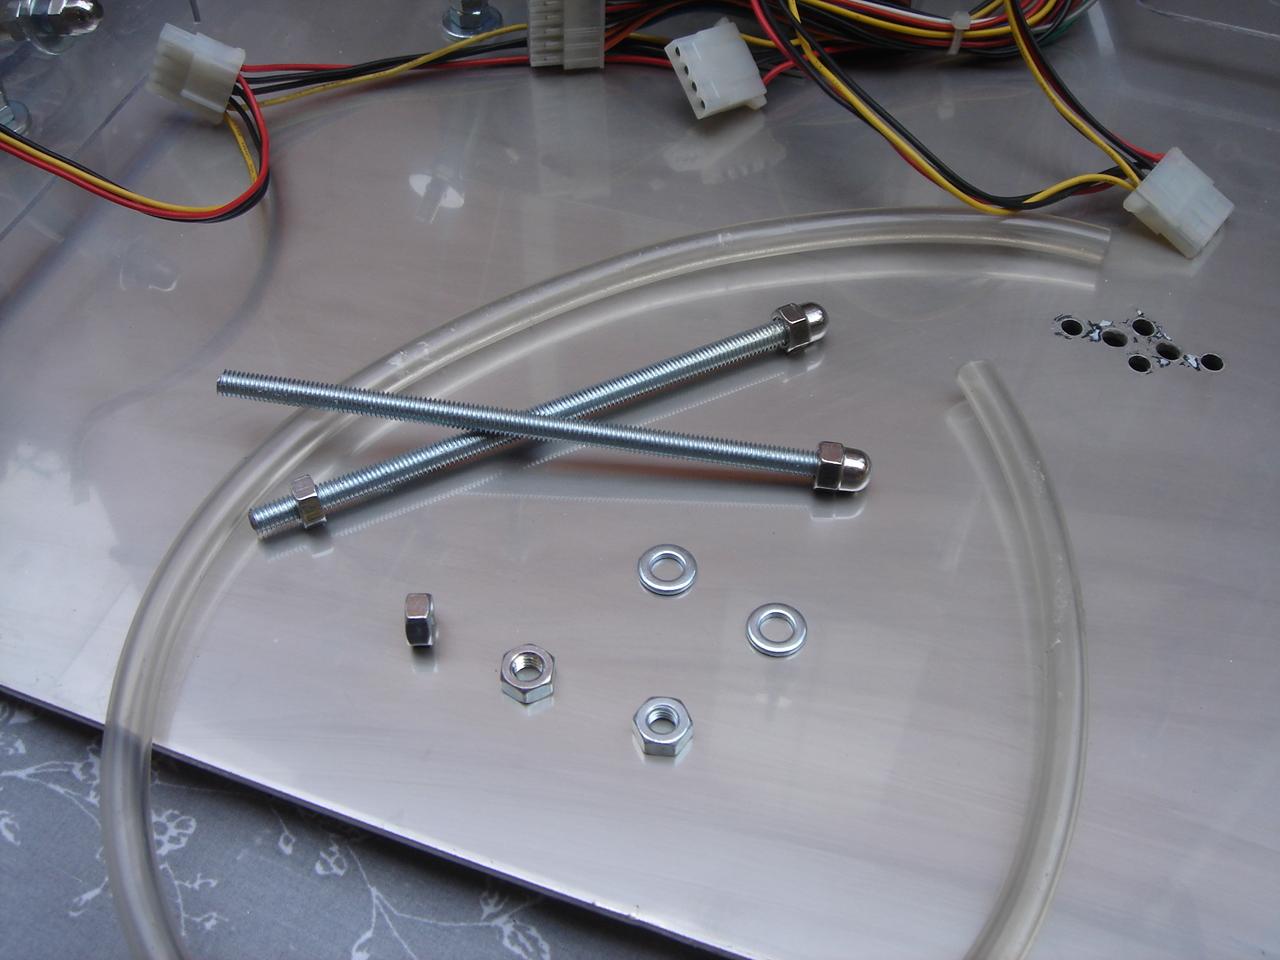
And finally the two steel bars in which I will mount the PSU cover (these pics are taken before the third attempt to bend the PSU cover, so in that moment I didn’t have yet the final cover to mount in the case):