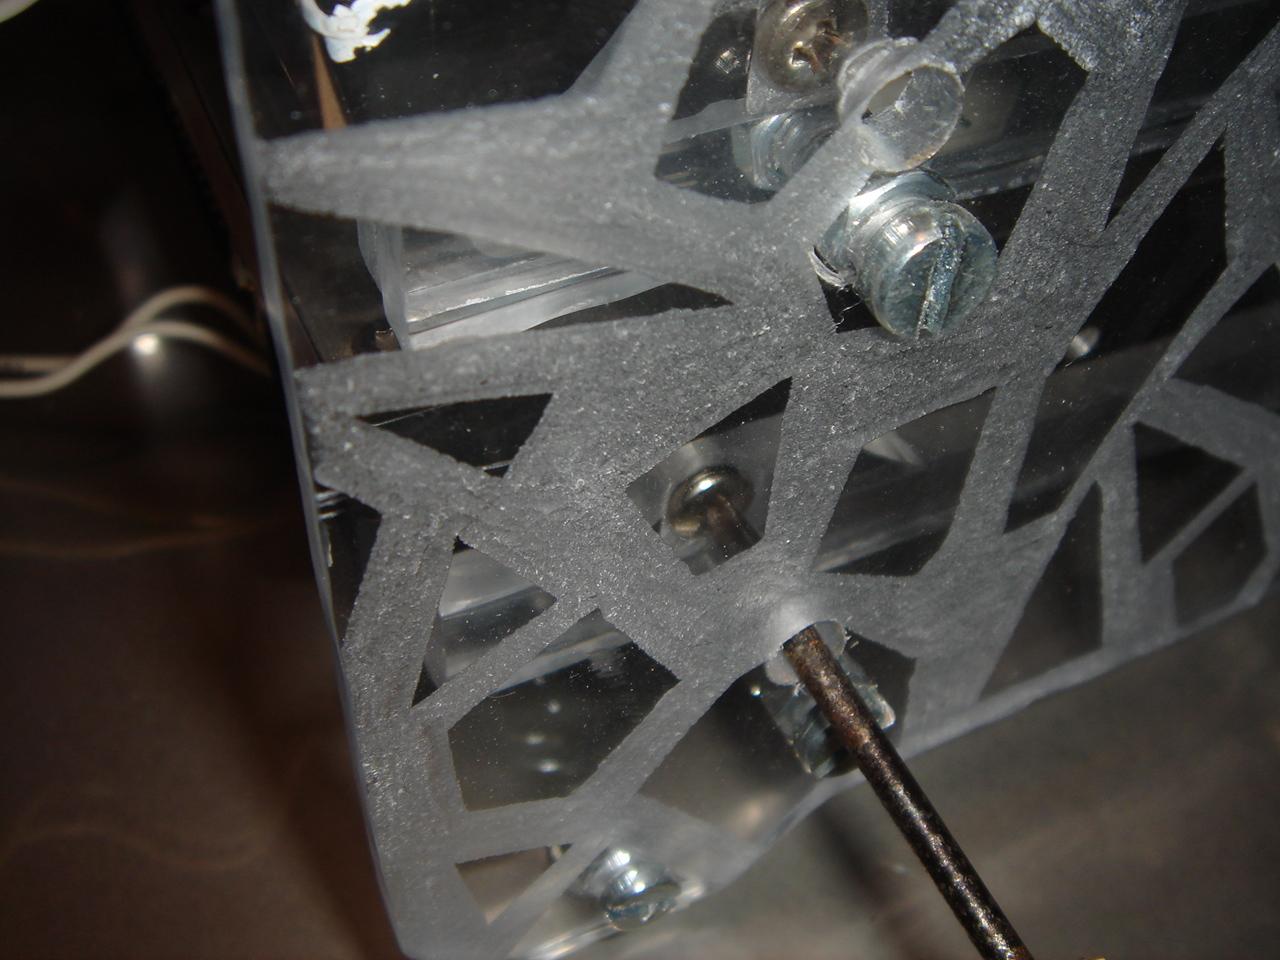
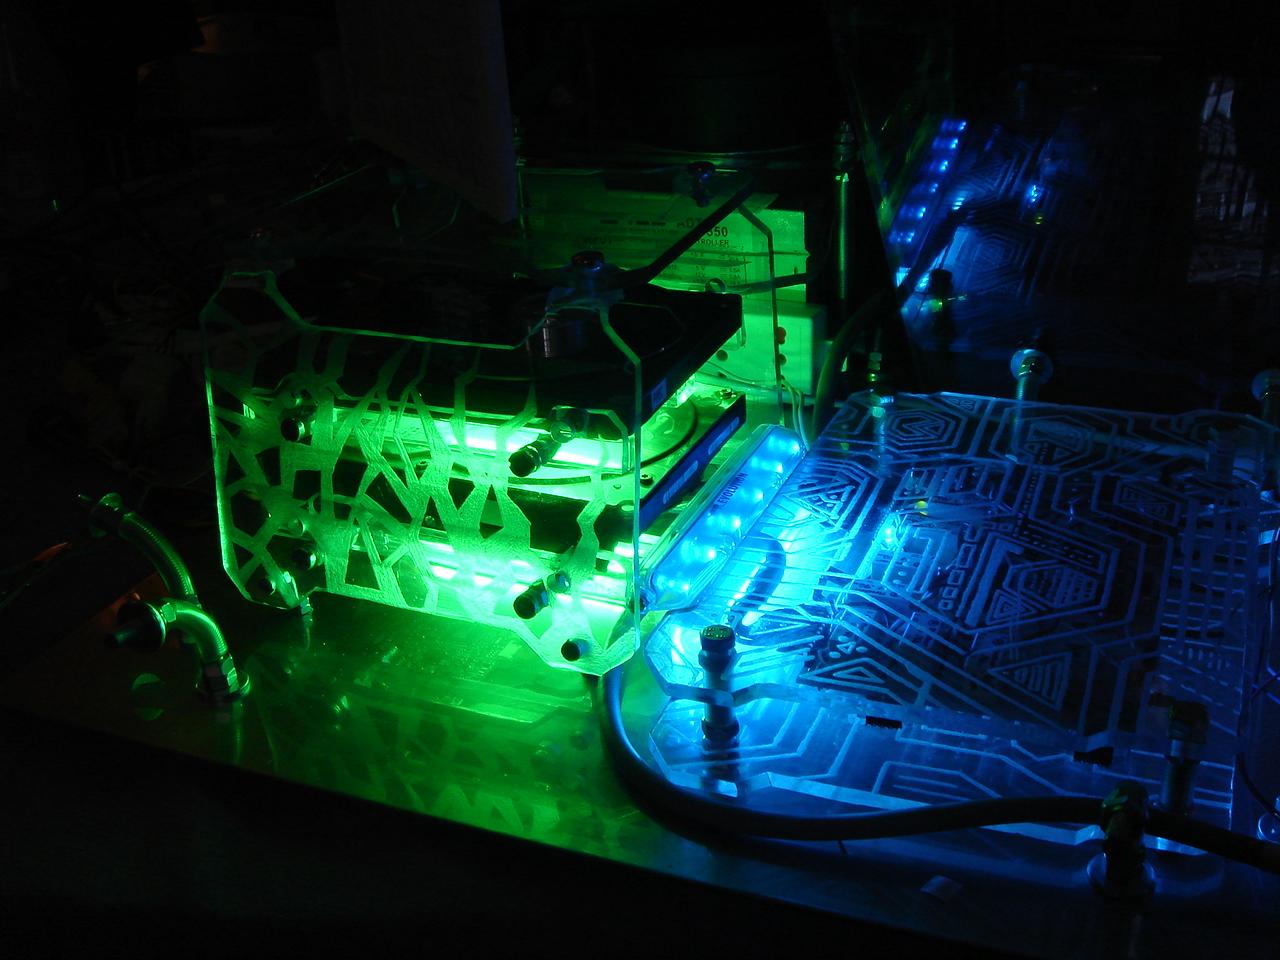
Here I remove the dummy hard disk and I put two green cold cathode lights:
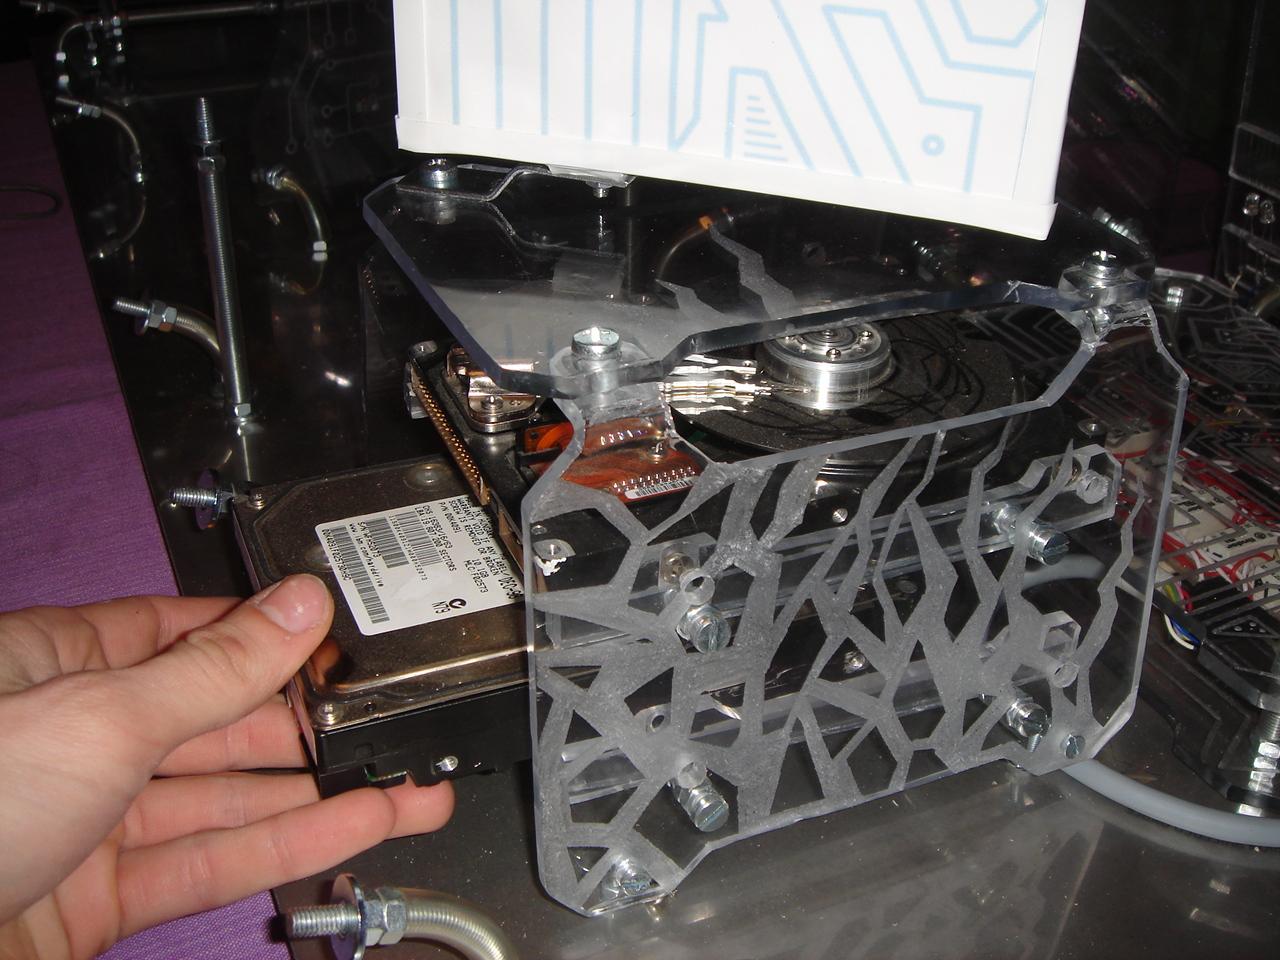
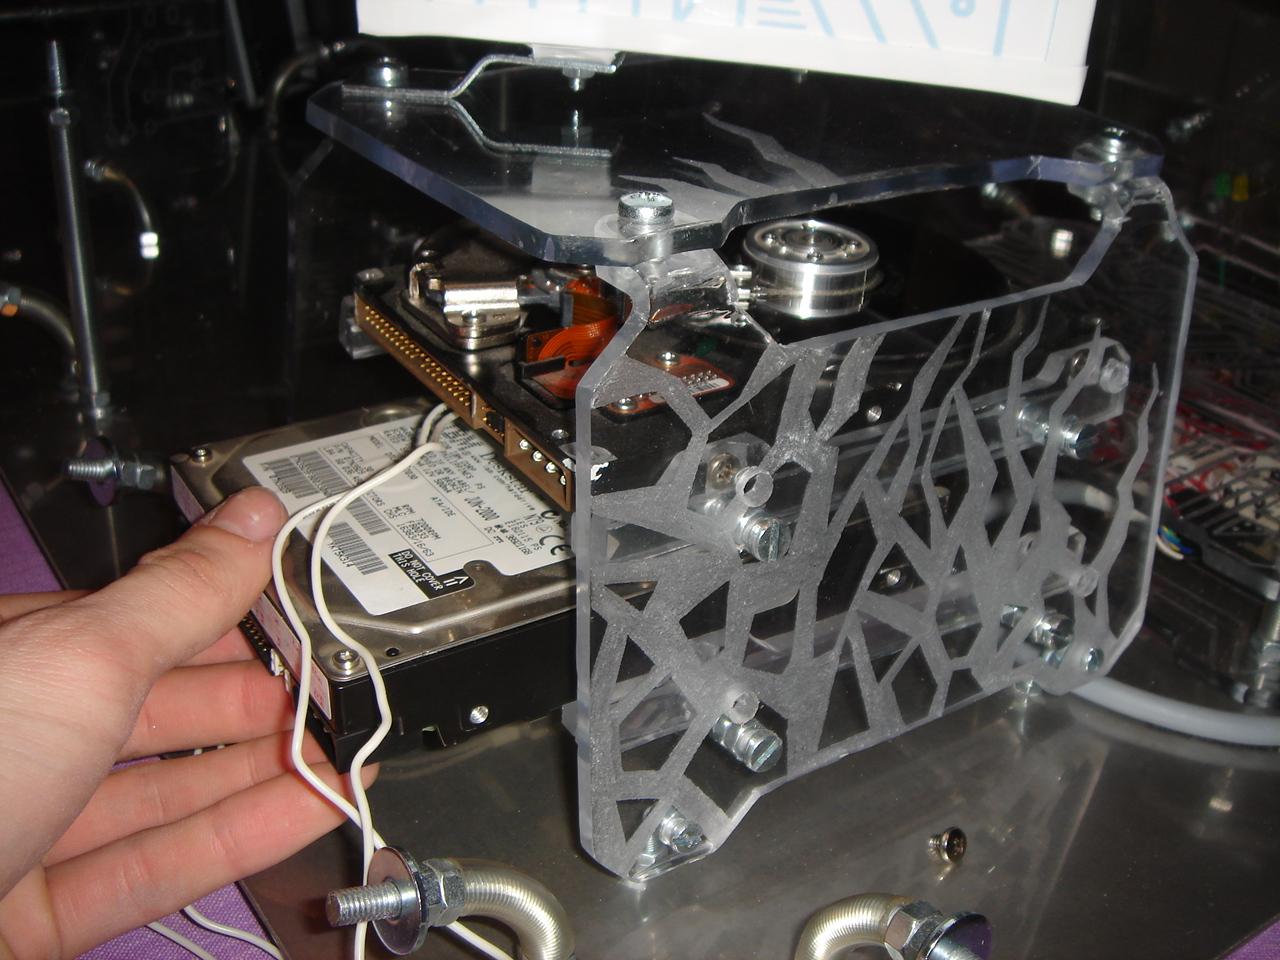
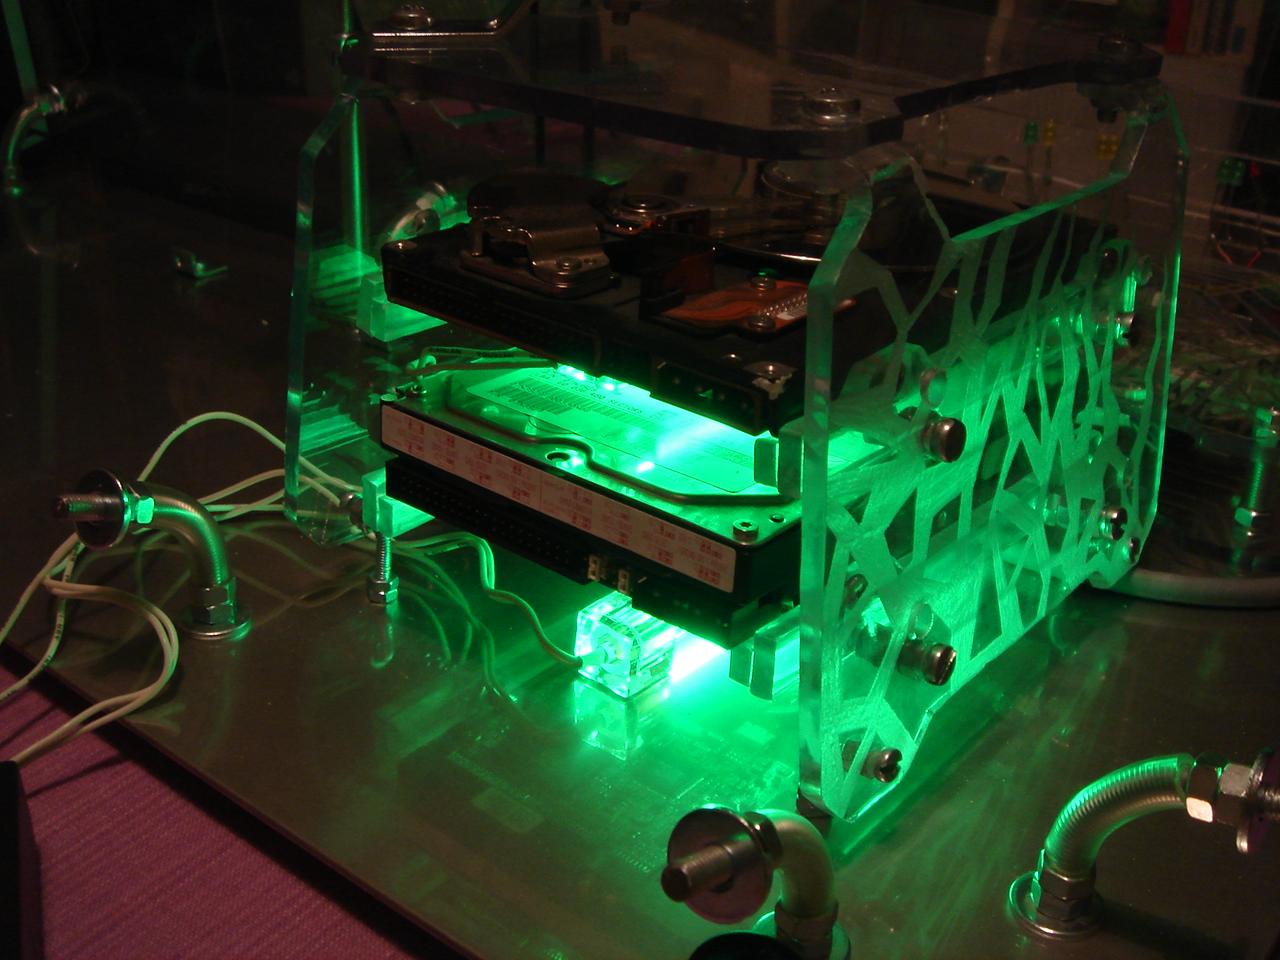
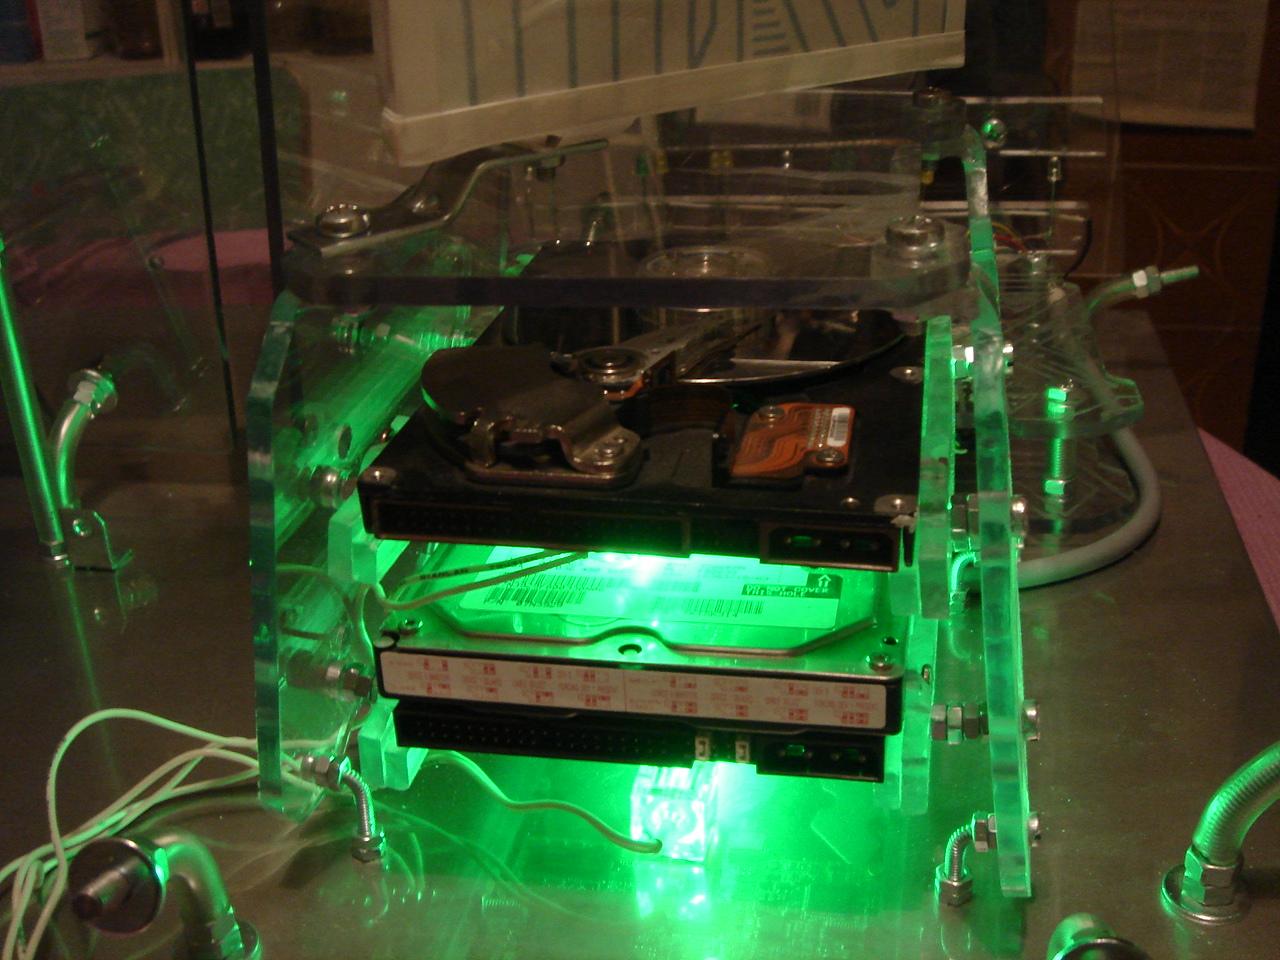
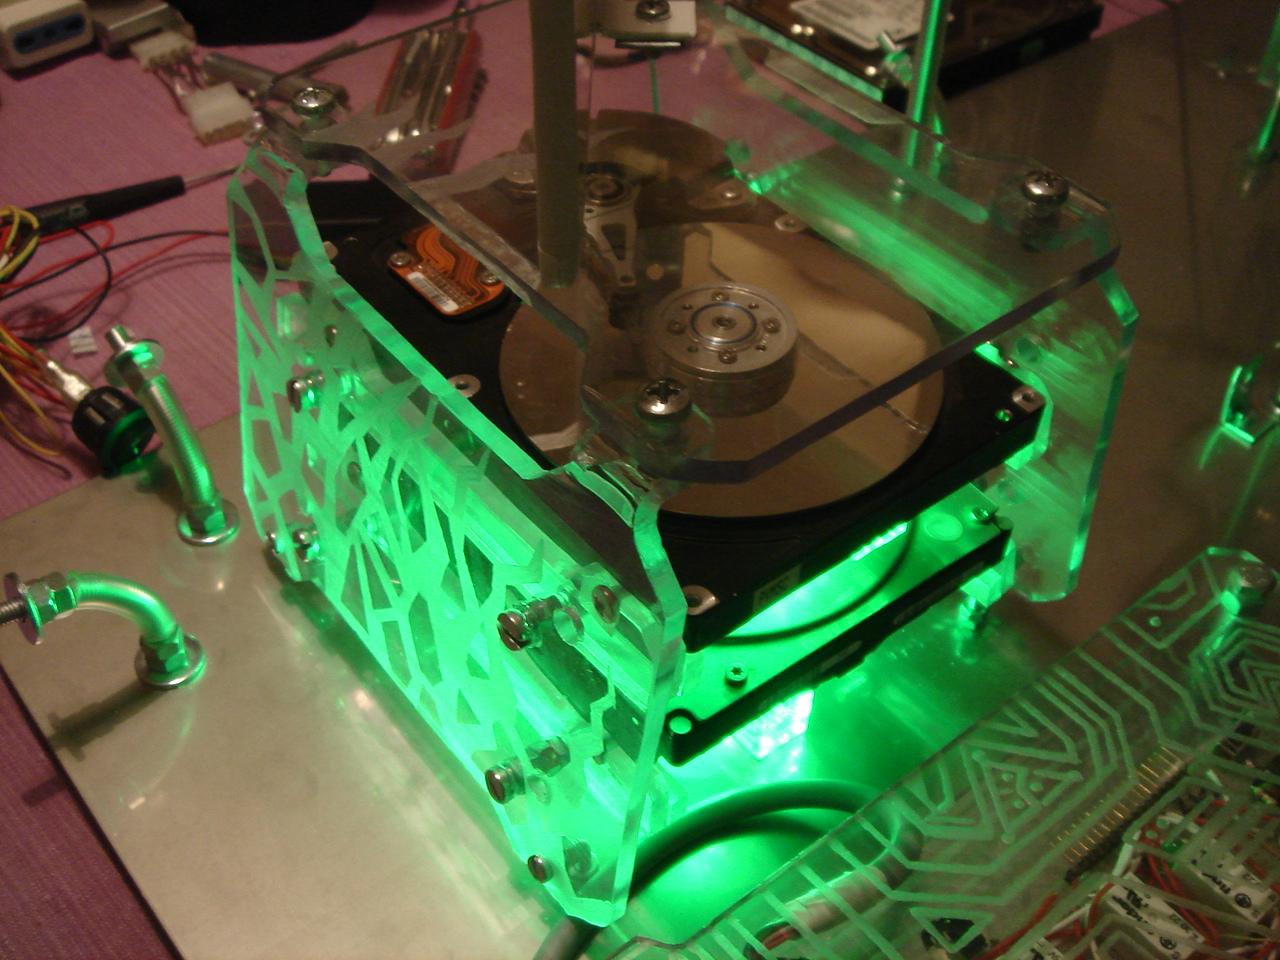
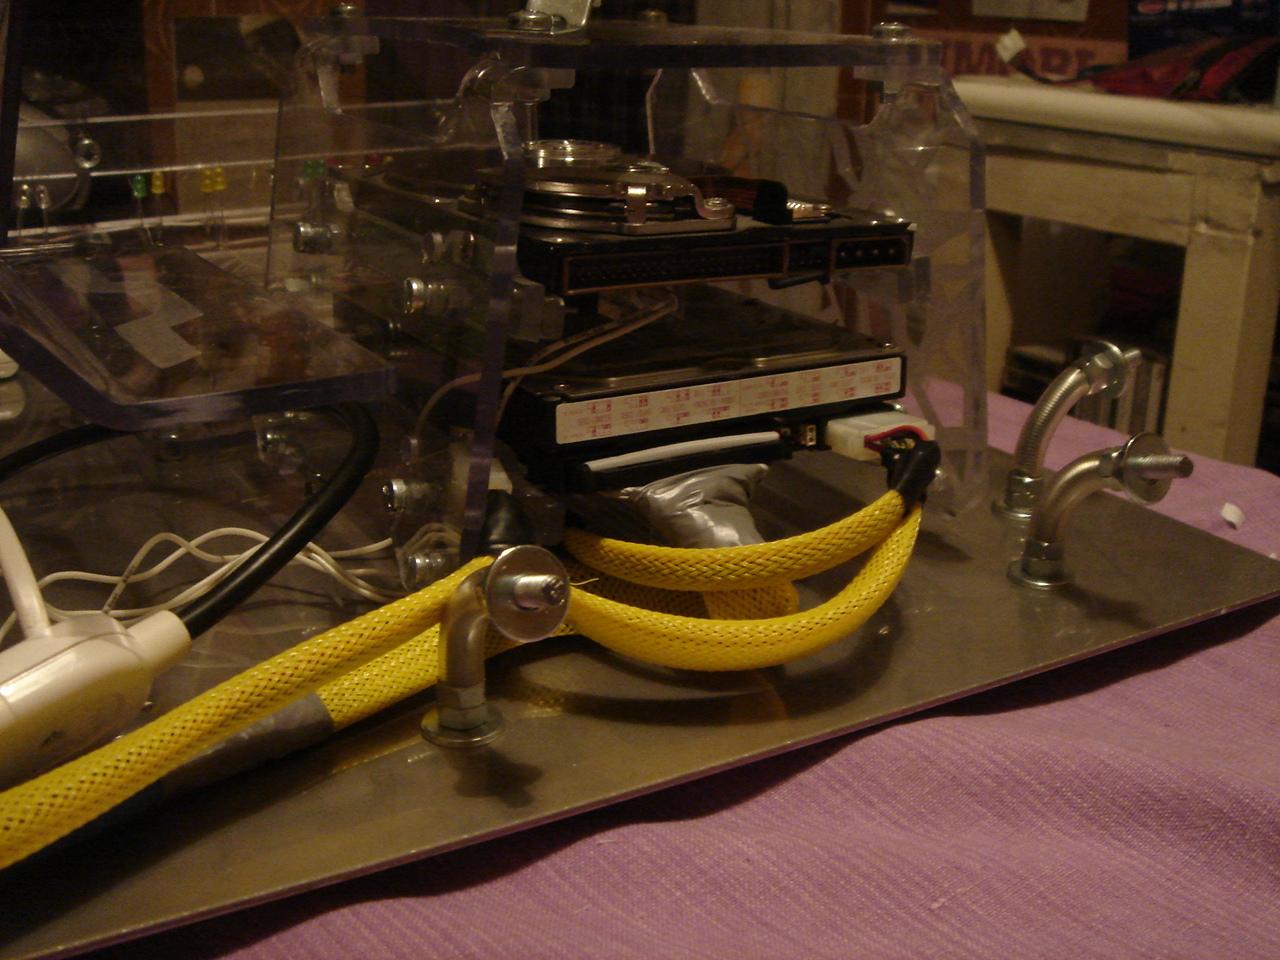
I mount the real hard disk:
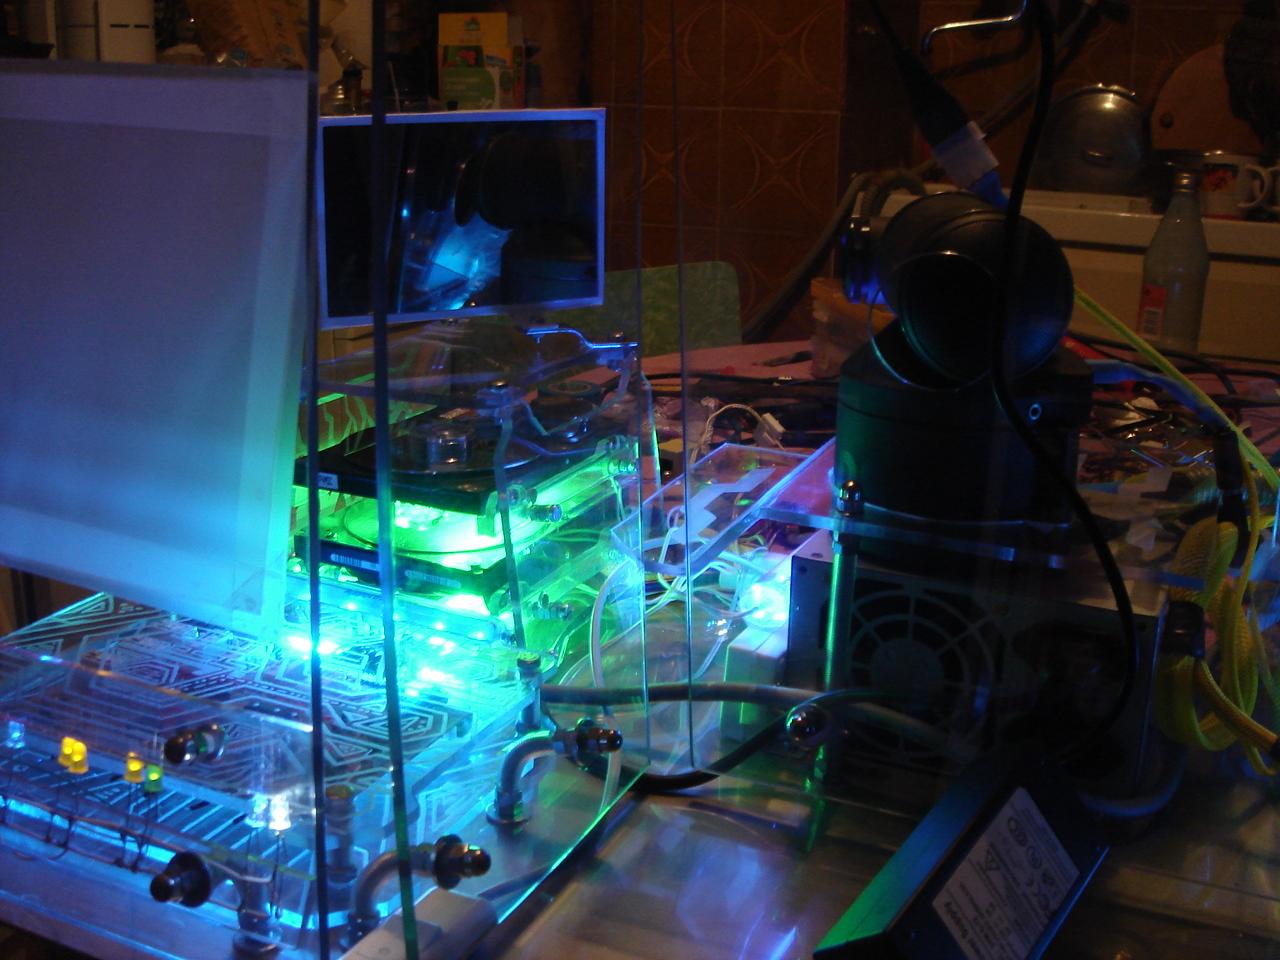
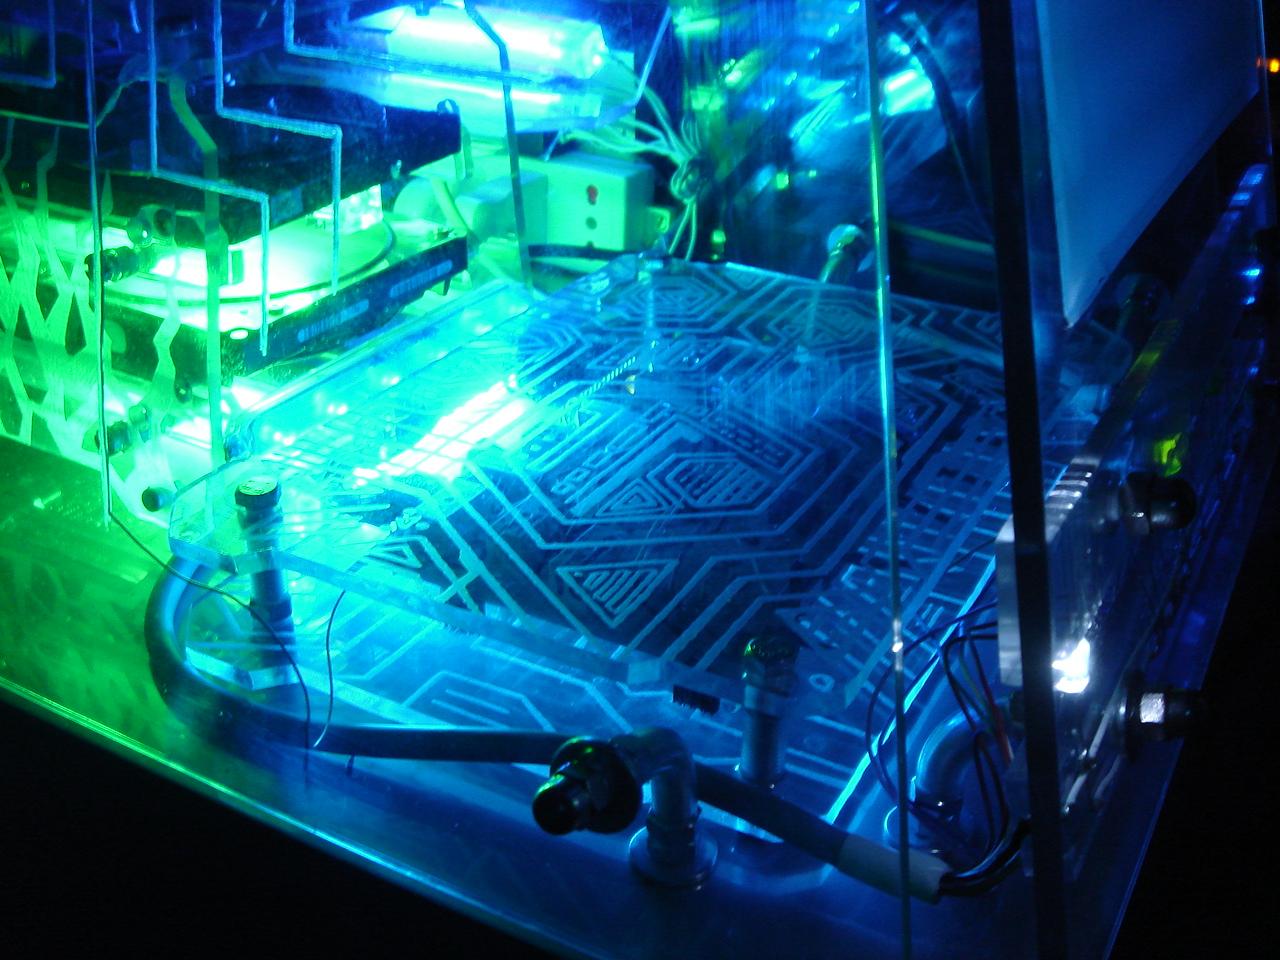
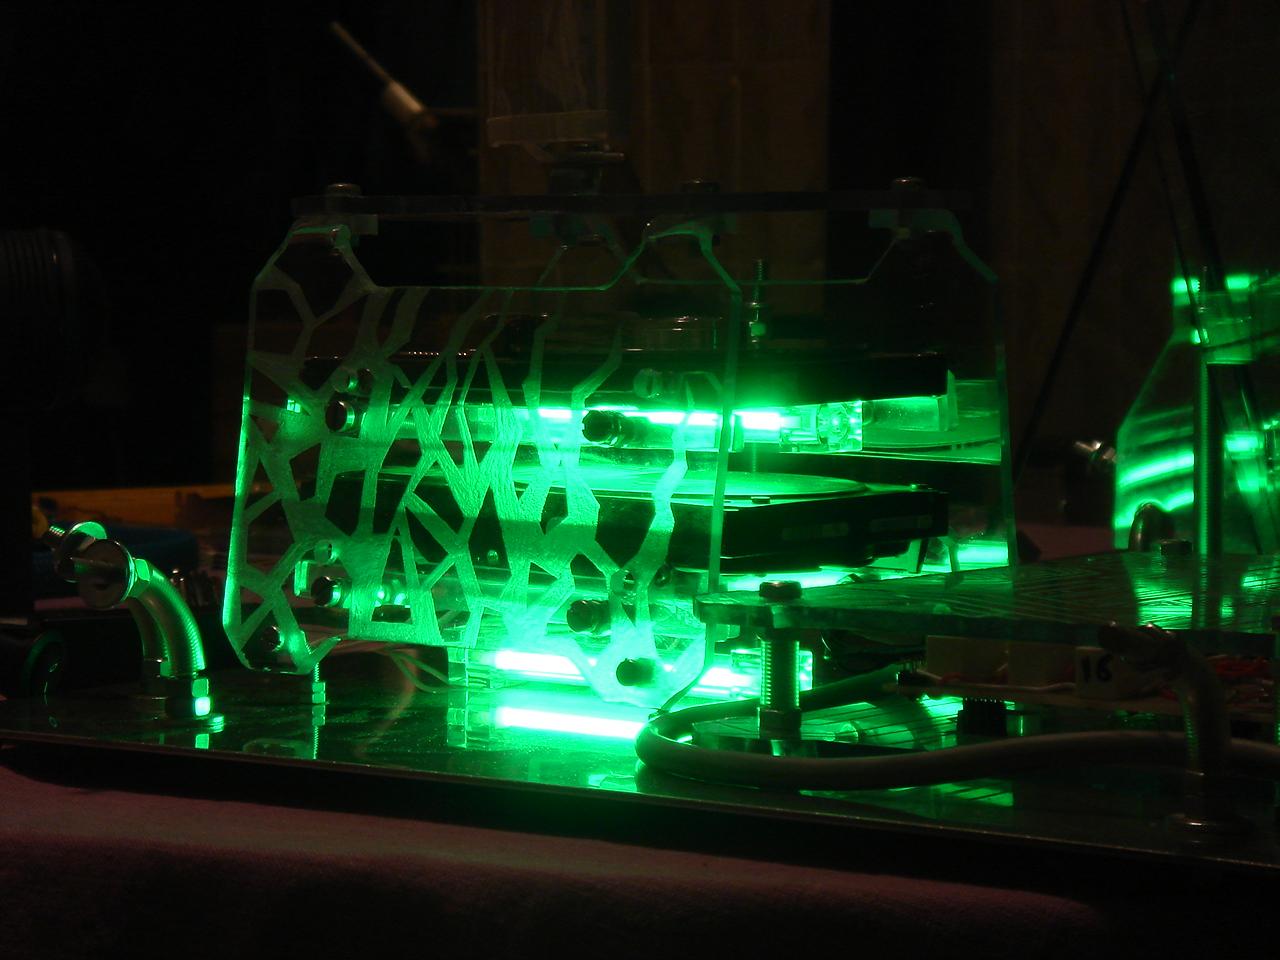
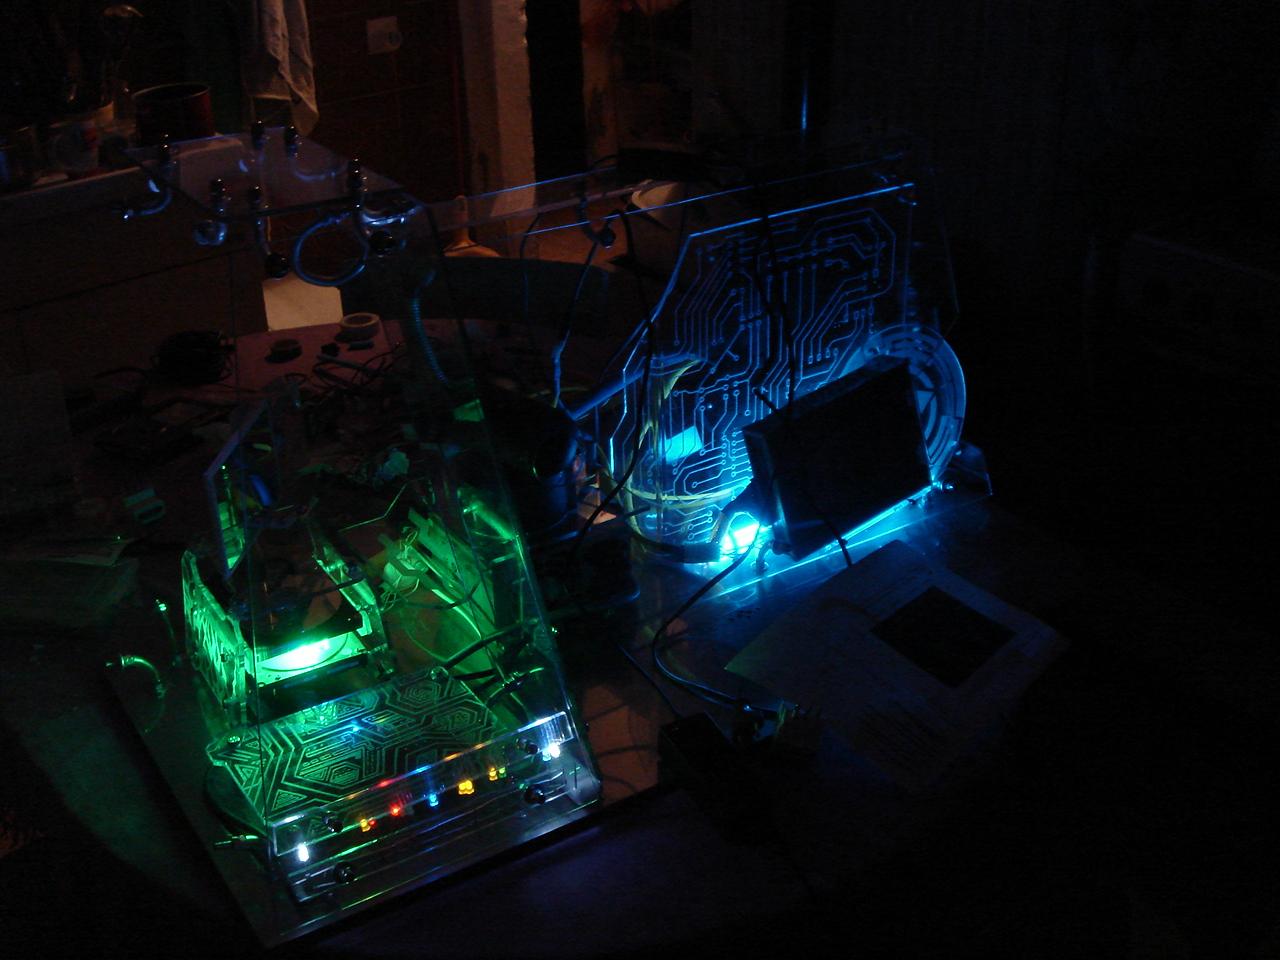
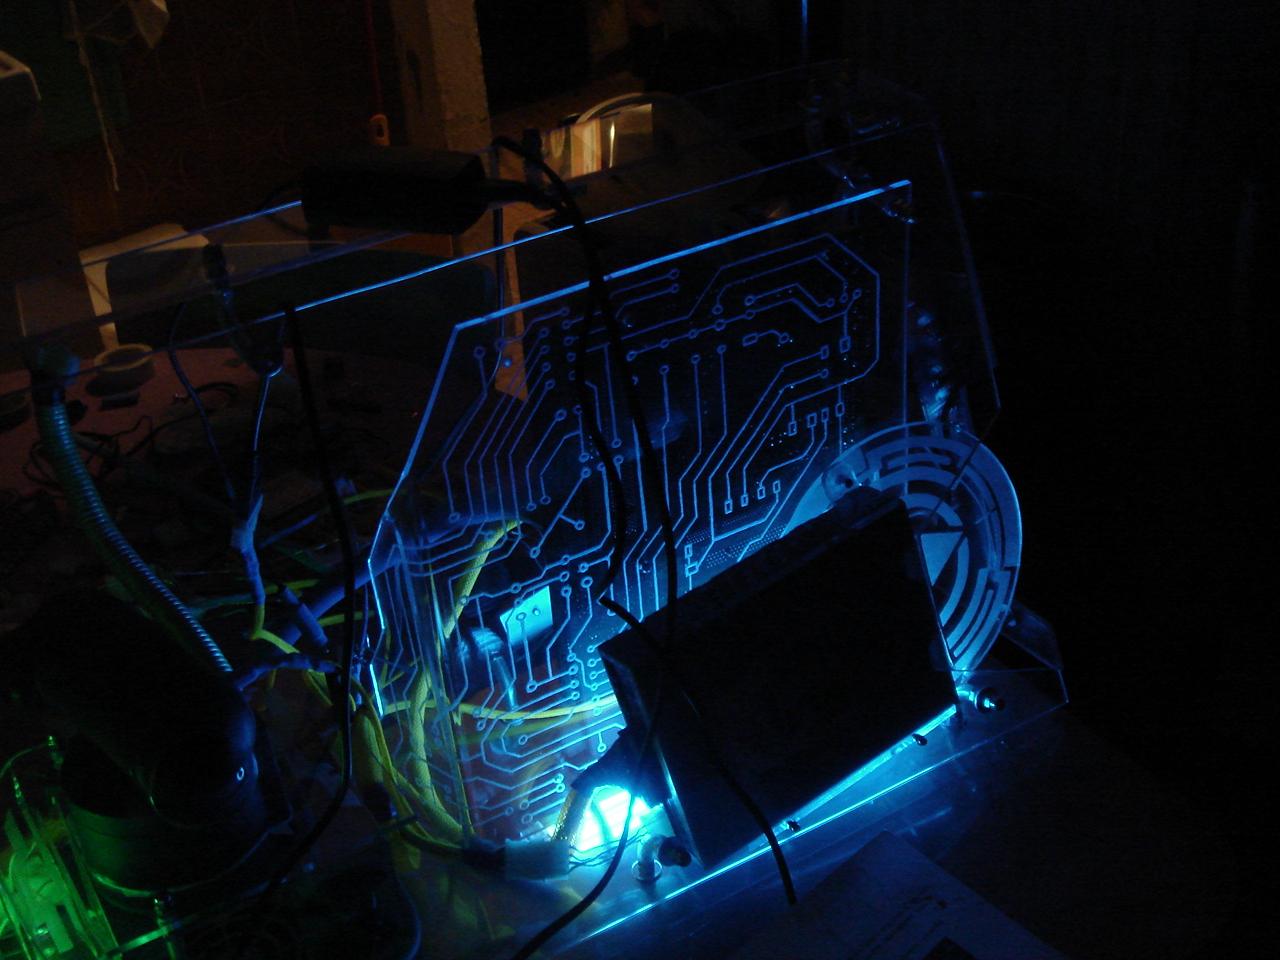
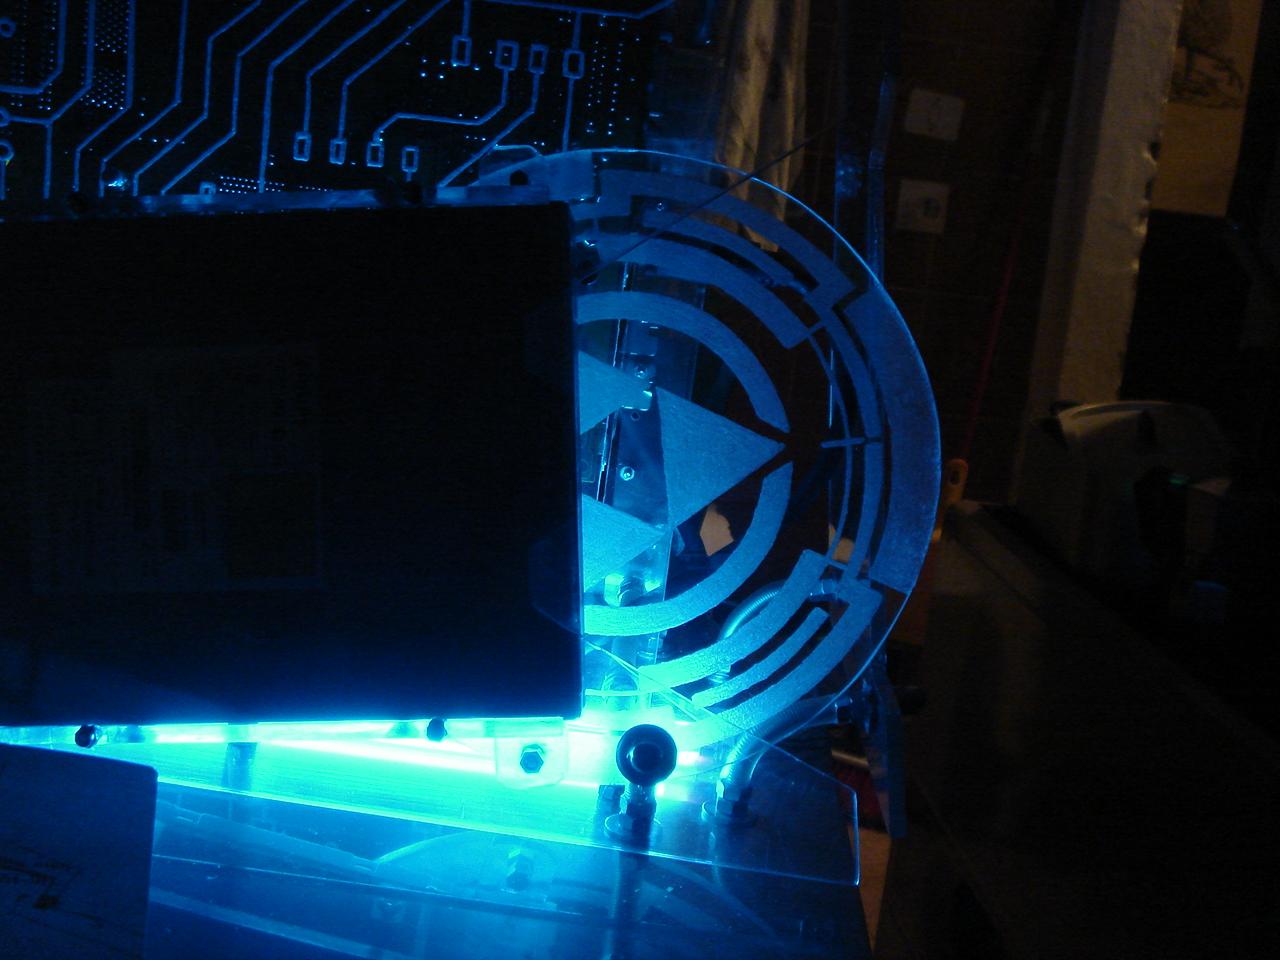
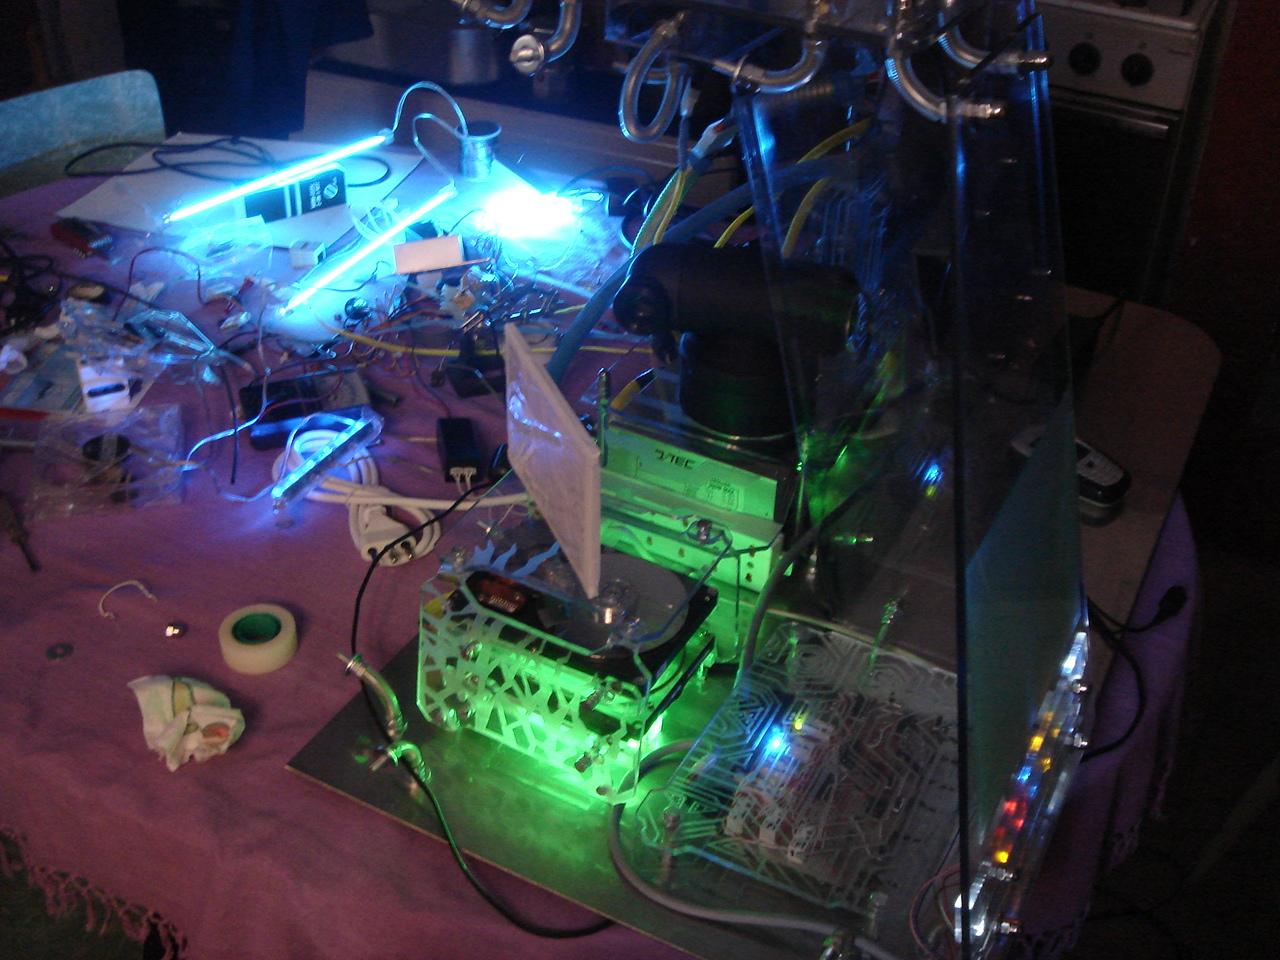
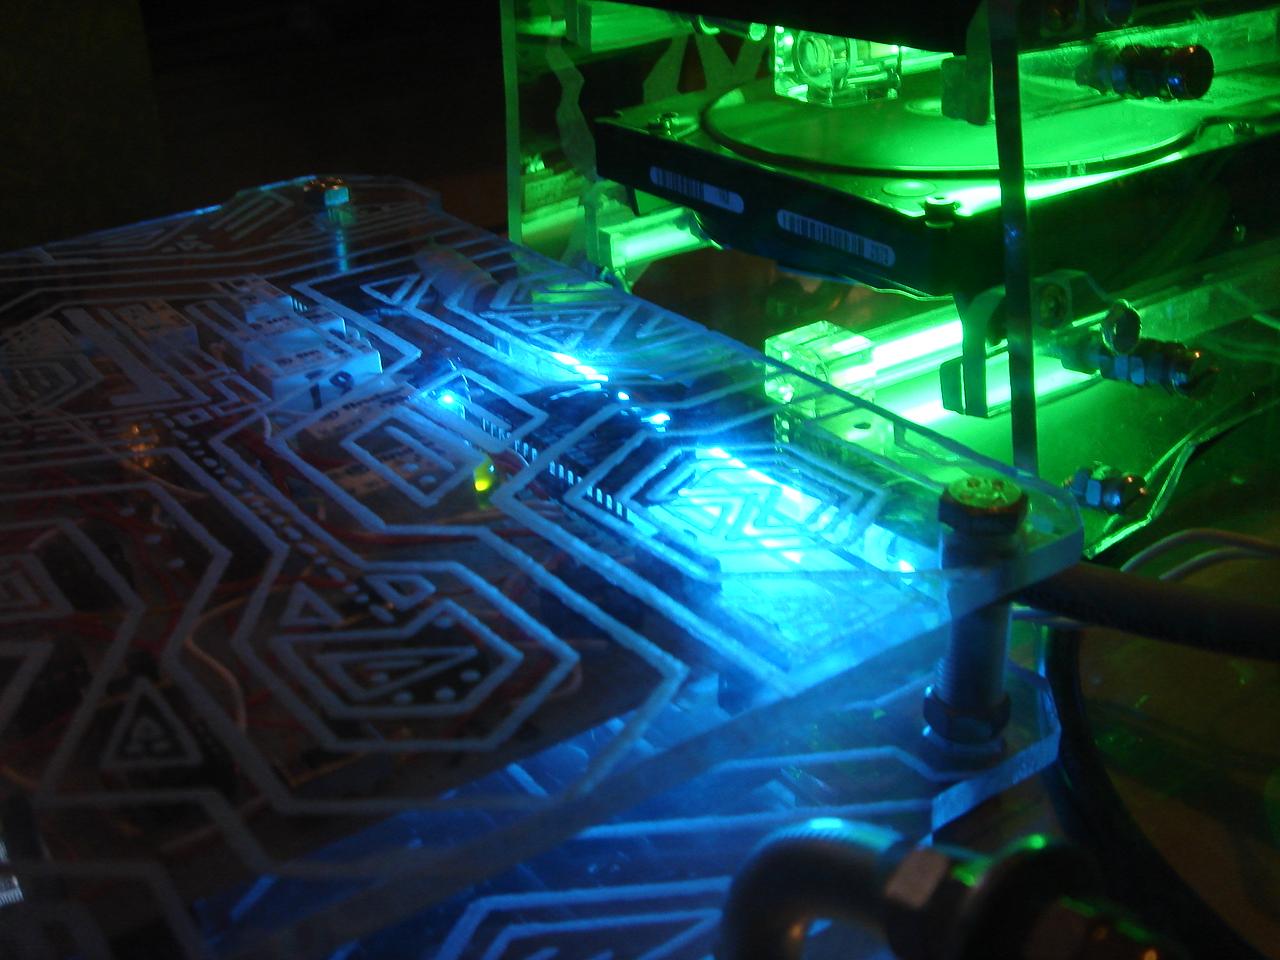
A lighting test of the “infected sector”:
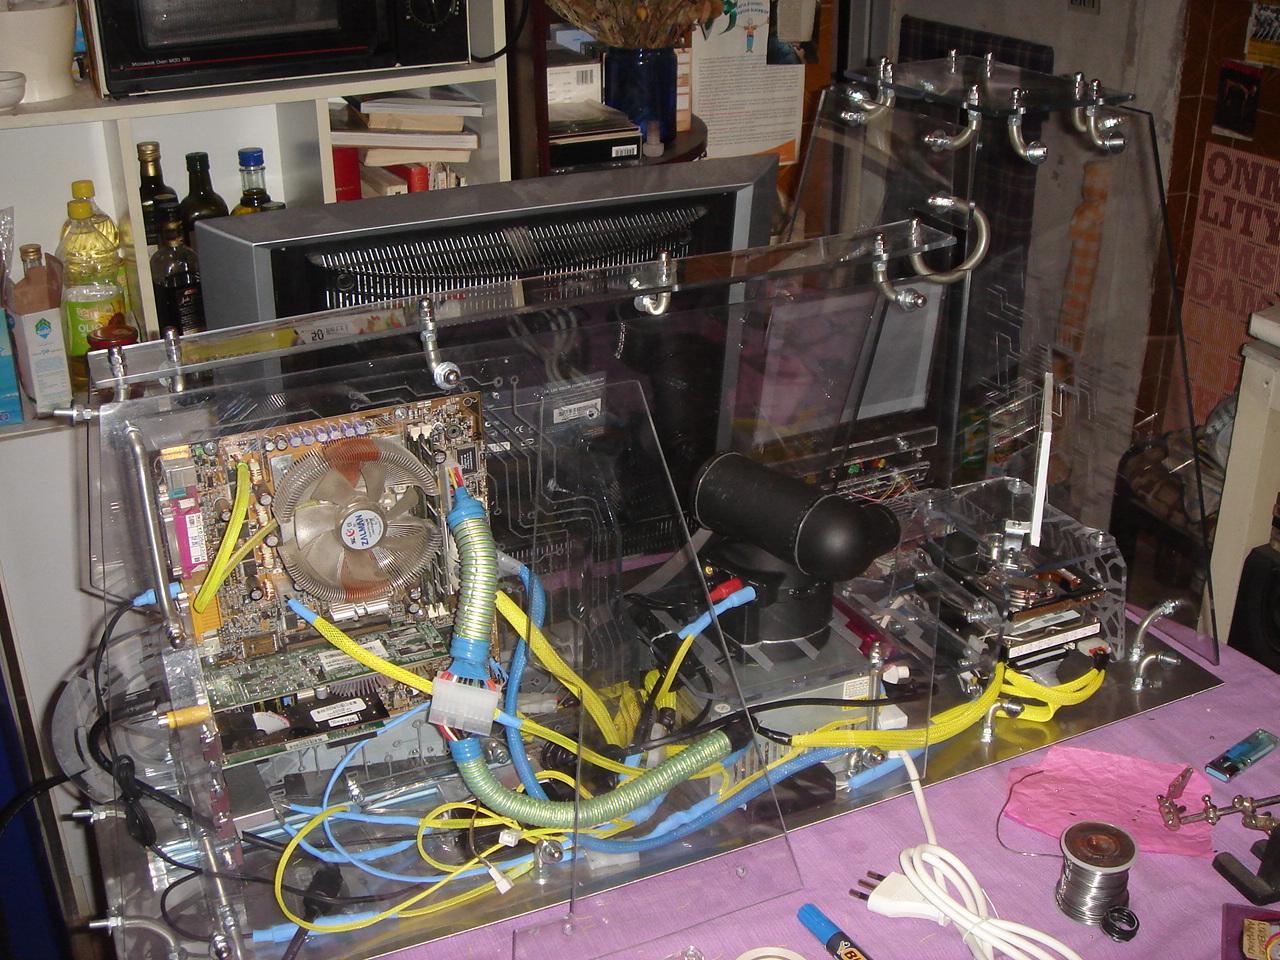
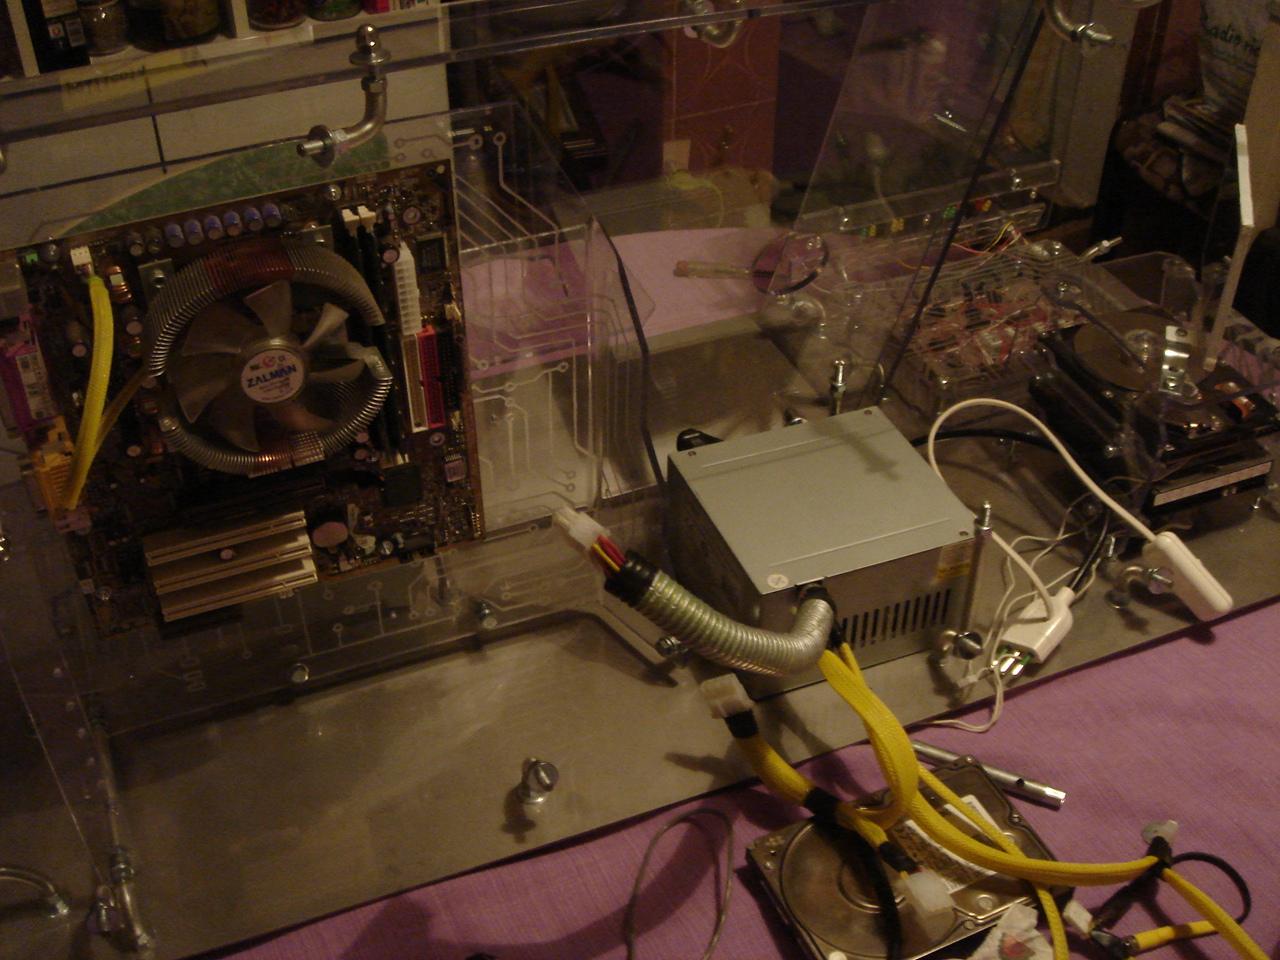
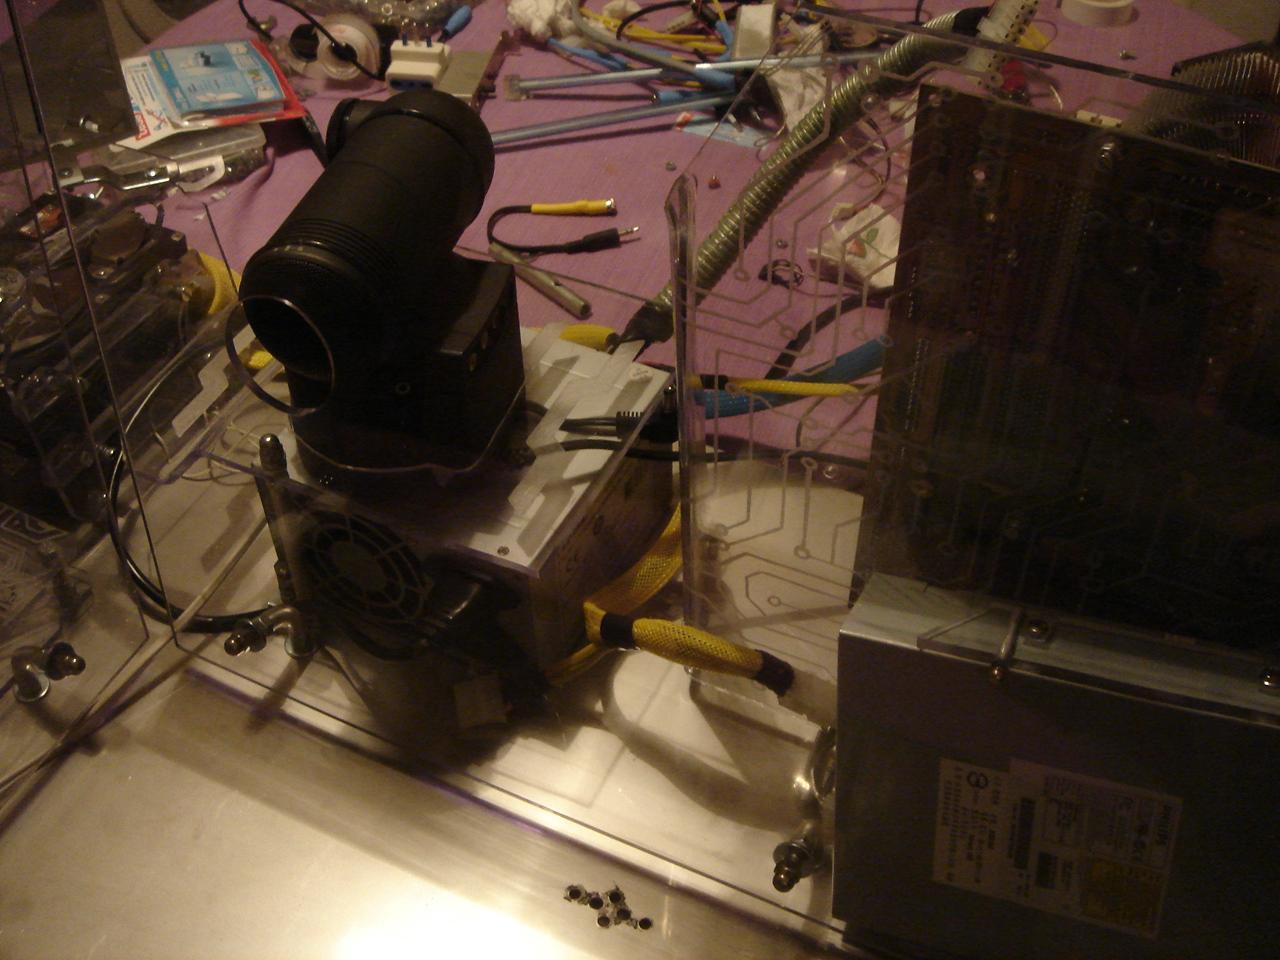
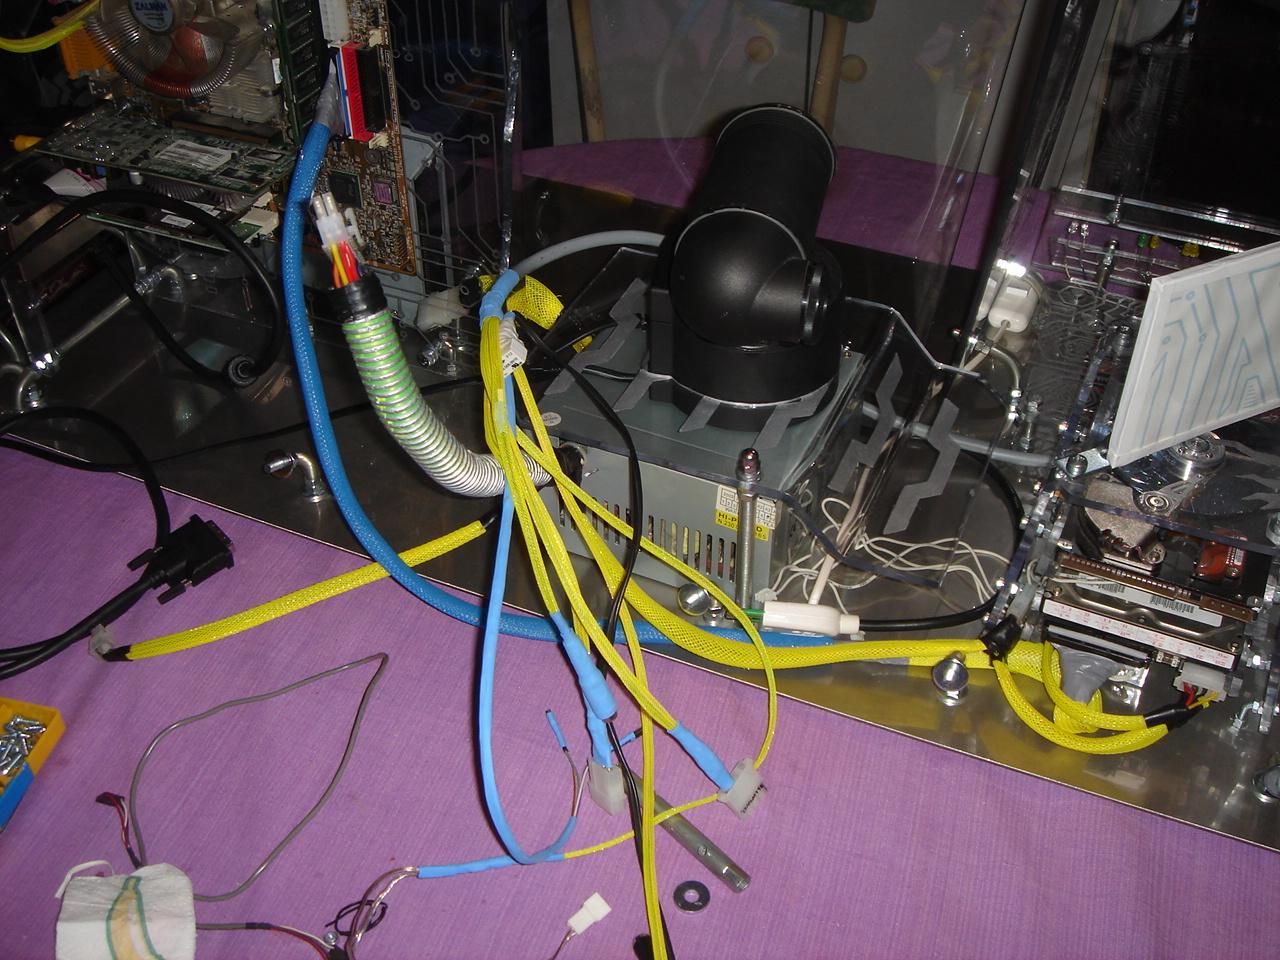
The PSU (mounting the PSU I discovered that the motherboard cable was too short.. I will make an extension):
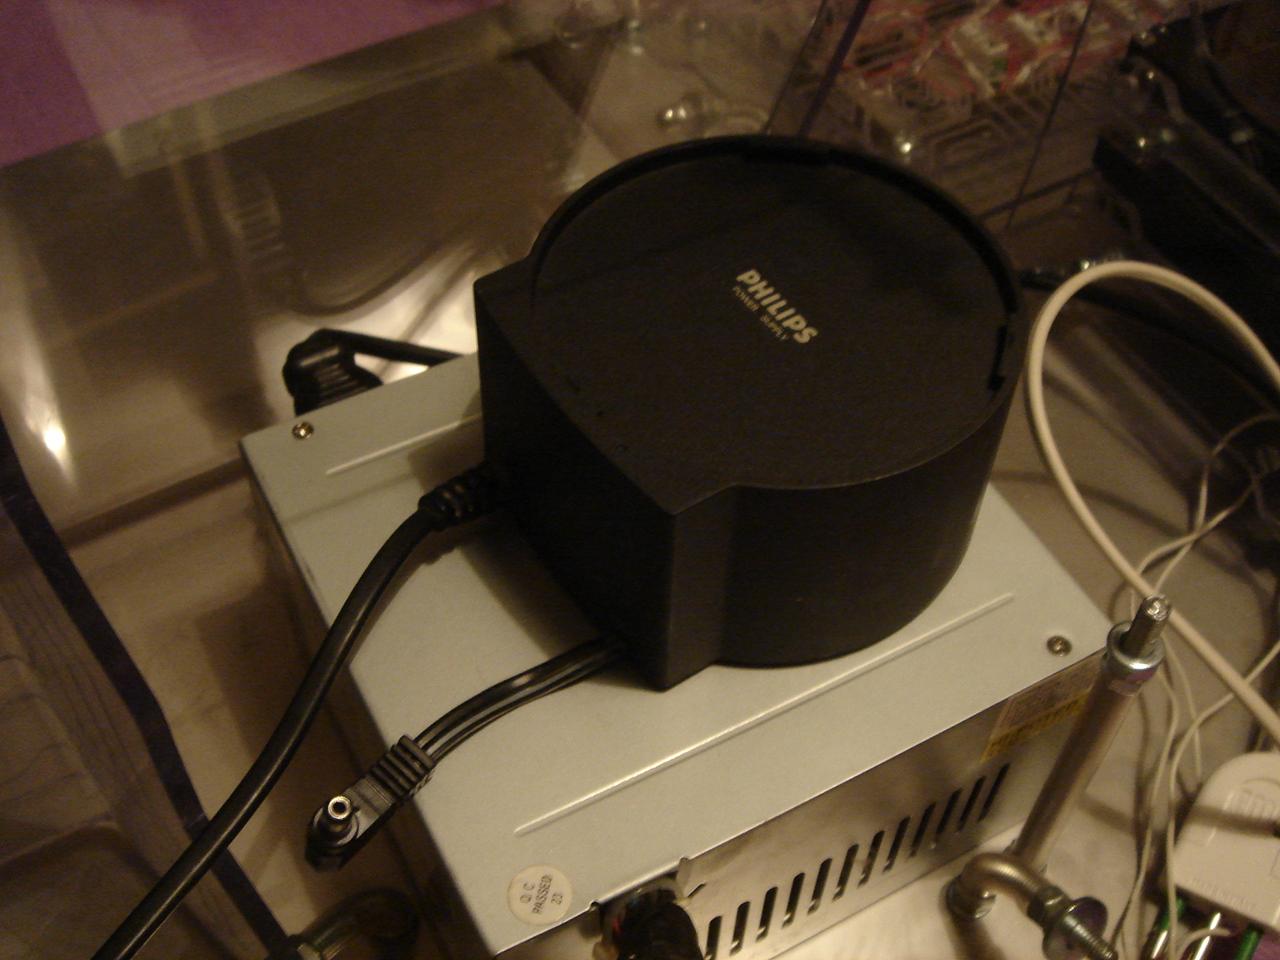
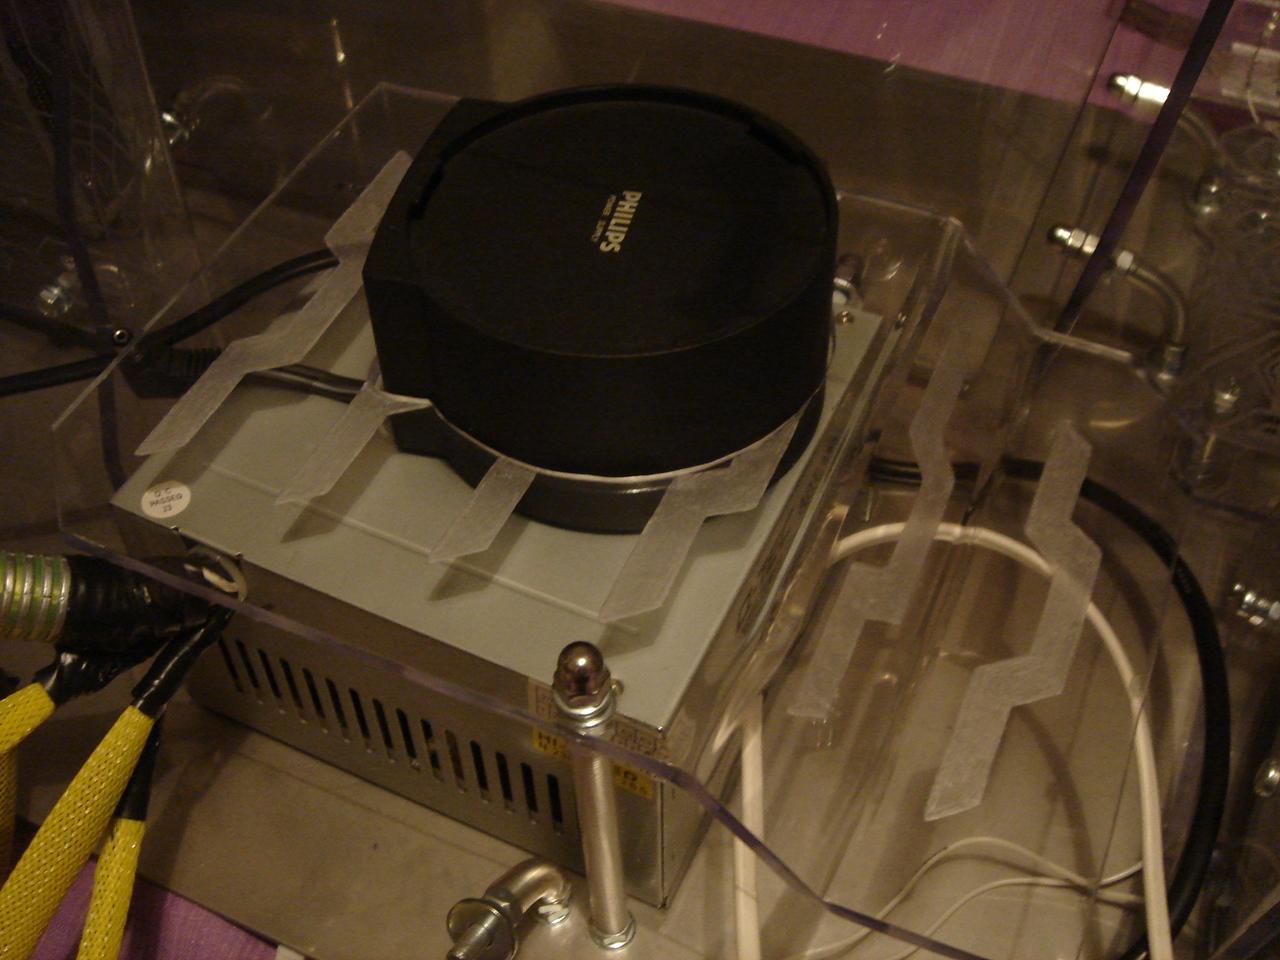
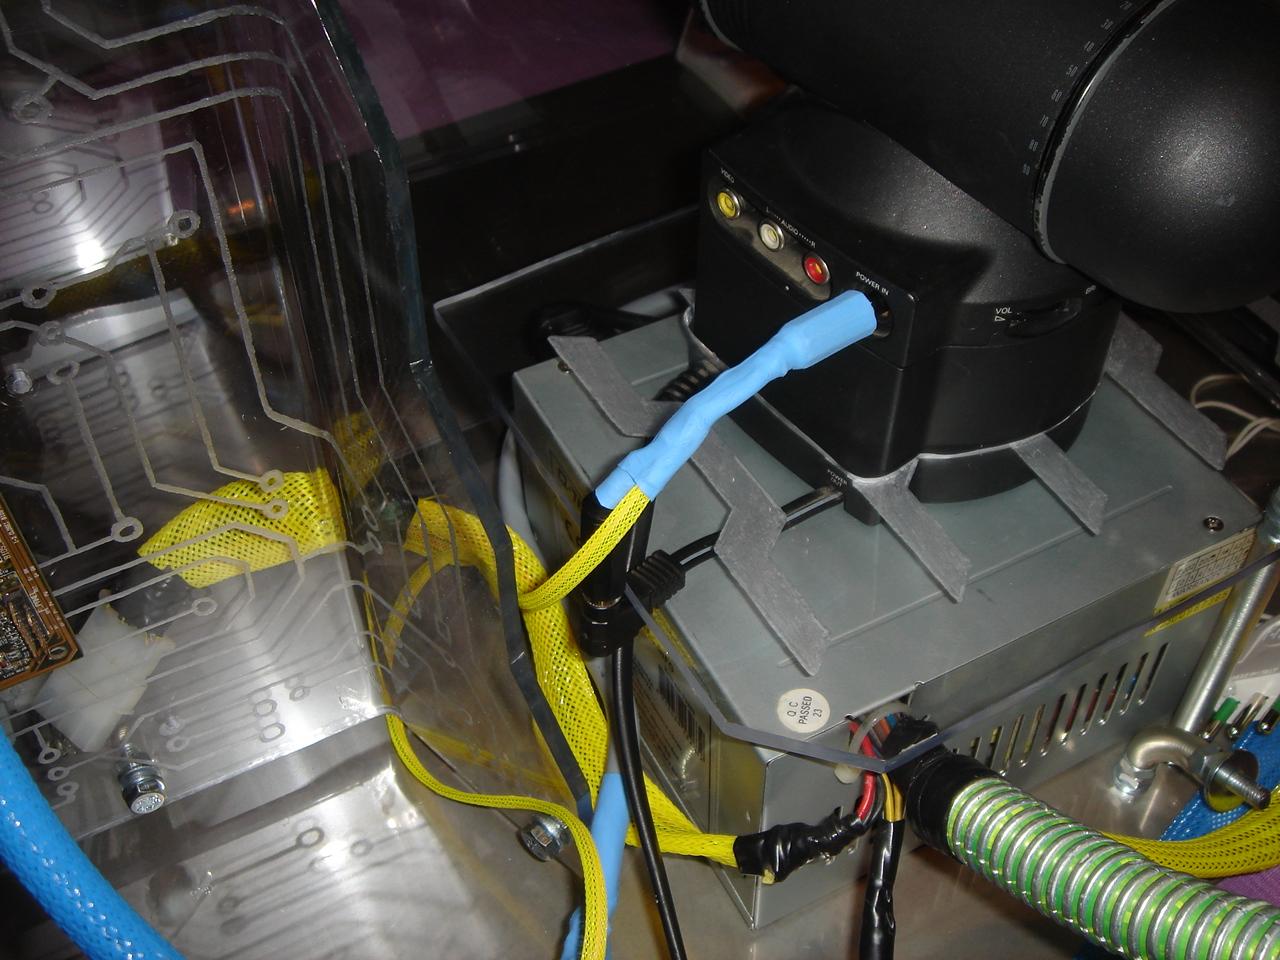
The videoprojector:
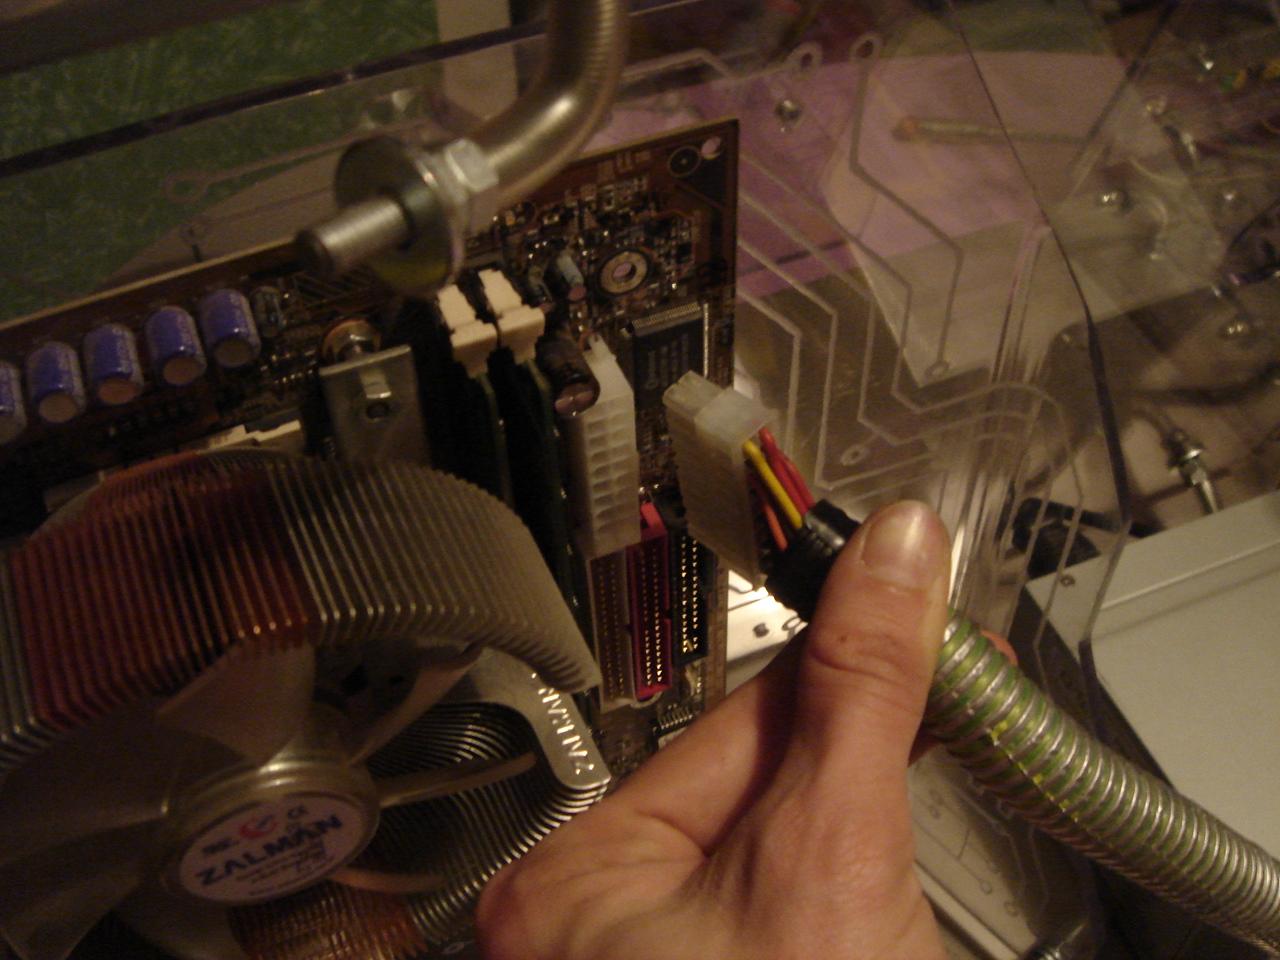
I plug the hard disk molex (for now I have only one hard disk, so in the second slot I keep the opened hard disk):
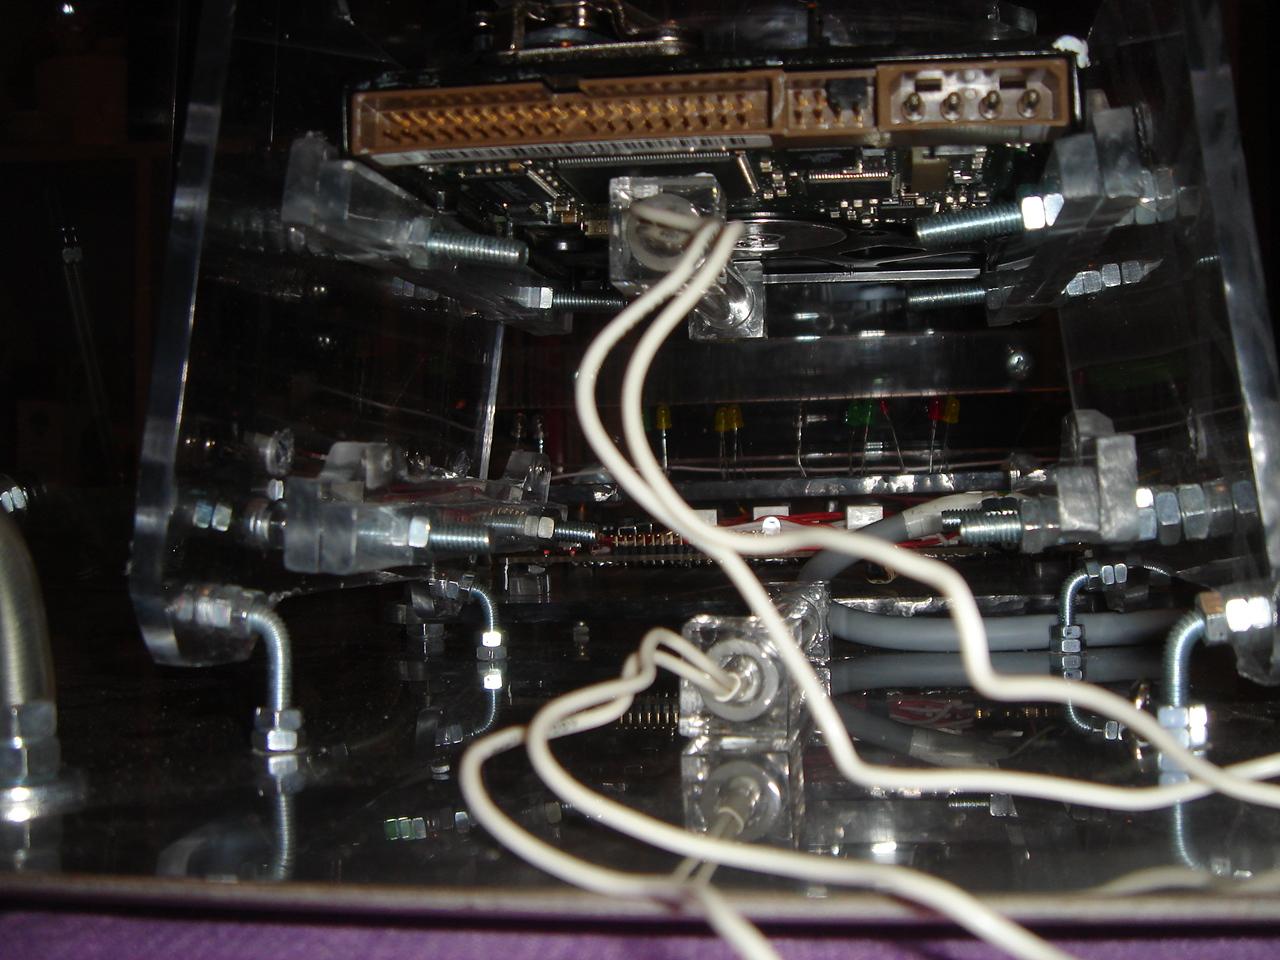
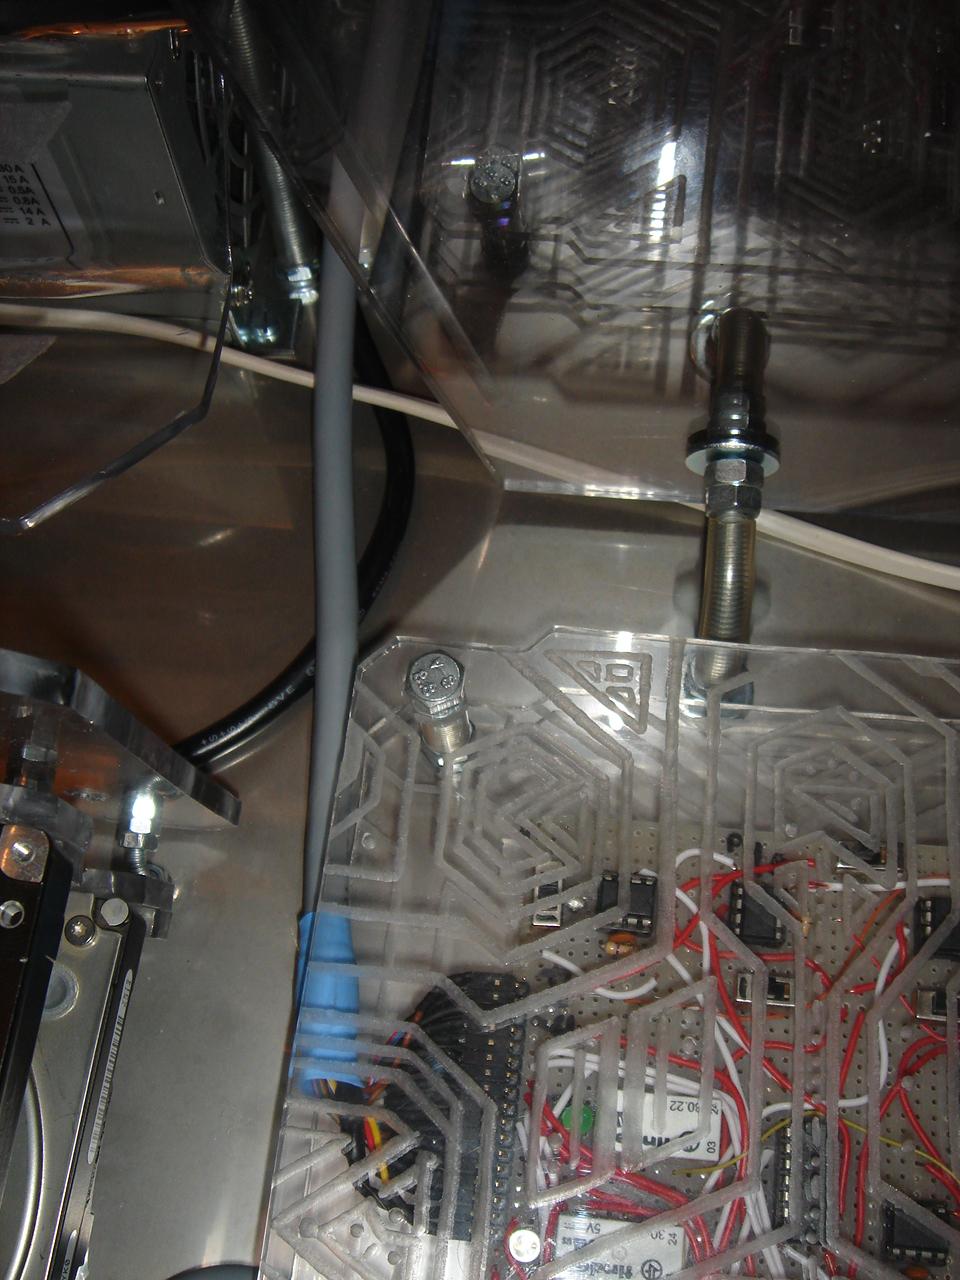
And I start to connect the touch sensors circuit cable to the components:
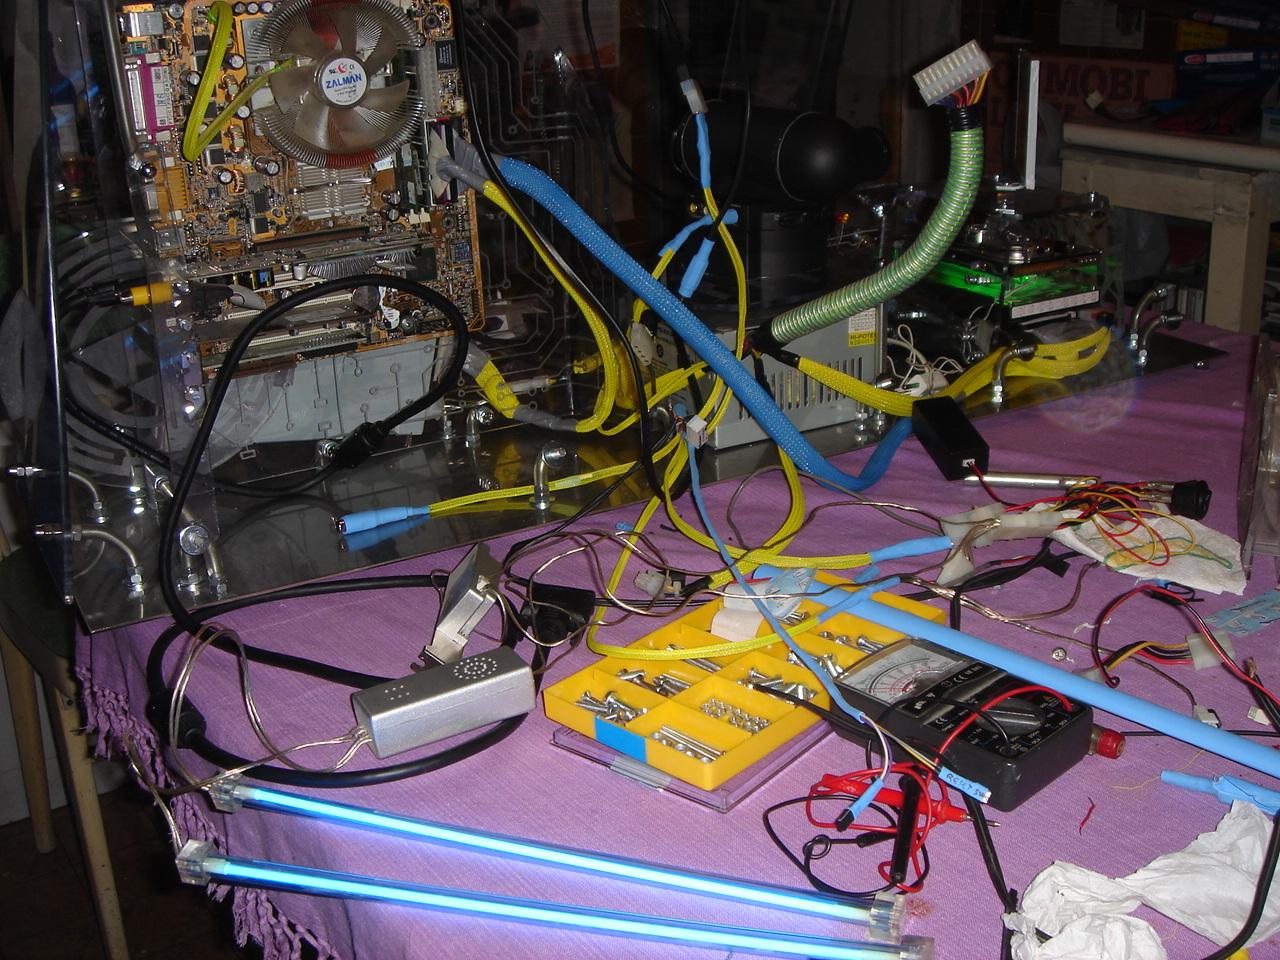
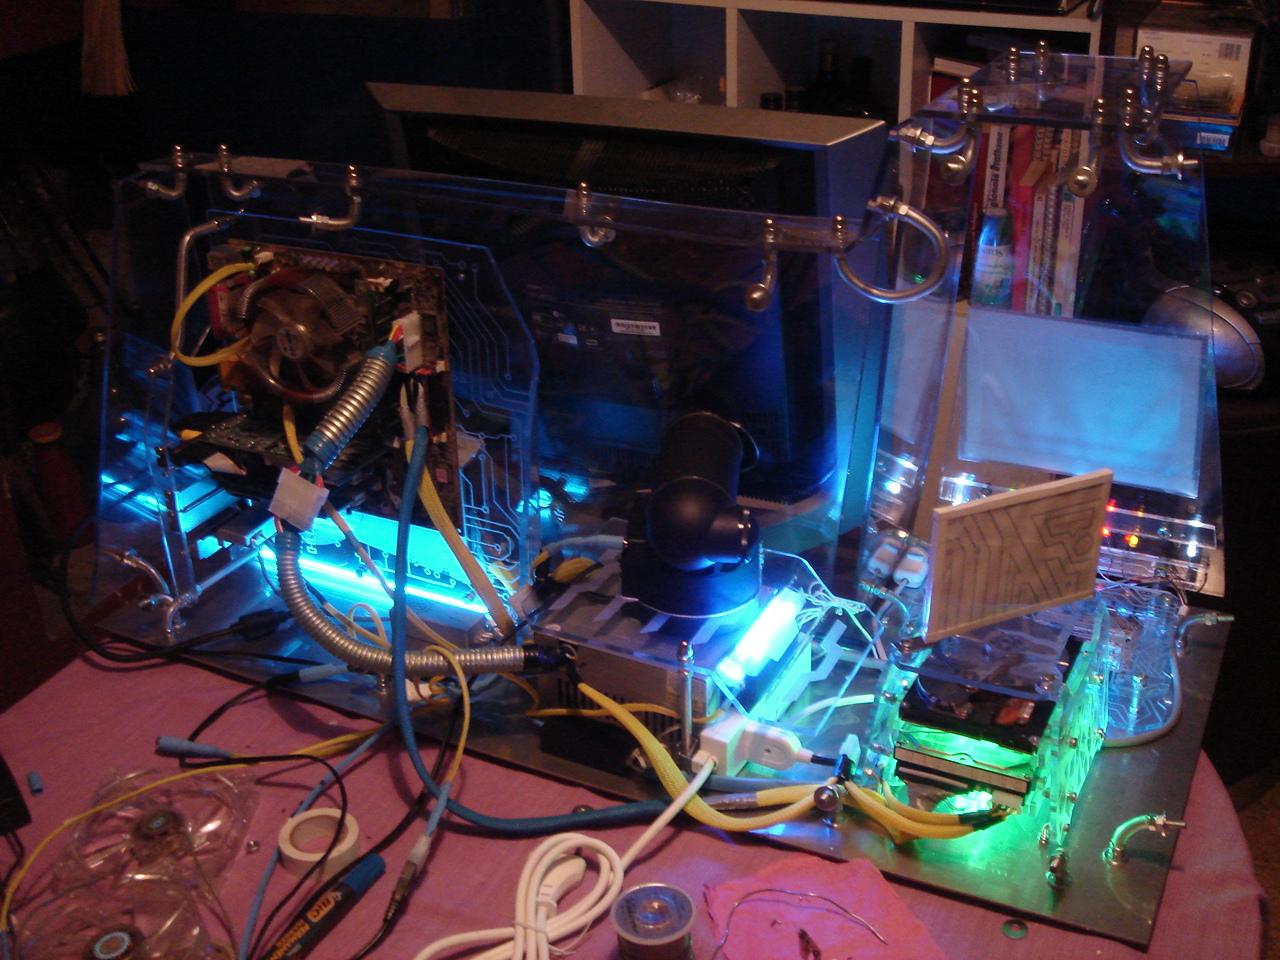
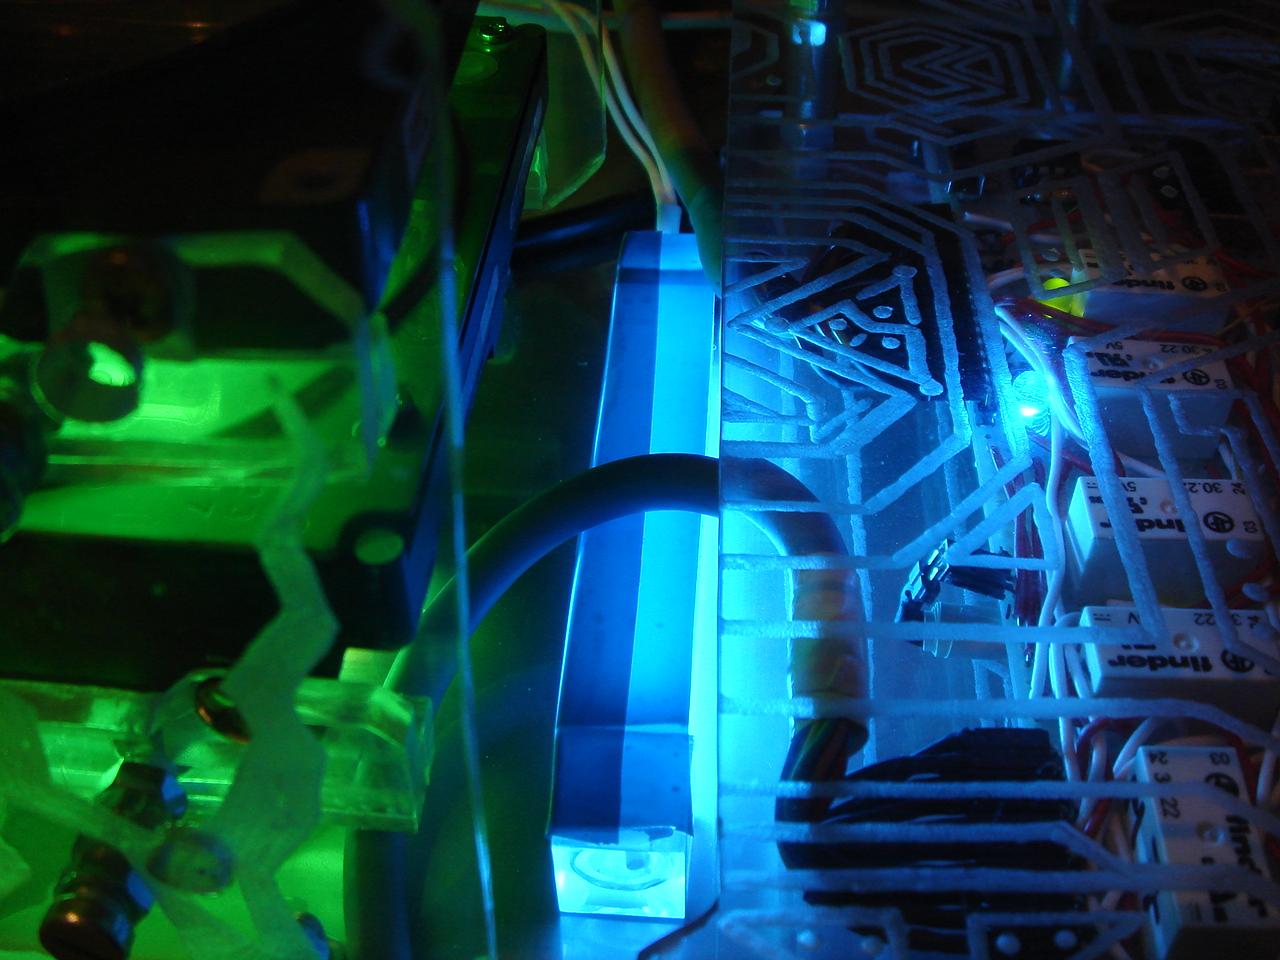
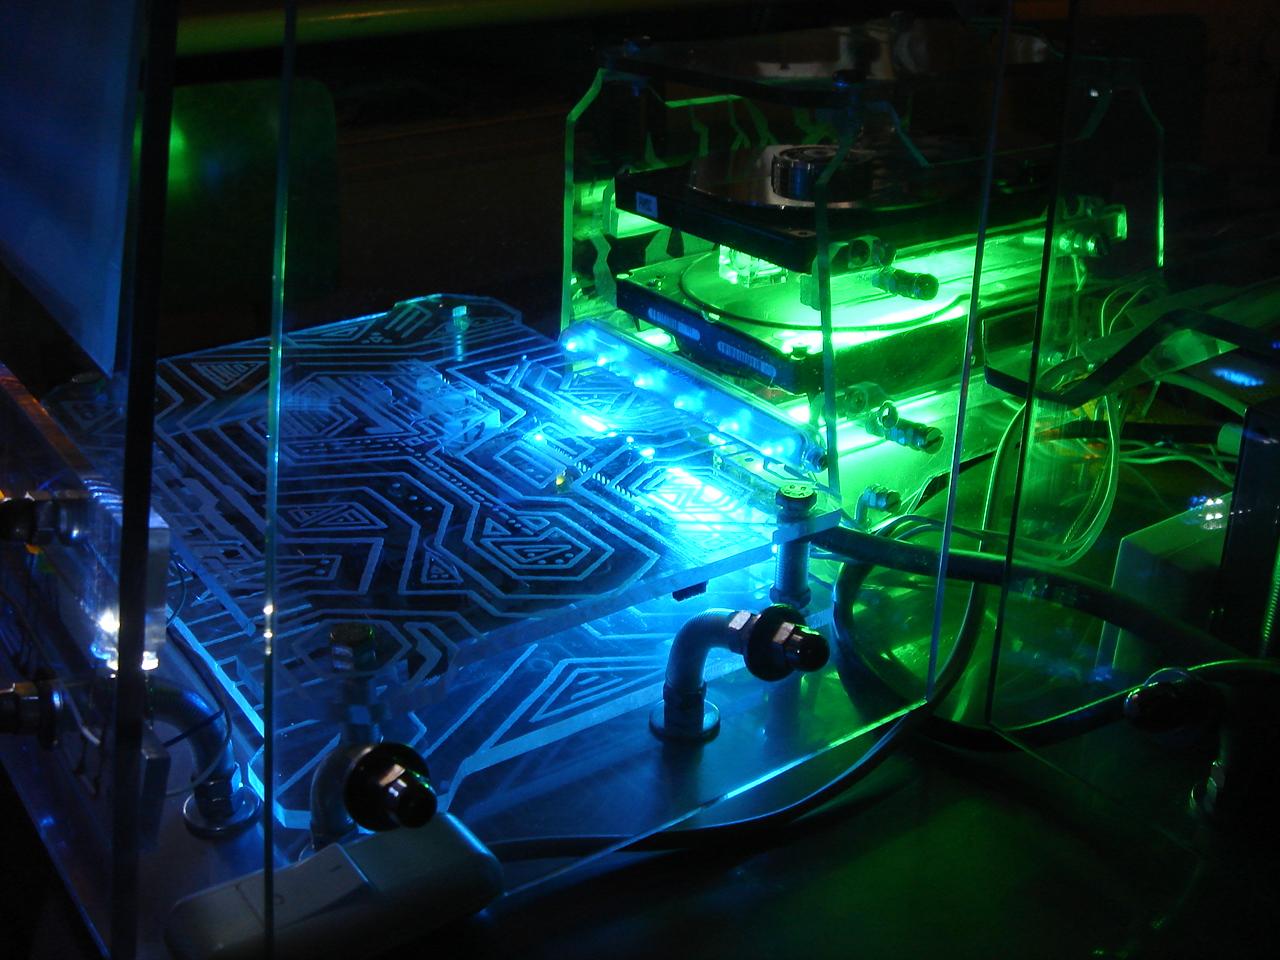
Some lighting tests:
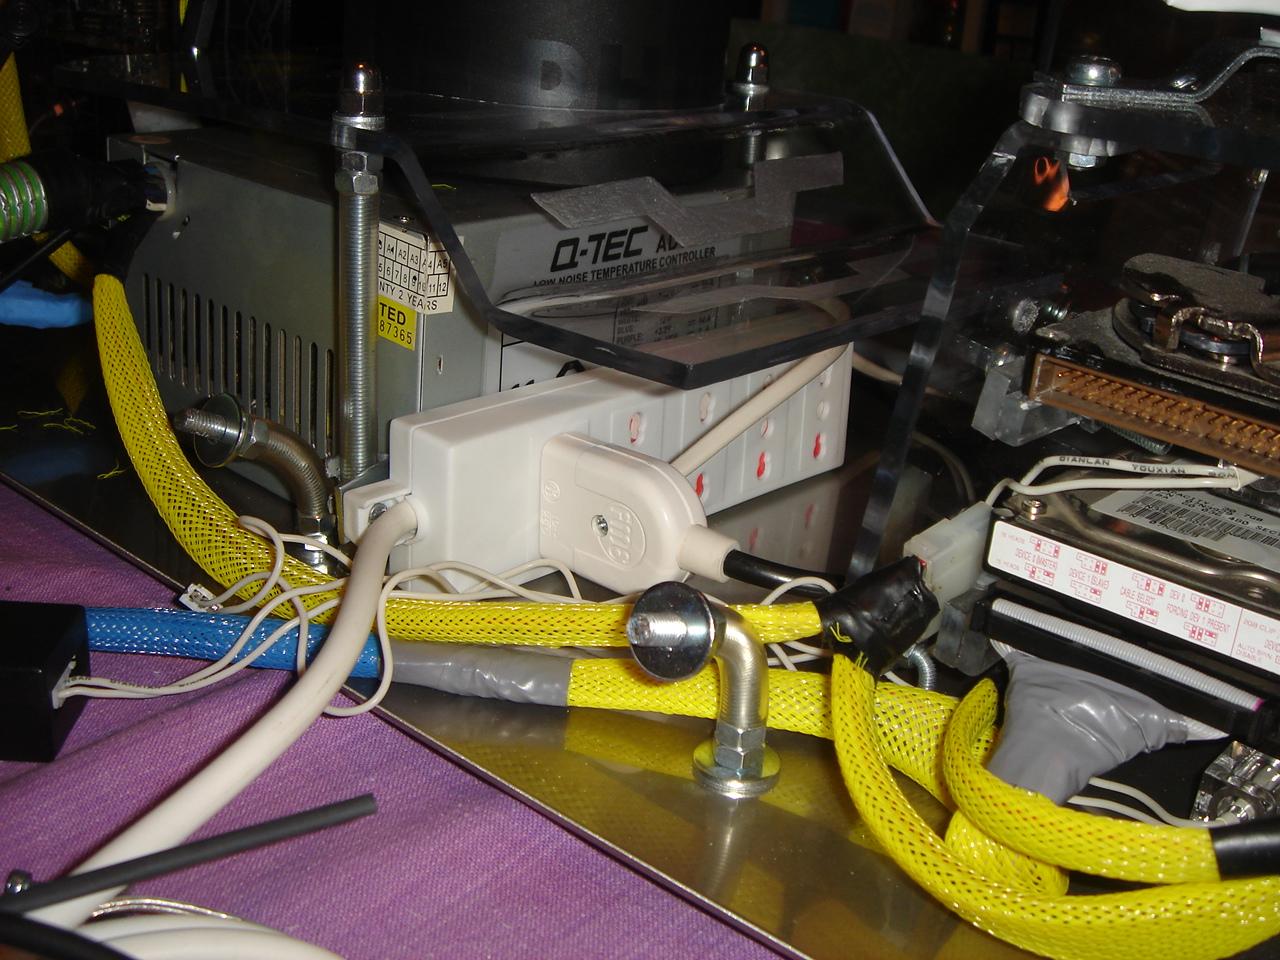
Here I mount a power strip too: (in the case are needed 4 sockets: PC, monitor, touch sensors circuit, videoprojector)
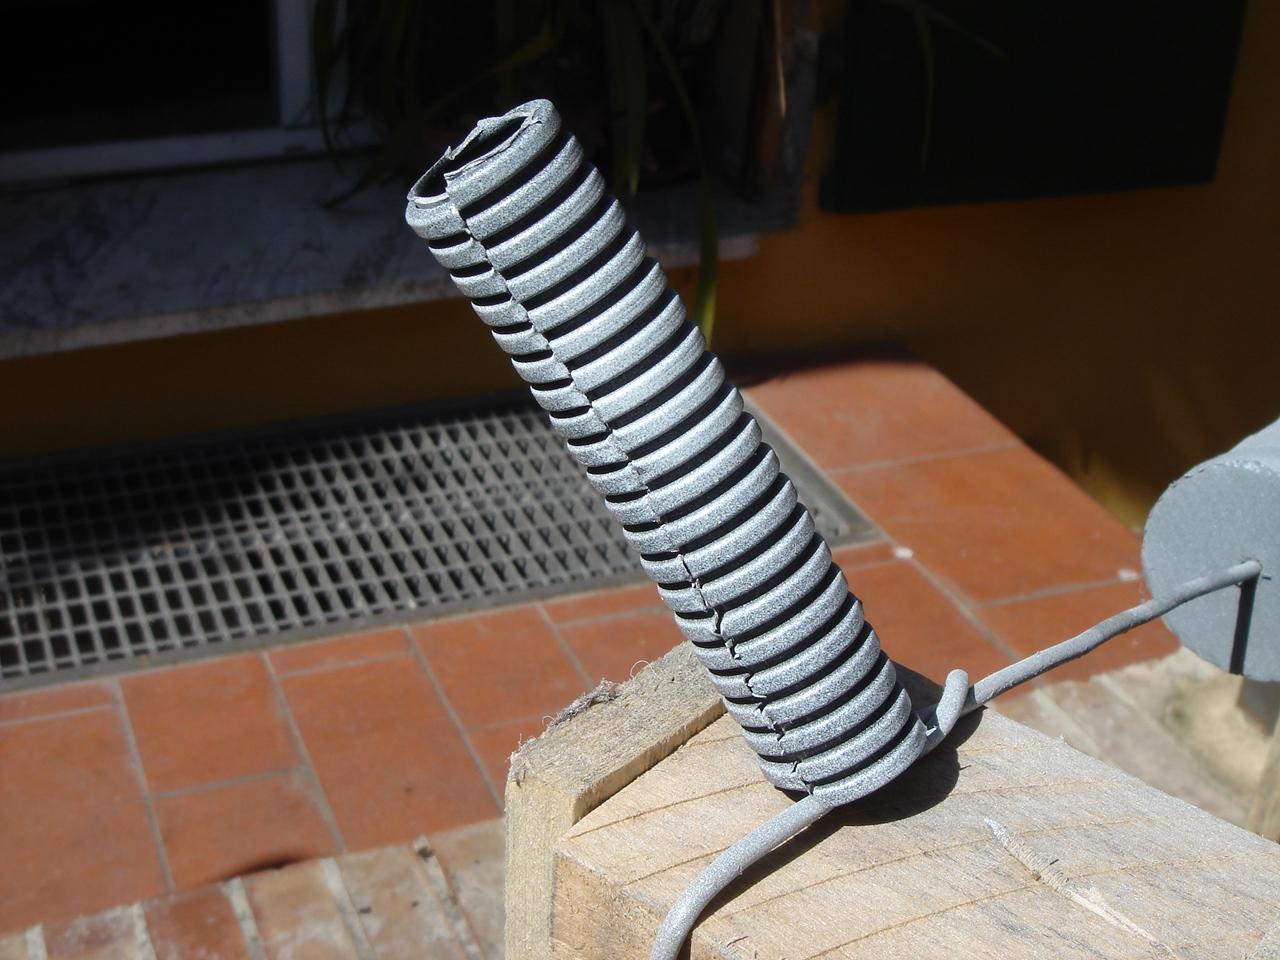
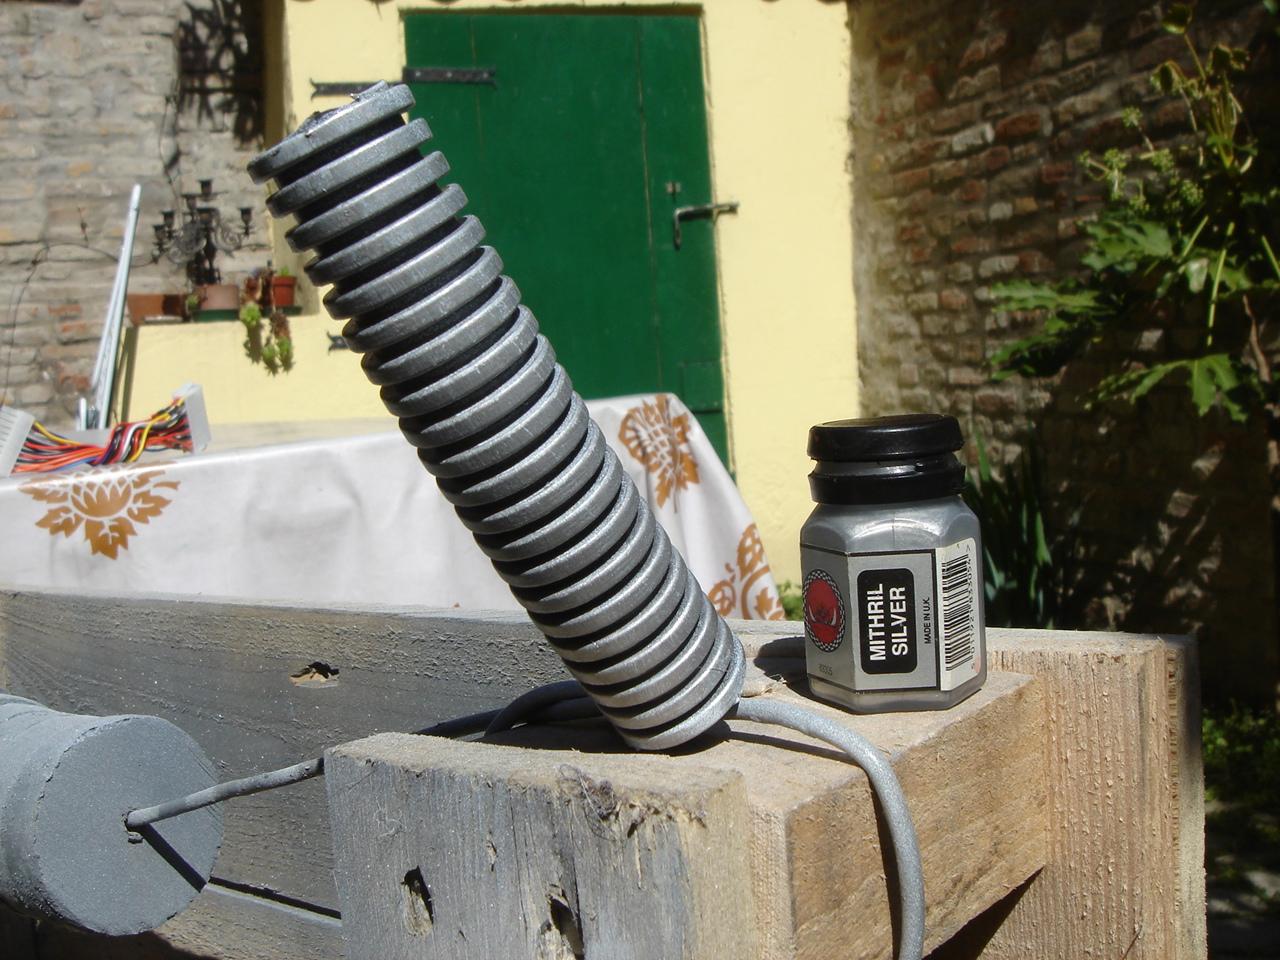
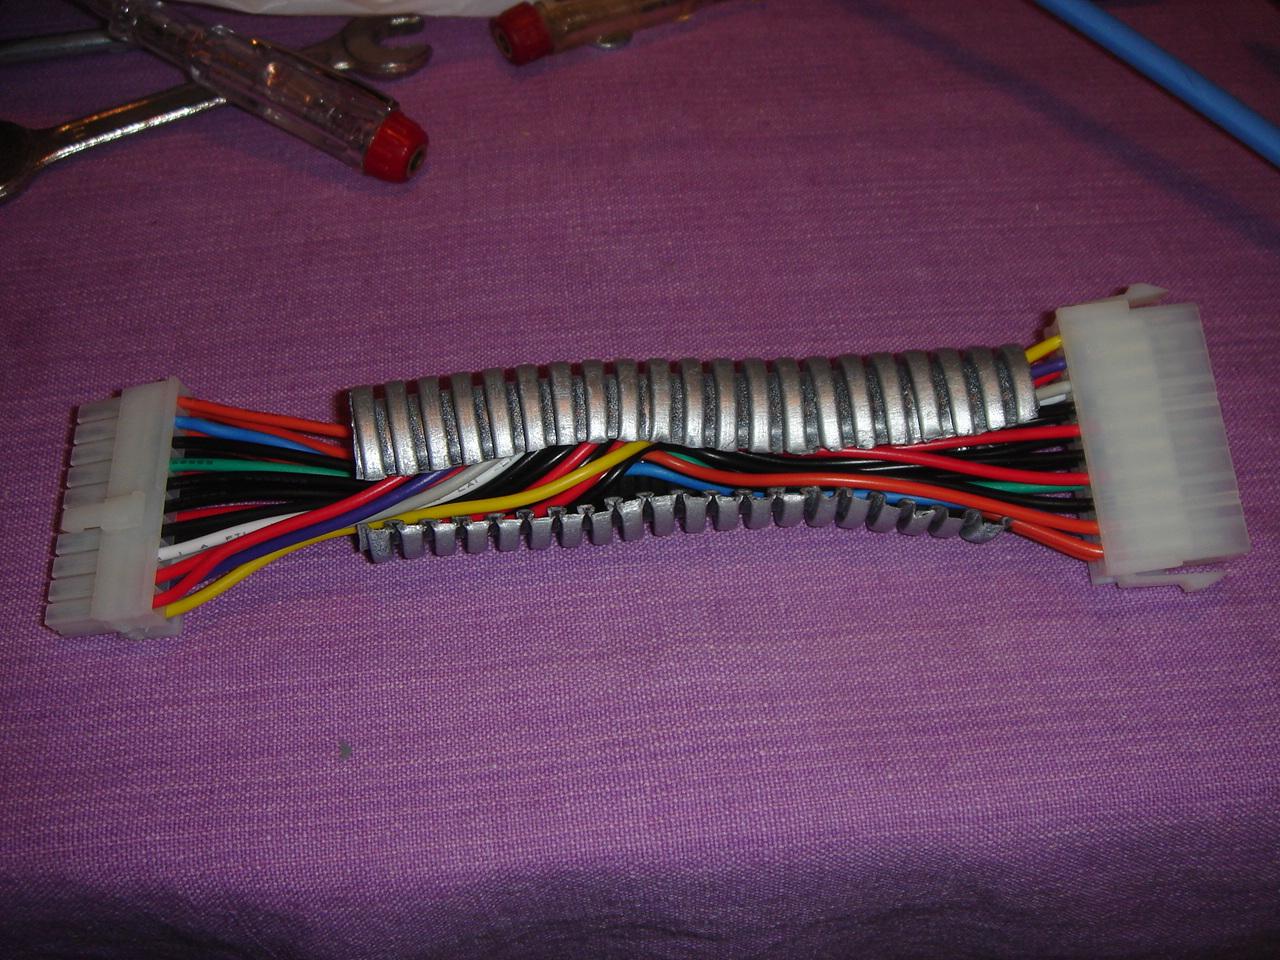
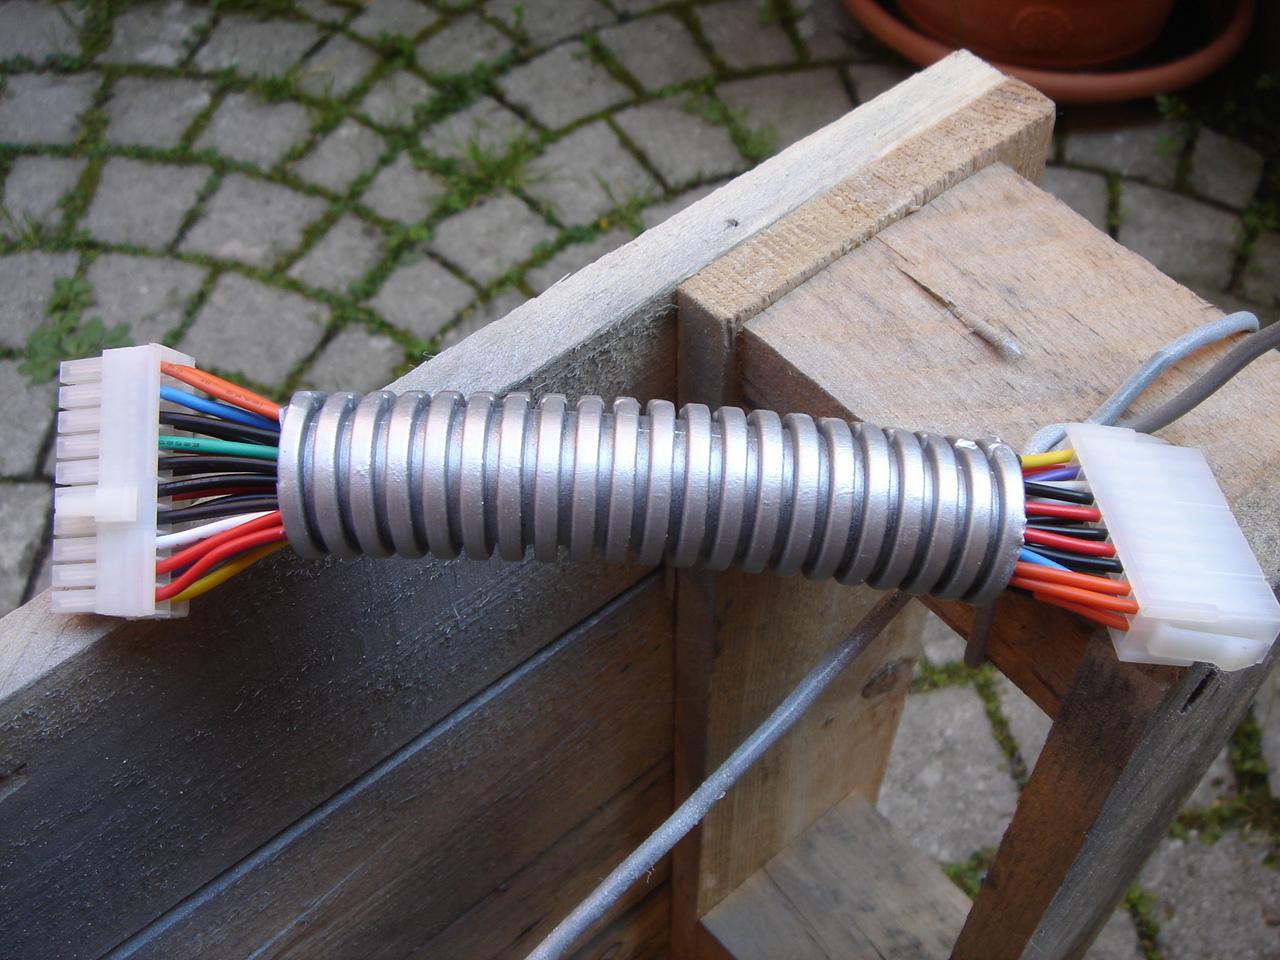
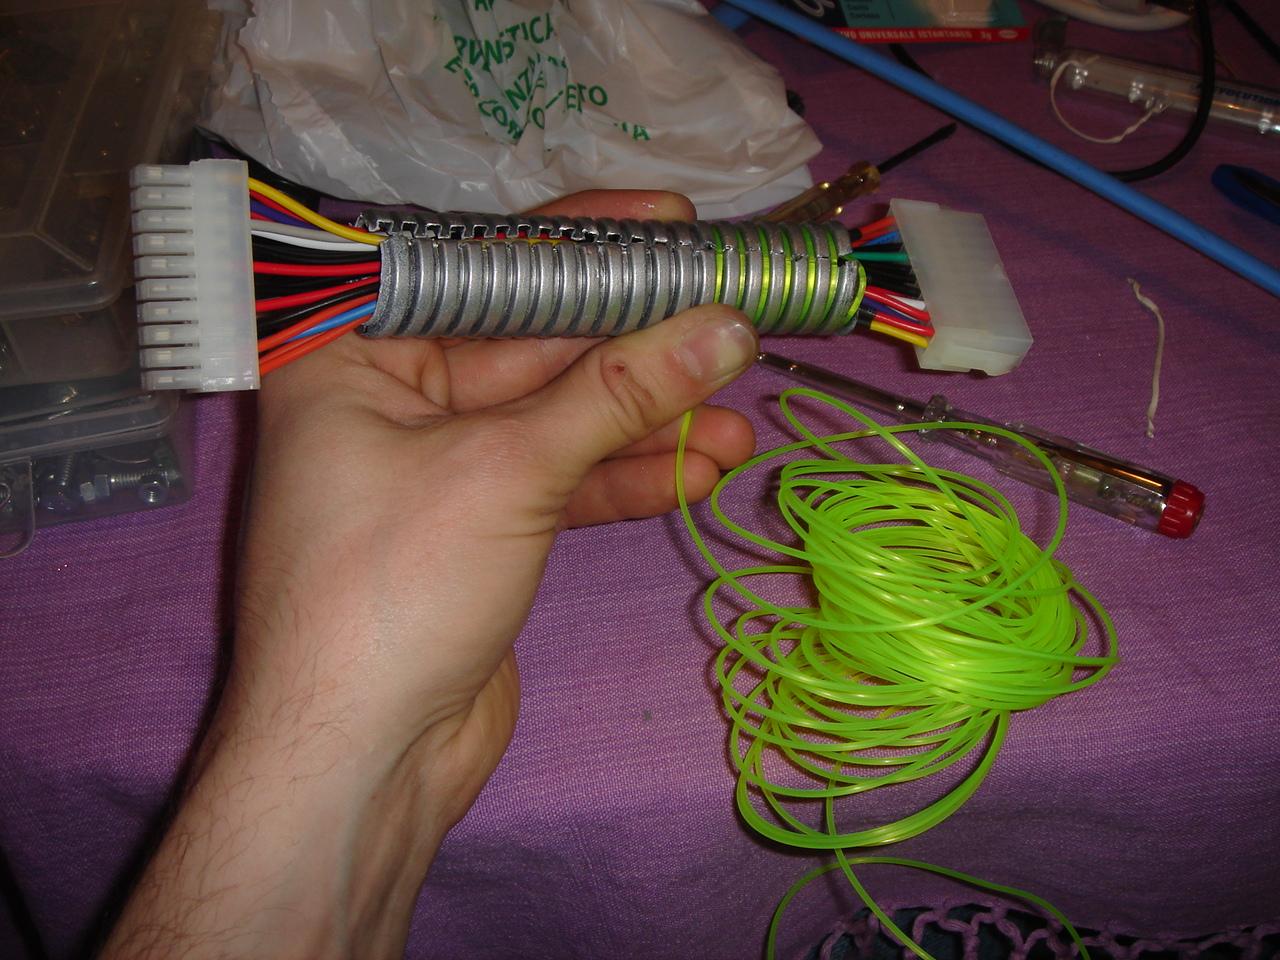
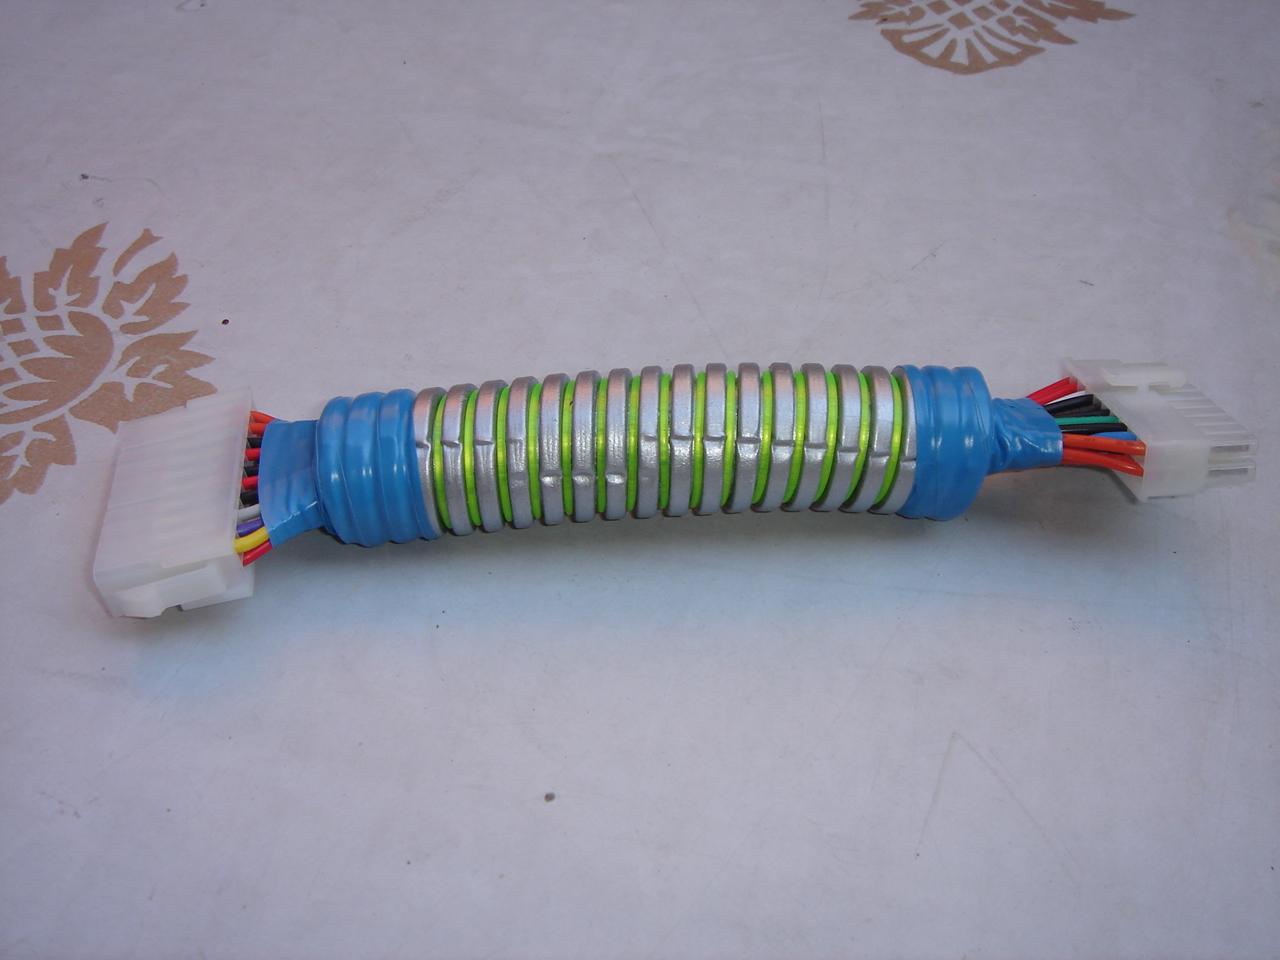
And this is the extension for the PSU-motherboard cable:
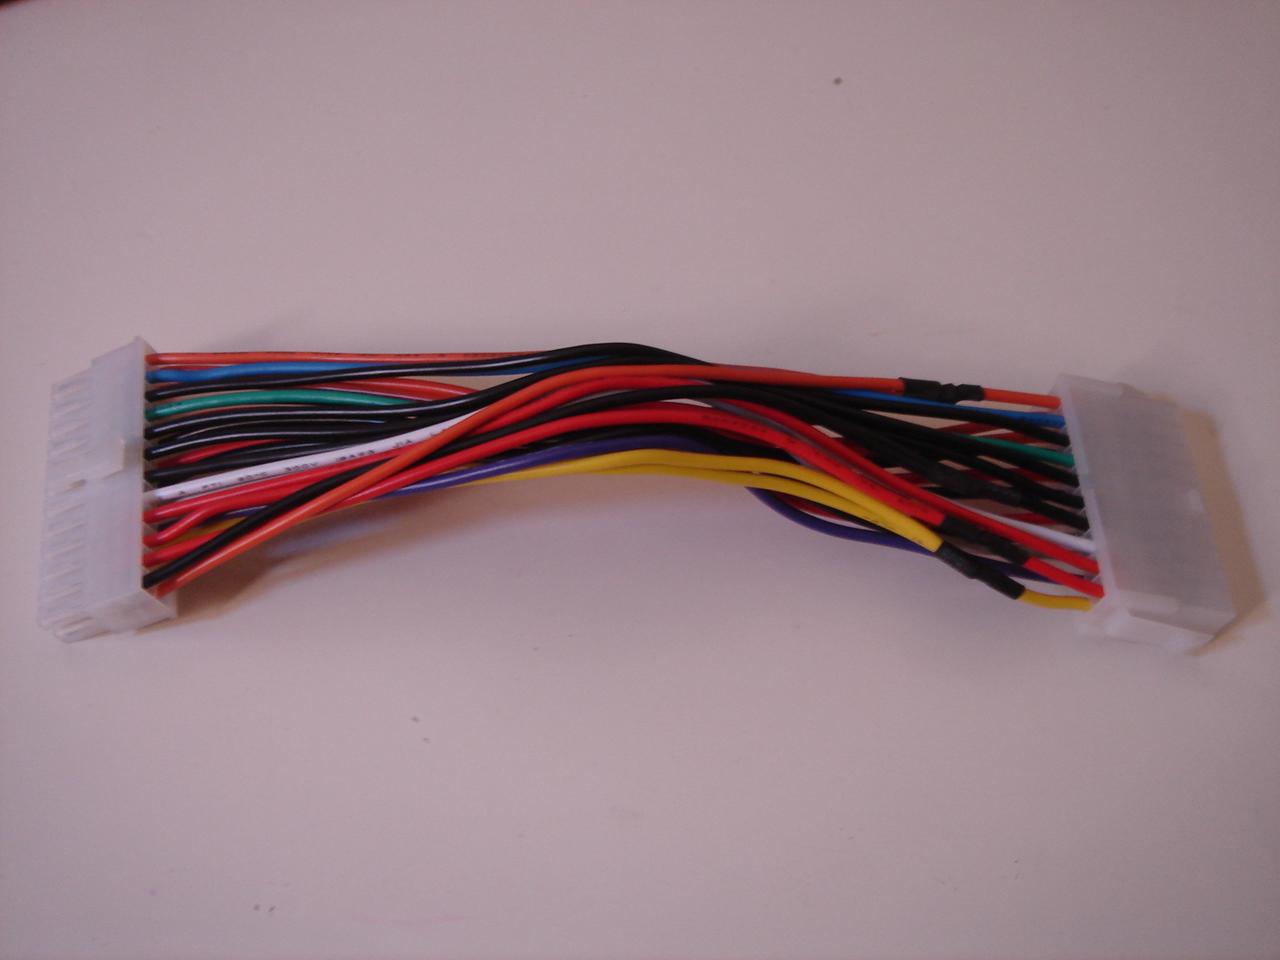
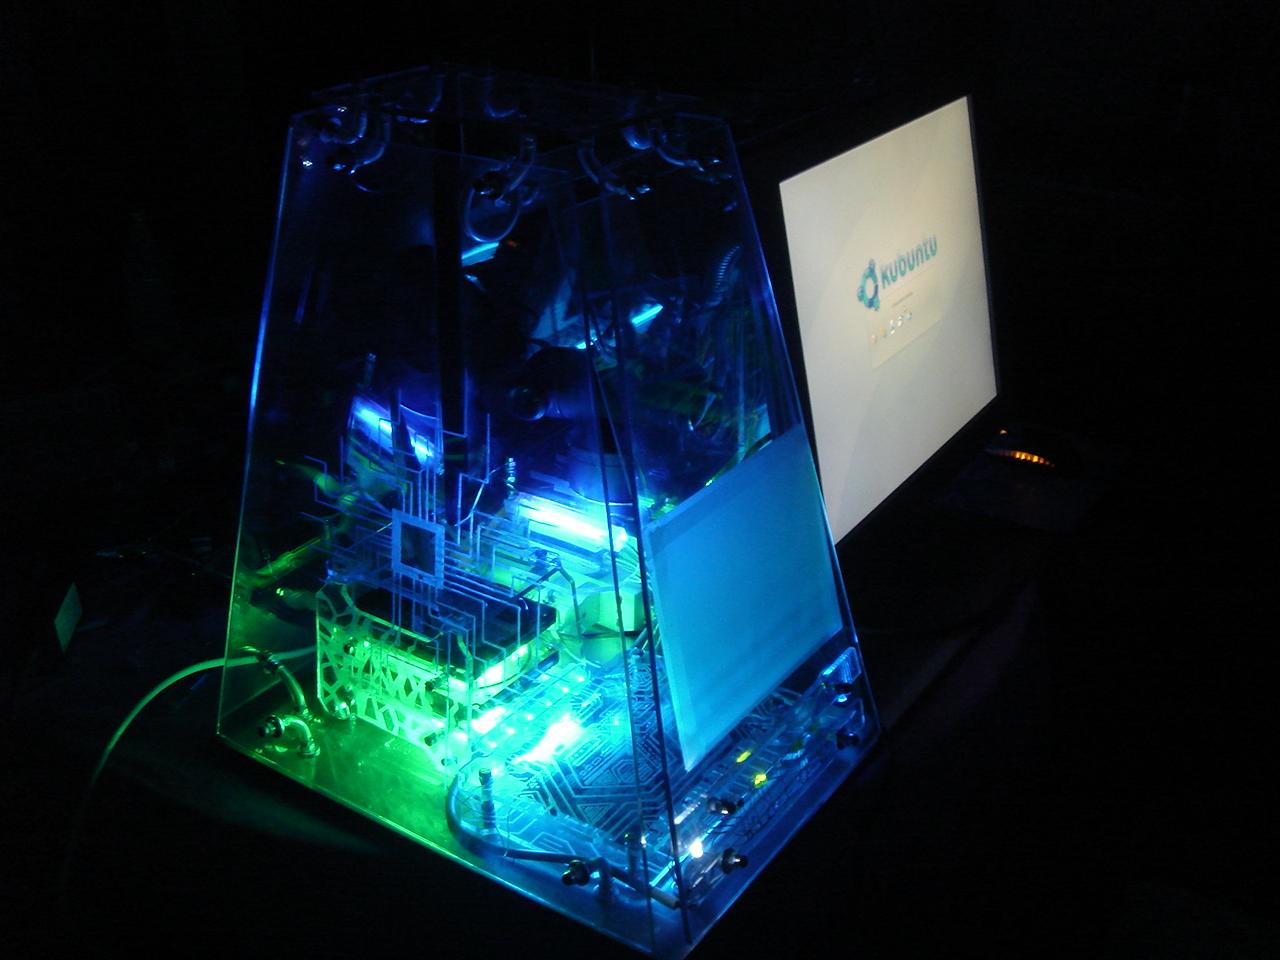
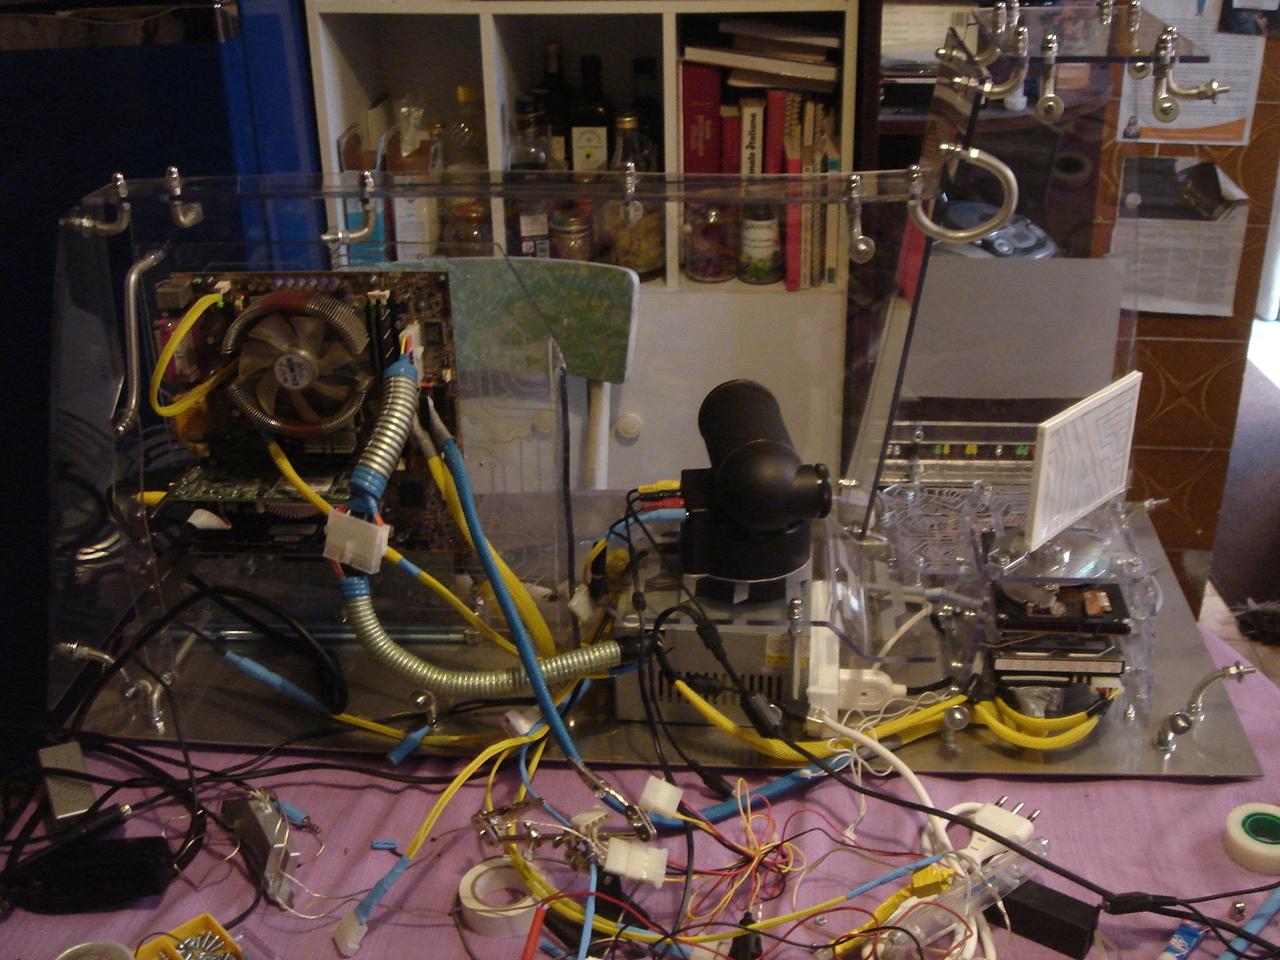
The final result:
Then I had to extend the 4 pin PSU-CPU cable too:
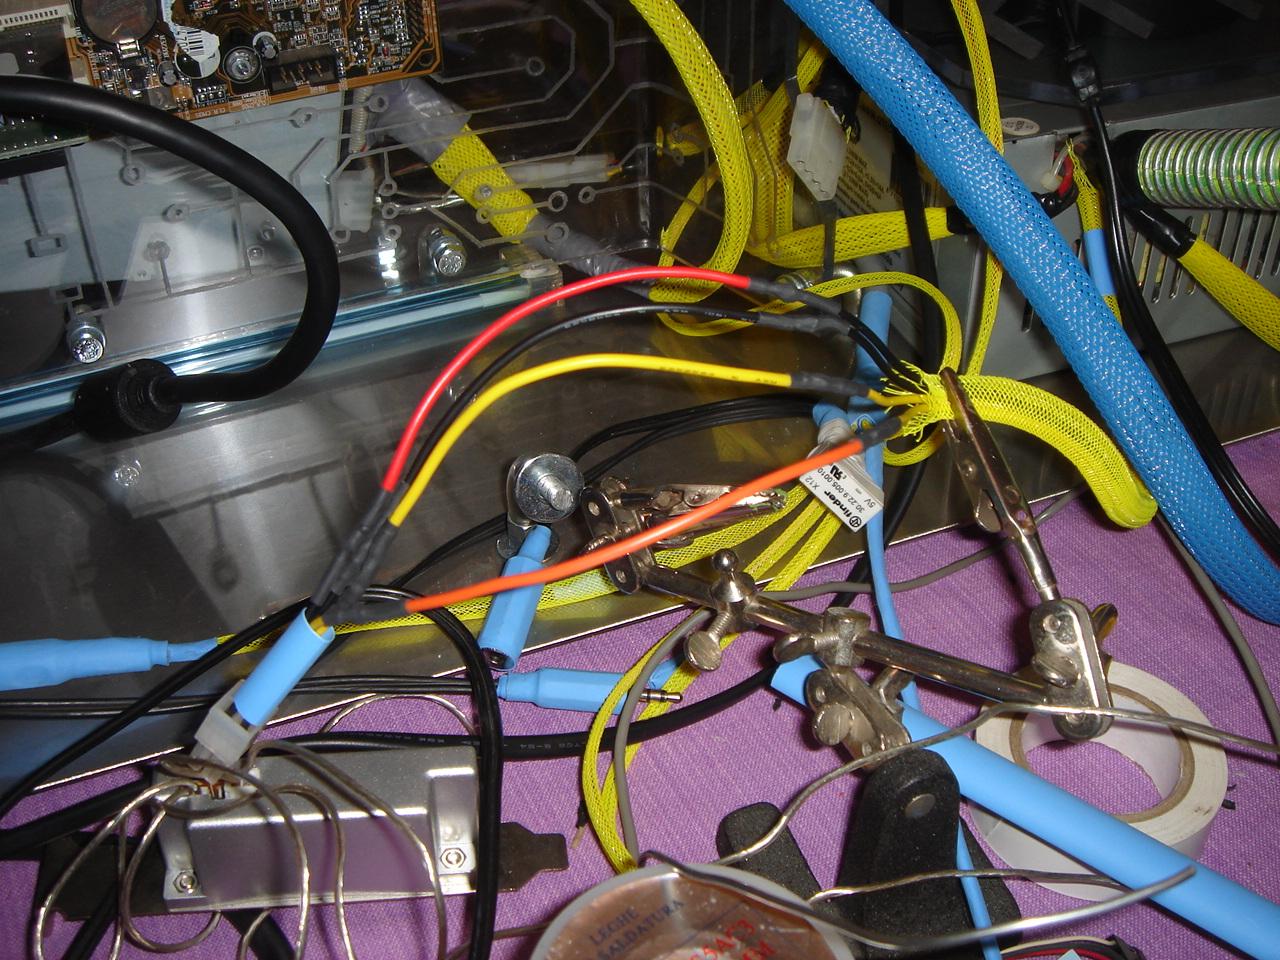
And these are the two extended cables connected to the motherboard:
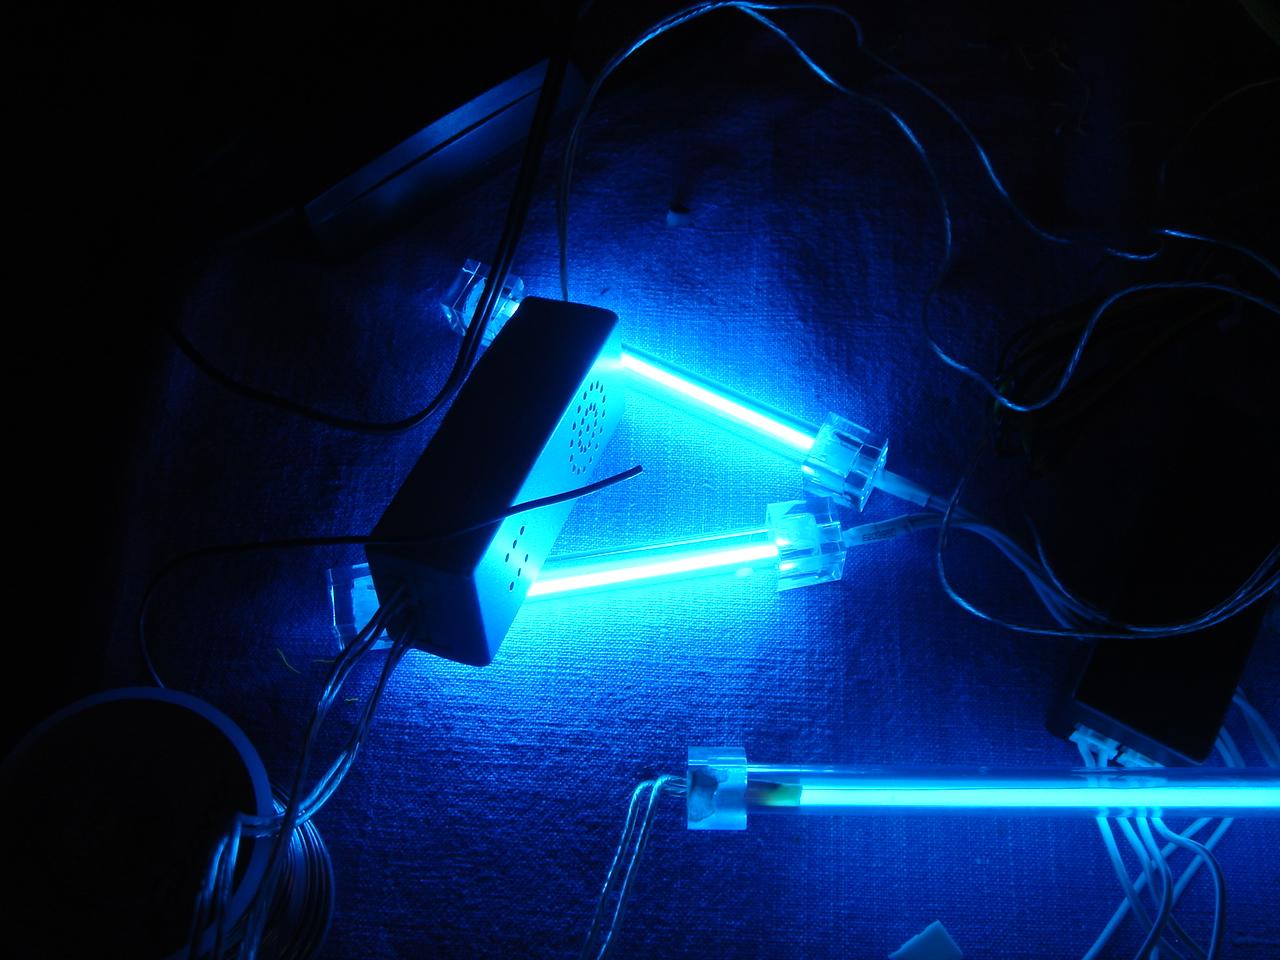
Some other cold cathode lights:
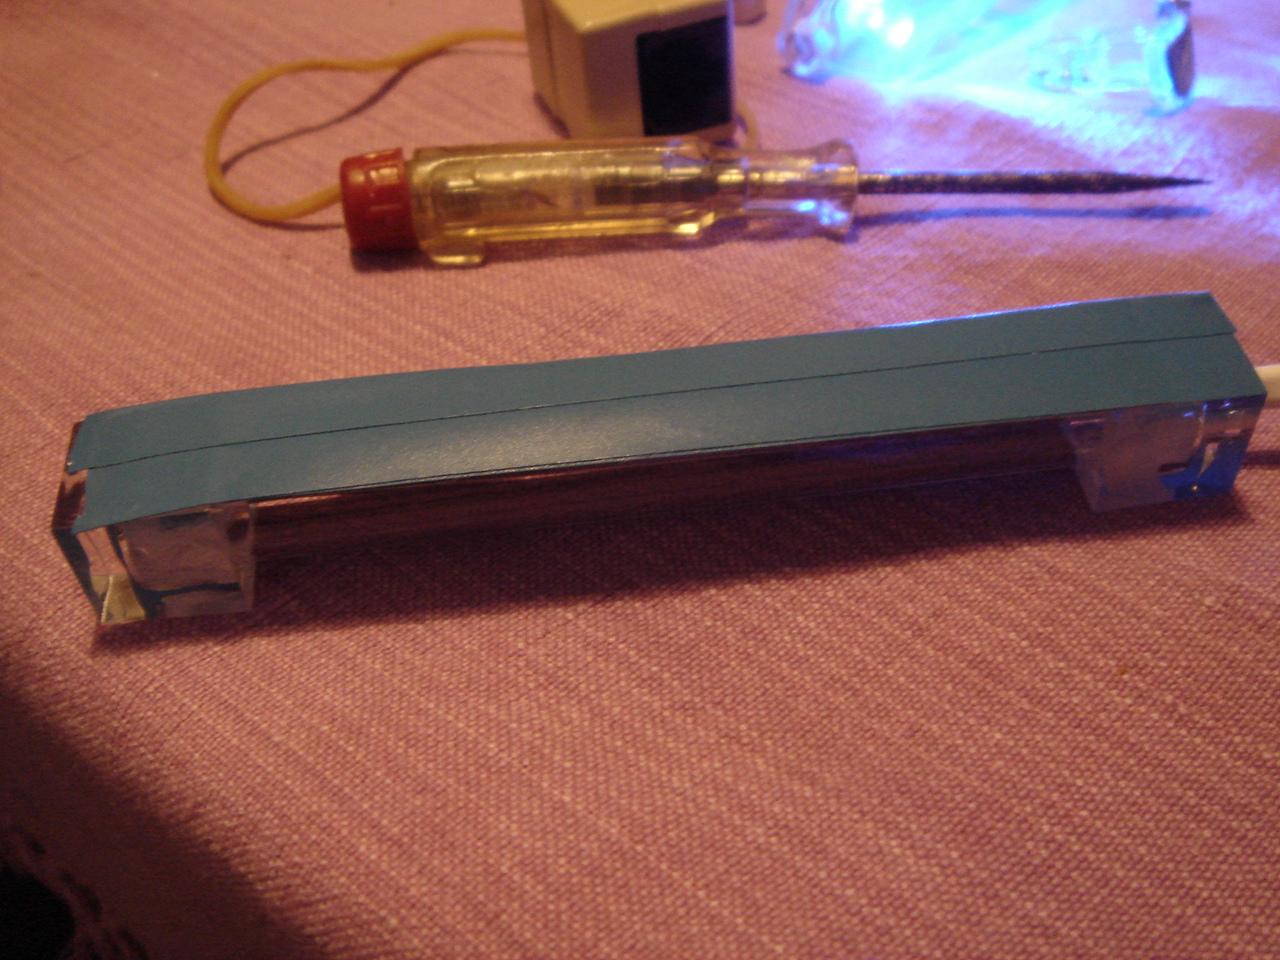
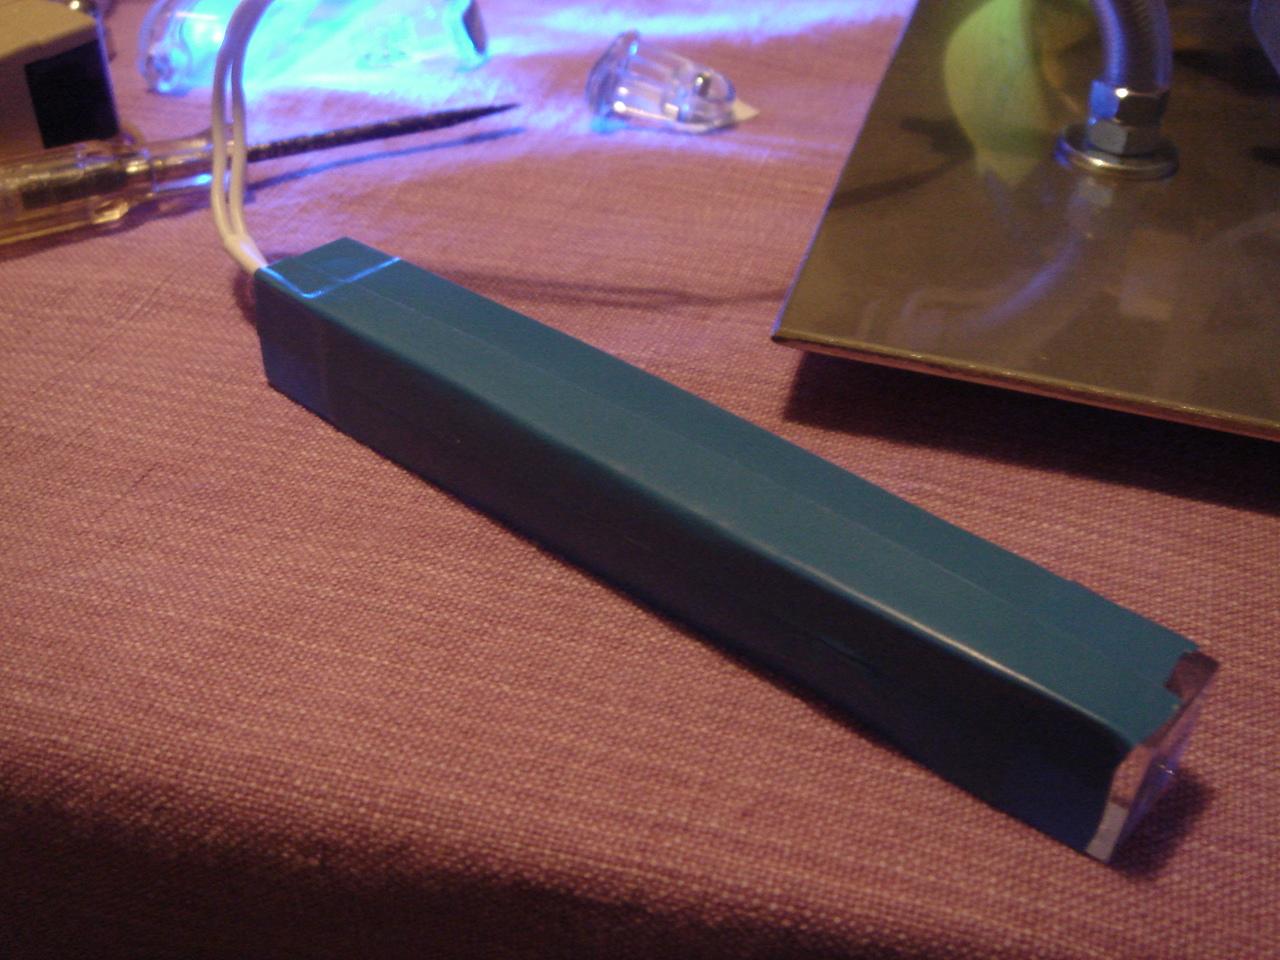
To avoid lighting the green infected sector with blue light, for the circuit encasing I have covered with some blue tape 3 of 4 sides of the cold cathode tube:
for the top panel I used this 6 LED structure:
And then I can finish to assemble the PC and I turn it on for the first time!