I did a test with a rounded-tip engraving tool of the dremel.
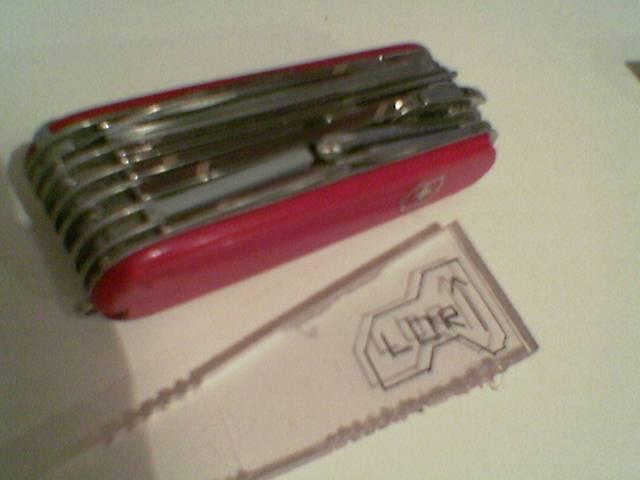
The drawing (the knife is for compare the size):
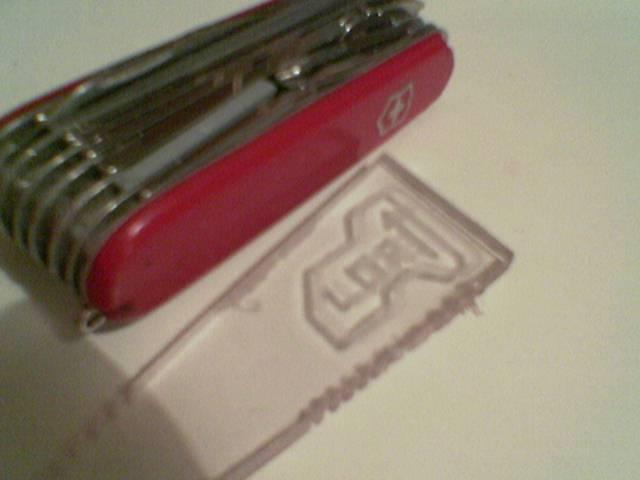
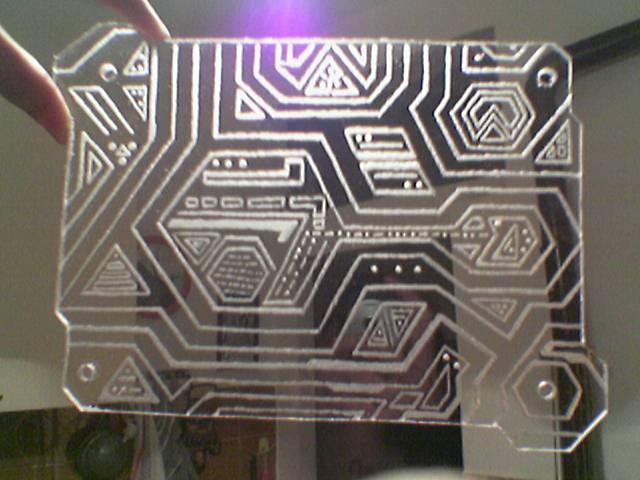
The engraving:
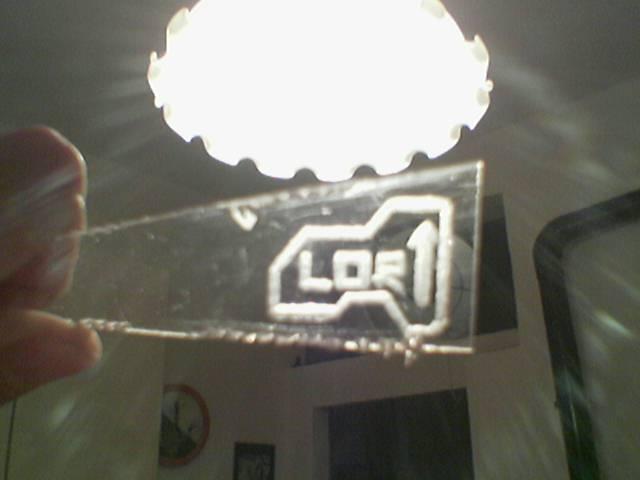
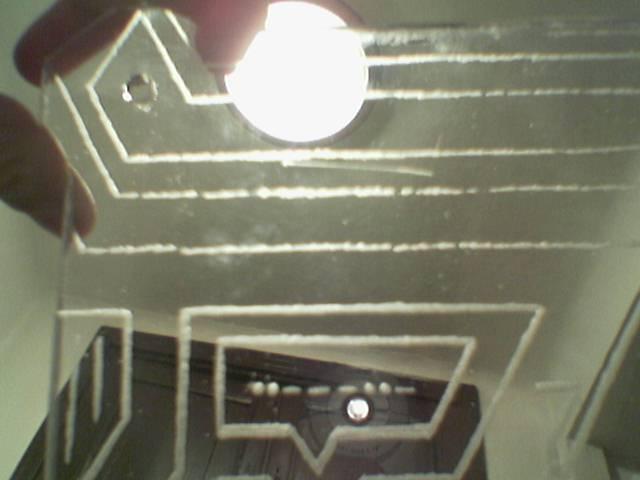
The illuminated engraving:
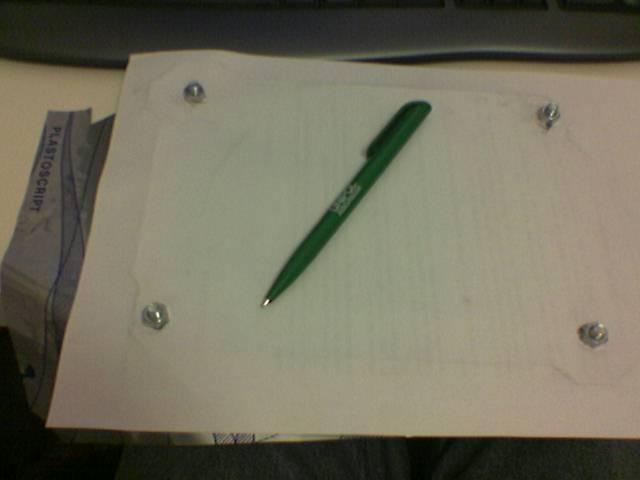
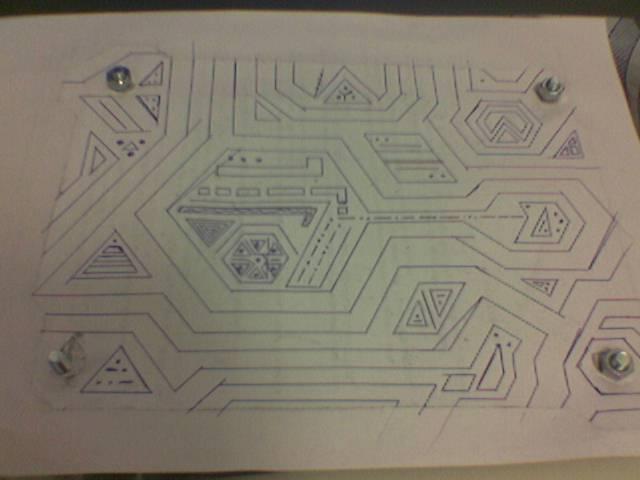
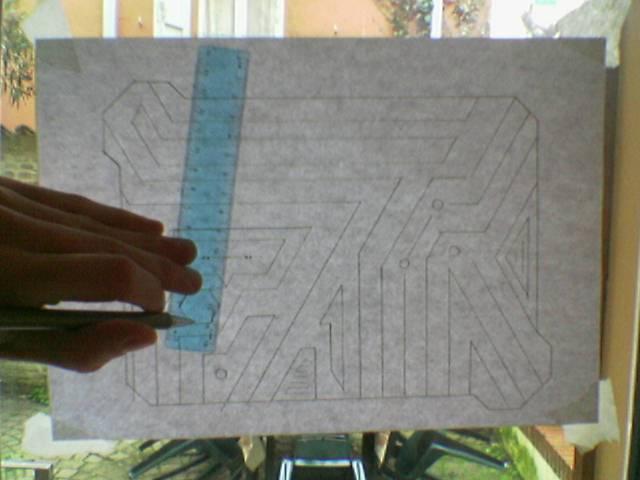
I draw on paper the engraving (under the paper there is a carbon copy sheet):
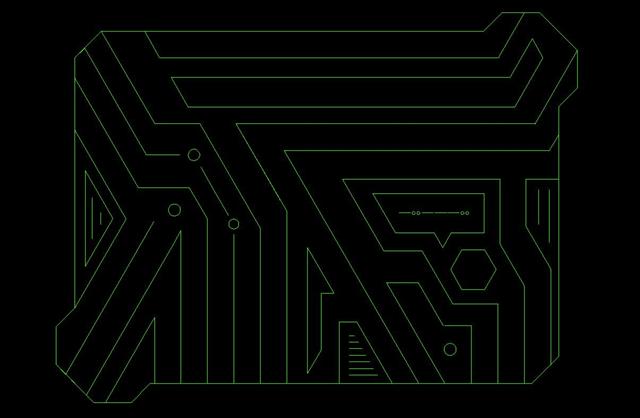
I made the drawing… (trying to follow the style of some environments of Tron 2.0)
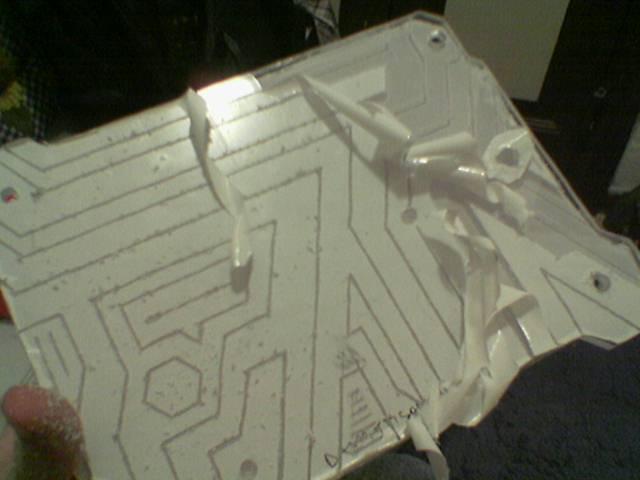
The drawing imprinted on the protective film:
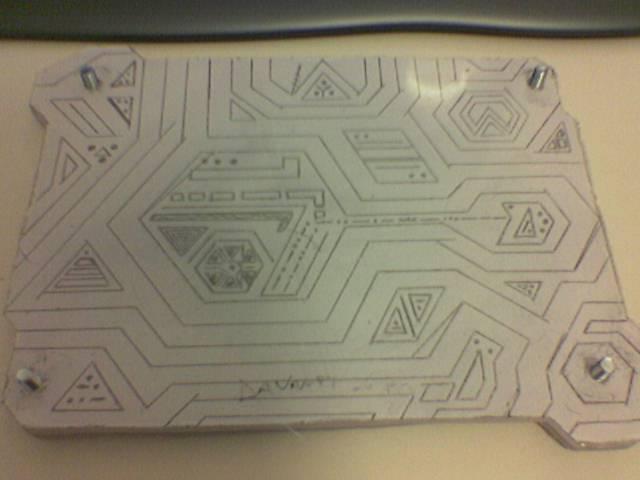
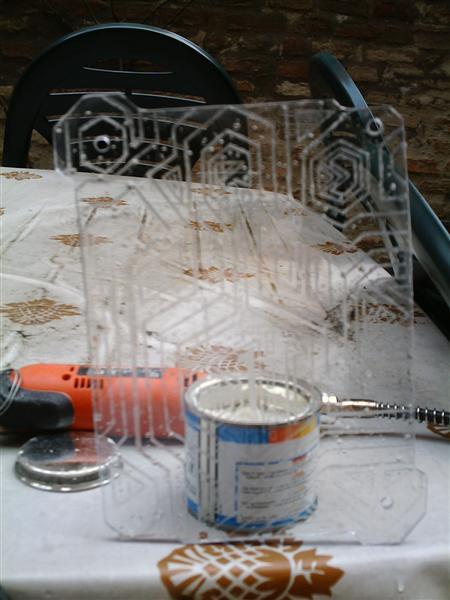
The first pass of the engraving (this method require two steps: a first pass with the protective film, and a second pass without the film to refine the engraving):
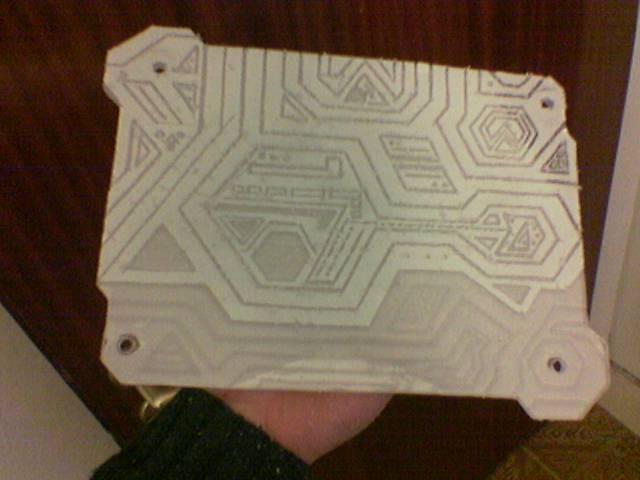
I remove the remaining film:

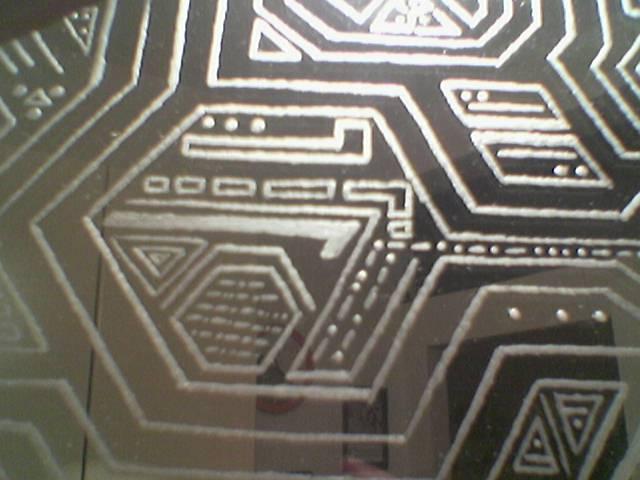
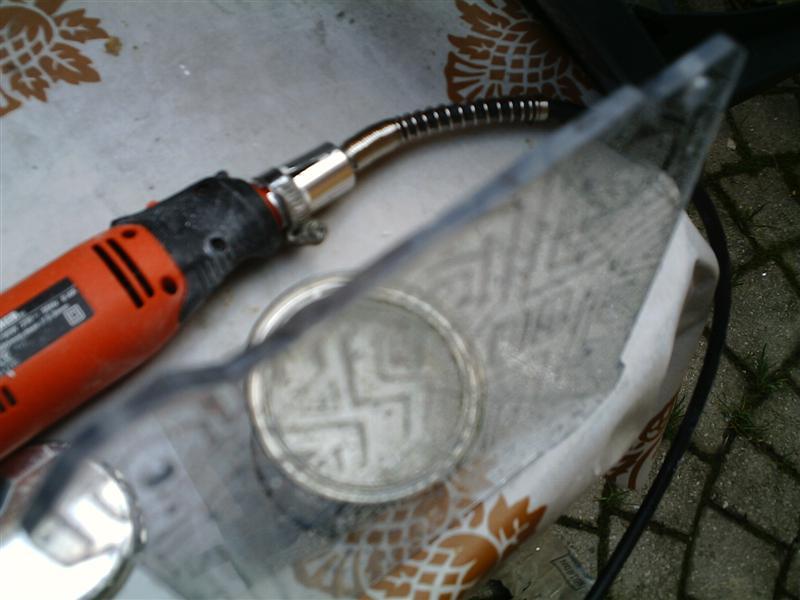
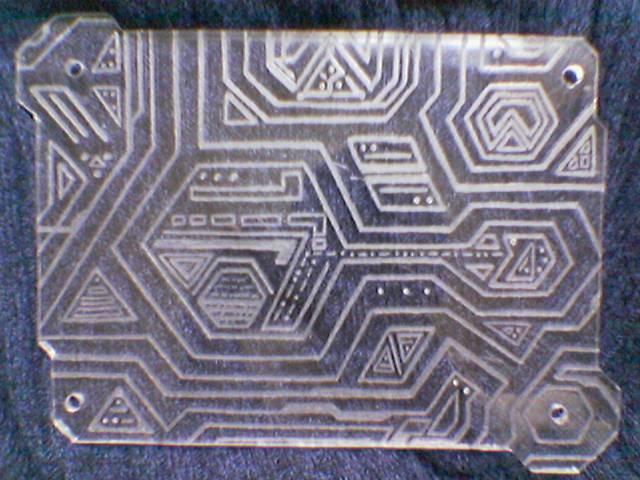
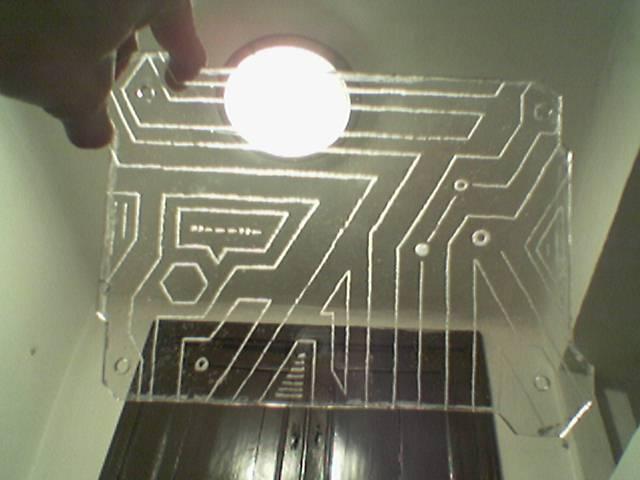
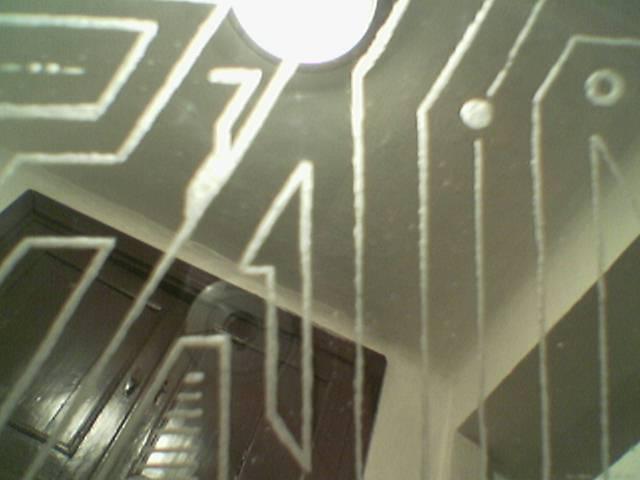
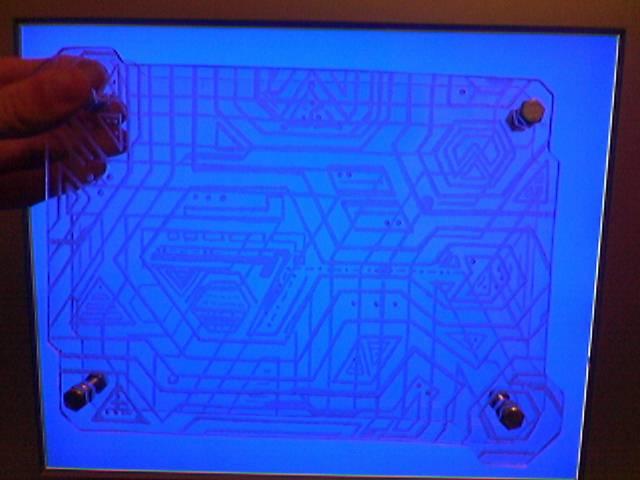
The engraving enlighted (this is only the first pass, so the engraving is a bit raw):
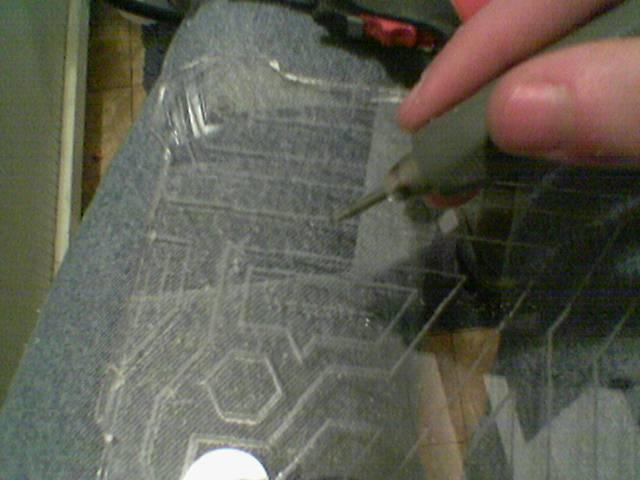
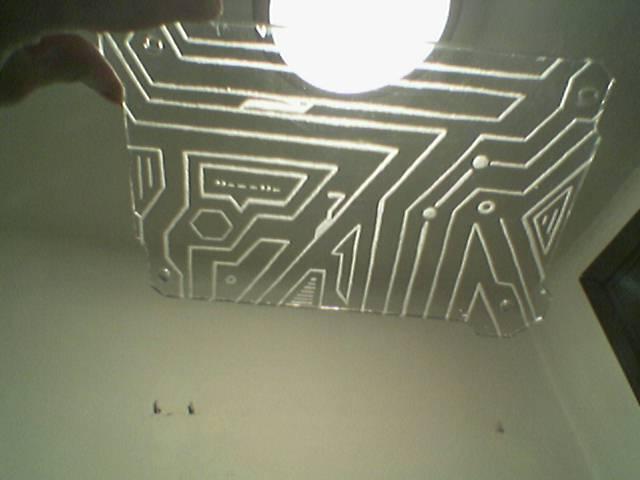
I polished the edges of the engraved panel:
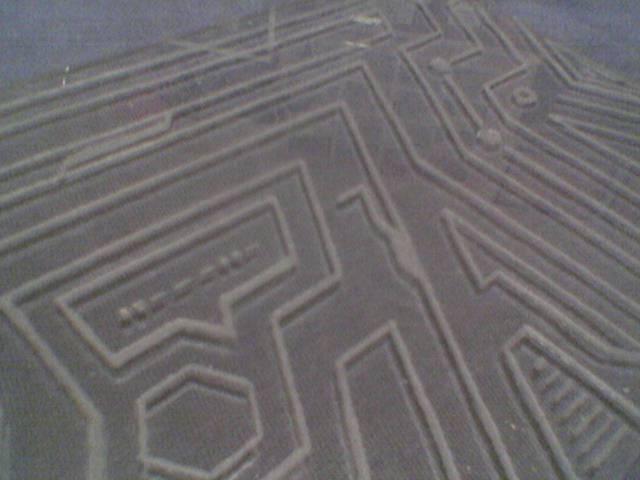
Then I have done the second pass of the engraving, to refine every single groove:
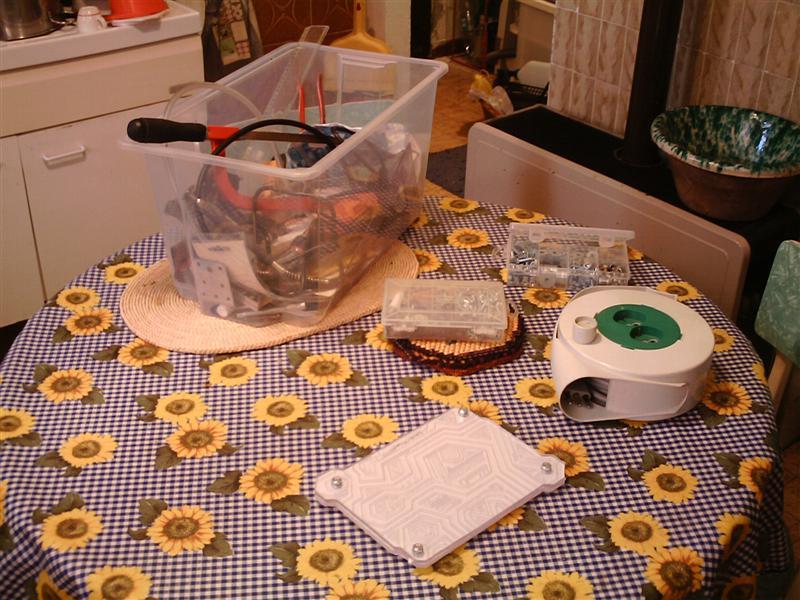
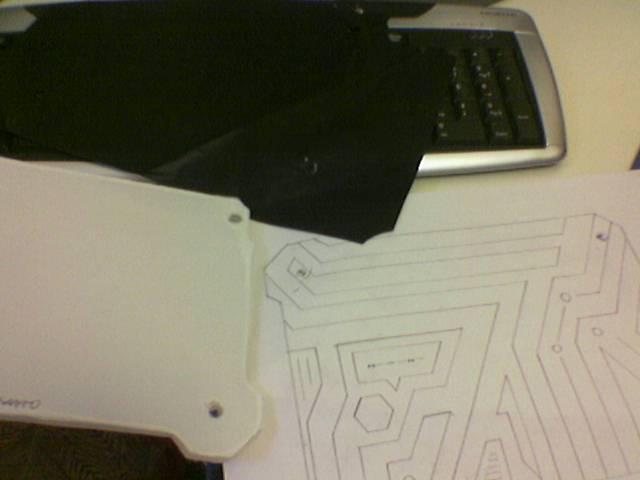
I made the drawing for the lower panel of the circuit chassis:
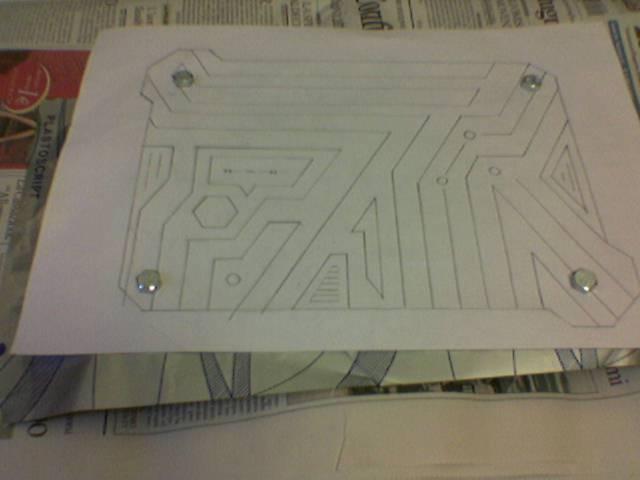
And a preview of this drawing on the structure:
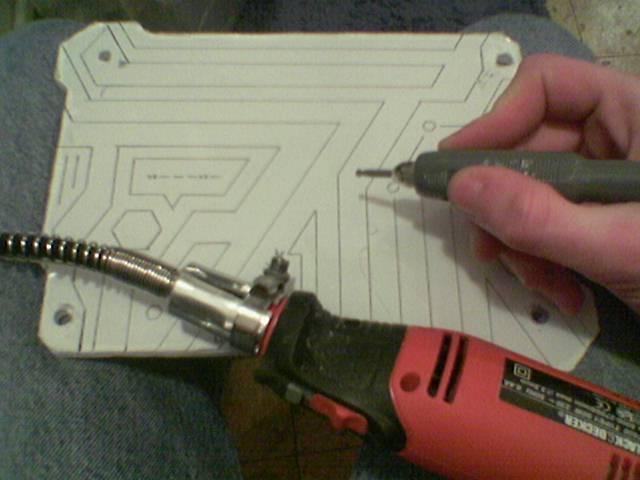
Engraving the lower panel:
Finished the first pass:
Then i proceed with the second pass:
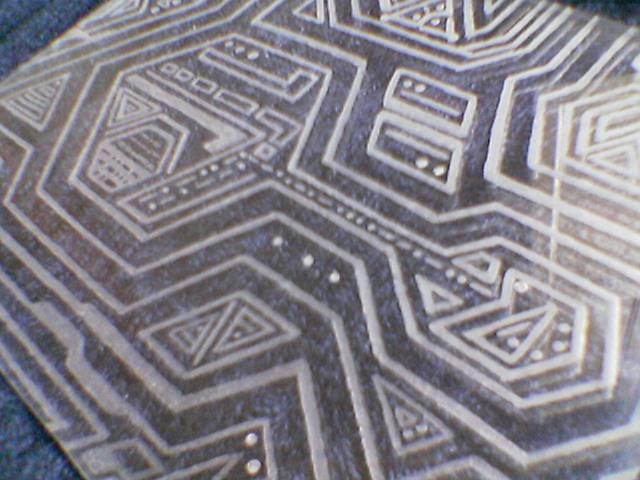
A comparison between raw grooves of the first pass (top in 1st photo, right in 2nd one) and refined grooves of the second pass (bottom in 1st photo, left in 2nd one):
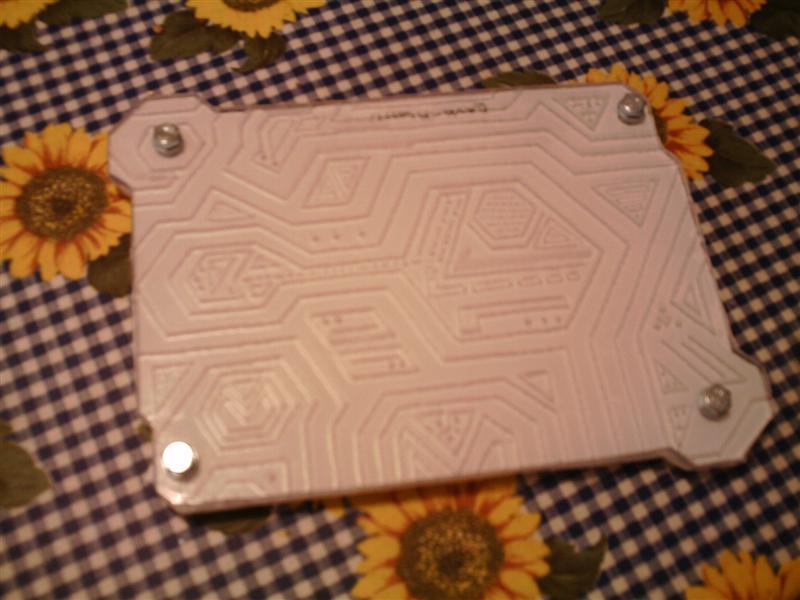
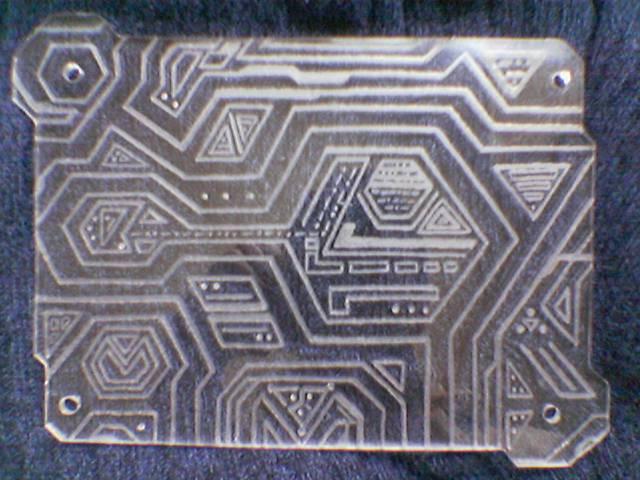
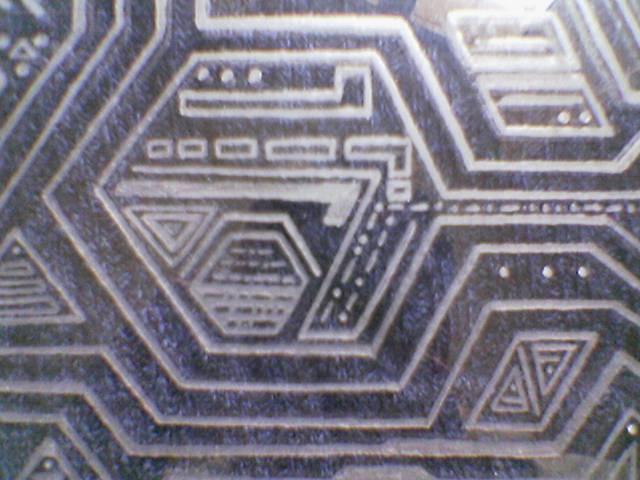
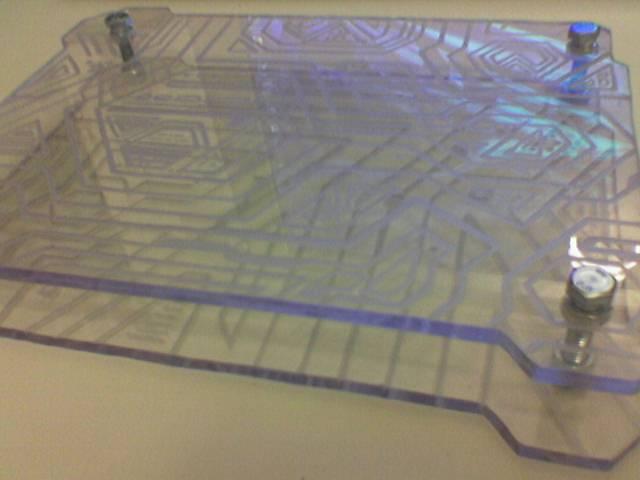
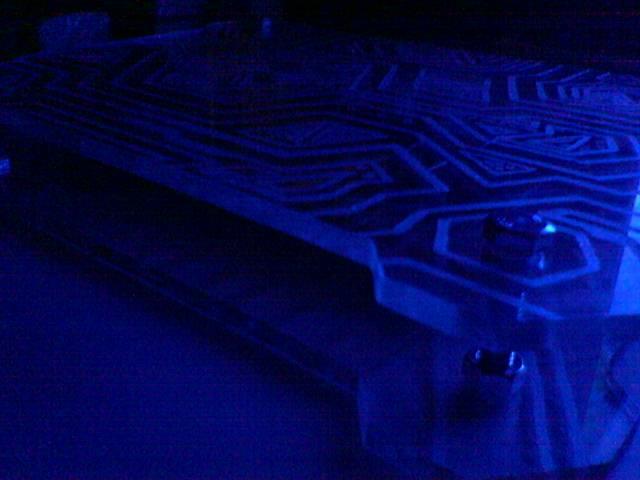
The finished panel:
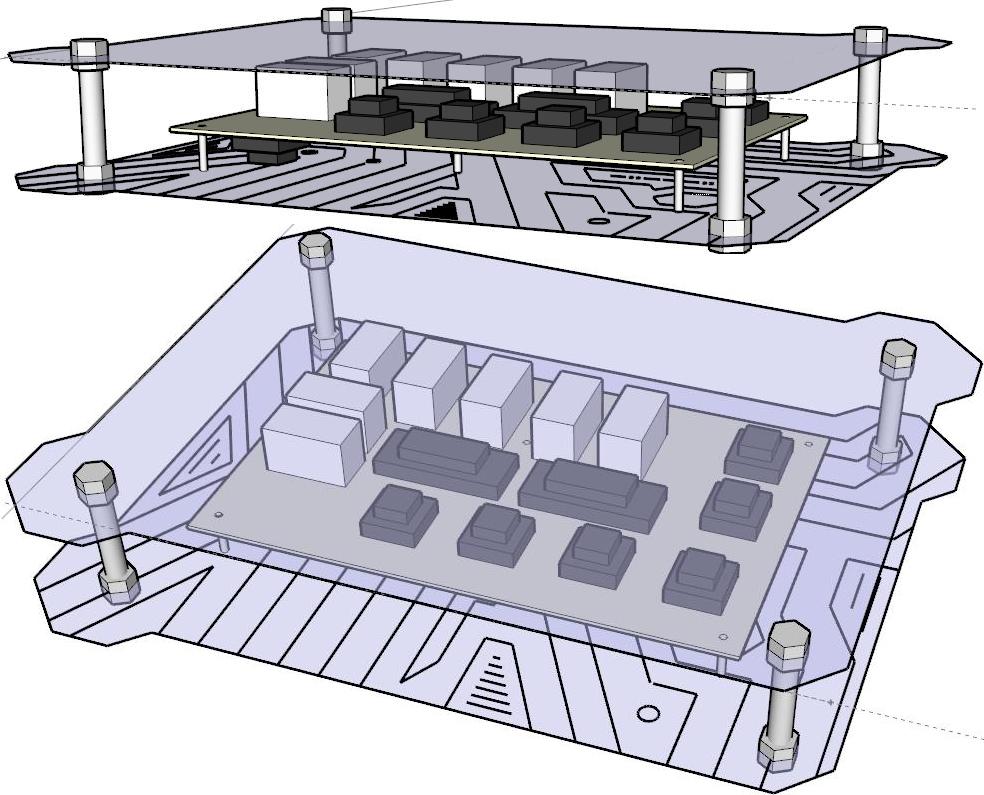
A mounting test:

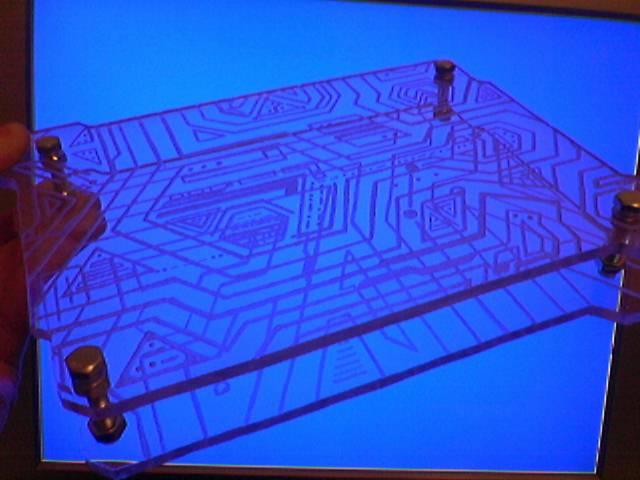
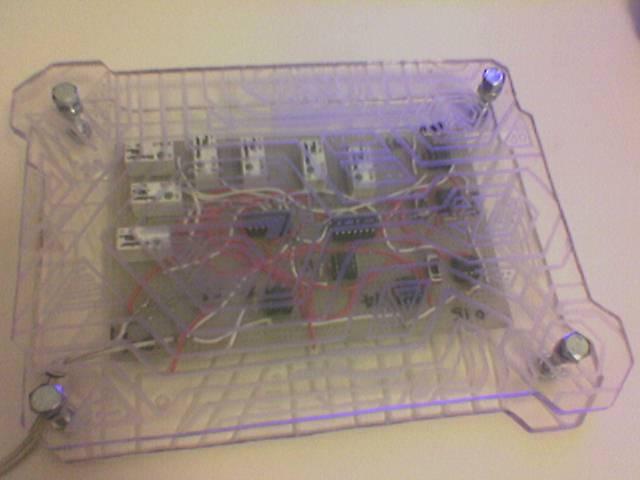
And a test with the circuit inside:
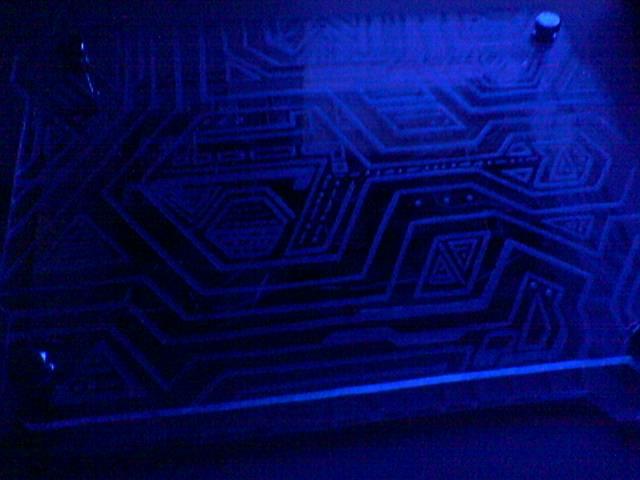
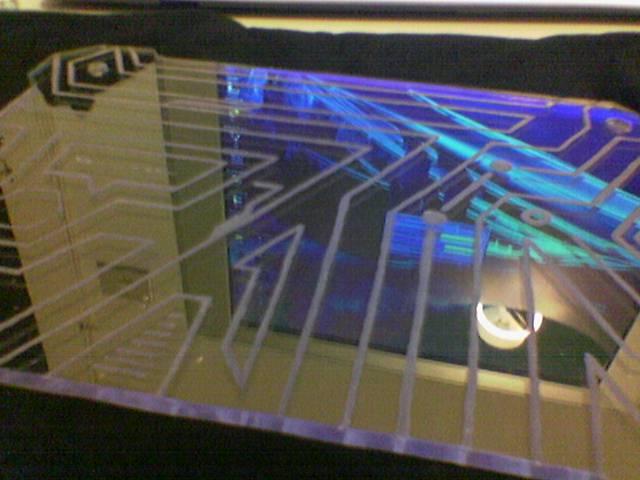
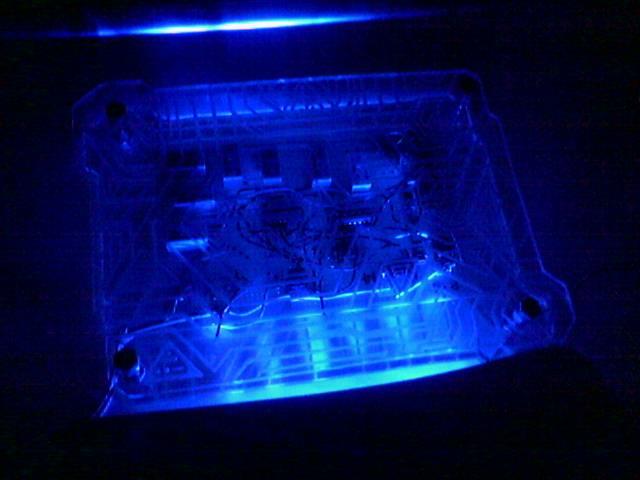
Some lighting tests:
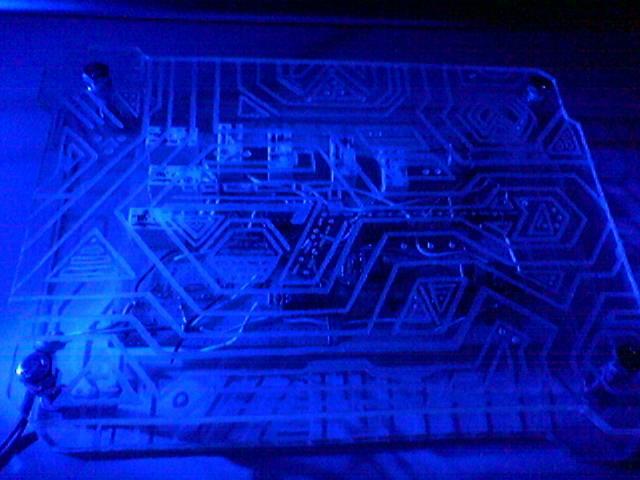
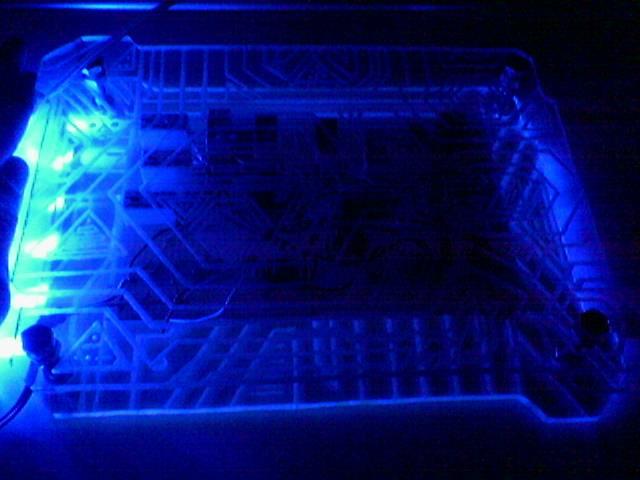
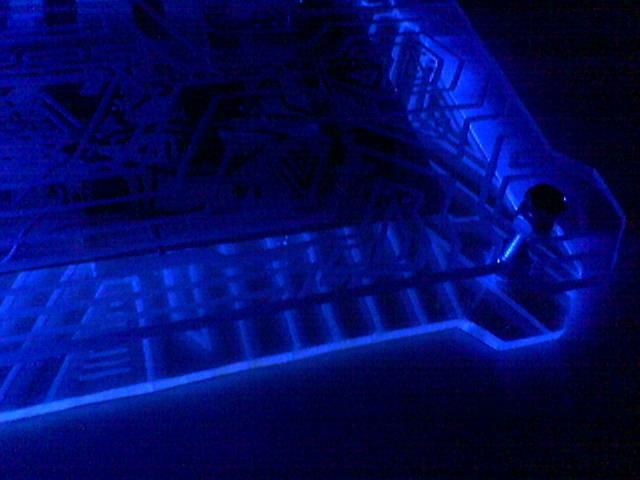
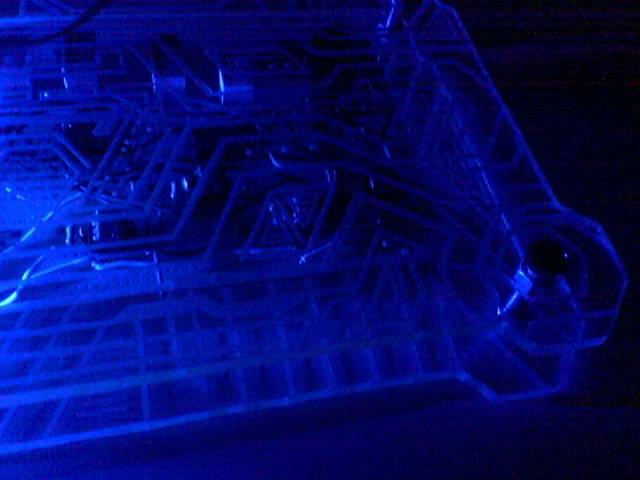
Can you start to see some Tron 2.0 atmosphere? 😀