There were a lot of things that I wanted to improve, but in the last pic of the Kernel 1.0 we can see immediately one big flaw: there are a lot of engravings, but they are badly lighted (in particular the one behind the motherboard).
This is due to the use of cold cathode tubes, that spread light at 360°.
To “shot” a concentrated beam of light in the panels, I thought that some RGB LED strips attached on the bottom of each engraved panel were a lot better for that purpose.
The LED strips also have two other advantages:
– the colors are much more vibrant and intense compared to the colored light produced by a cold cathode tube
– I have chosen the addressable LED strips, so I can set individually the color of any single led of the strip
In particular, the addressable led strips give me absolute freedom to set any kind of lighting configuration for the case: monochromatic light for the whole case, one color for each component (like the original setup of 1.0), transition effects, etc.
Furthermore, using an Arduino board to control the strips, I have programmed custom animated lighting effects for some components (for example, the infected sector can gradually go from a clean blue to an infected pulsing green color, showing the ongoing infection).
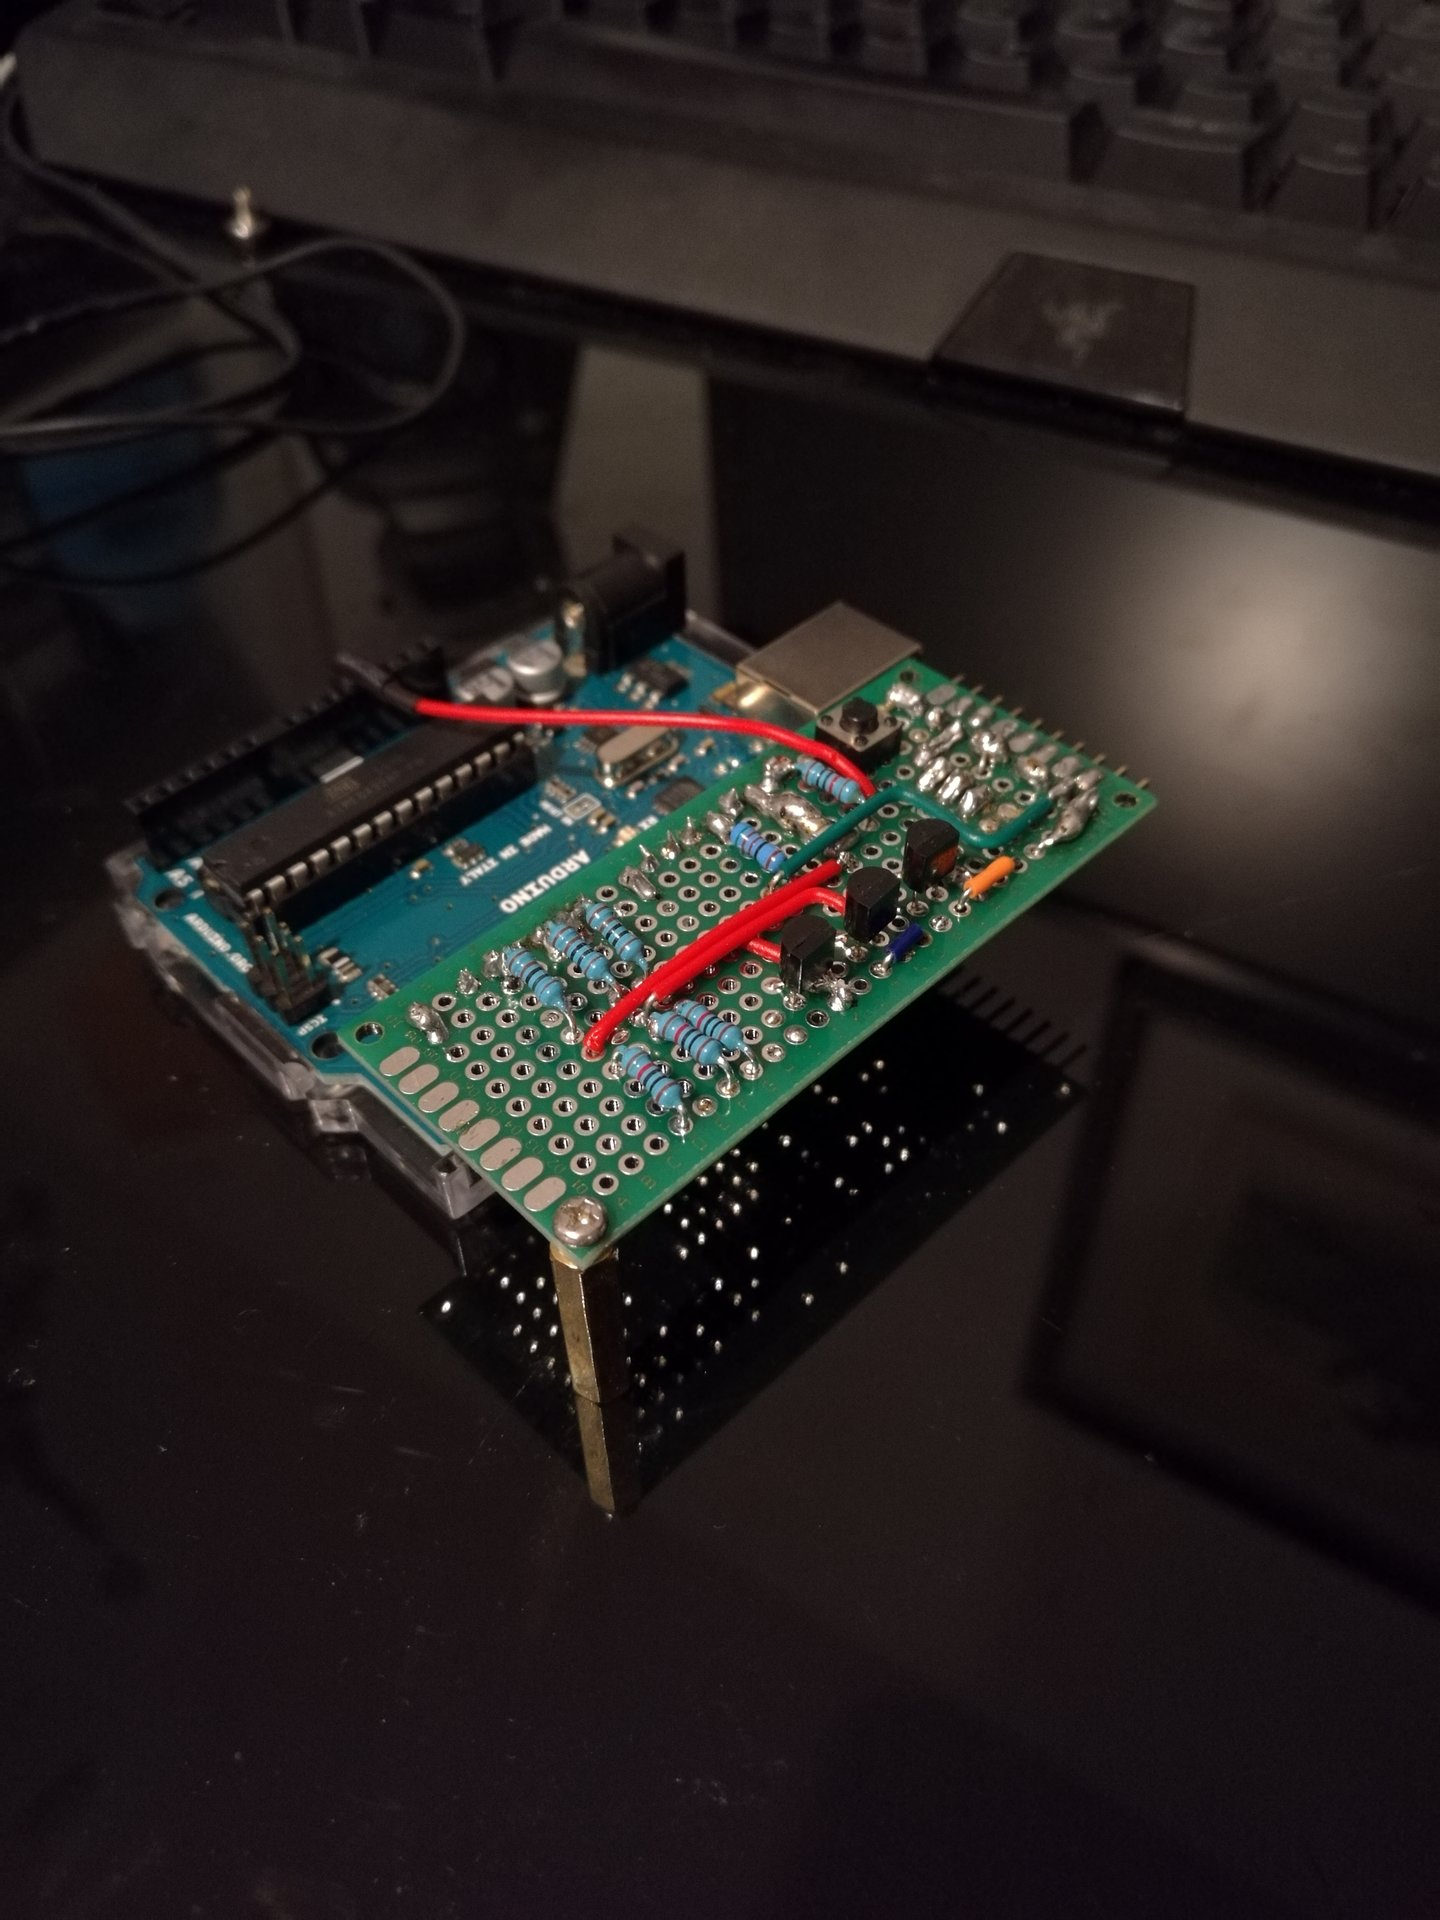
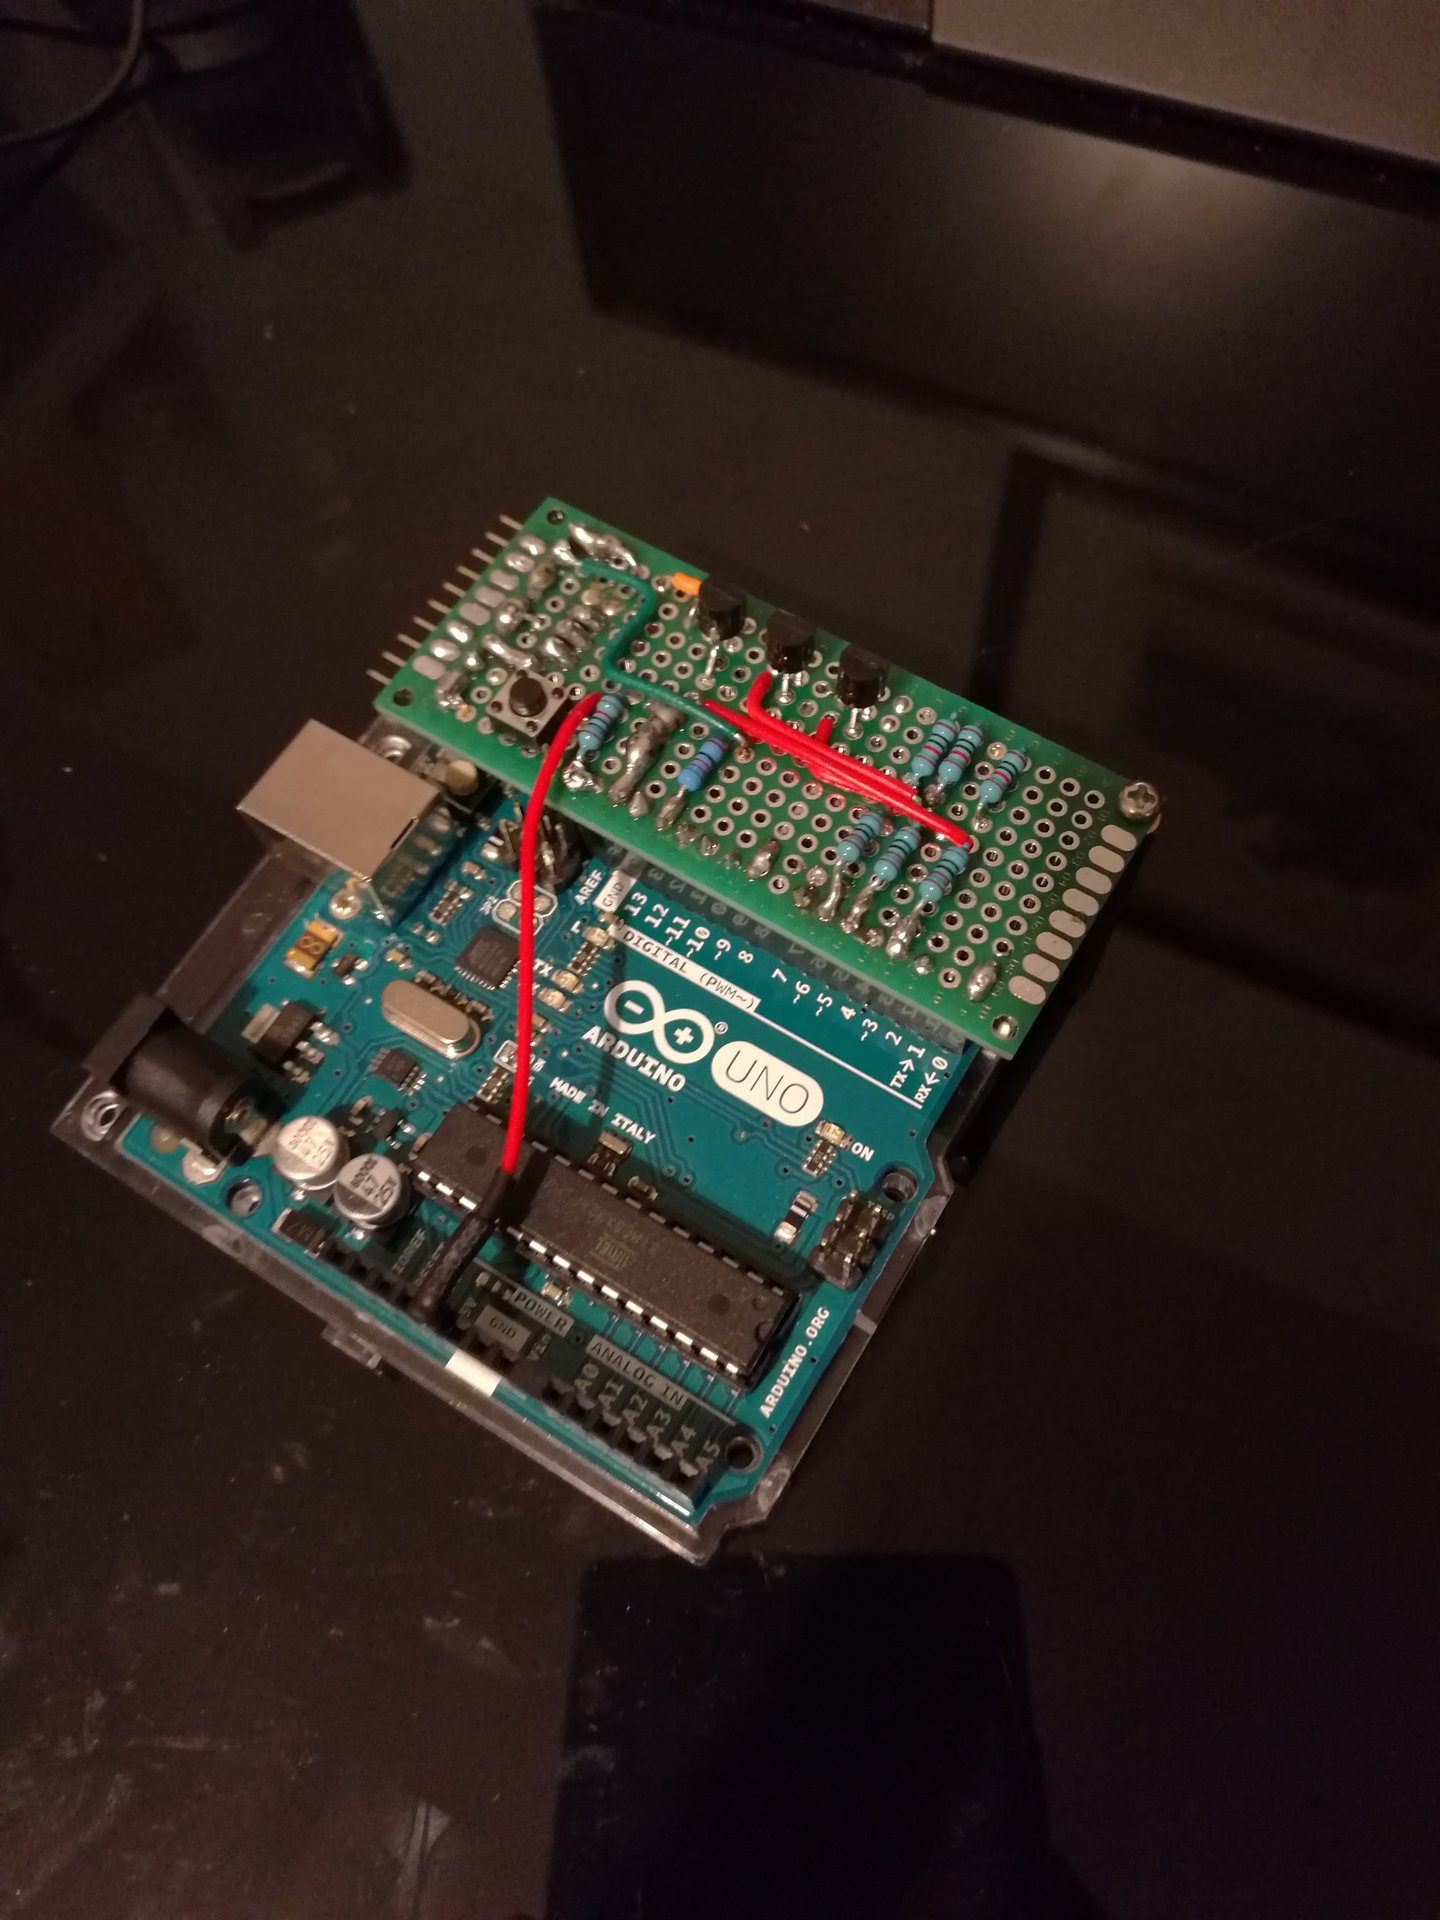
The first thing to do was to make a custom circuit to be connected to Arduino.
This circuit implements:
– the link between Arduino and the addressable led strip
– a standard 3 channel RGB led strip controller (this is to control the RGB CPU heatsink)
– the link between Arduino, the proximity sensor and 2 touch sensors
– the link to the power supply
This is one animated effect of the led strip that I have programmed in Arduino:
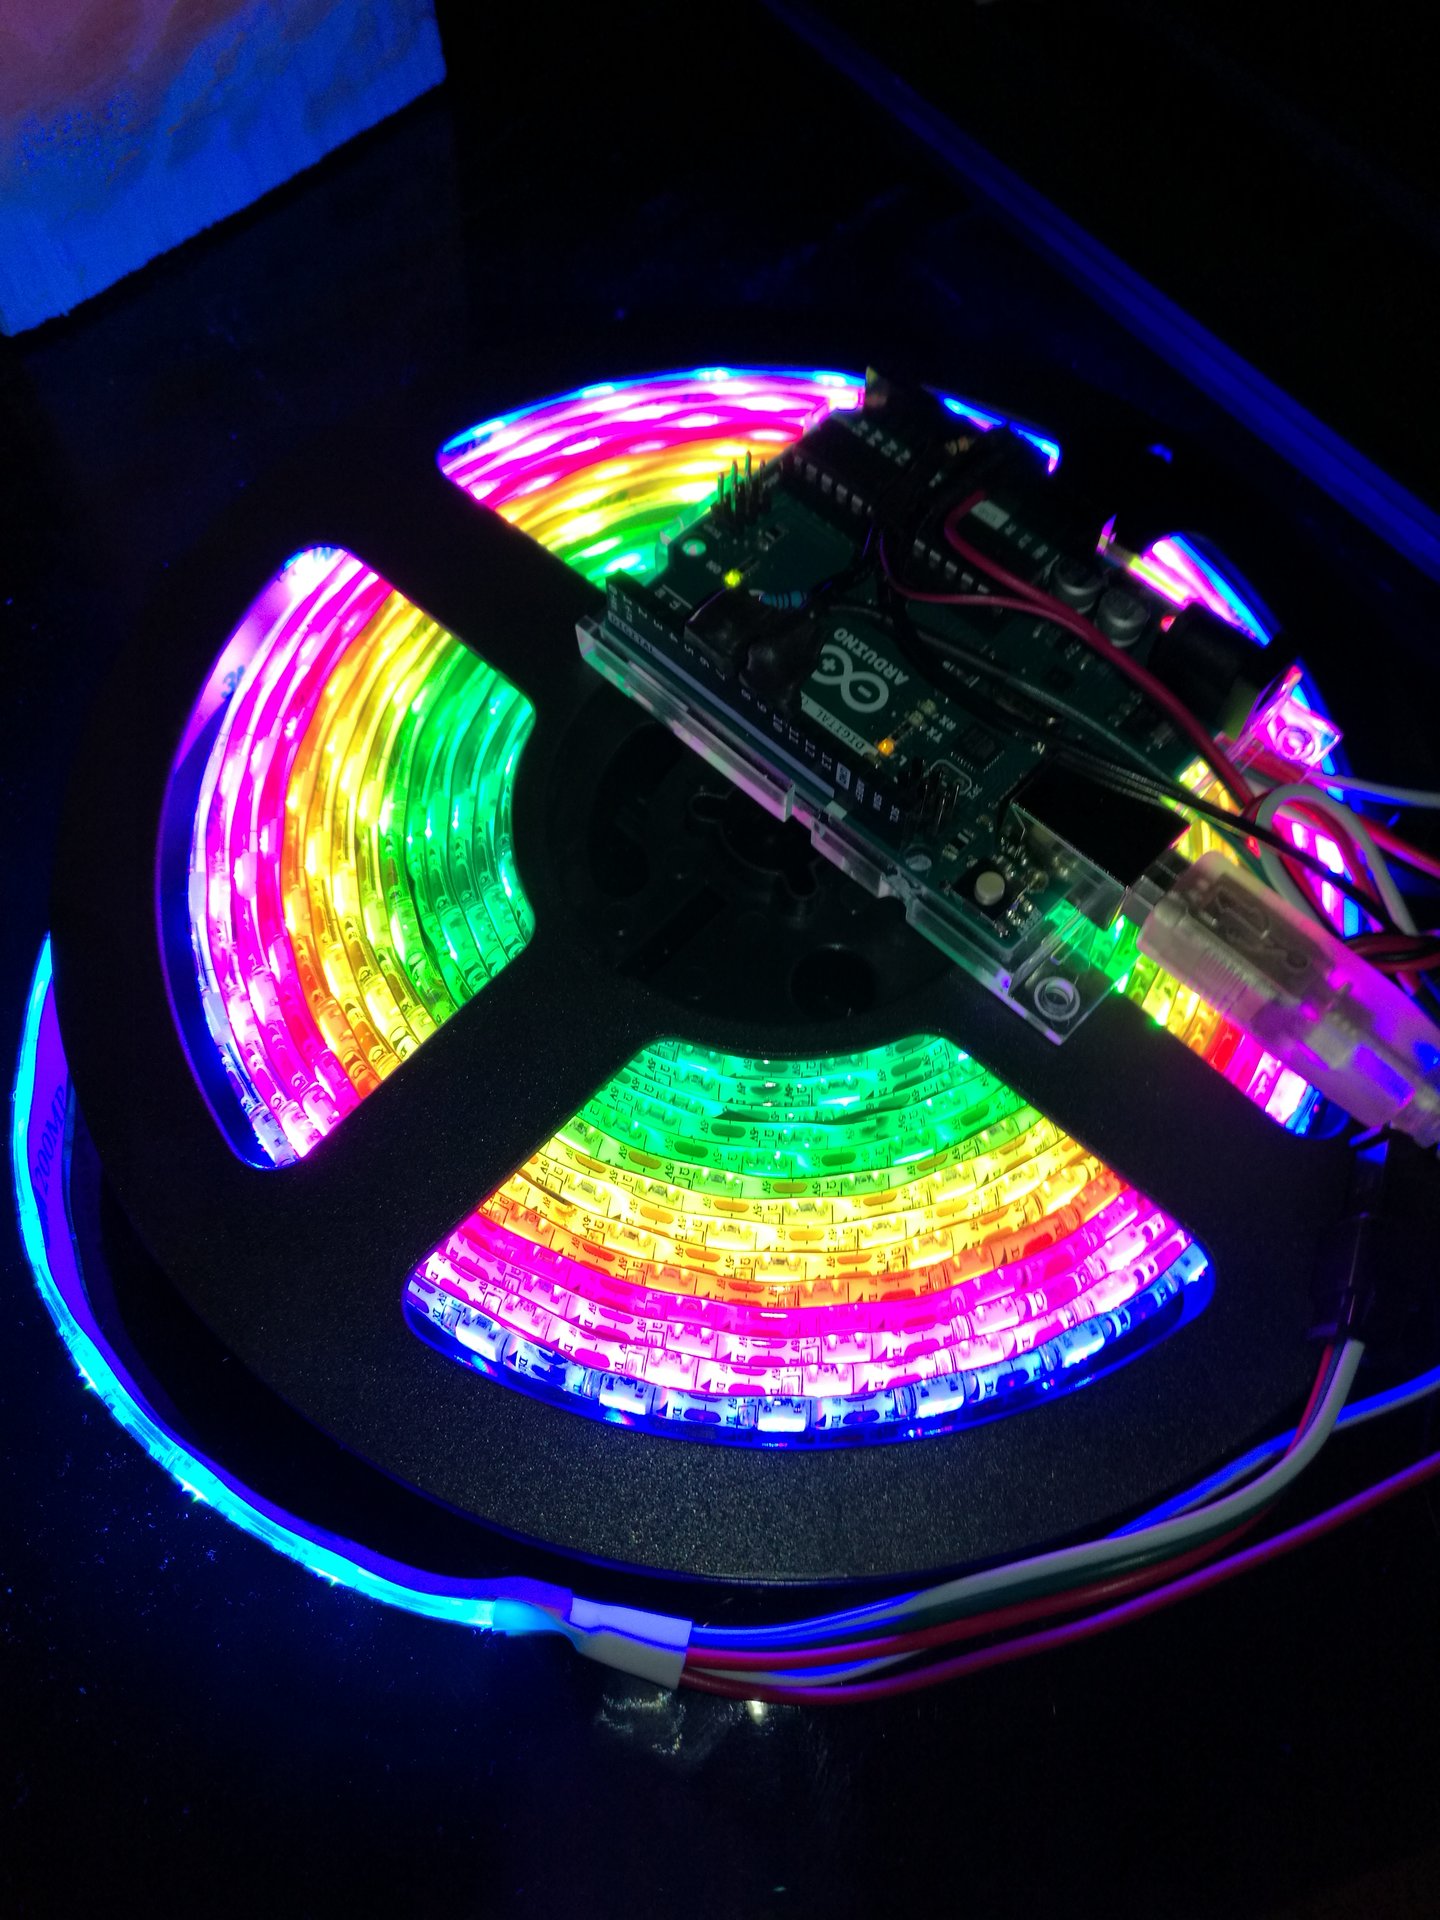
And this is a video of the same effect:
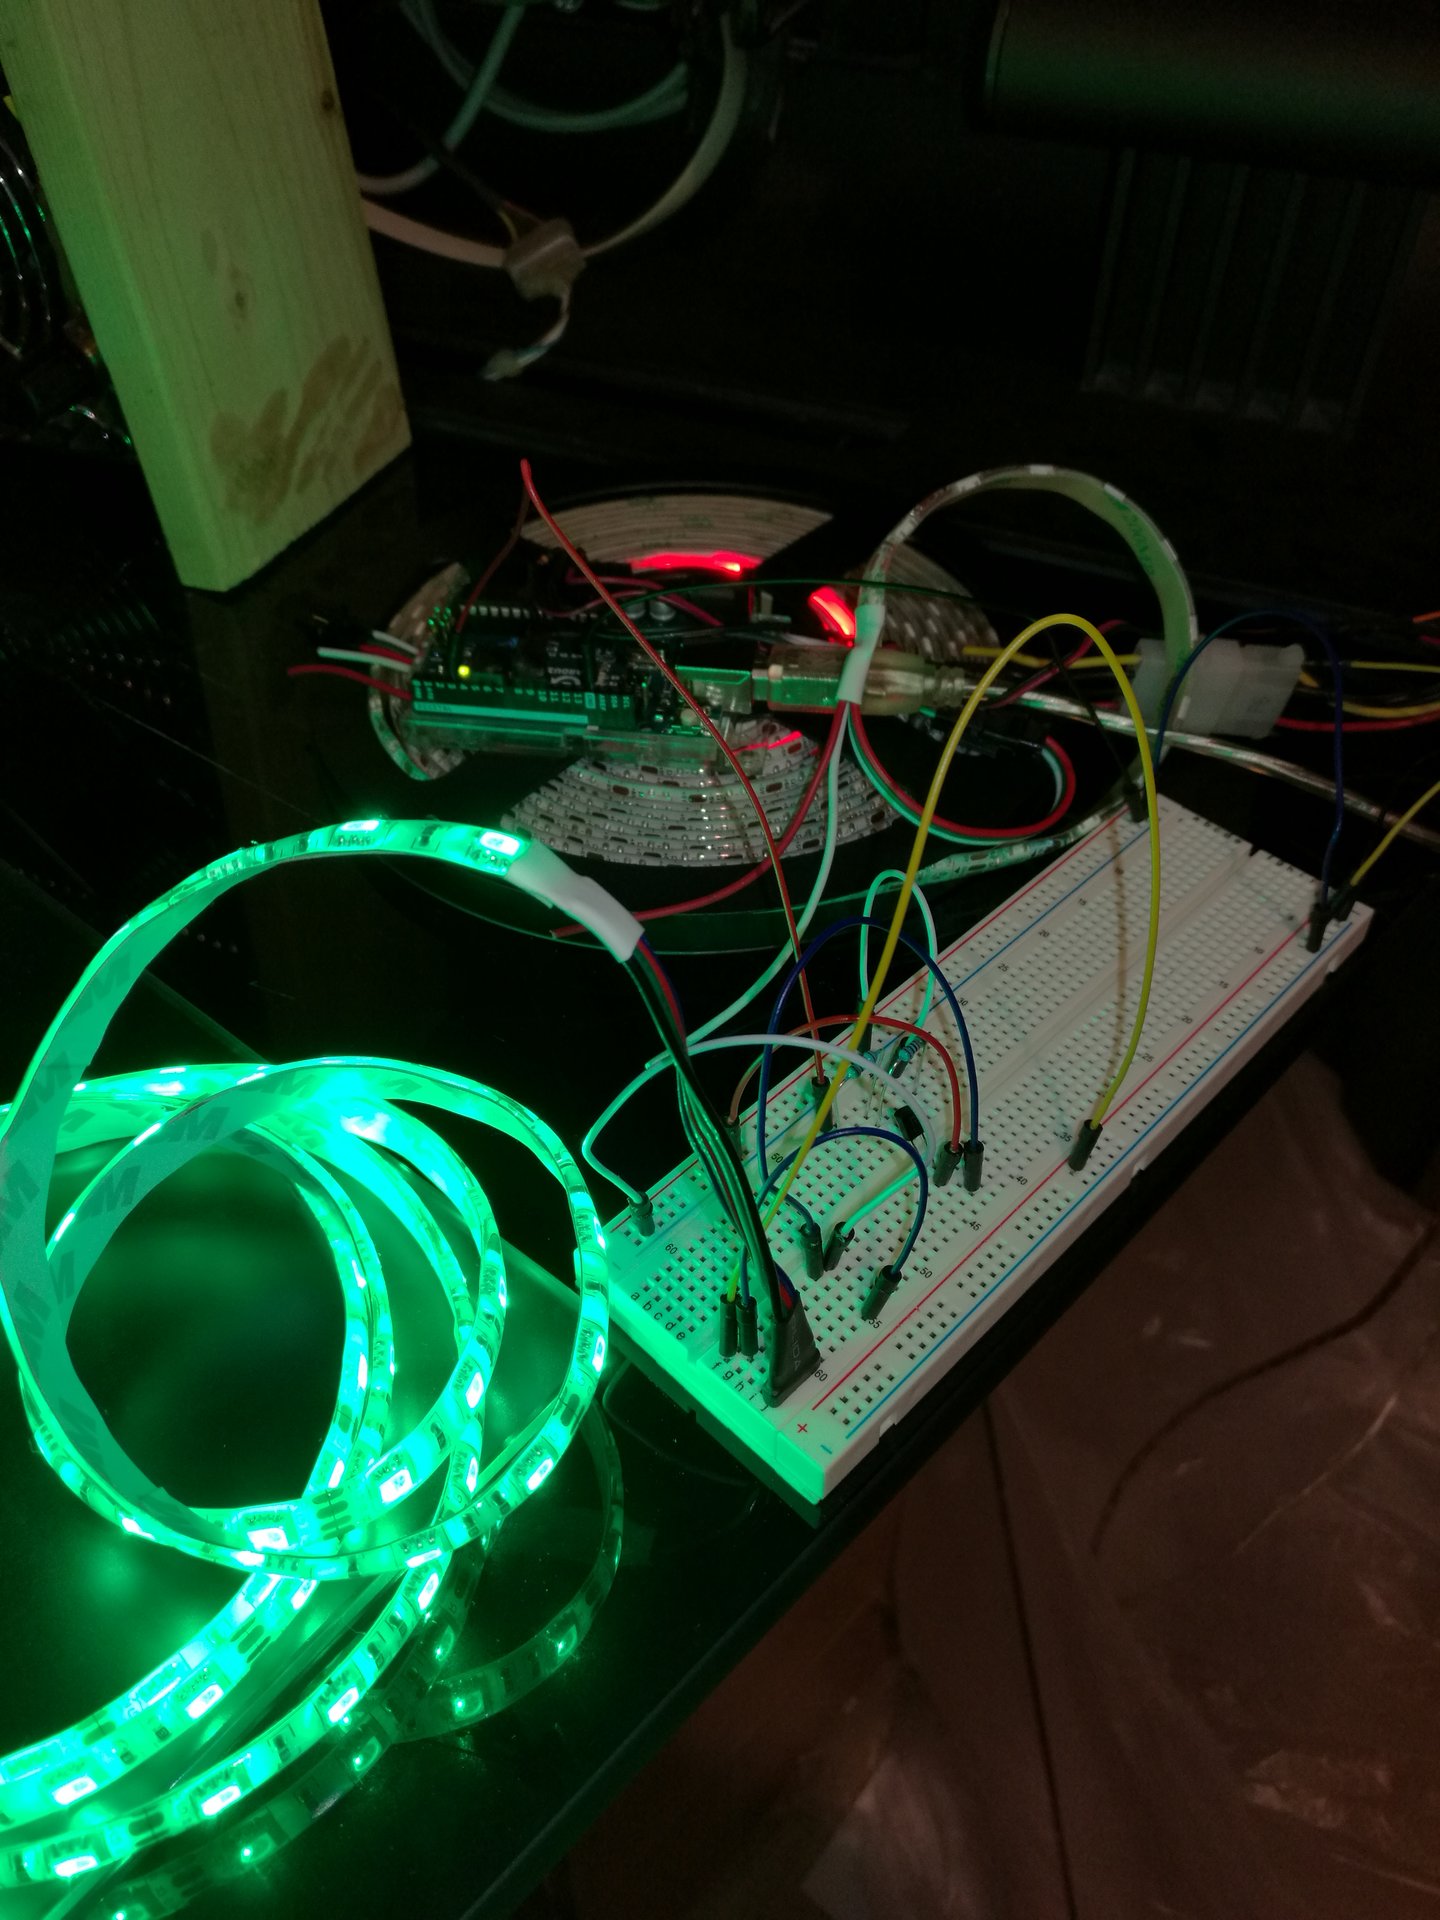
I first try the circuit on a breadboard:
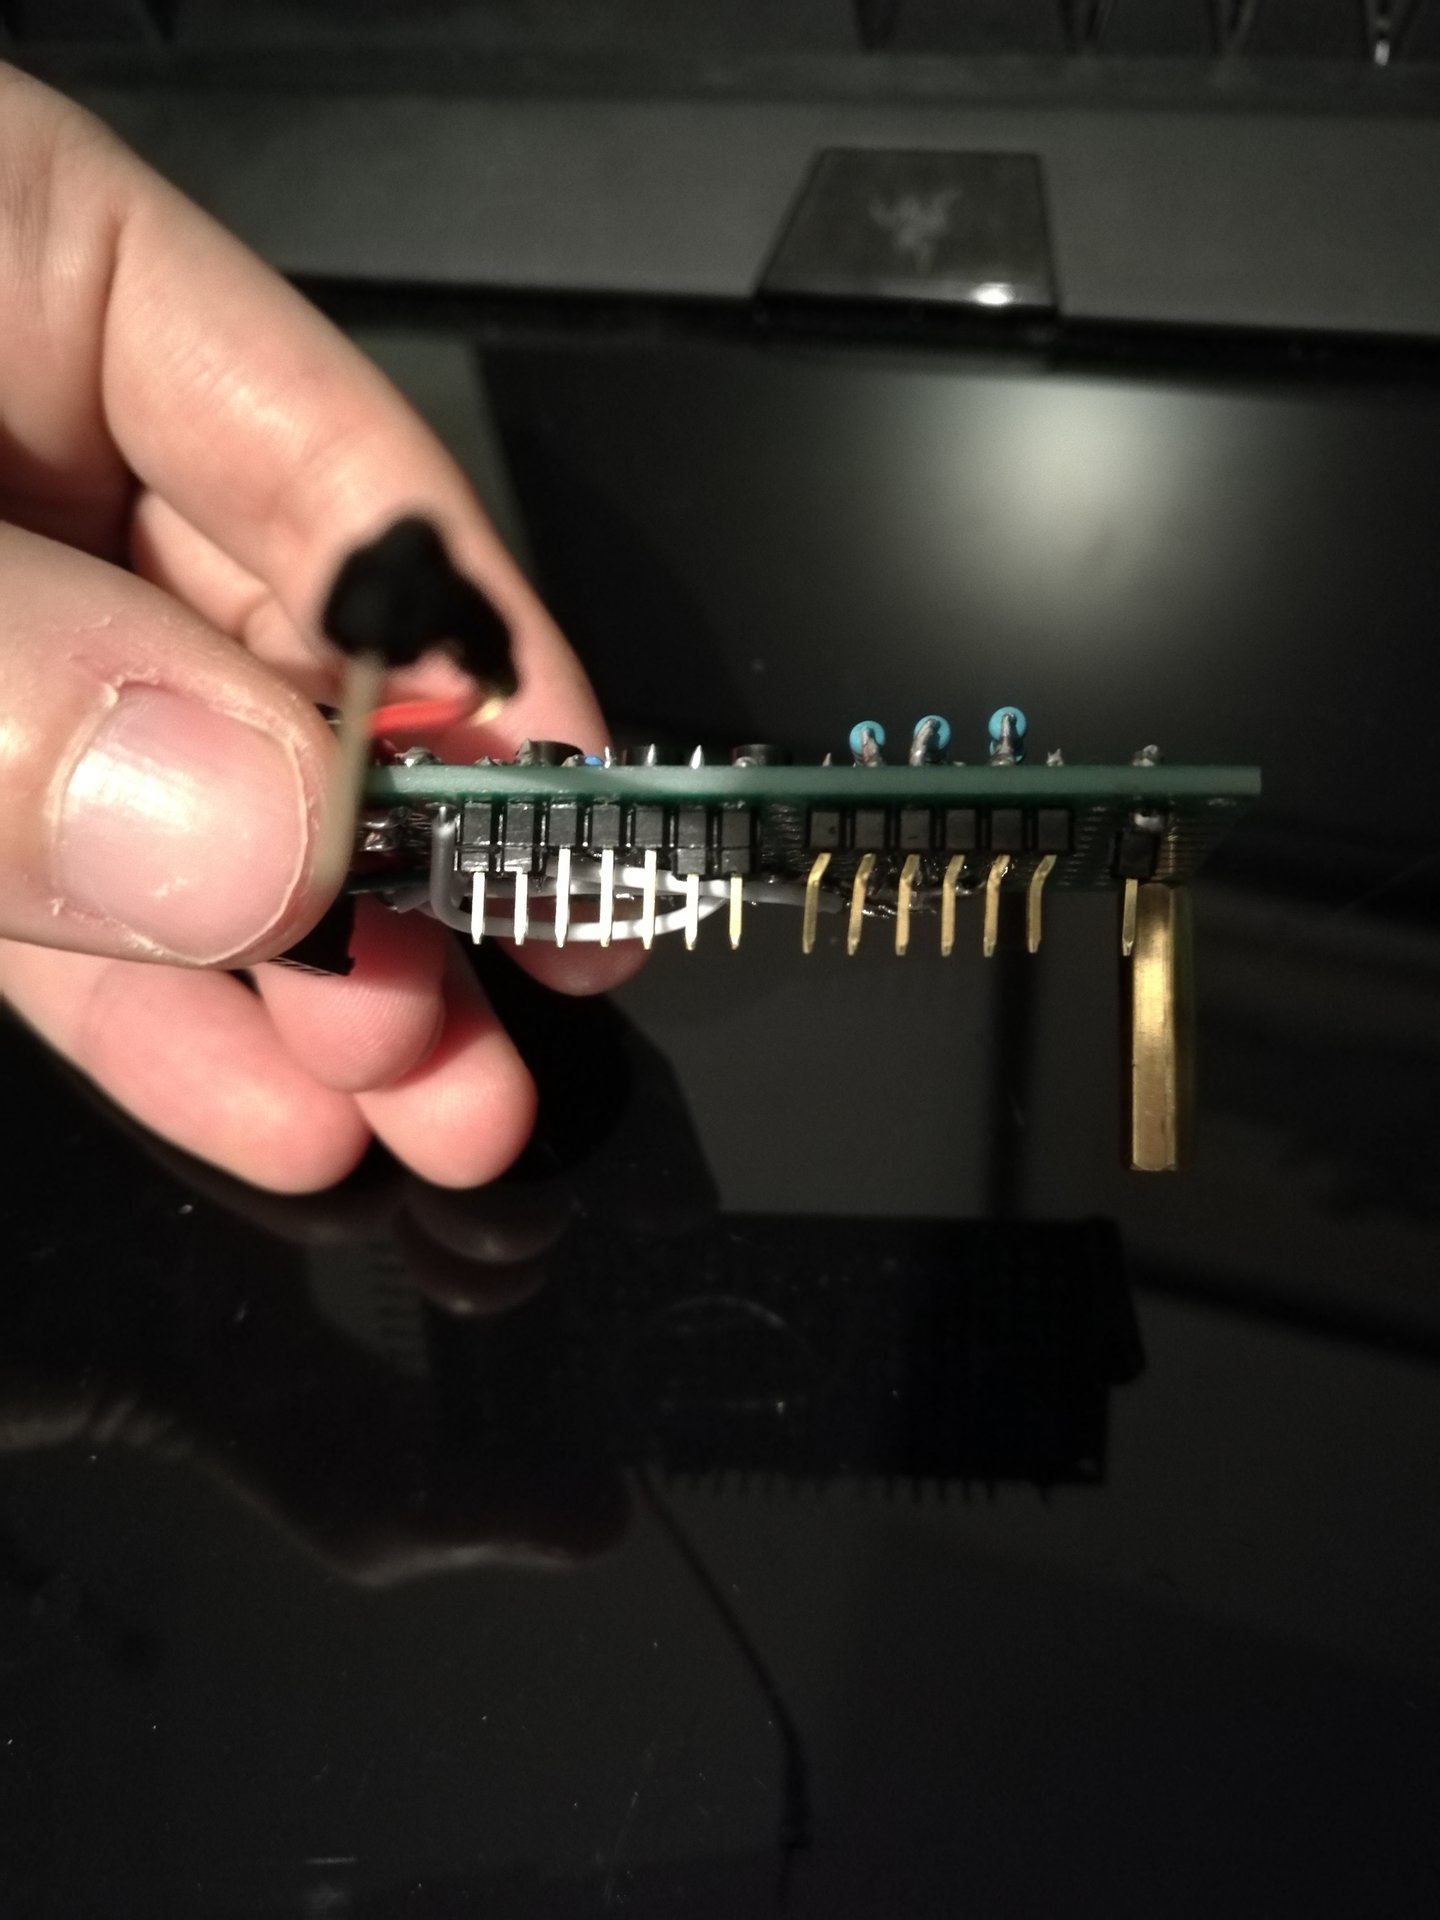
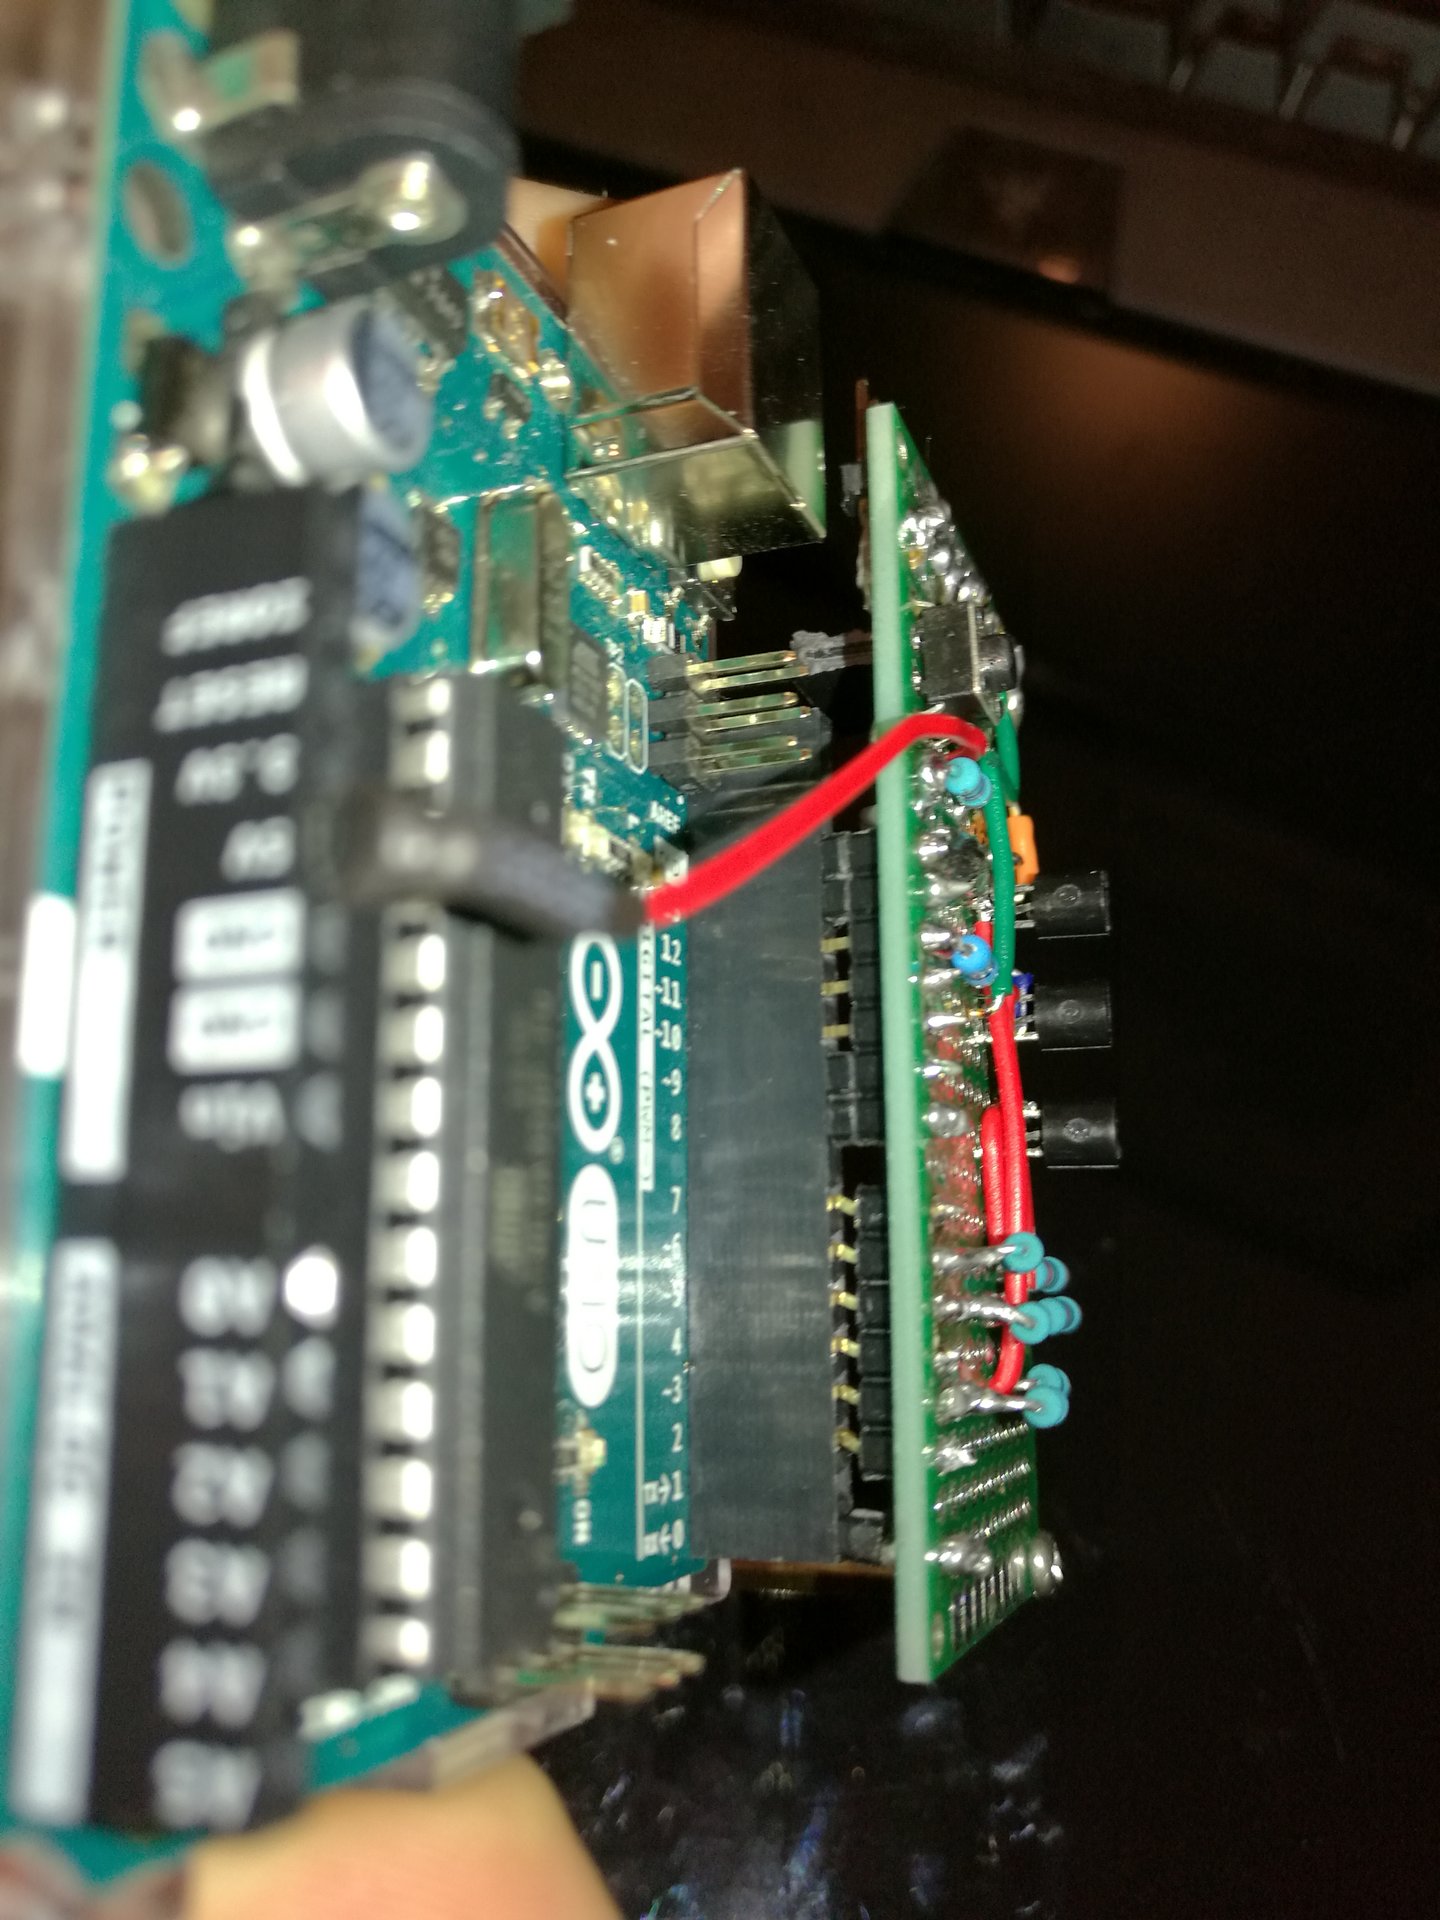
Then I make the actual circuit:
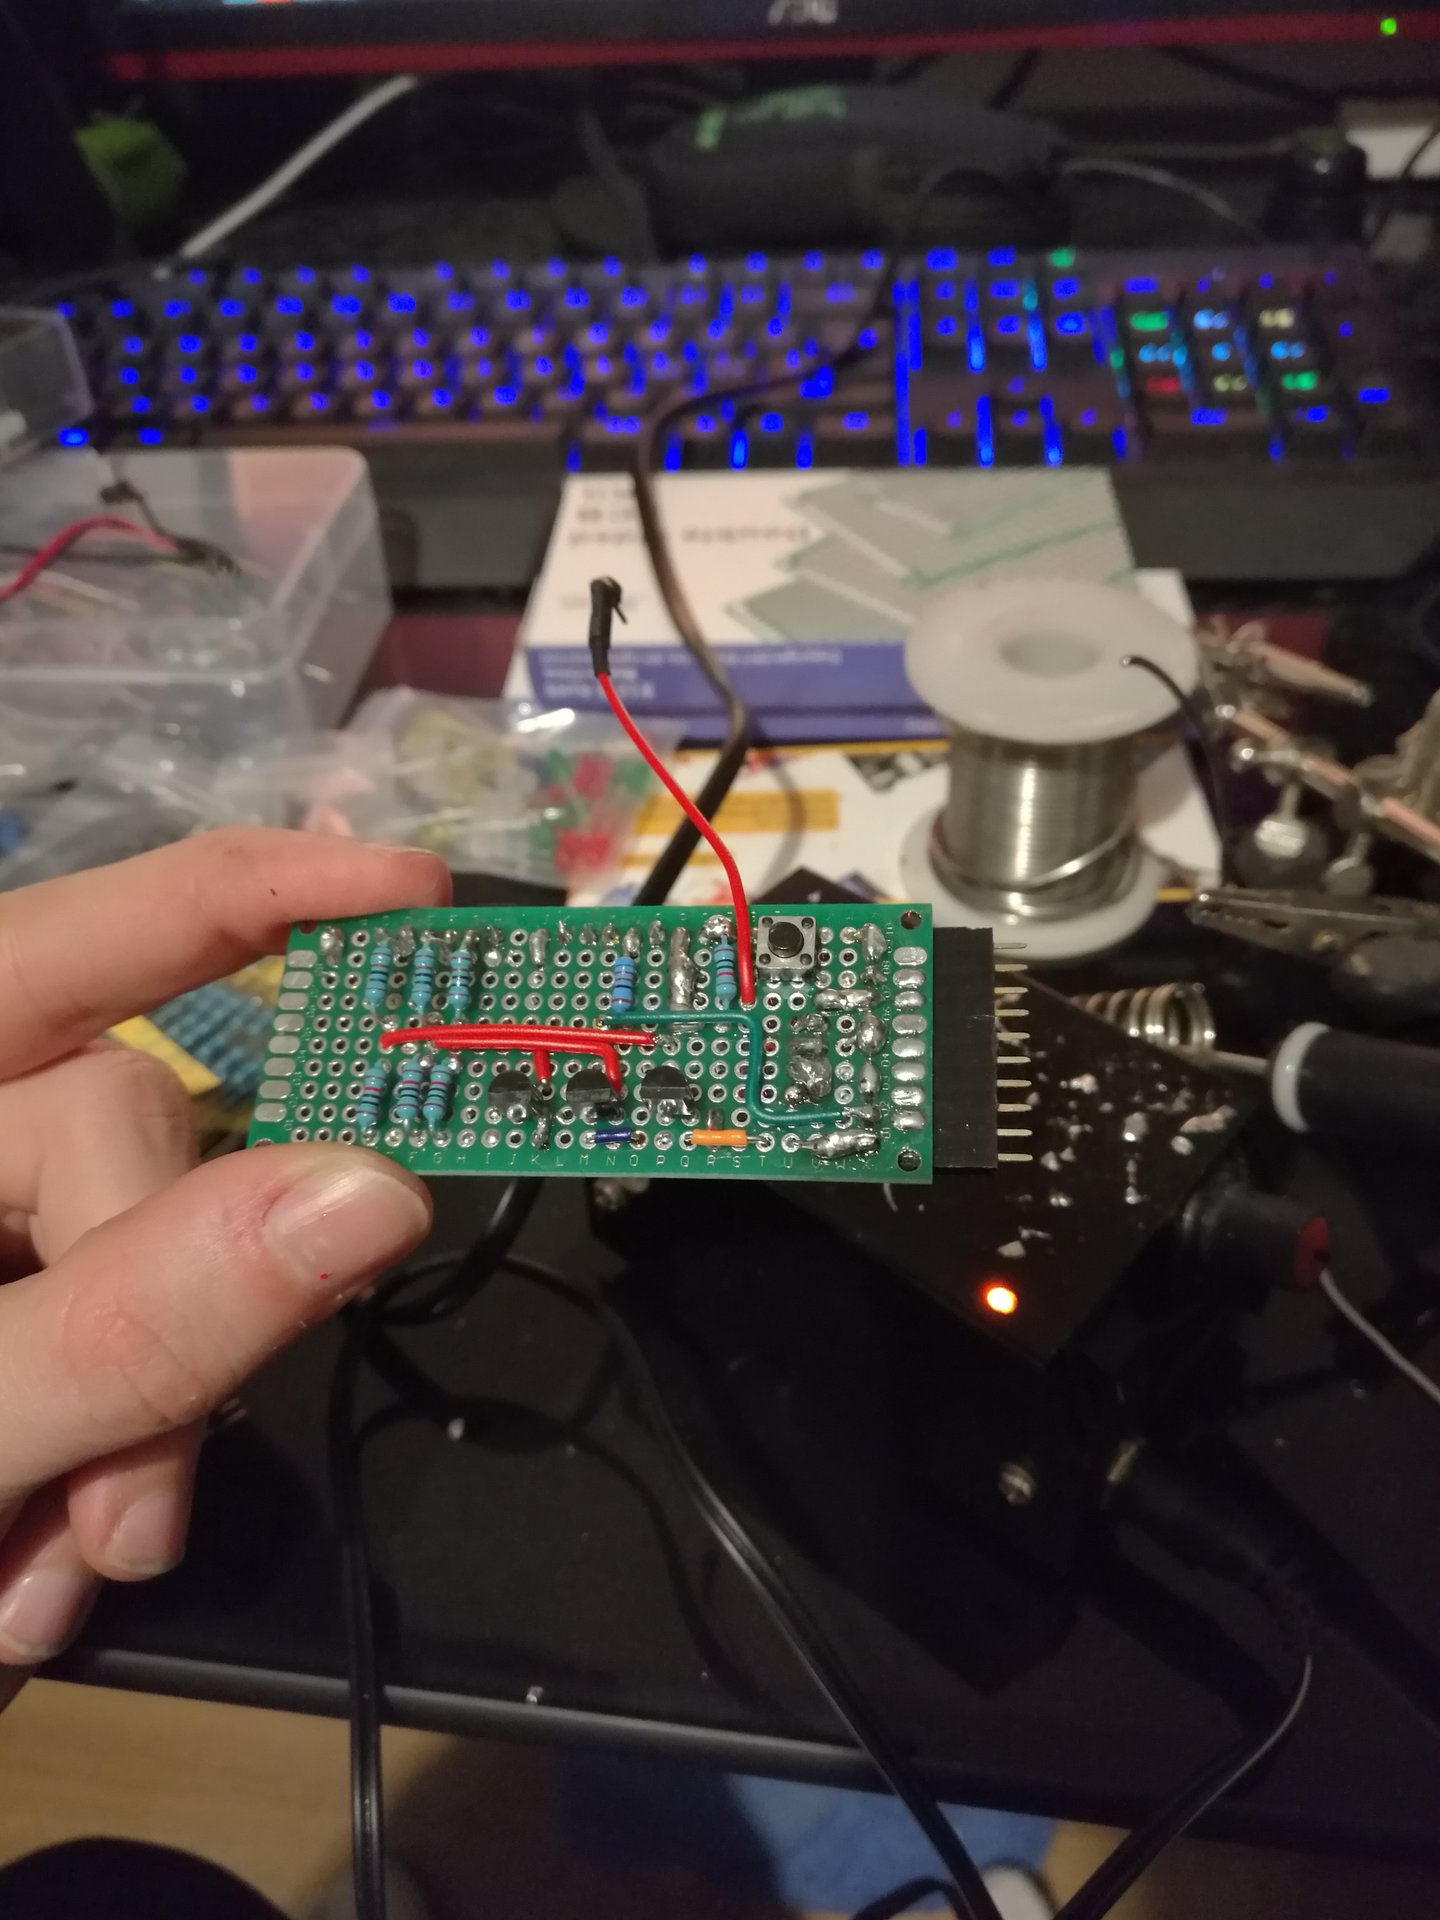
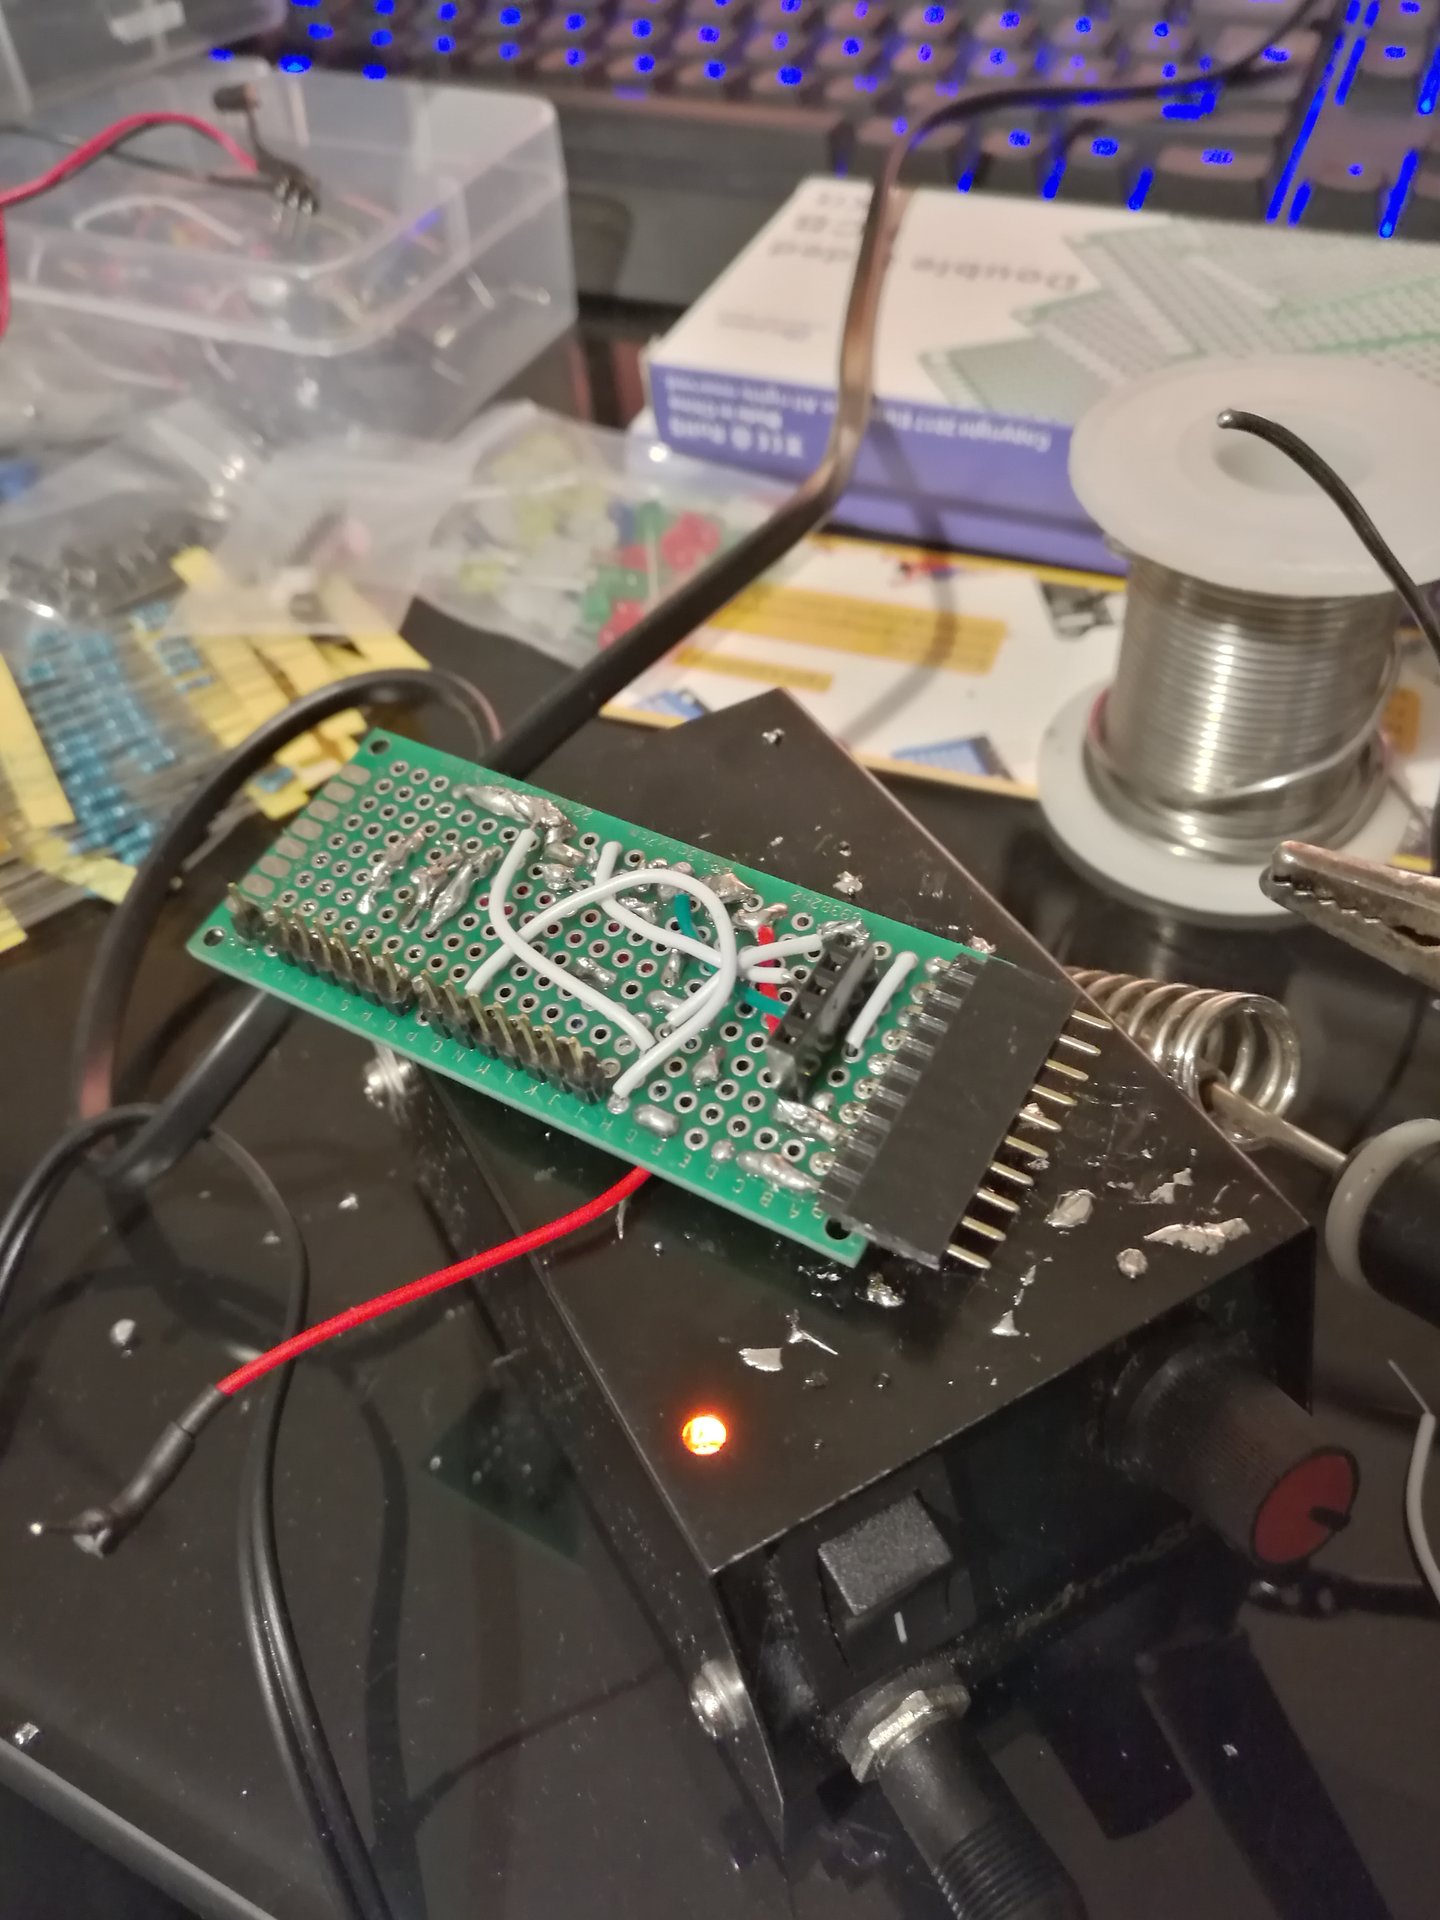
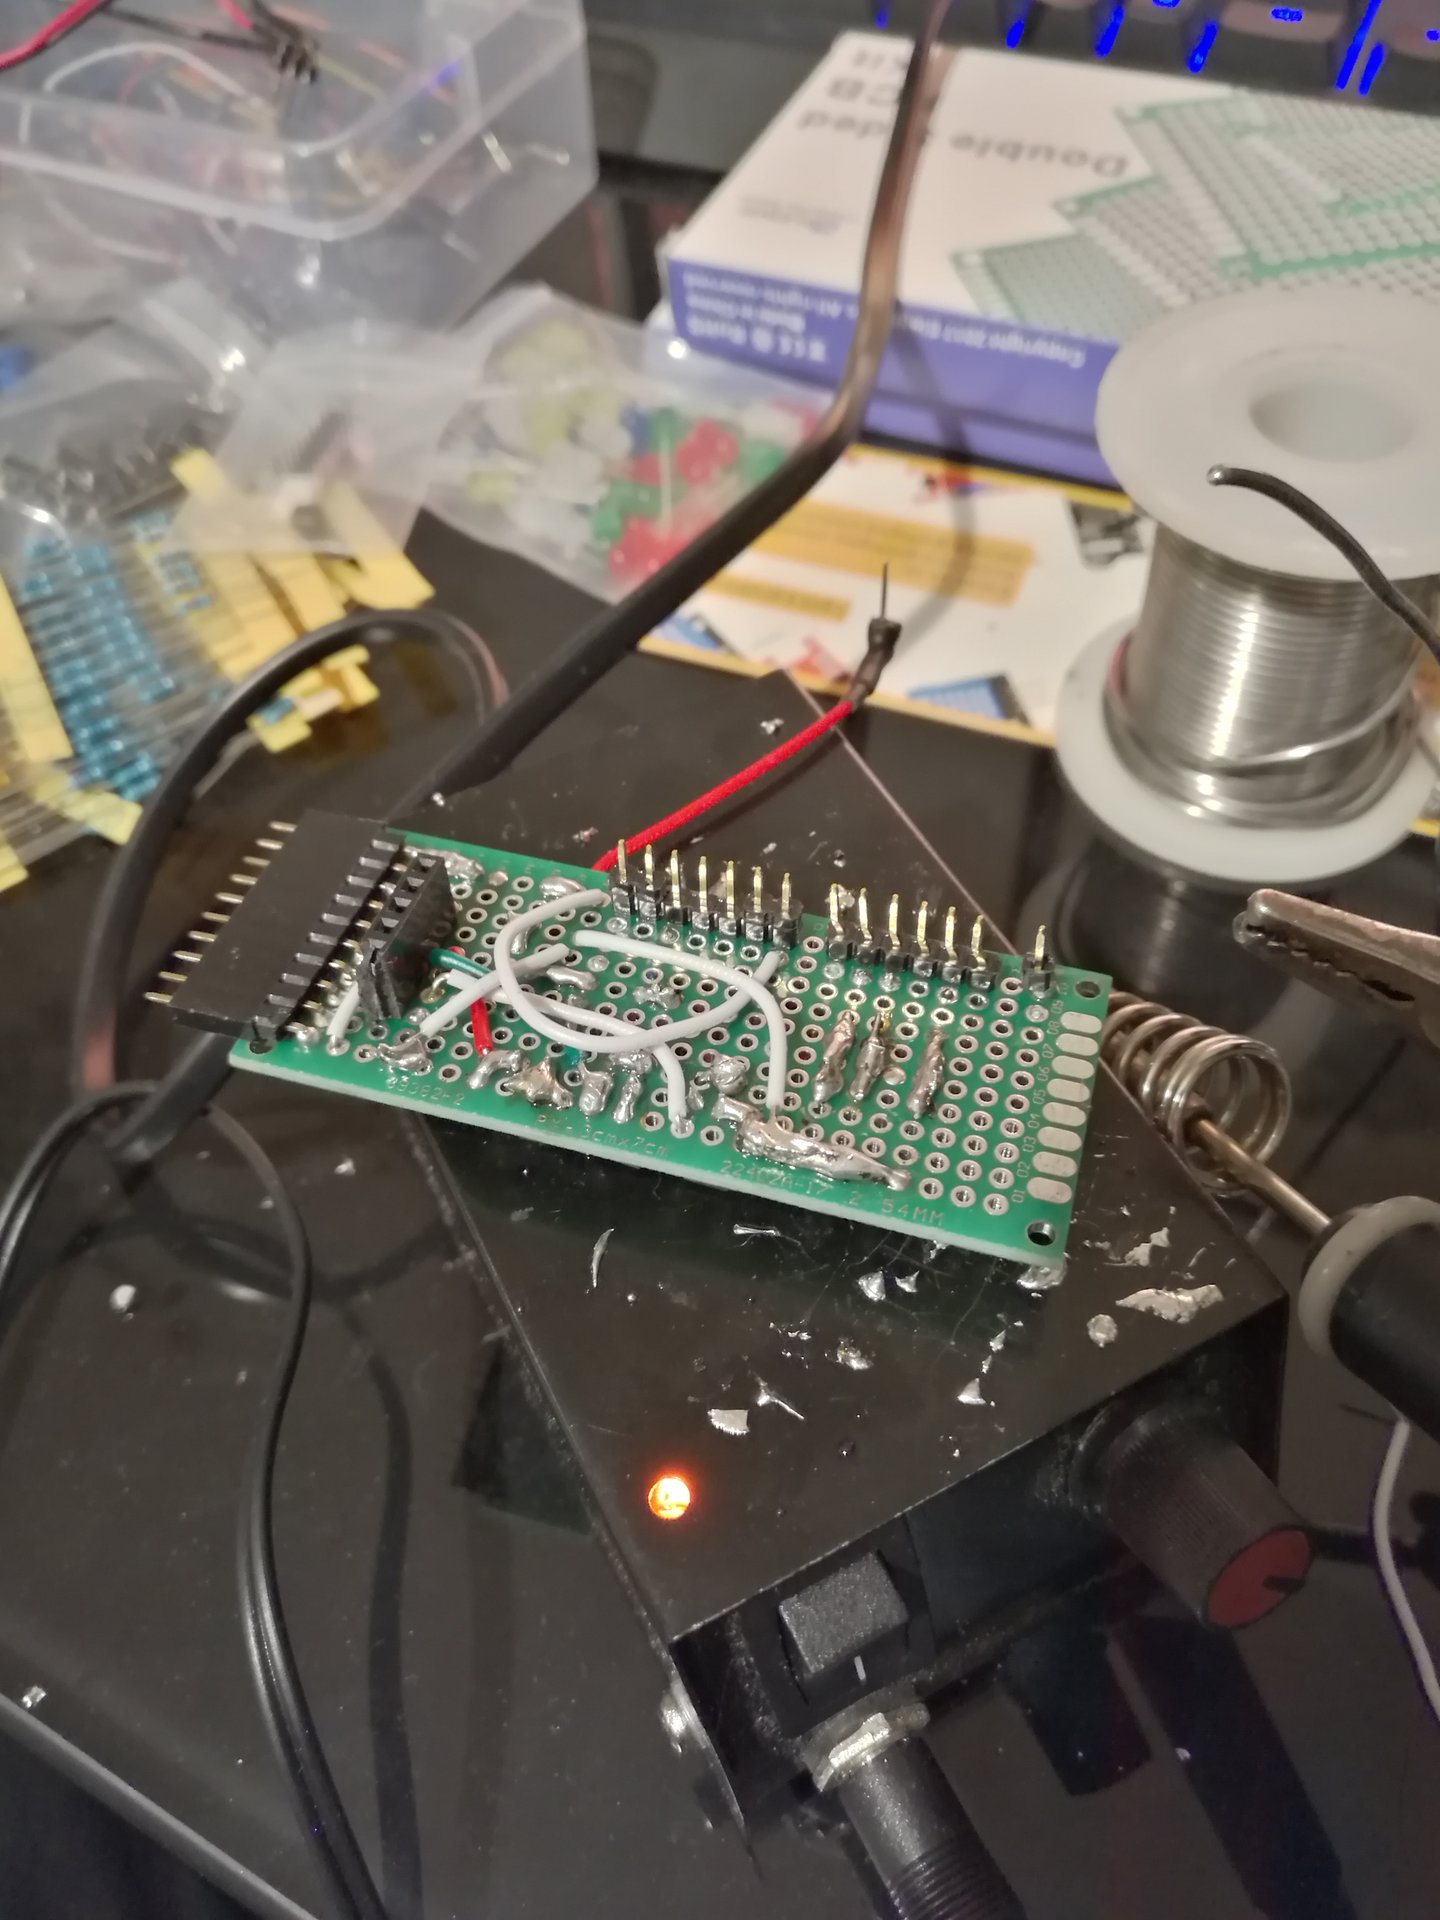
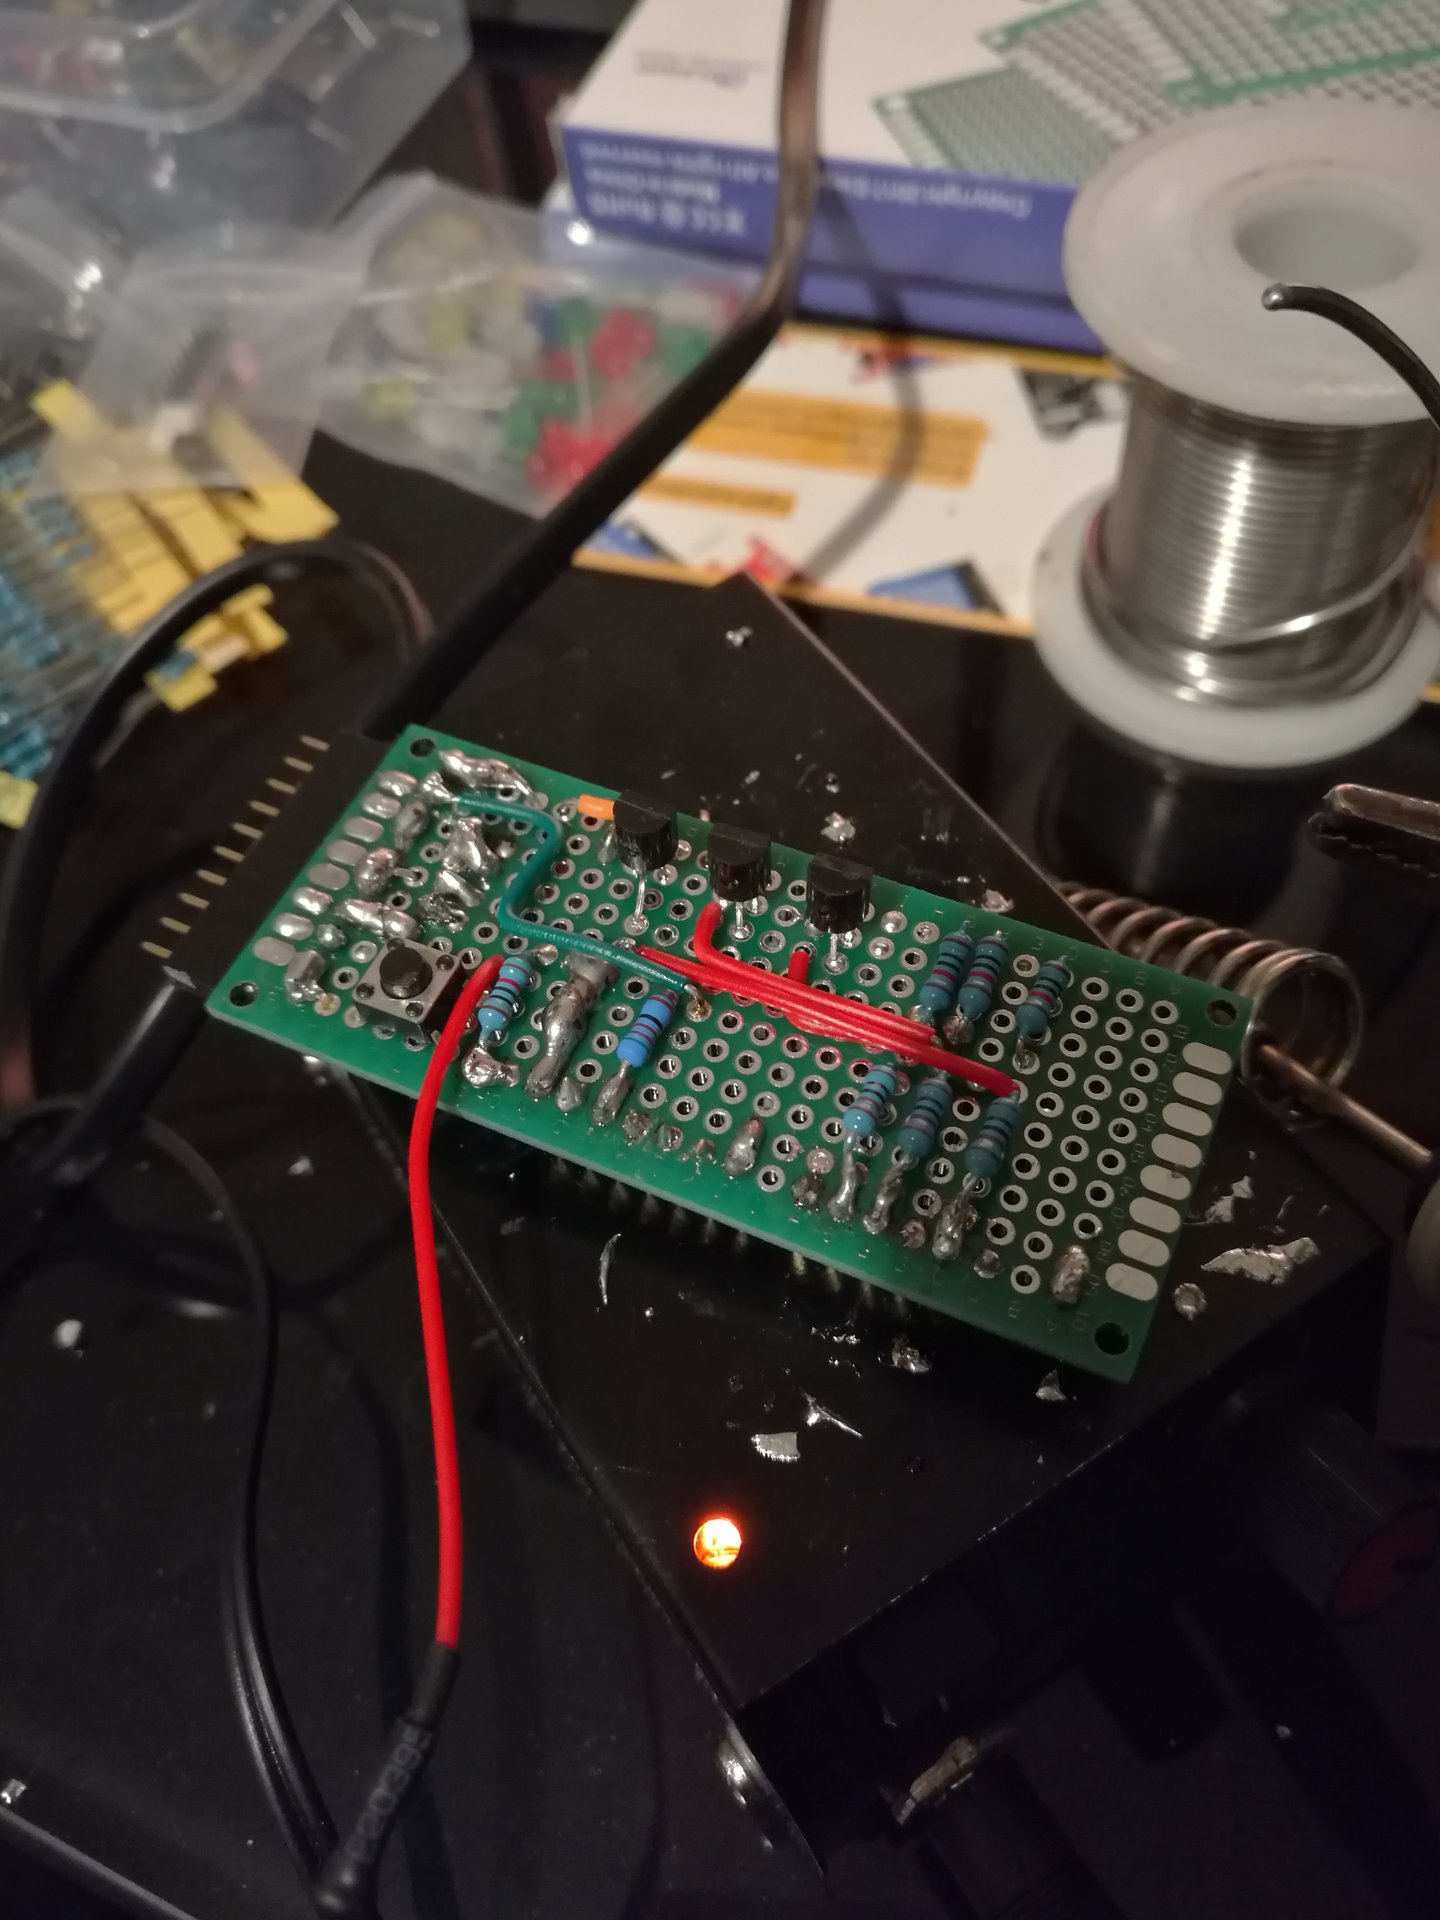
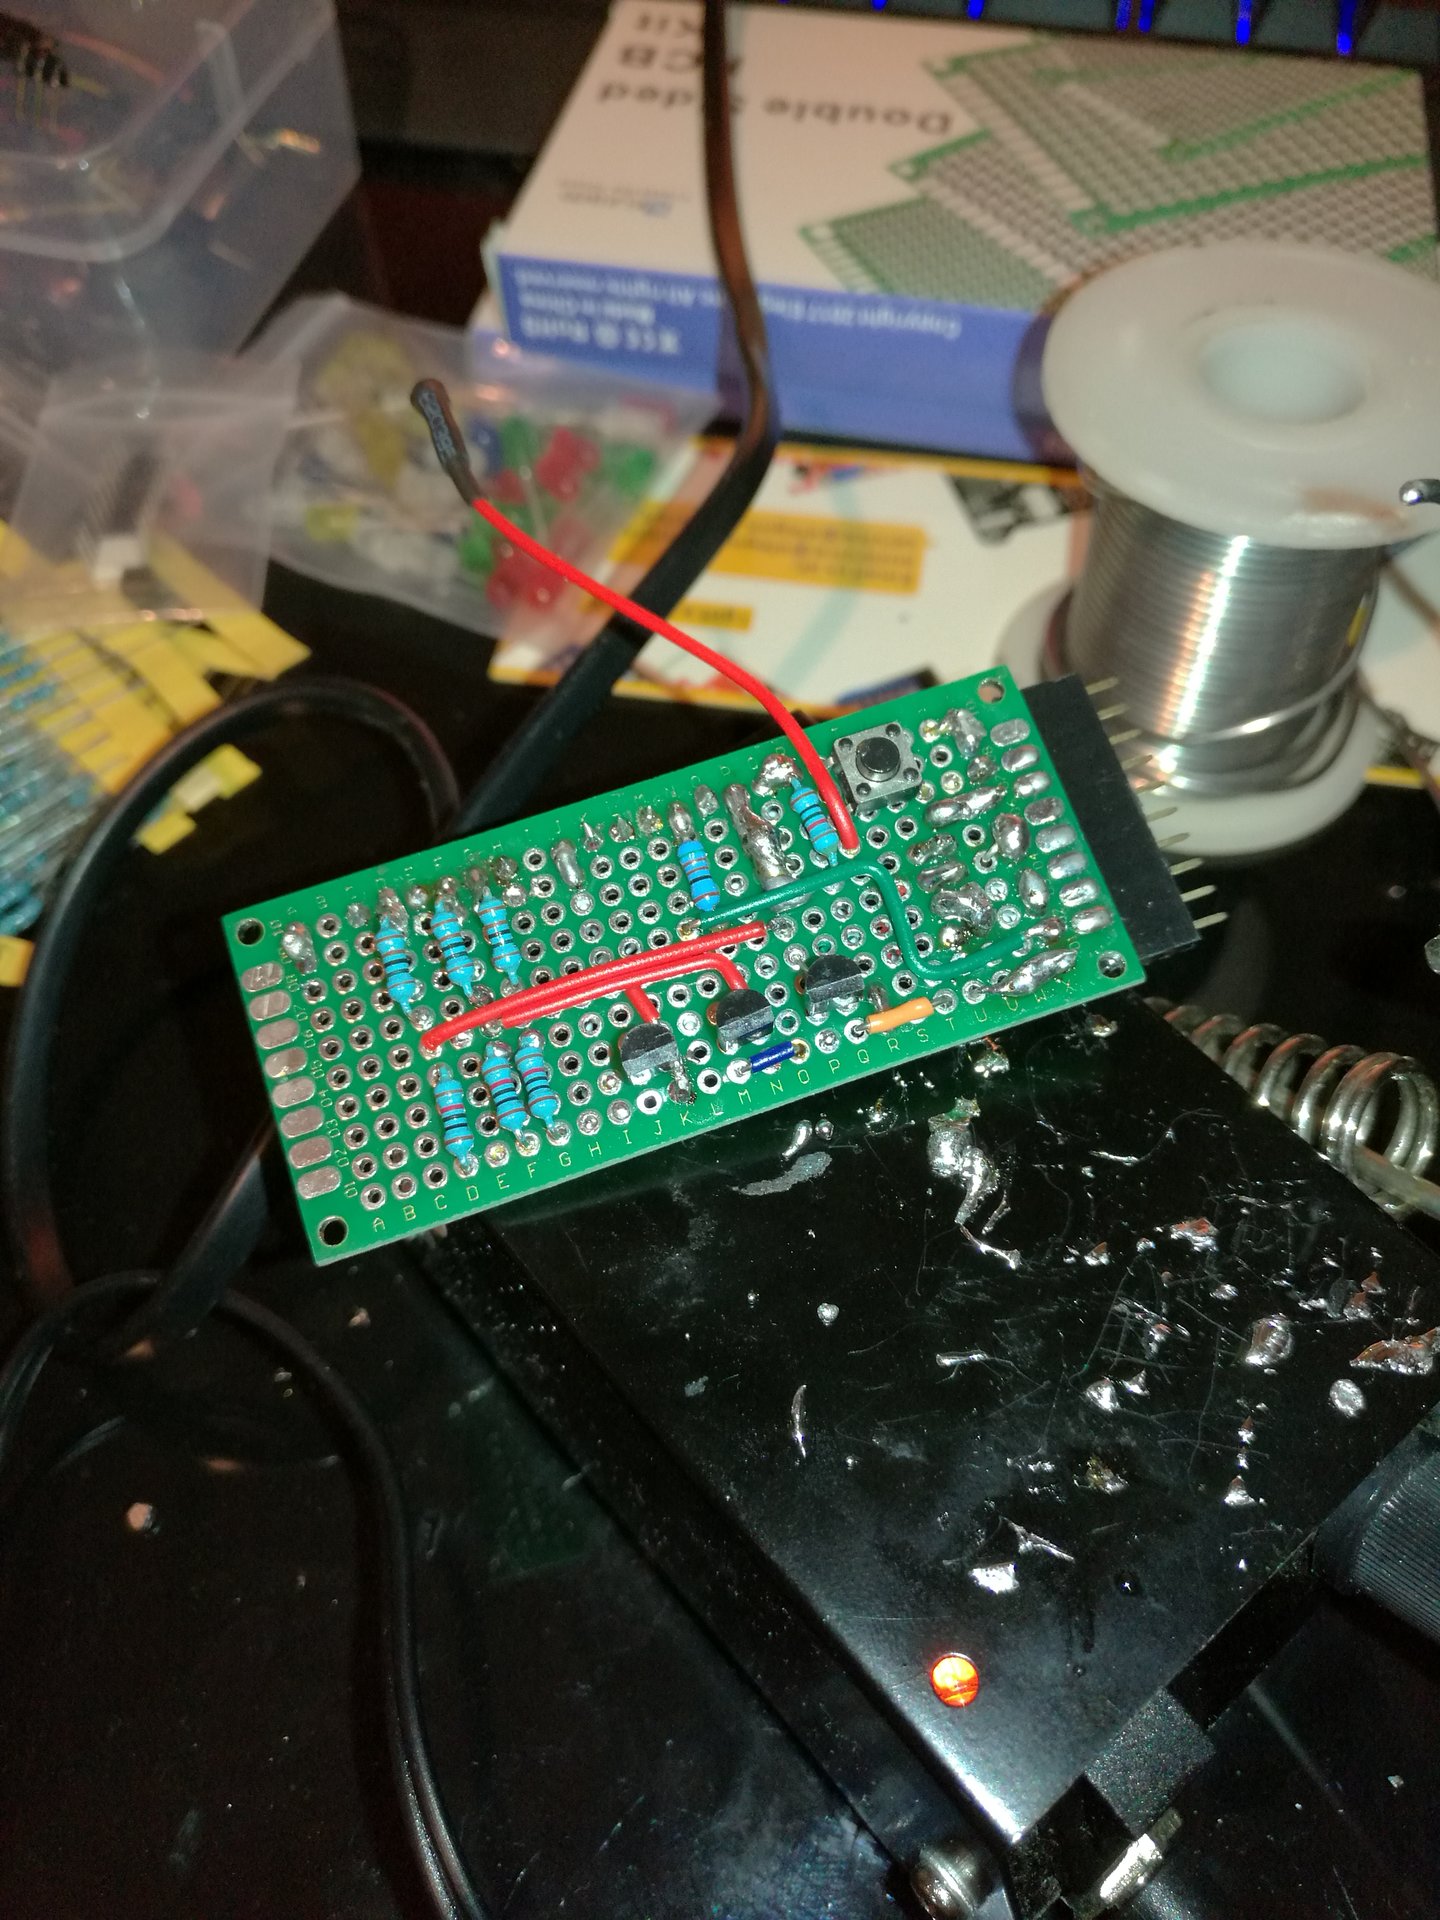
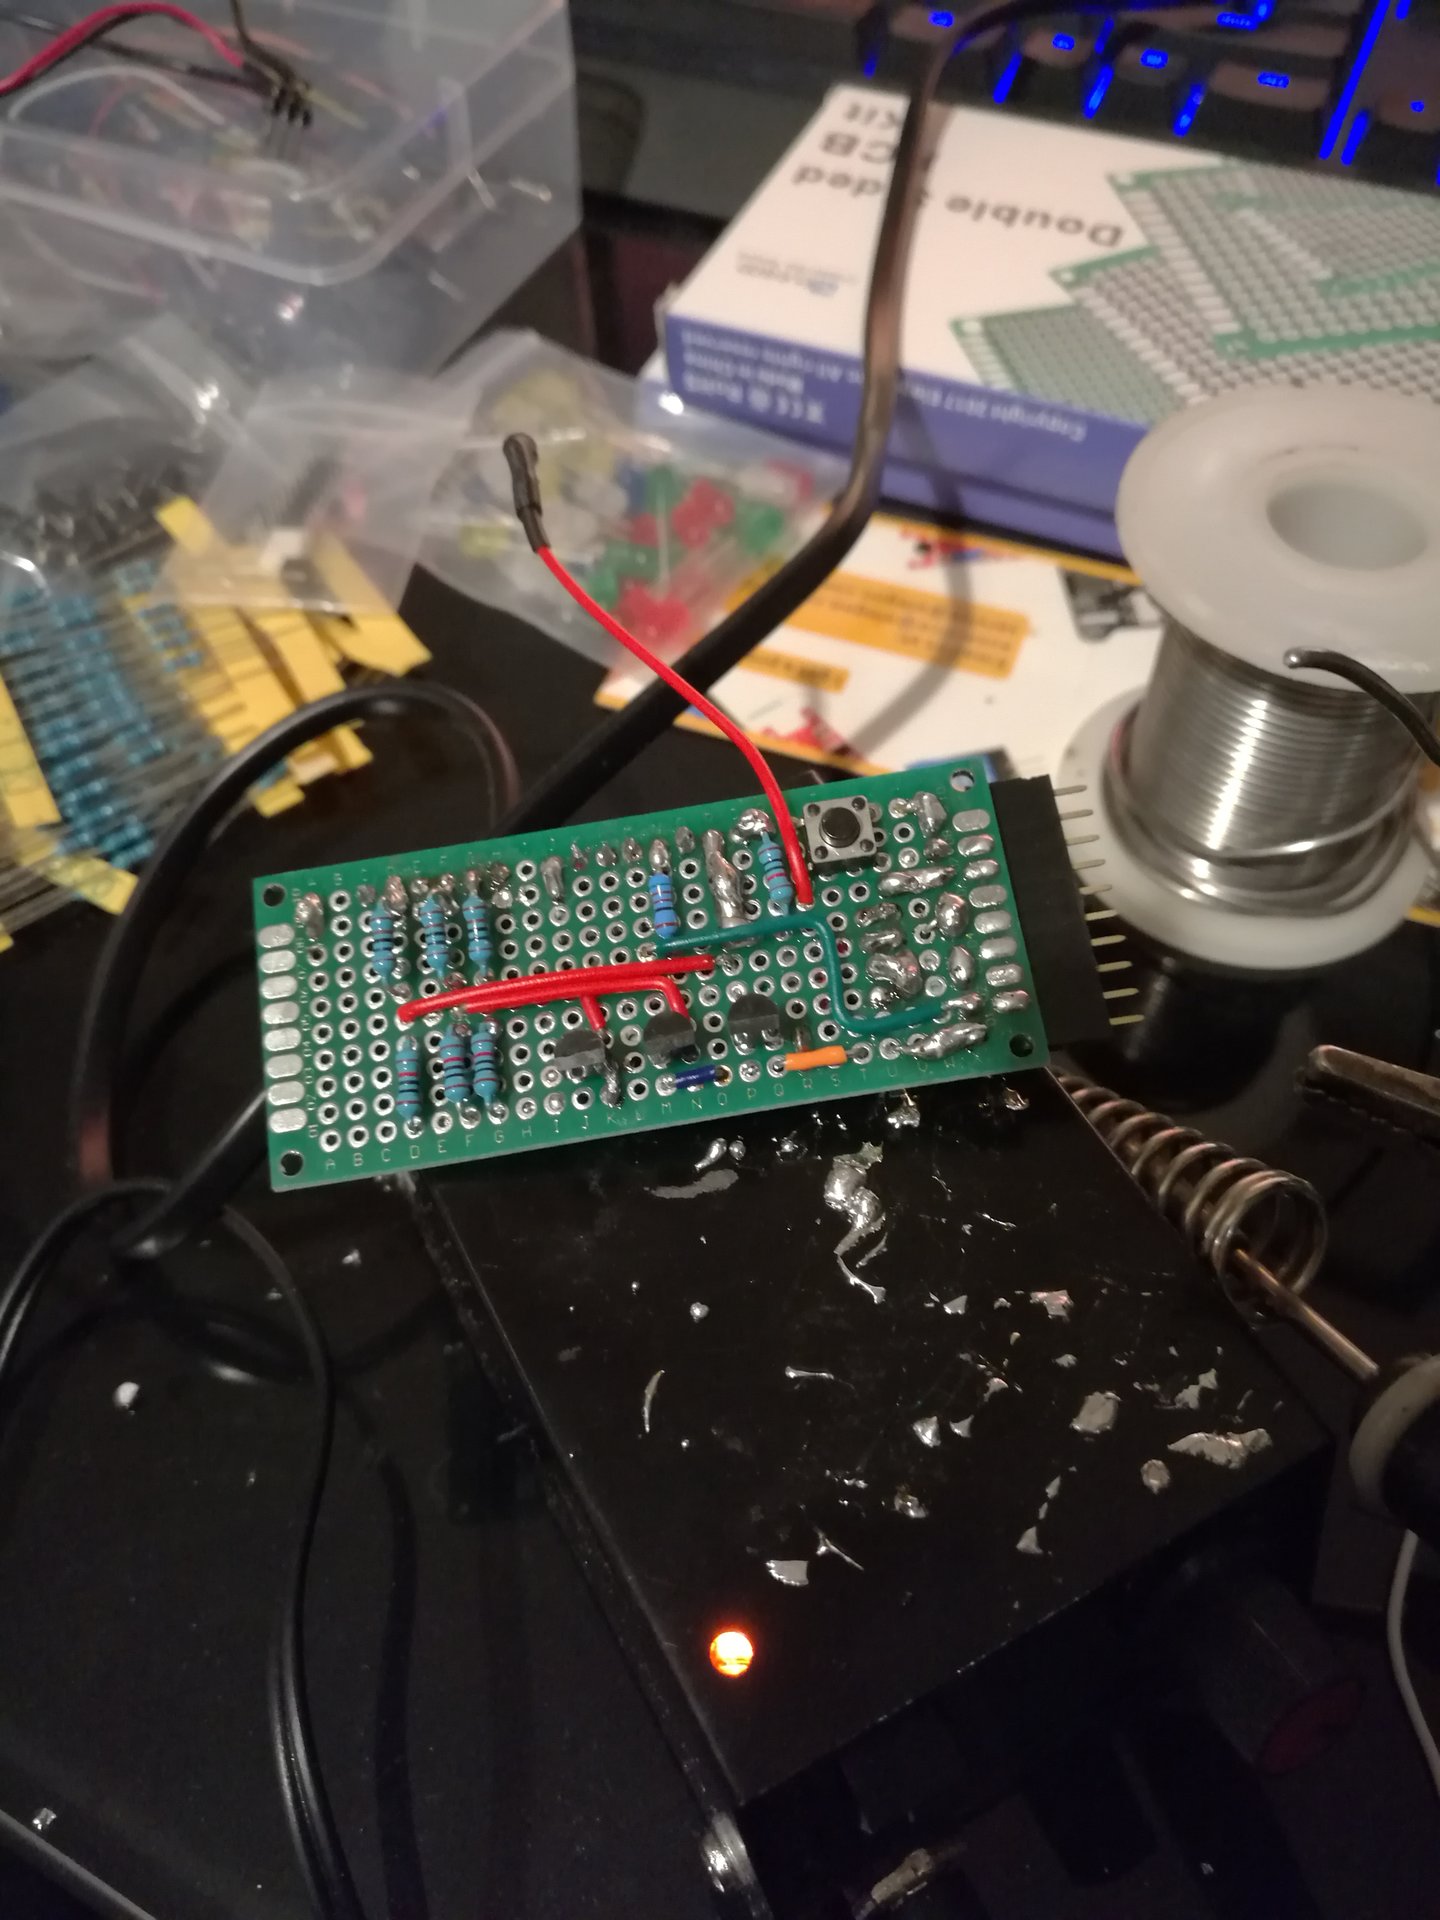

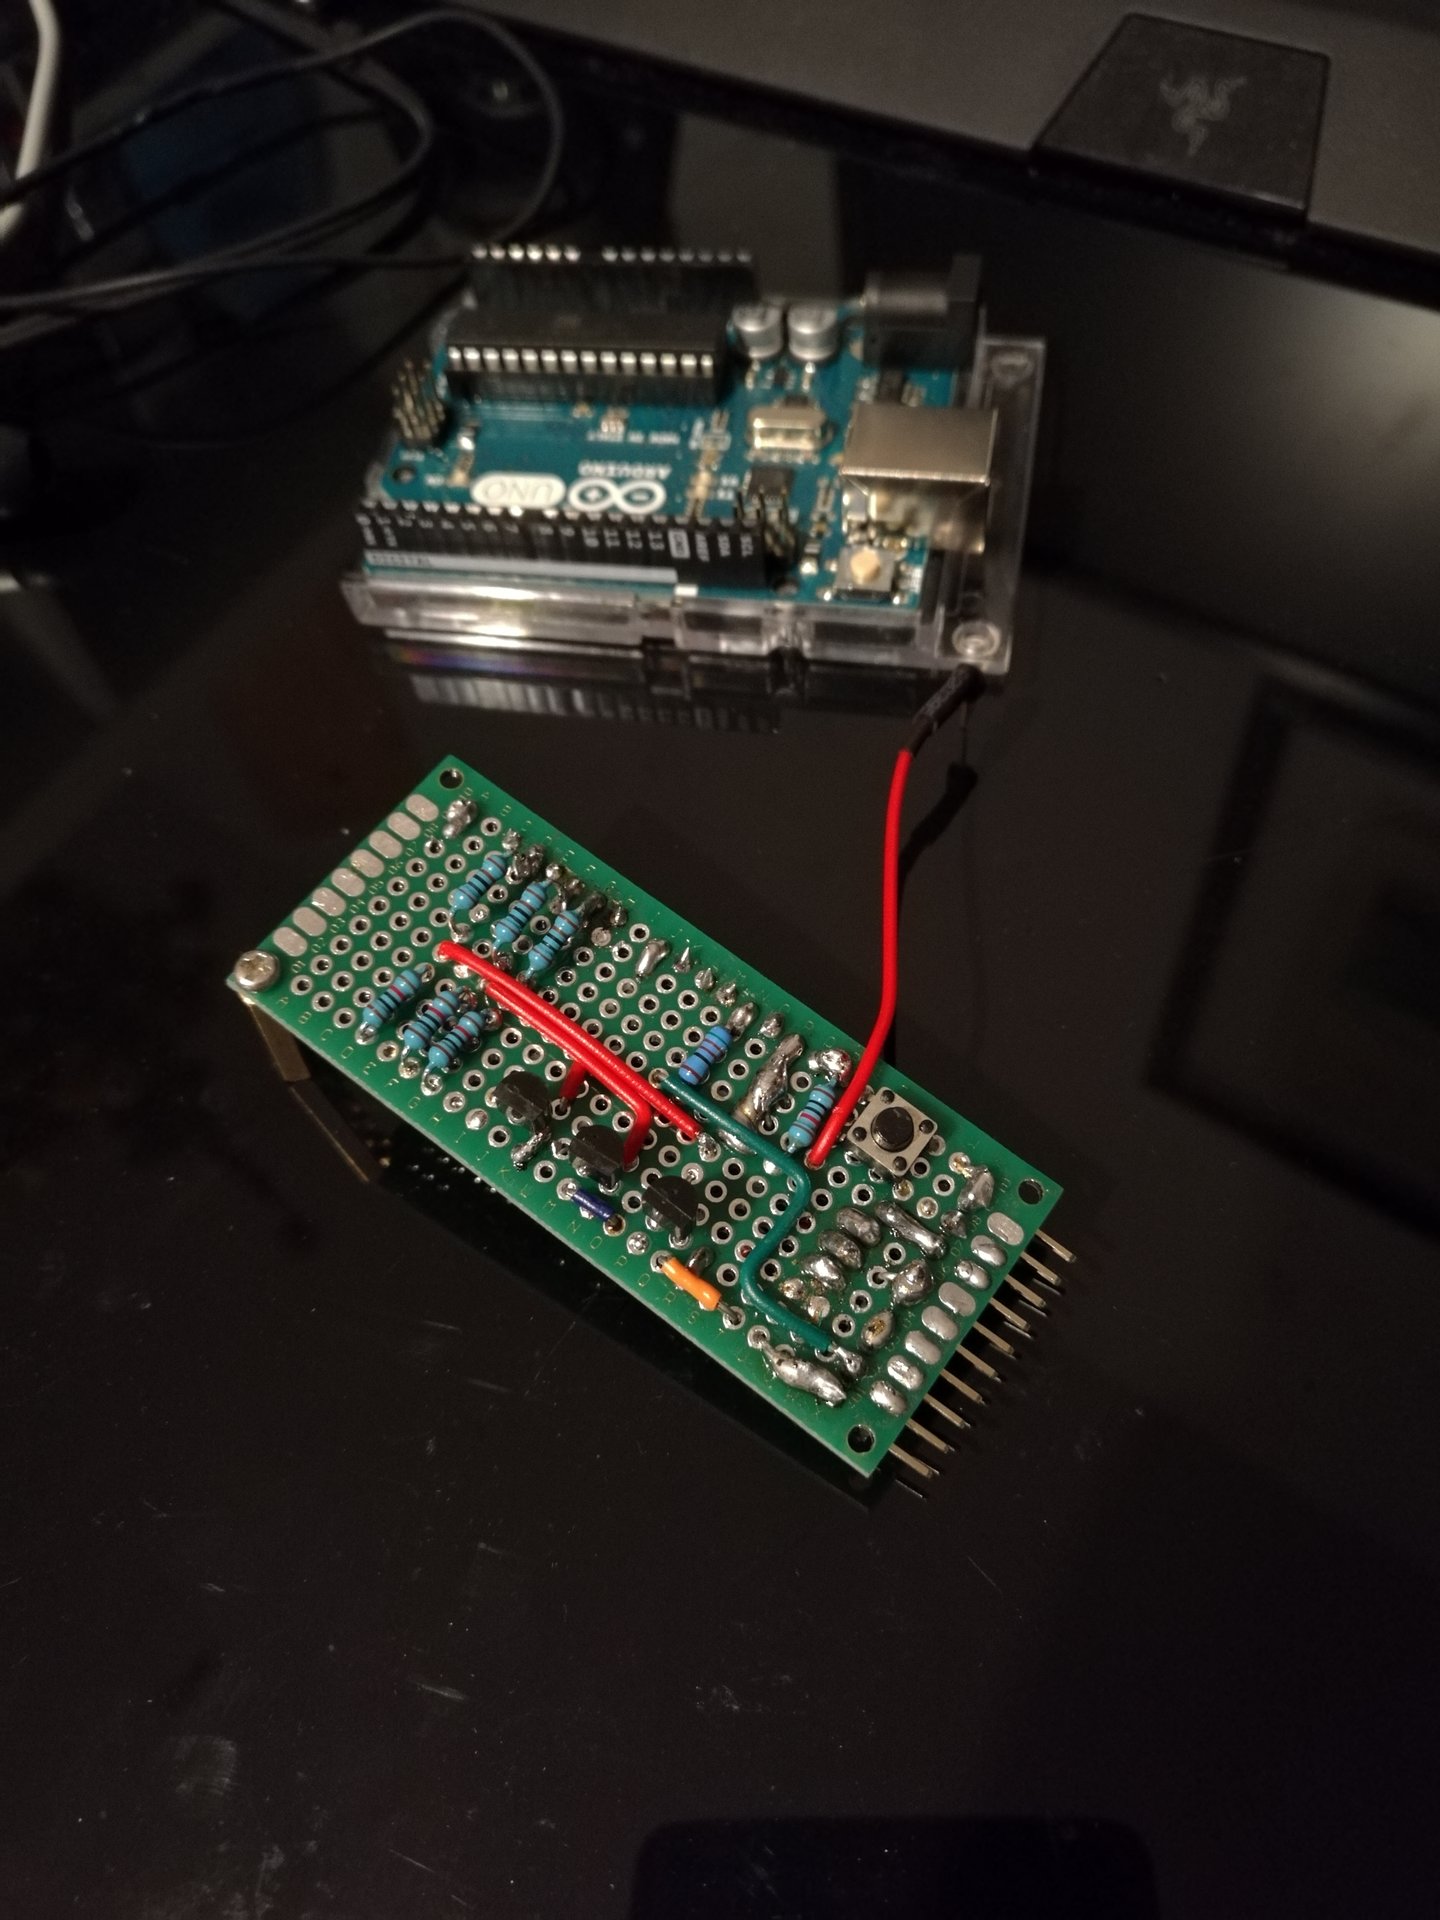


I had to bend the pins, because I discovered that the Arduino connector doesn’t follow the standard…