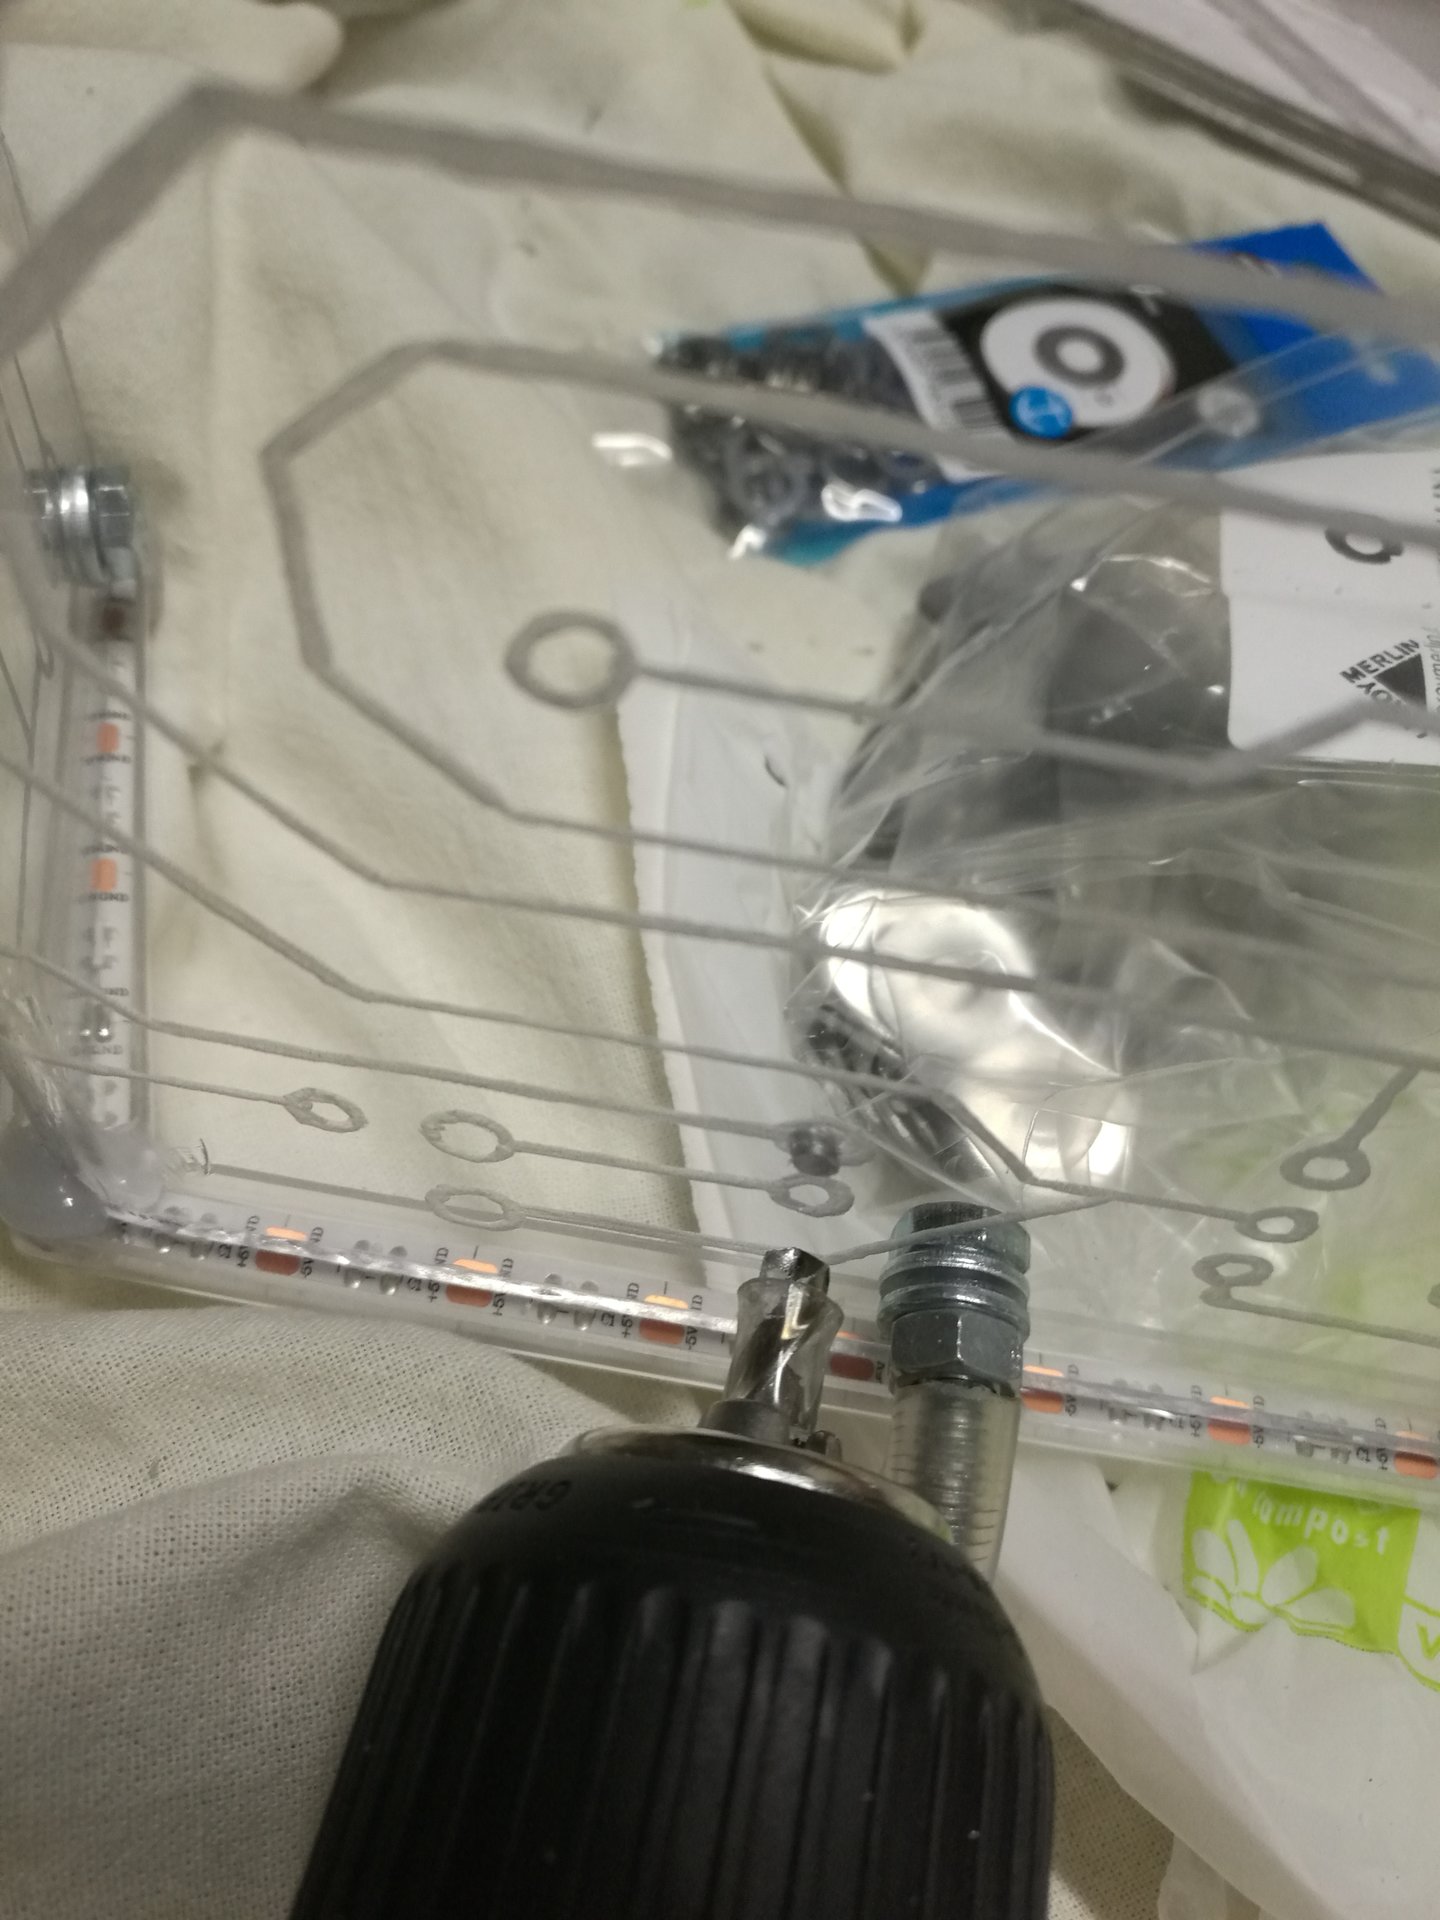
After working on the led strips I have mounted the motherboard standoffs on the motherboard structure:

Then I have started working on a new component: the Arduino encasing structure.
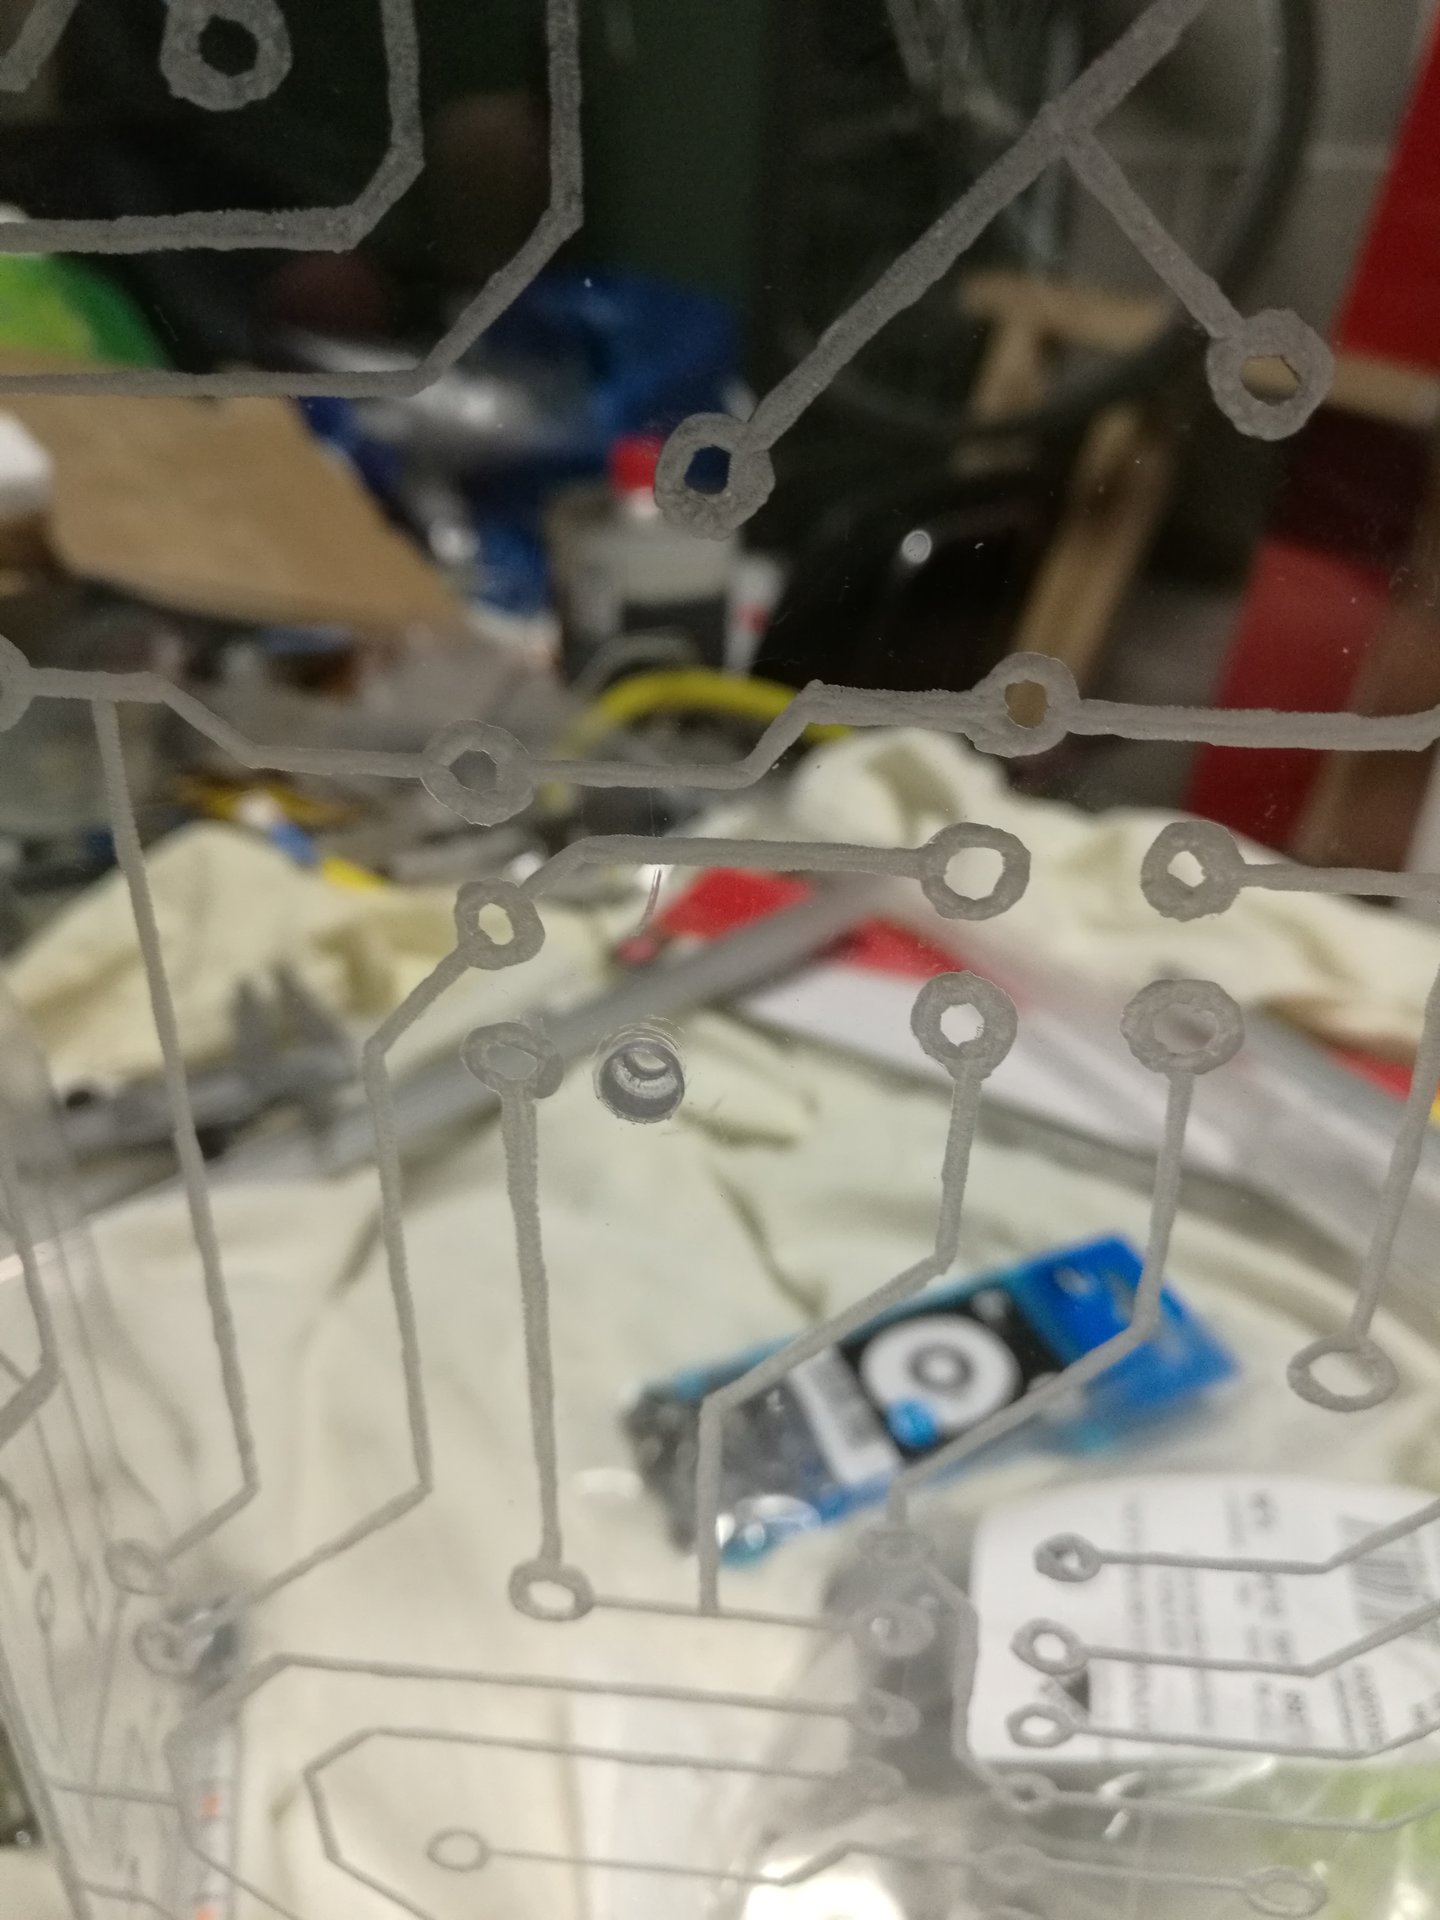
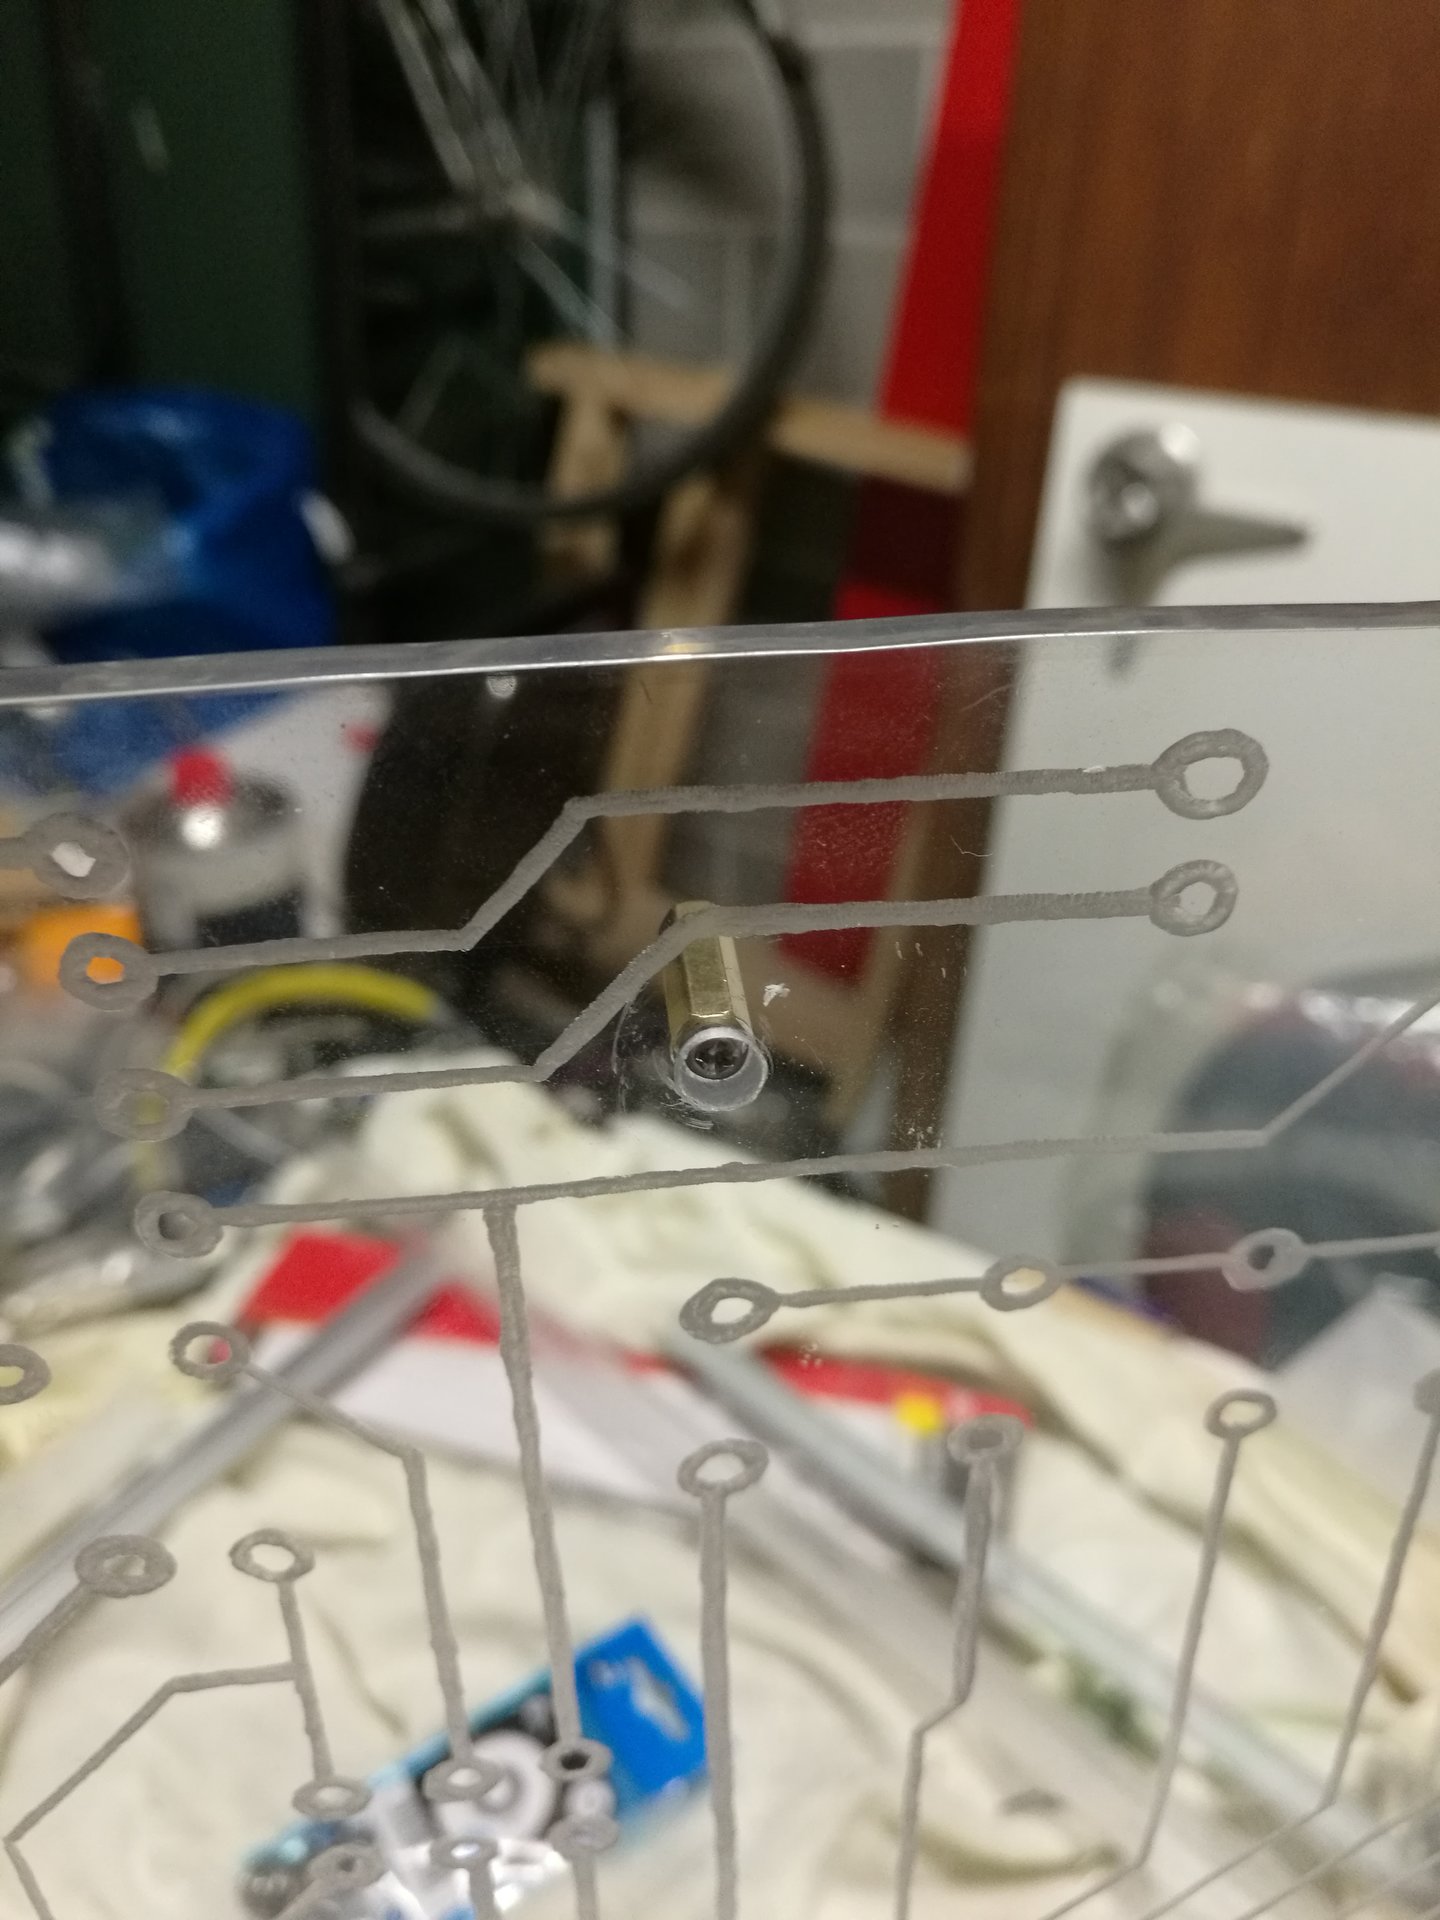
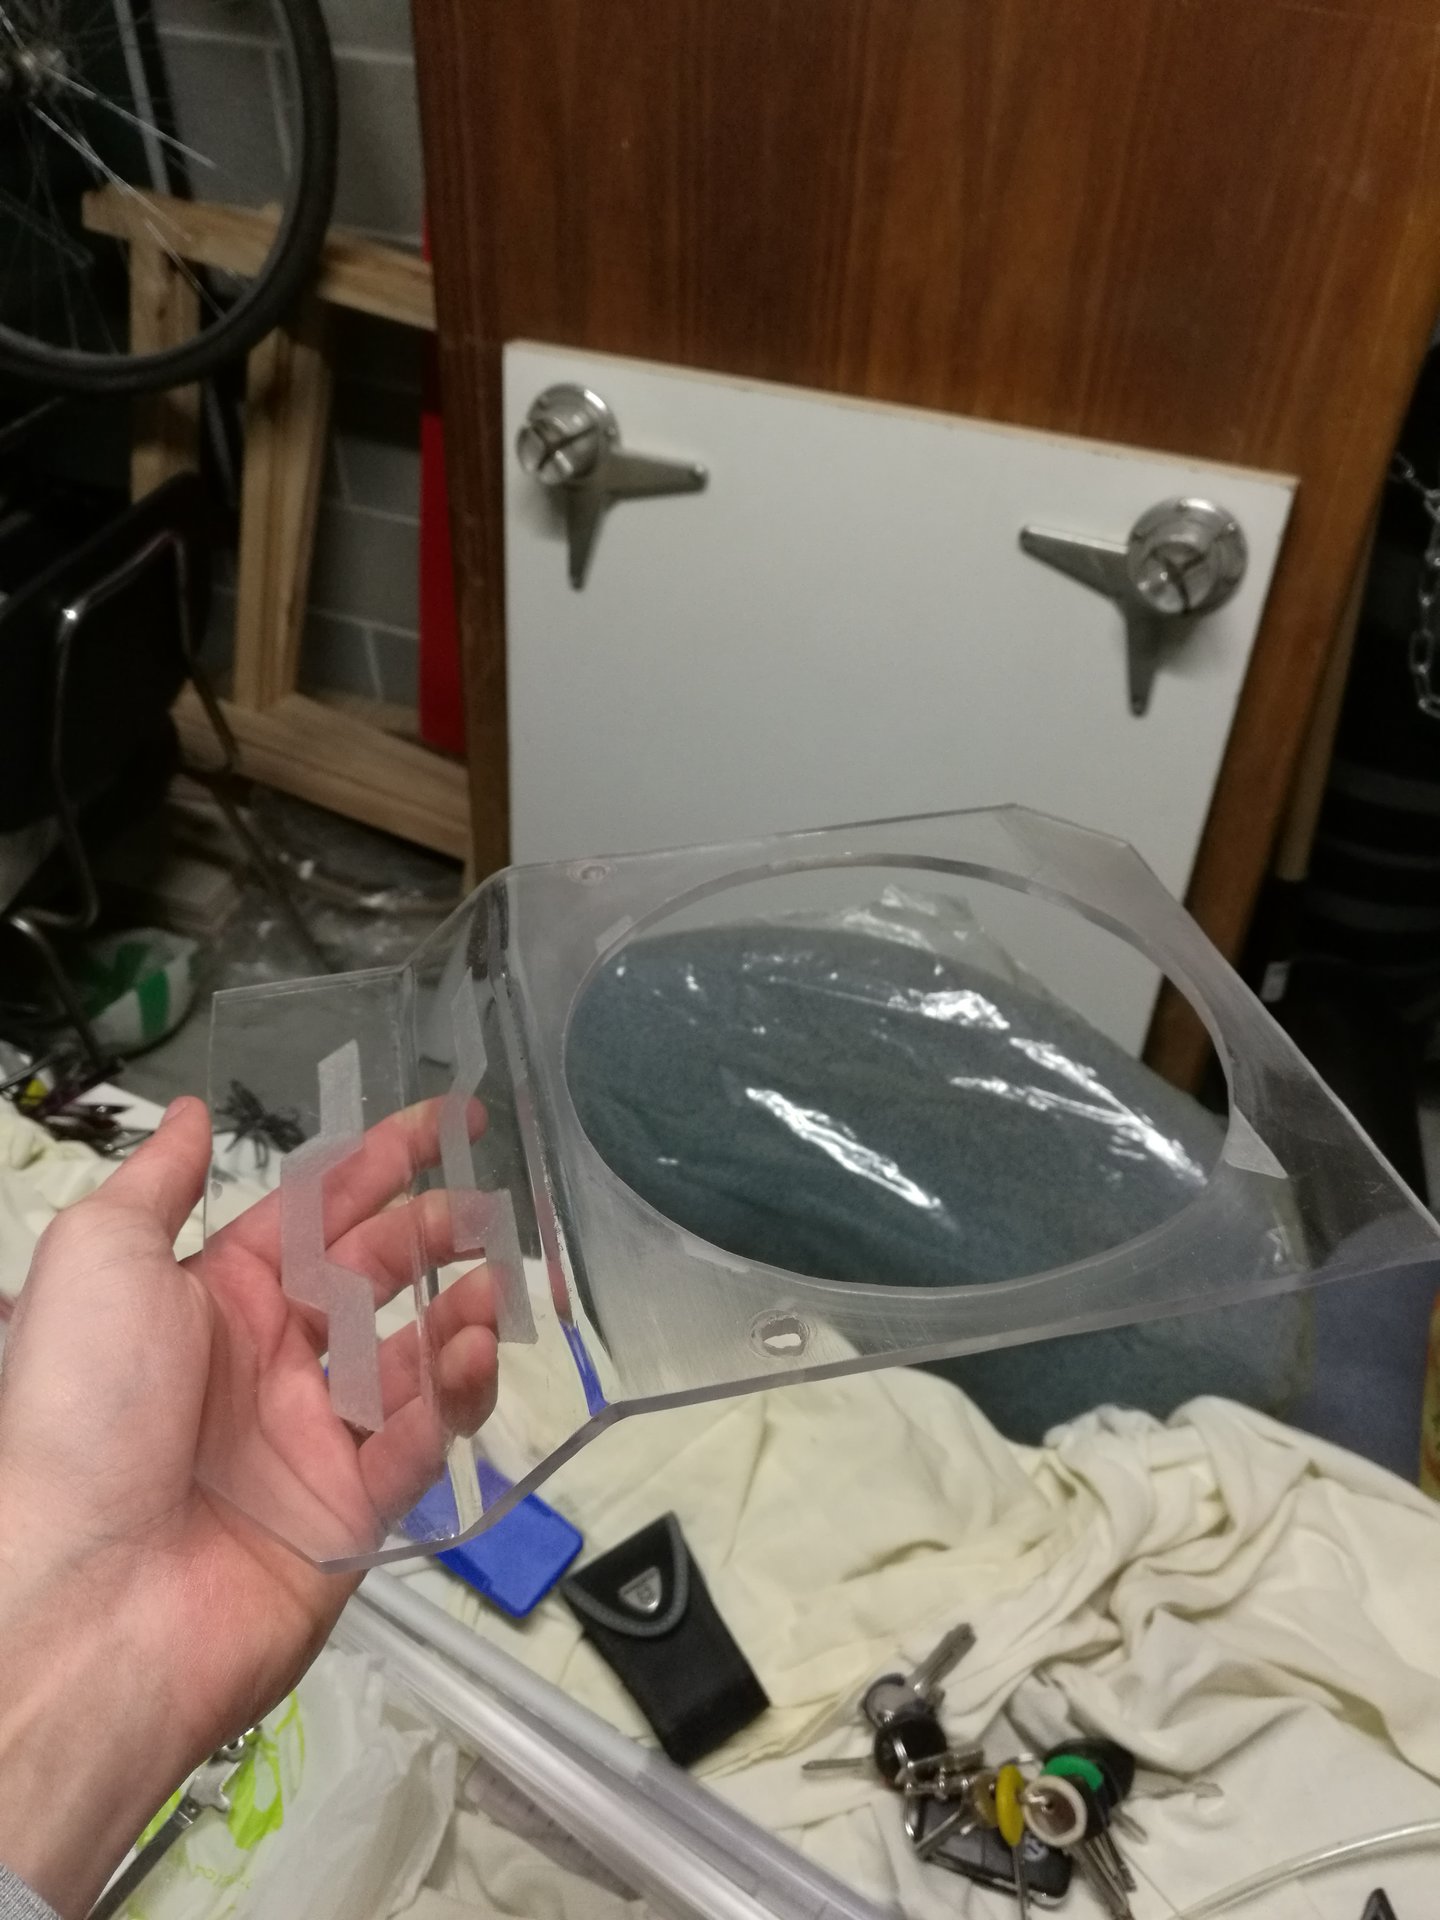
The base for this structure is the old “PSU cover/projector holder”, that I modified radically because I changed the projector, and the new projector has a different size and position in the case, so the old PSU cover is useless now.
My idea is to make a big round hole at the center of the PSU cover (bigger than the previous hole for the projector), in which I will put the Arduino…
…and the edge of the hole must be lighted by a led strip, to make a “light ring”! 😀
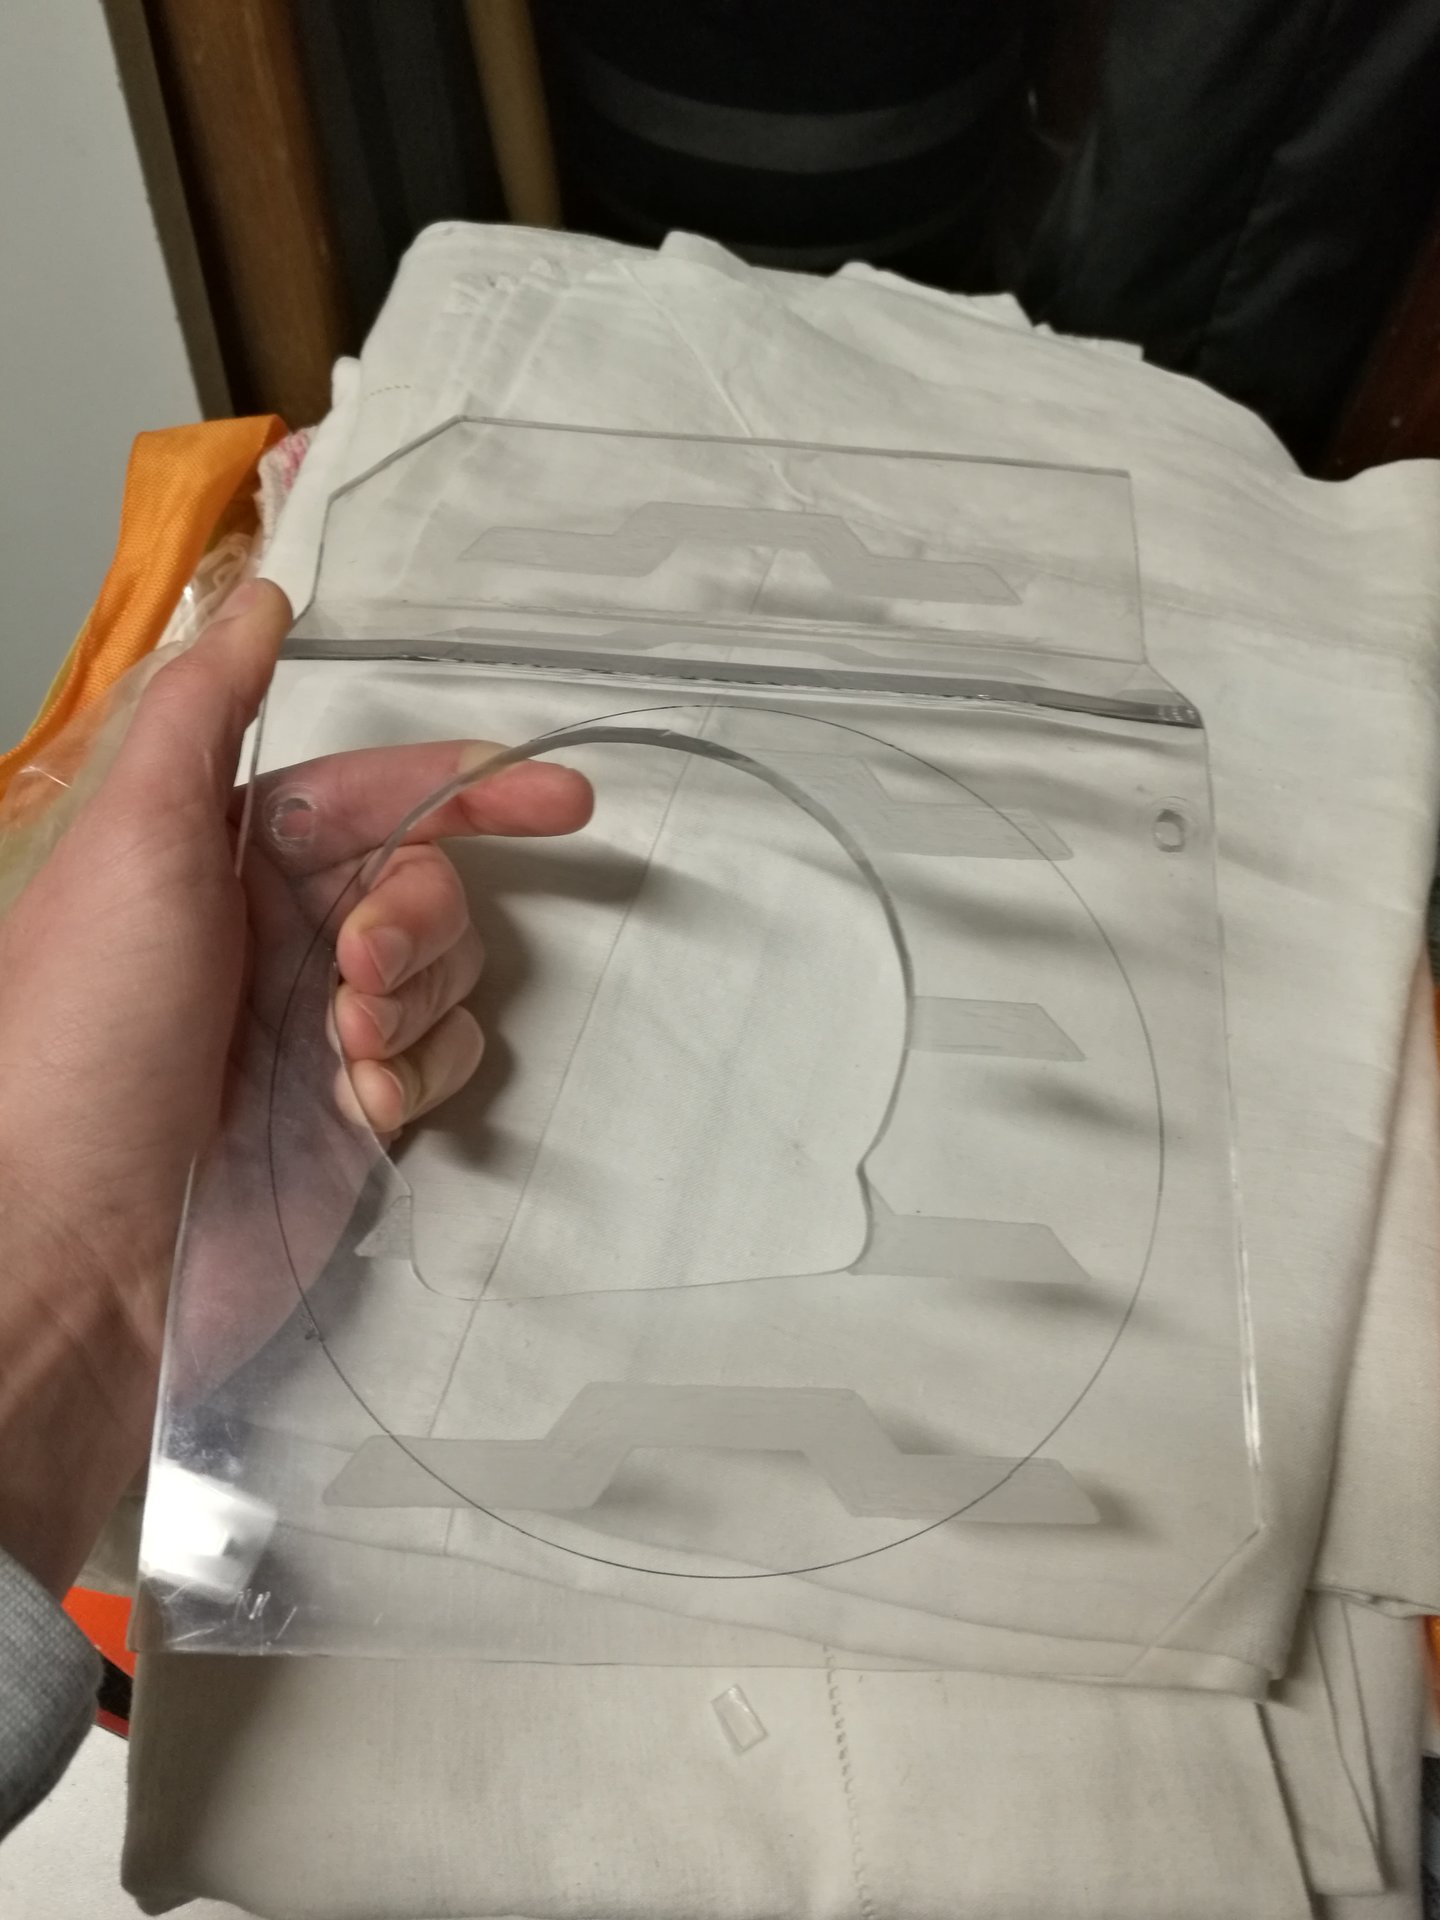
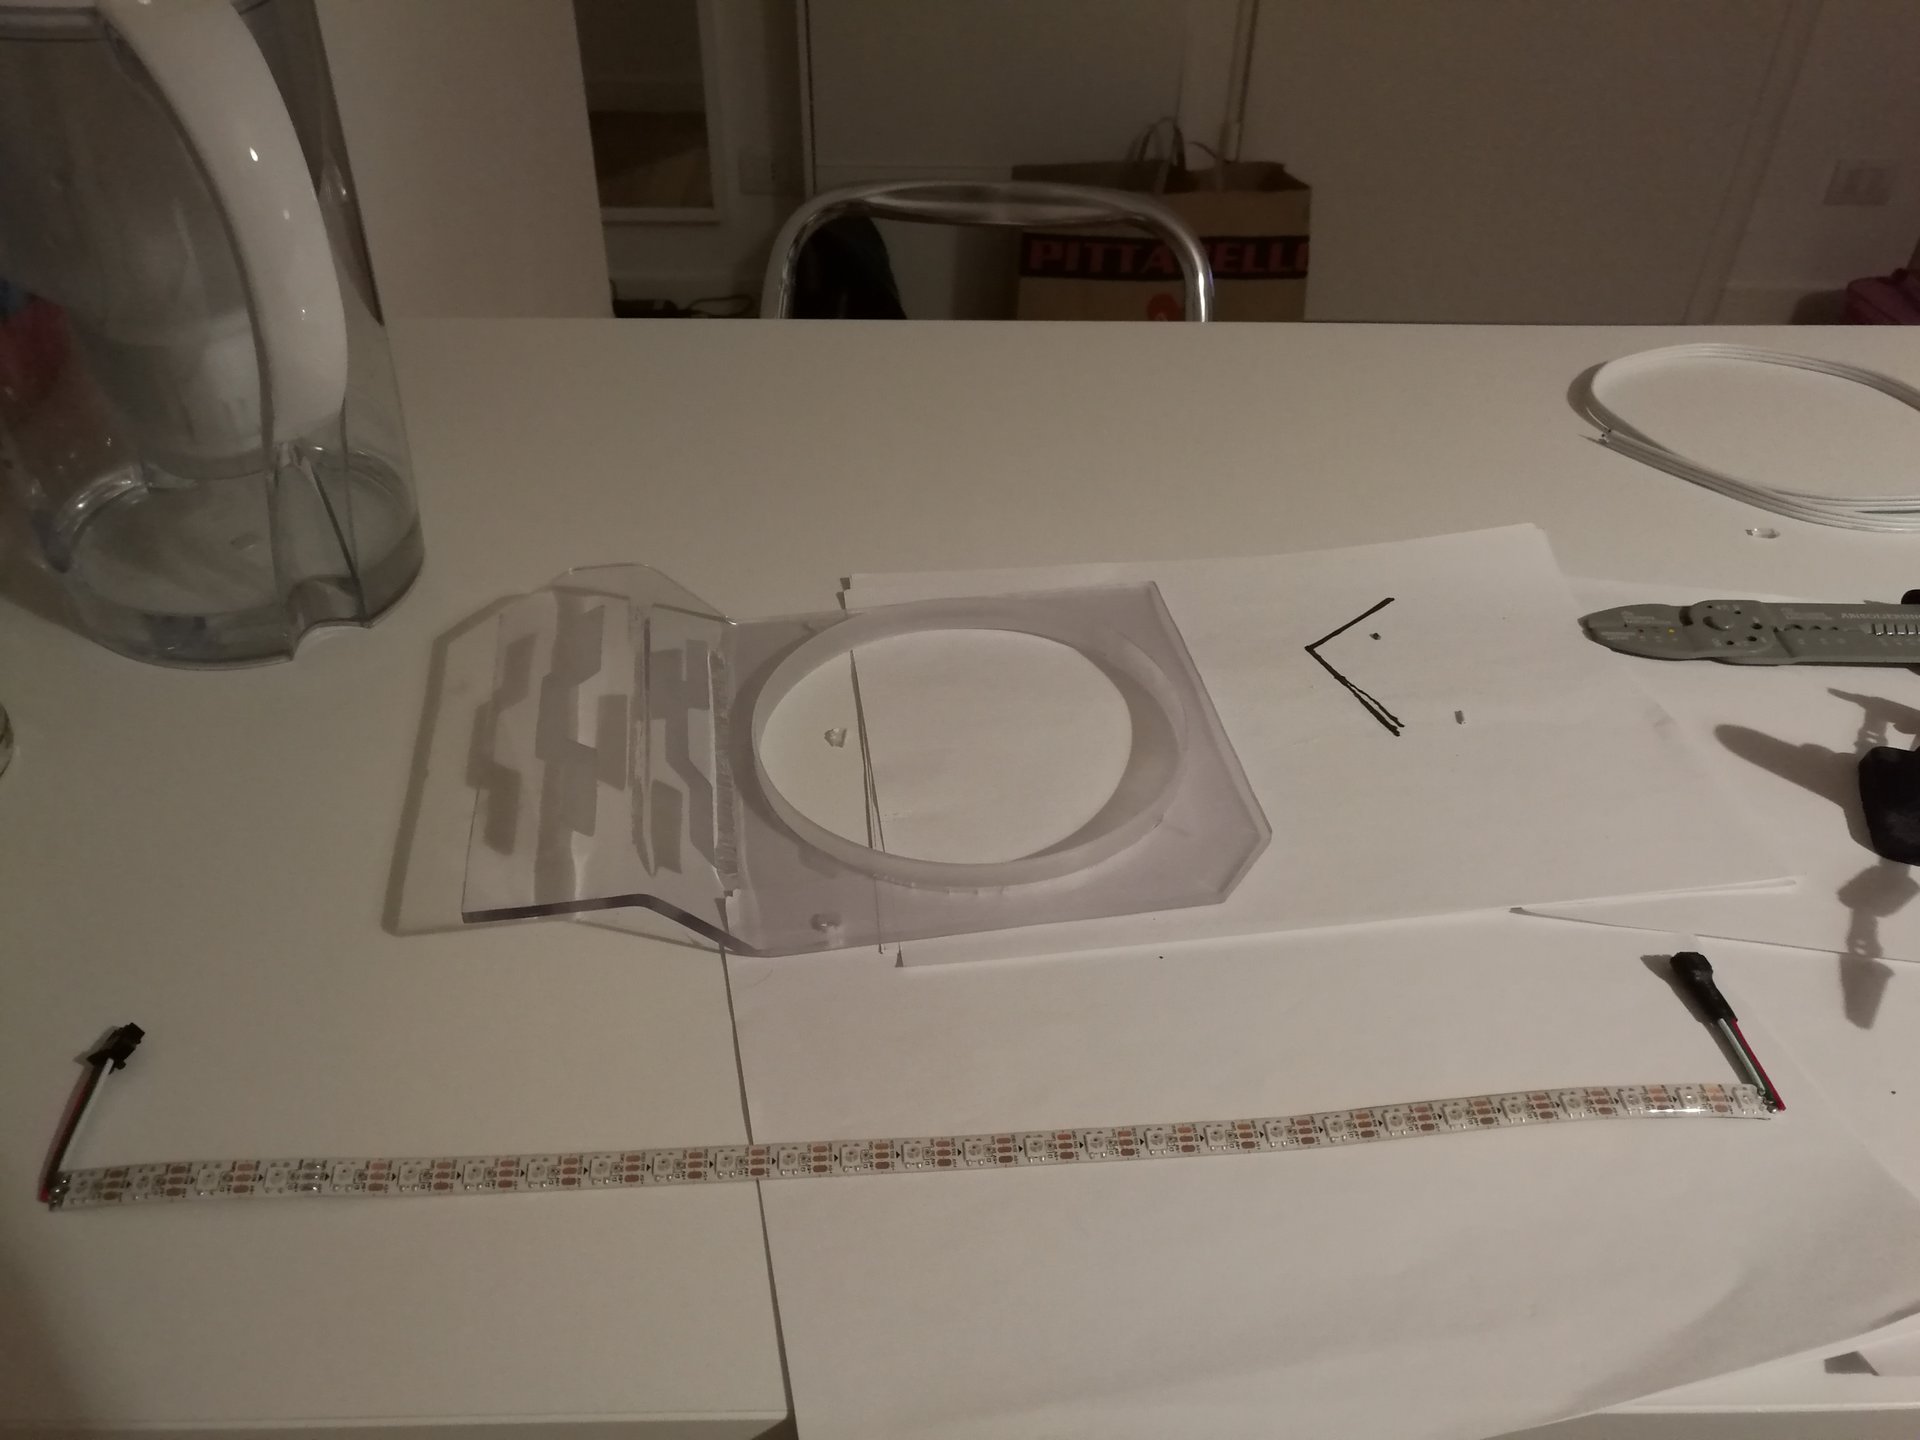
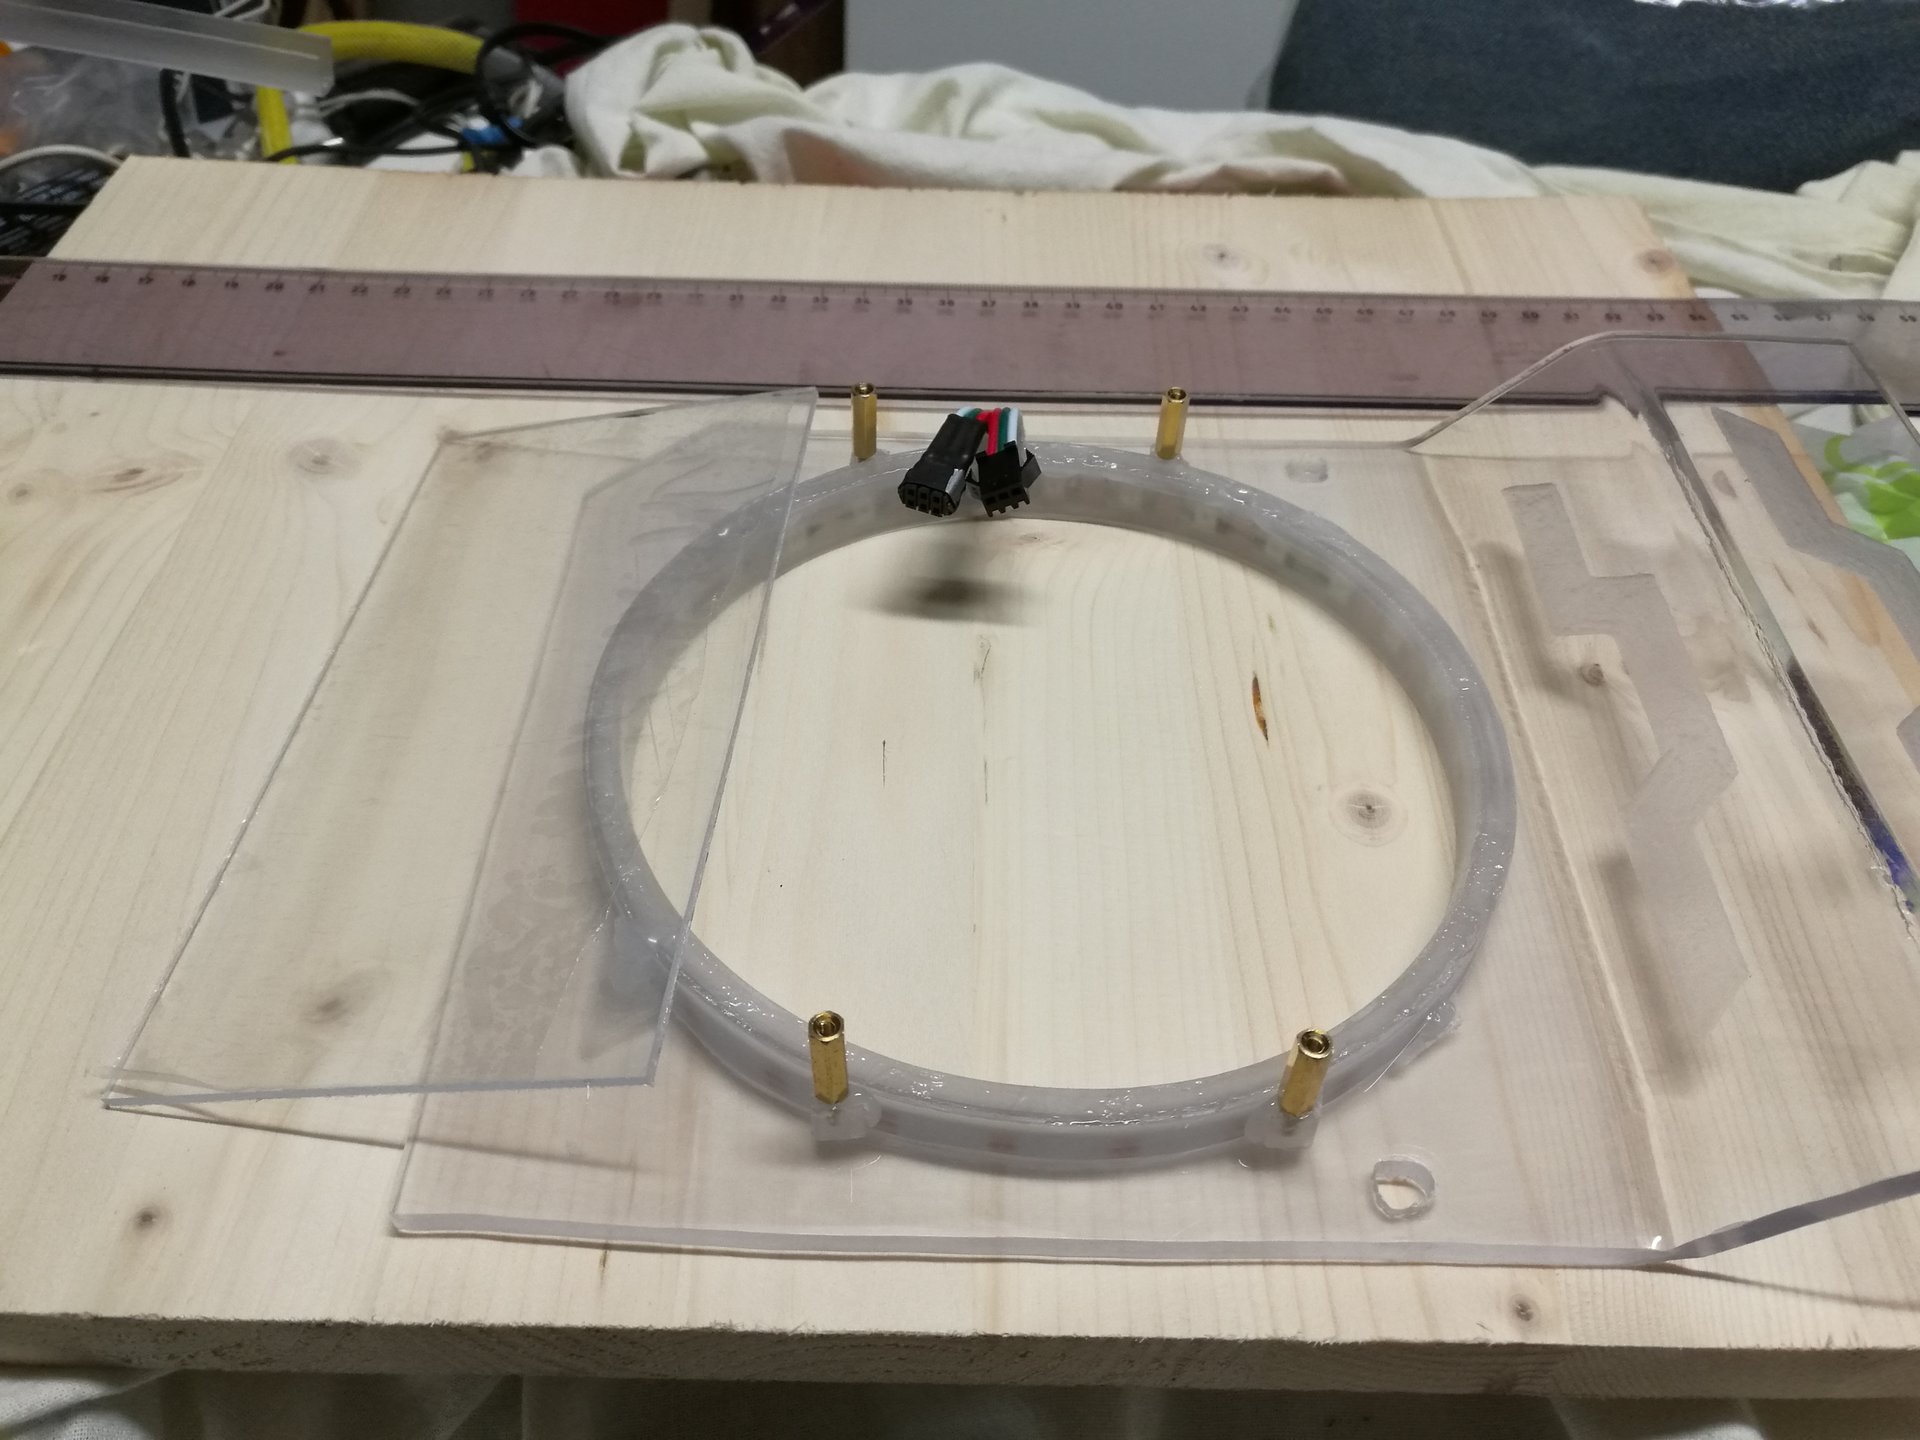
Here I cut the round hole:


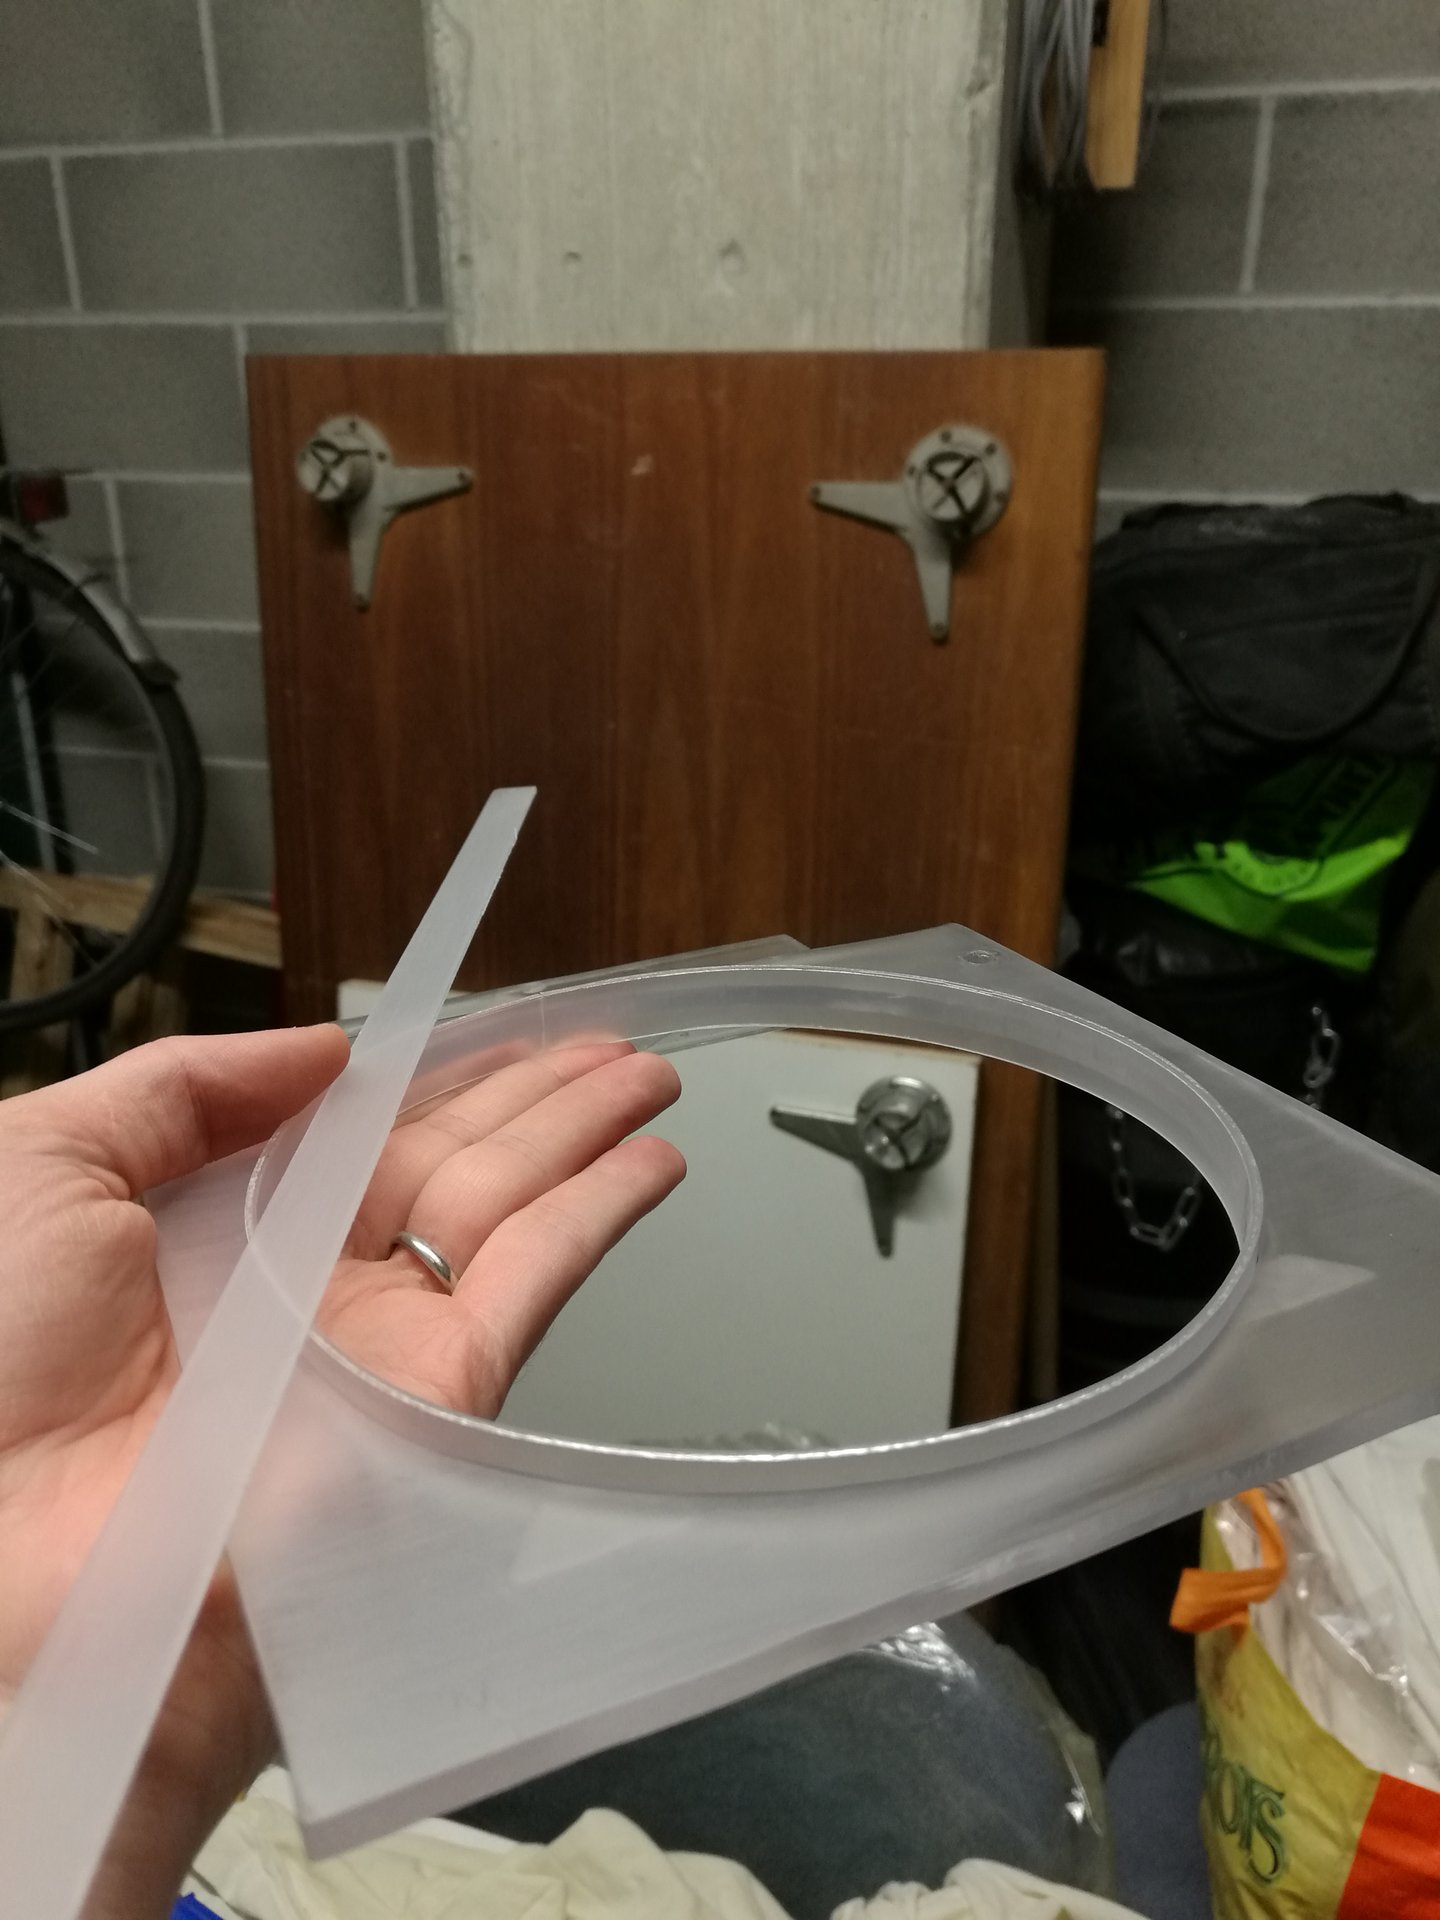
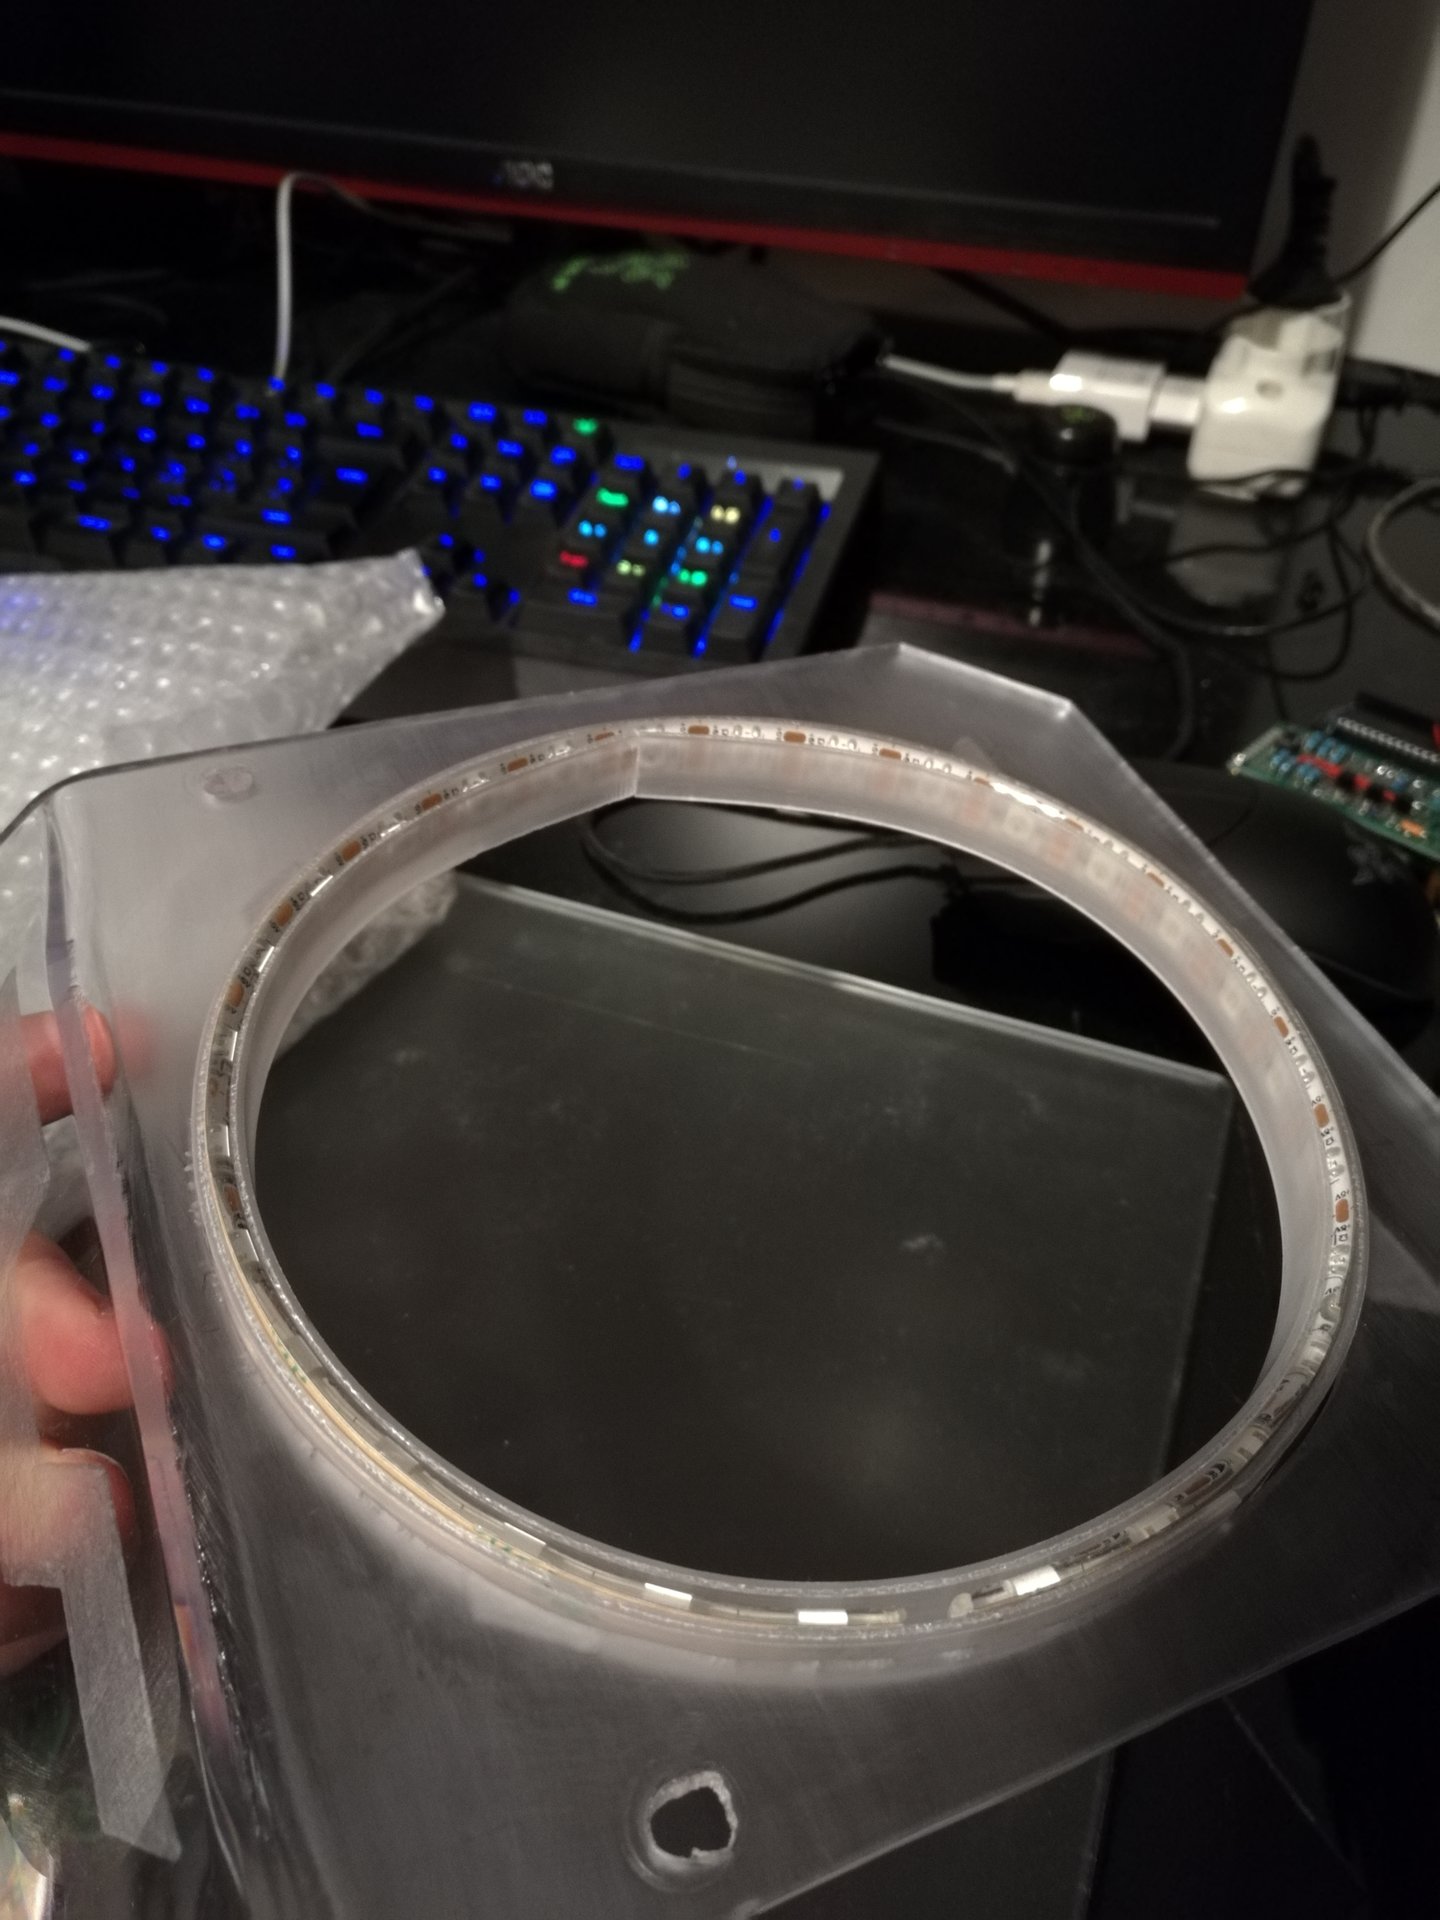
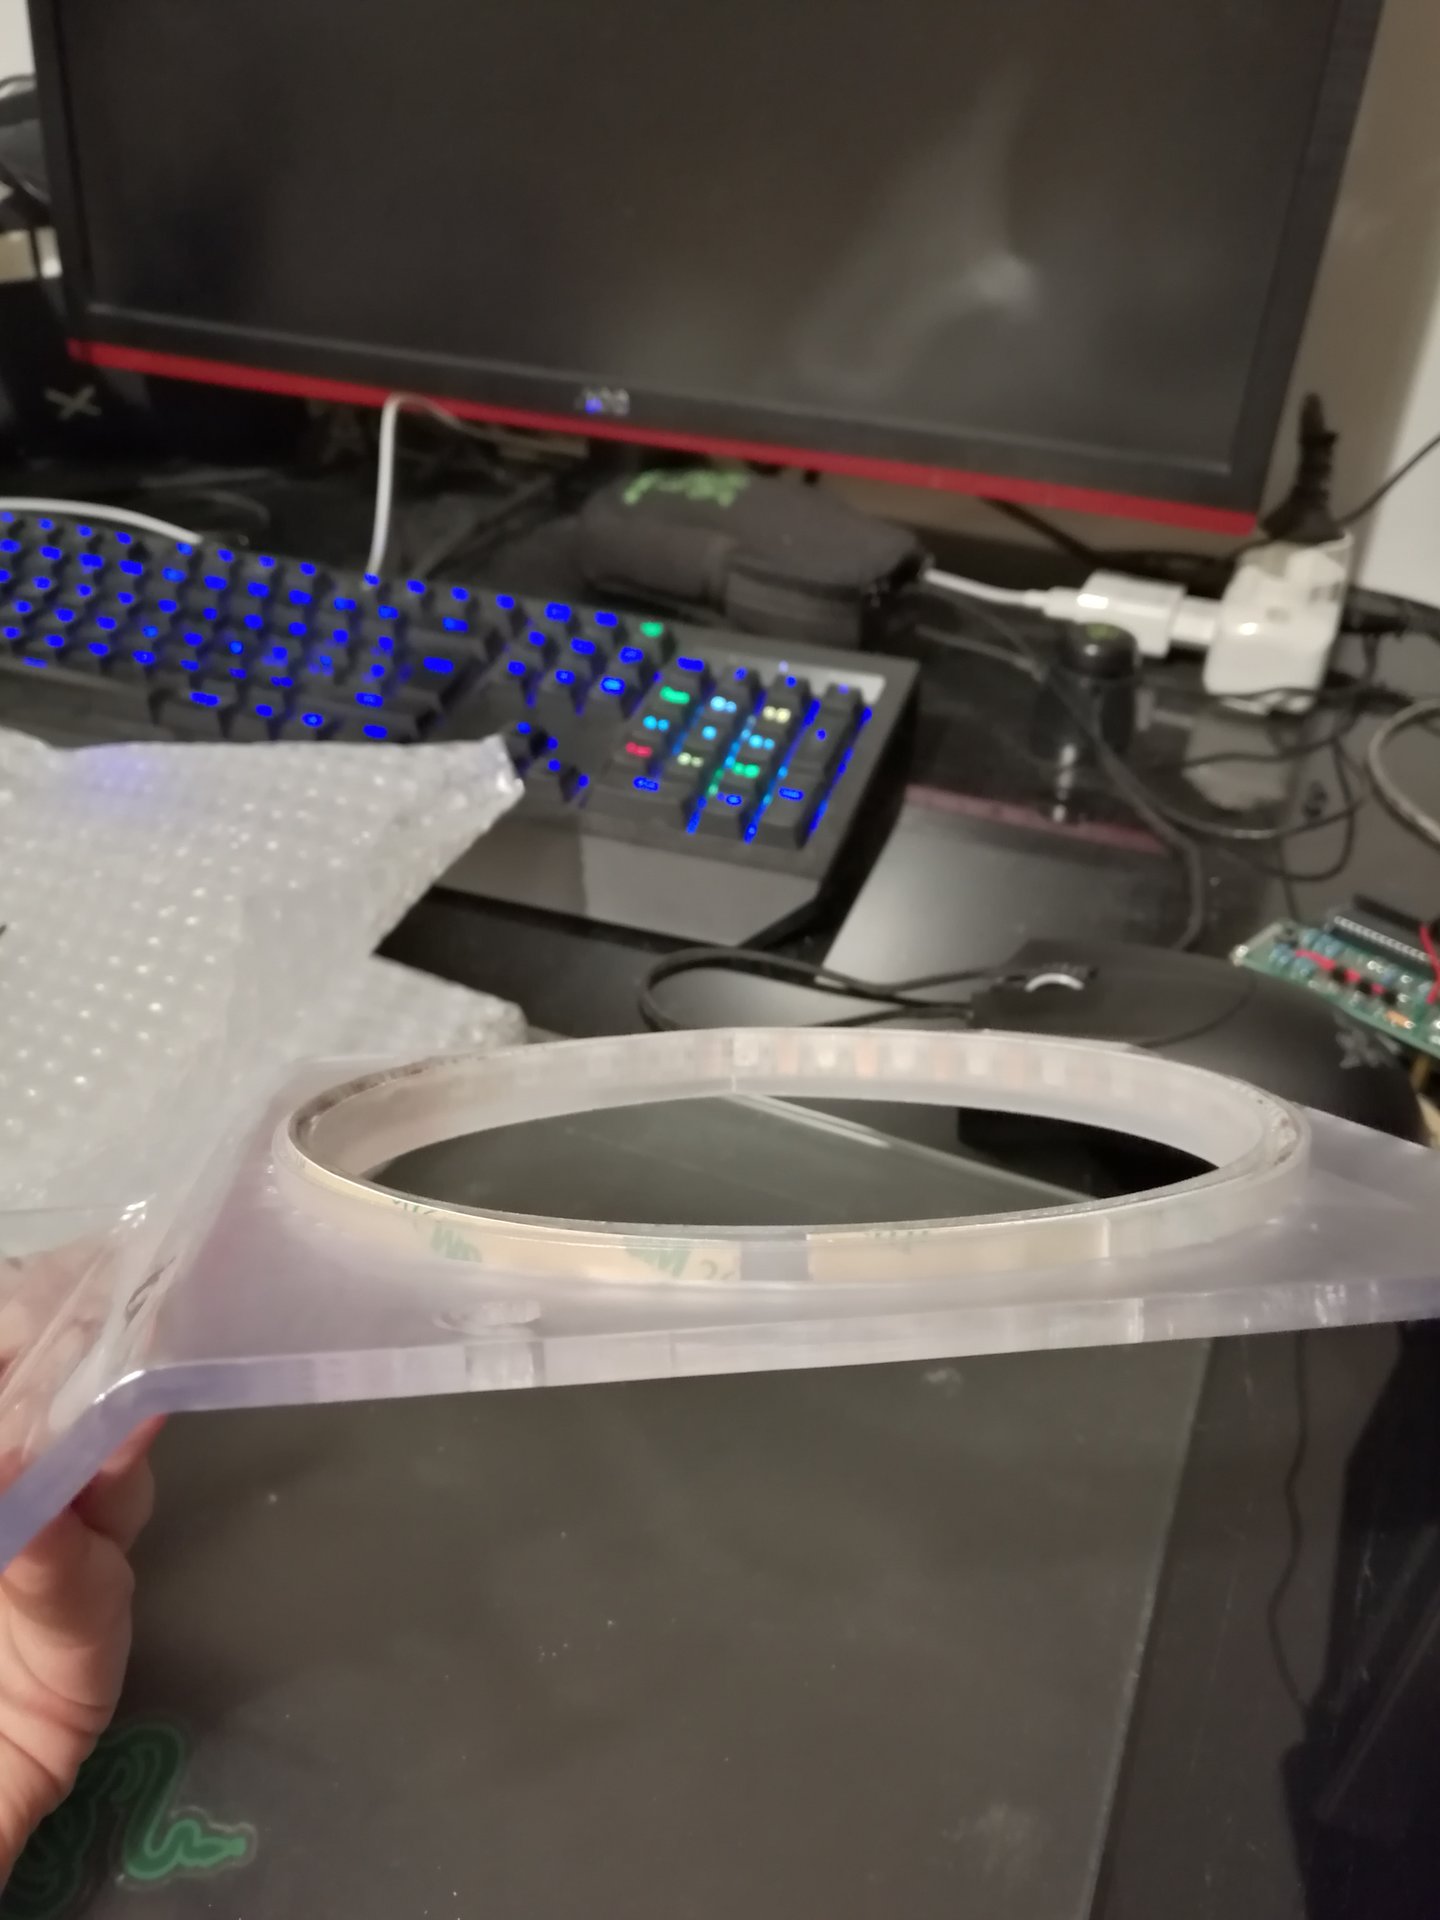
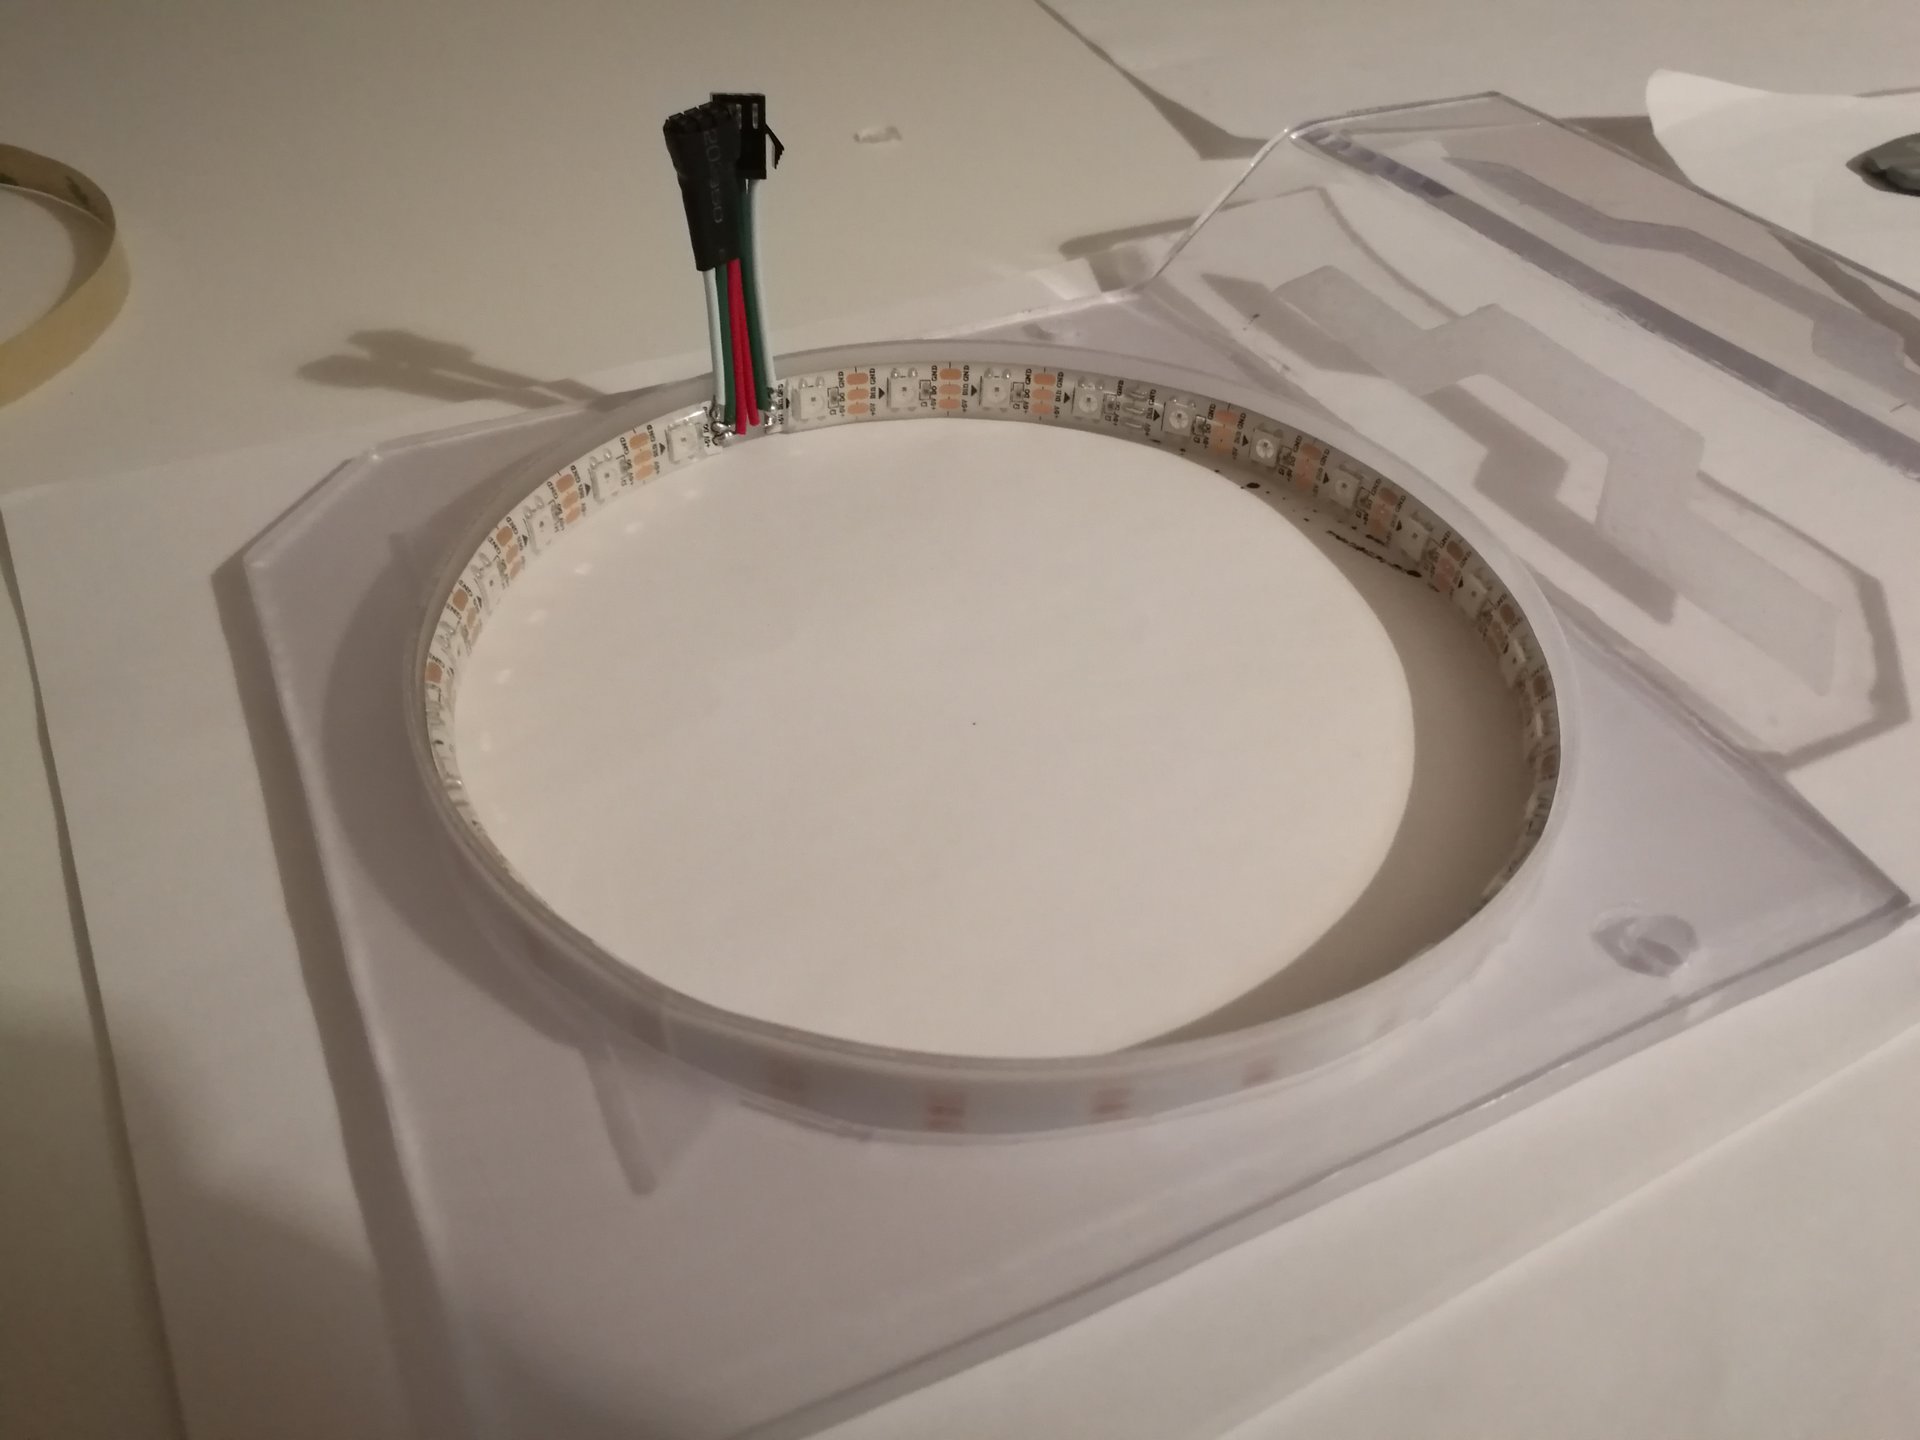
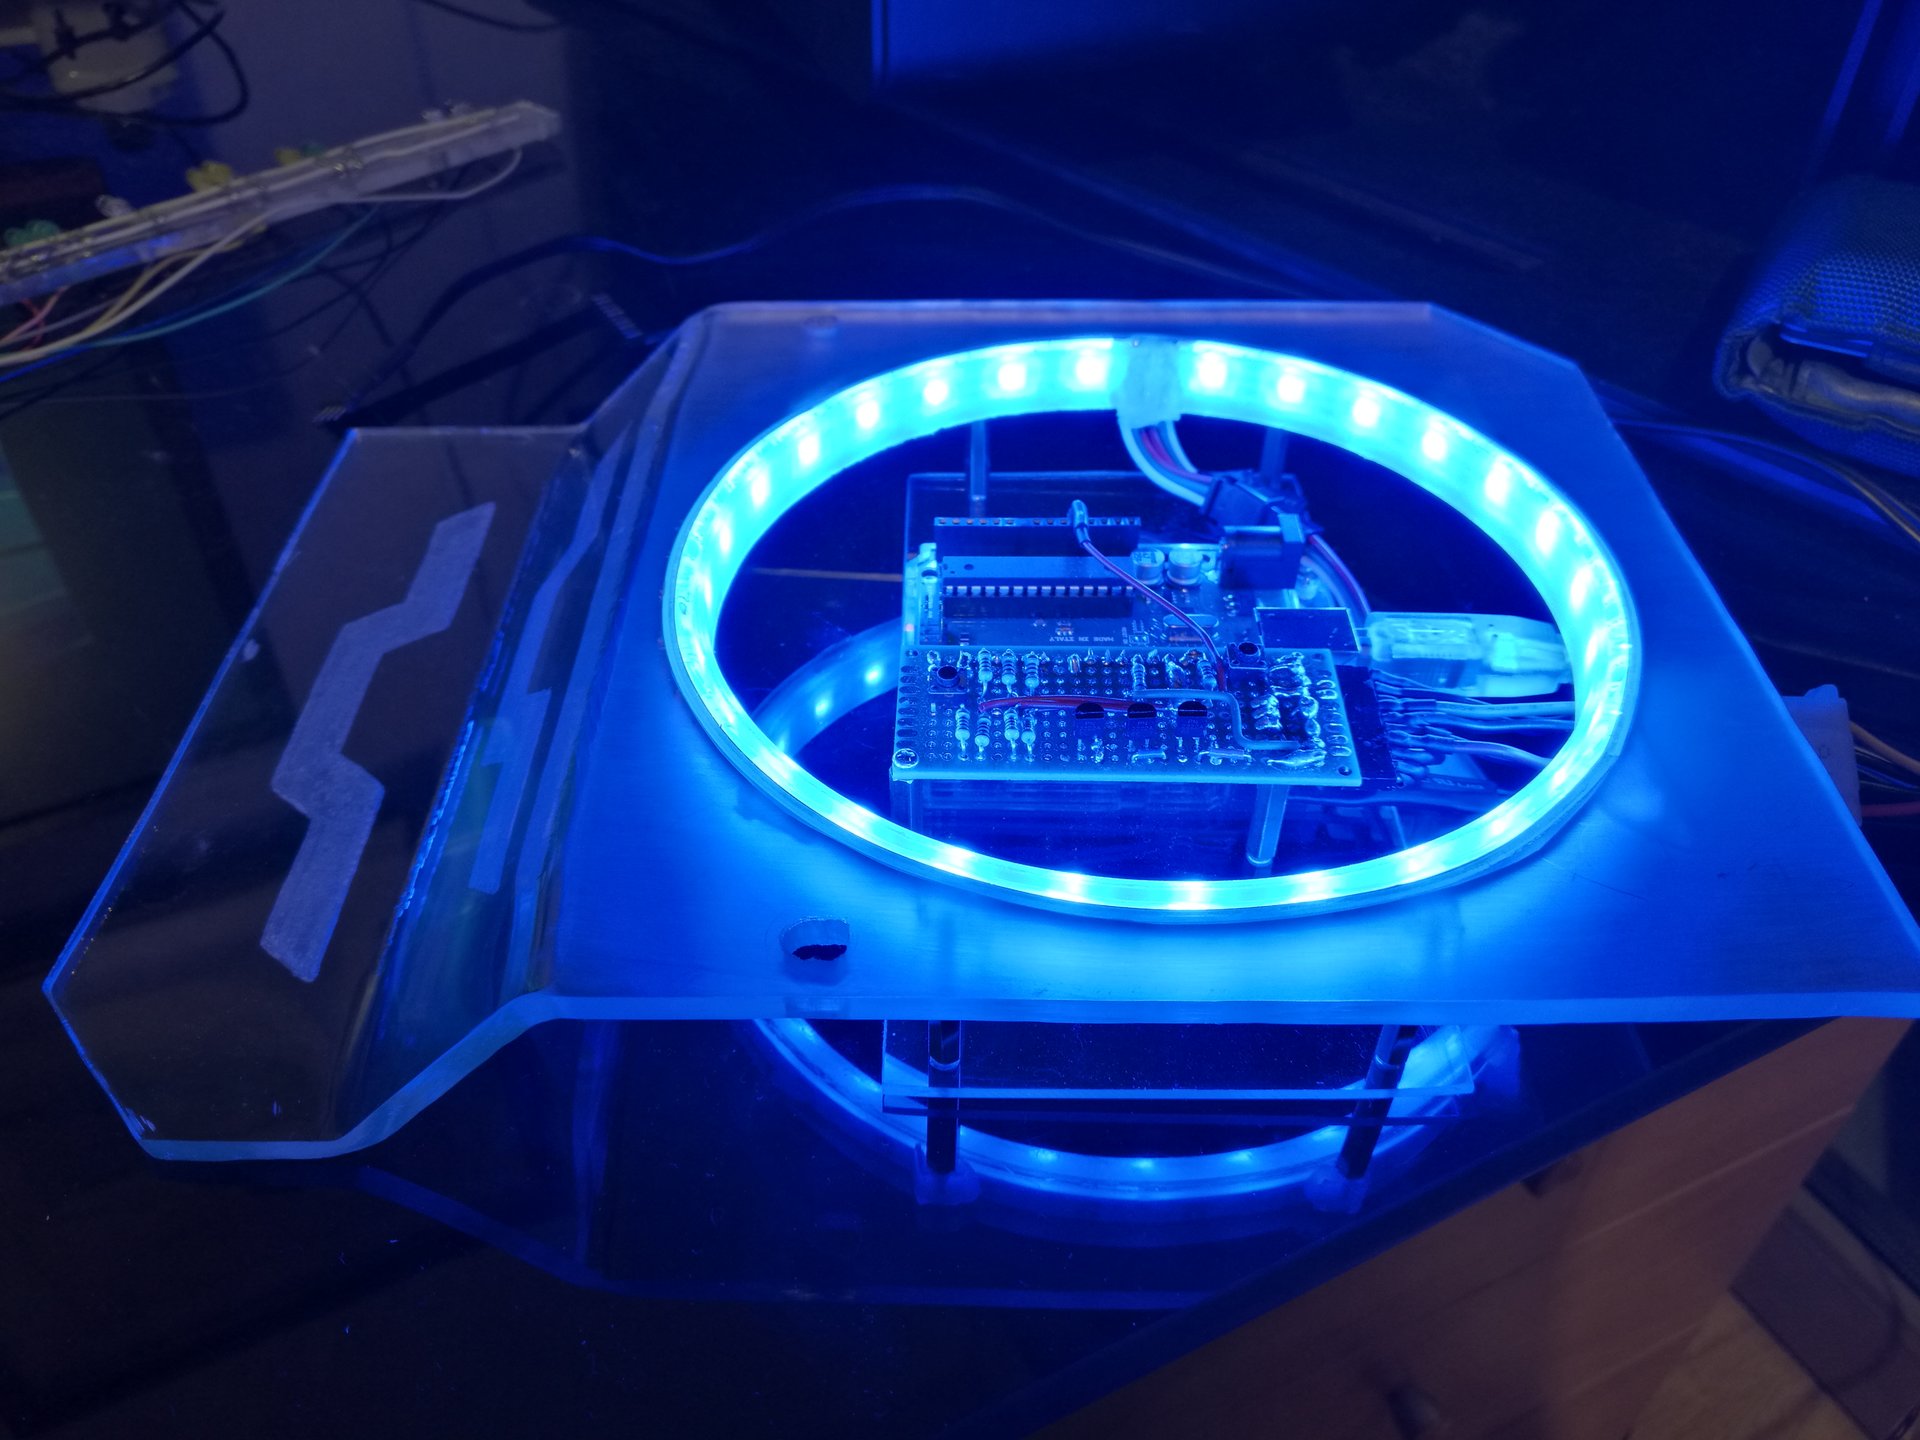
Then I have mounted the led strip on the hole edge! I used 3 layers to make this “light ring”: the first is a sanded polycarbonate strip fixed in the inner edge of the hole, the second is the actual led strip, and the third is another sanded polycarbonate strip, that covers the leds and spreads the light. It is a rounded led strip sandwich 😀


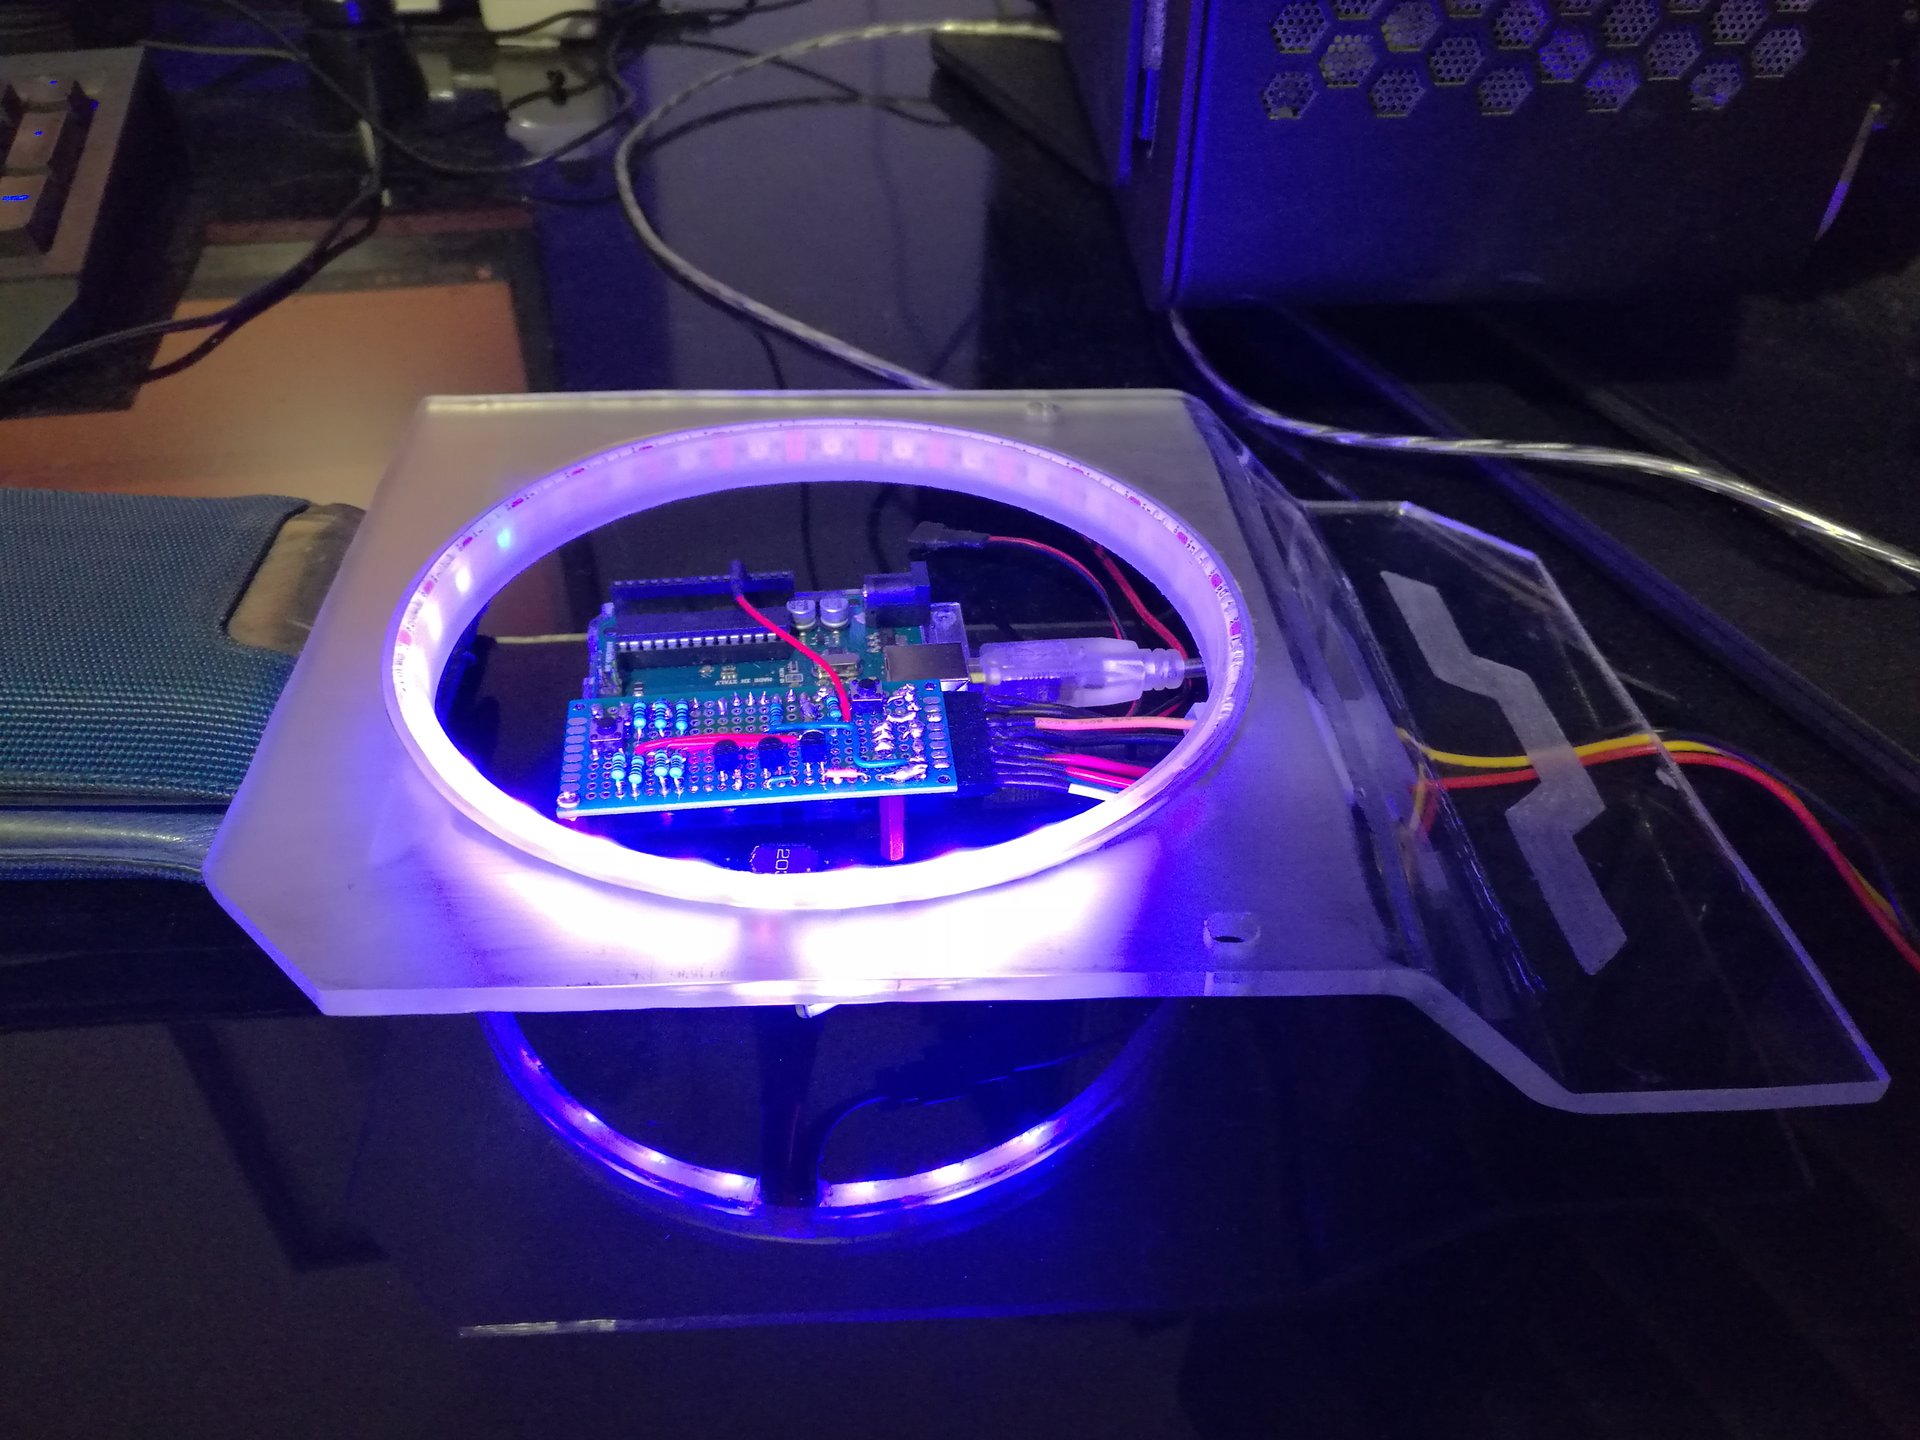
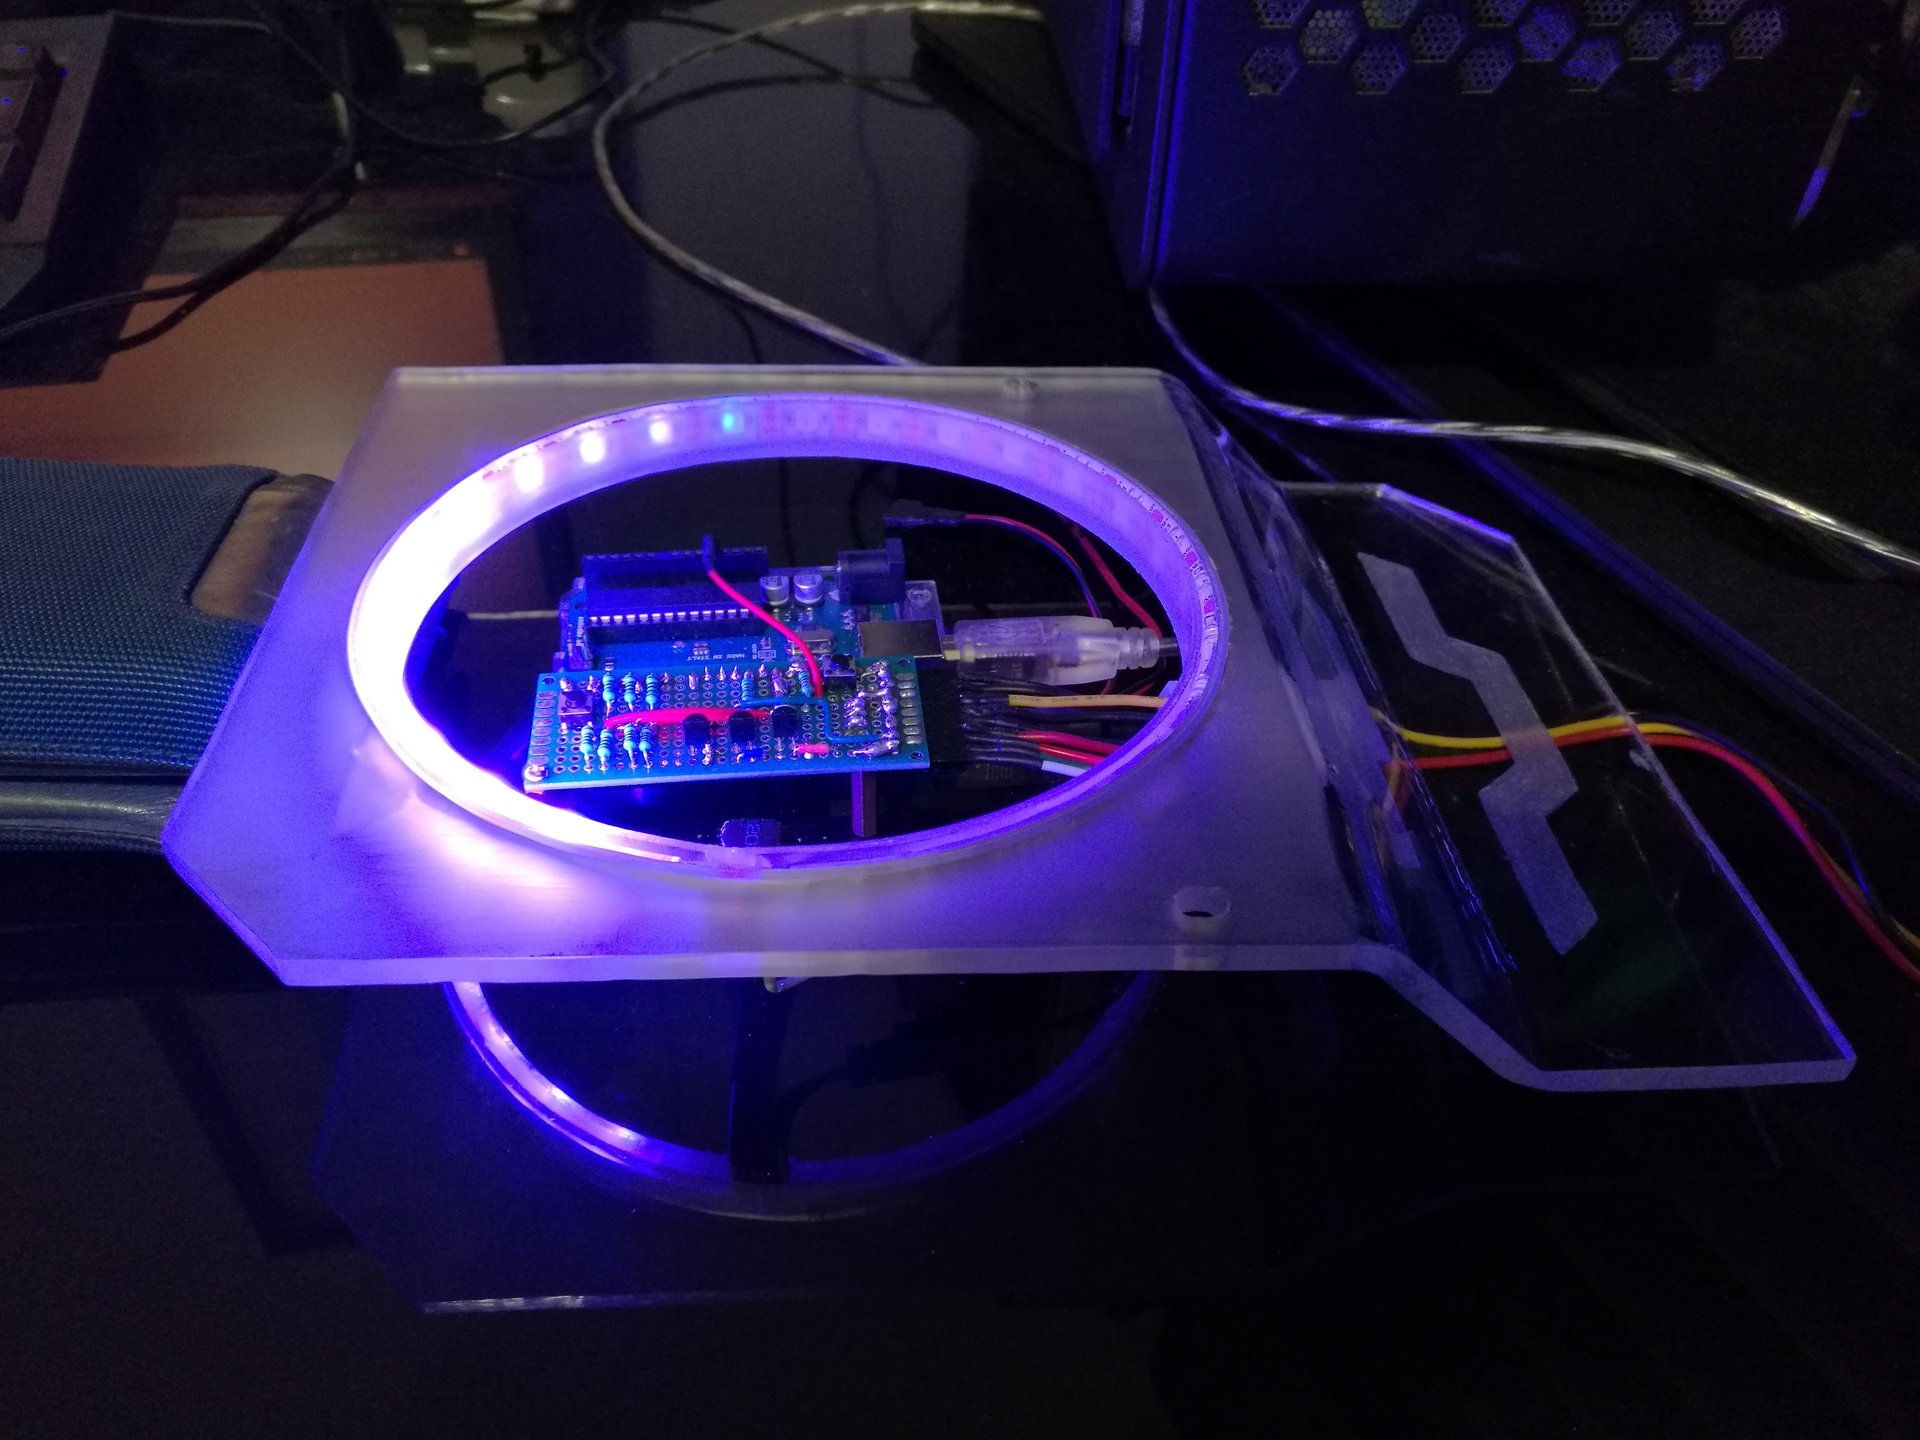
This is the lighted result:

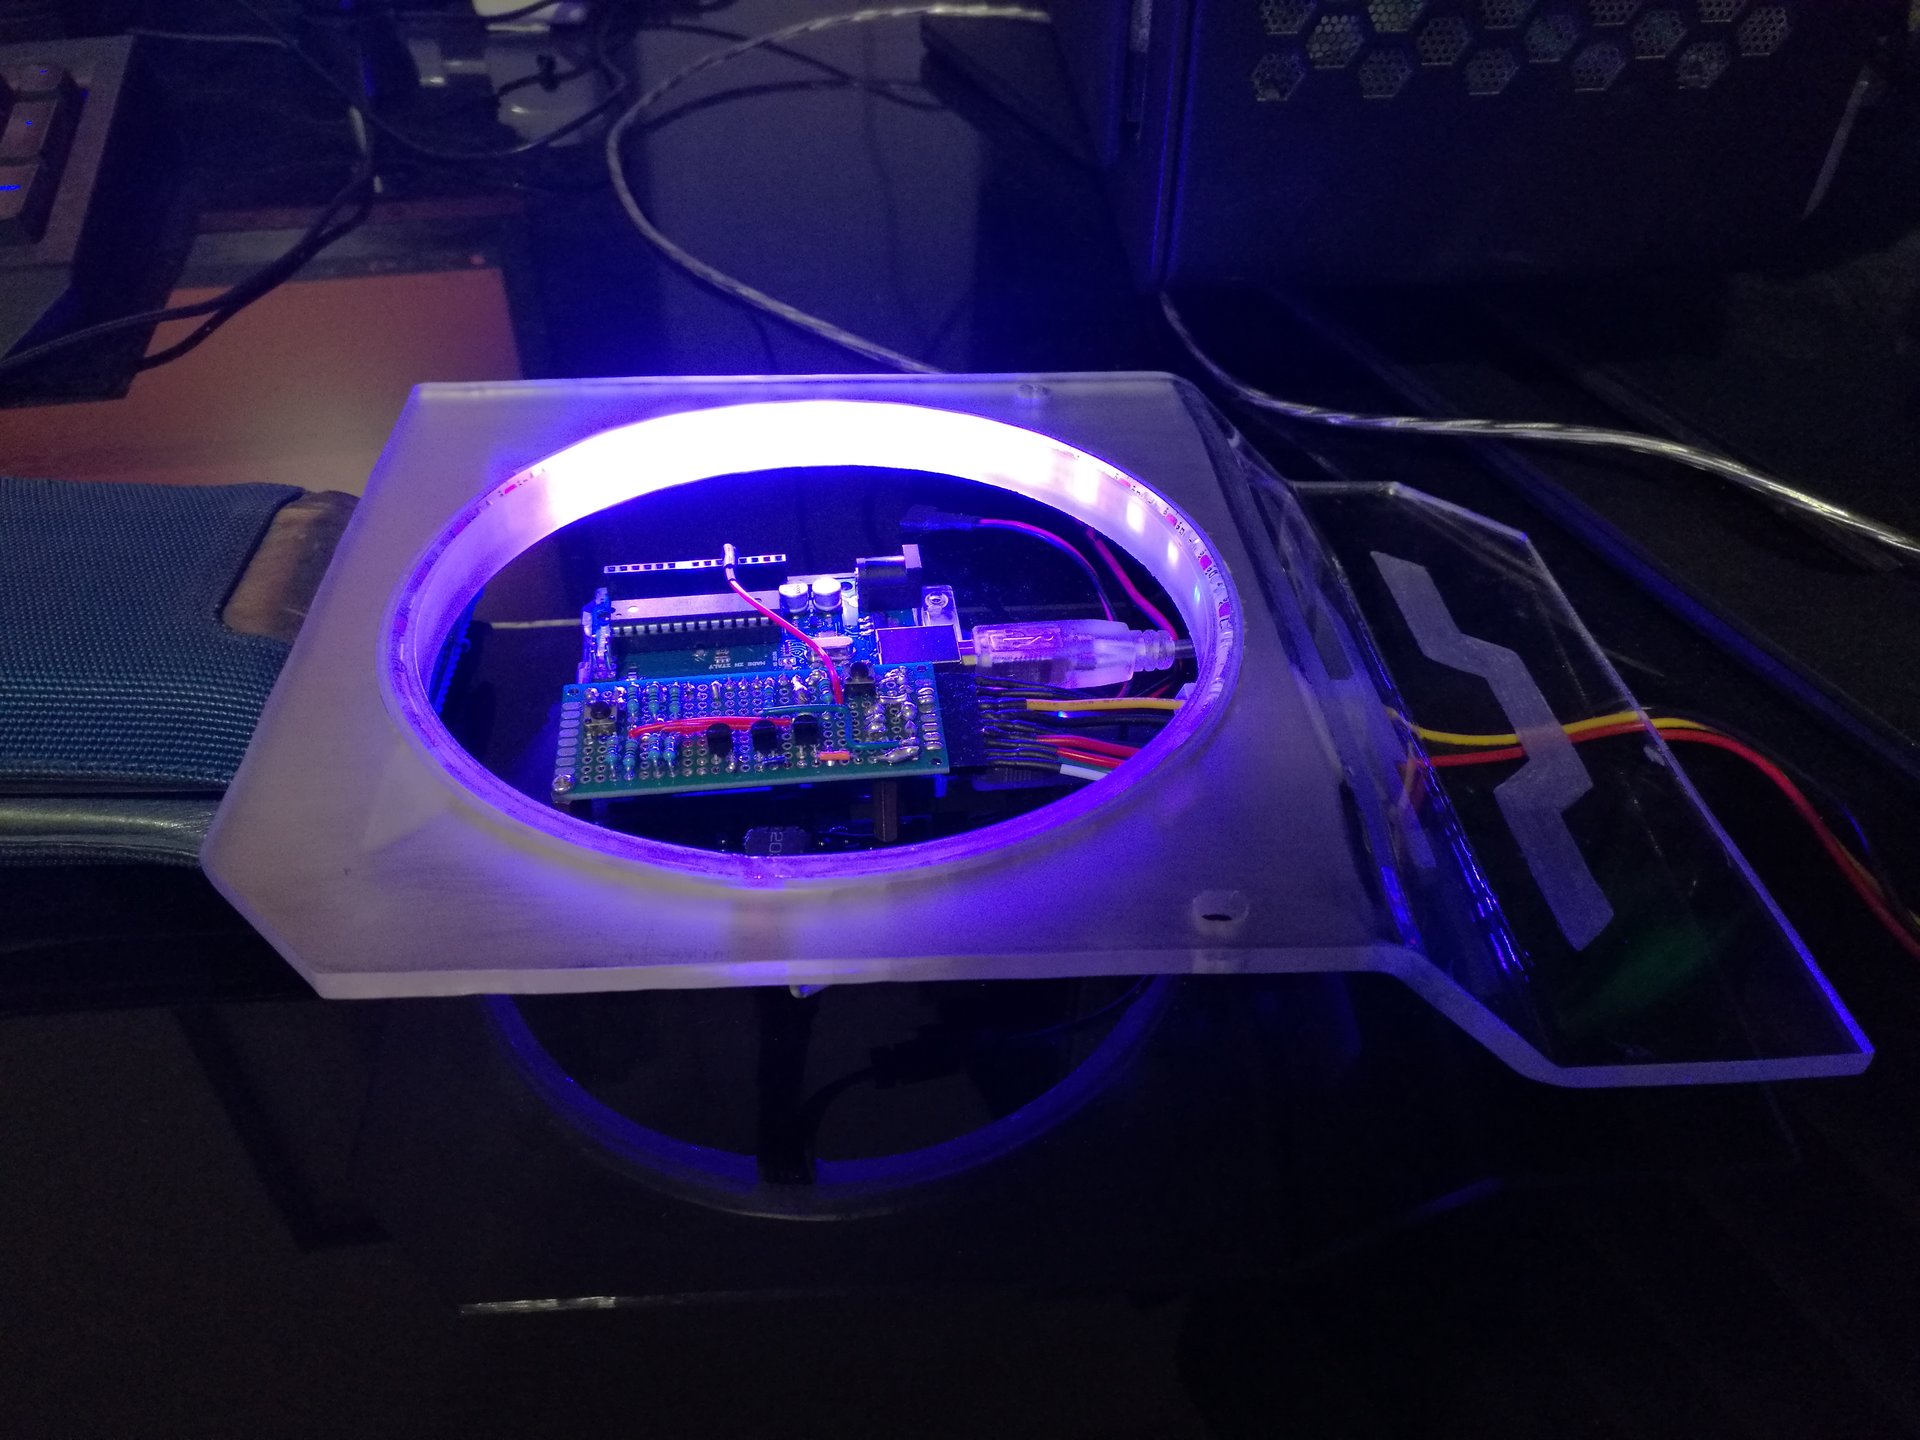
and some videos of an animated effect that I programmed, a “pixel with trail” that runs in circle 😀 :
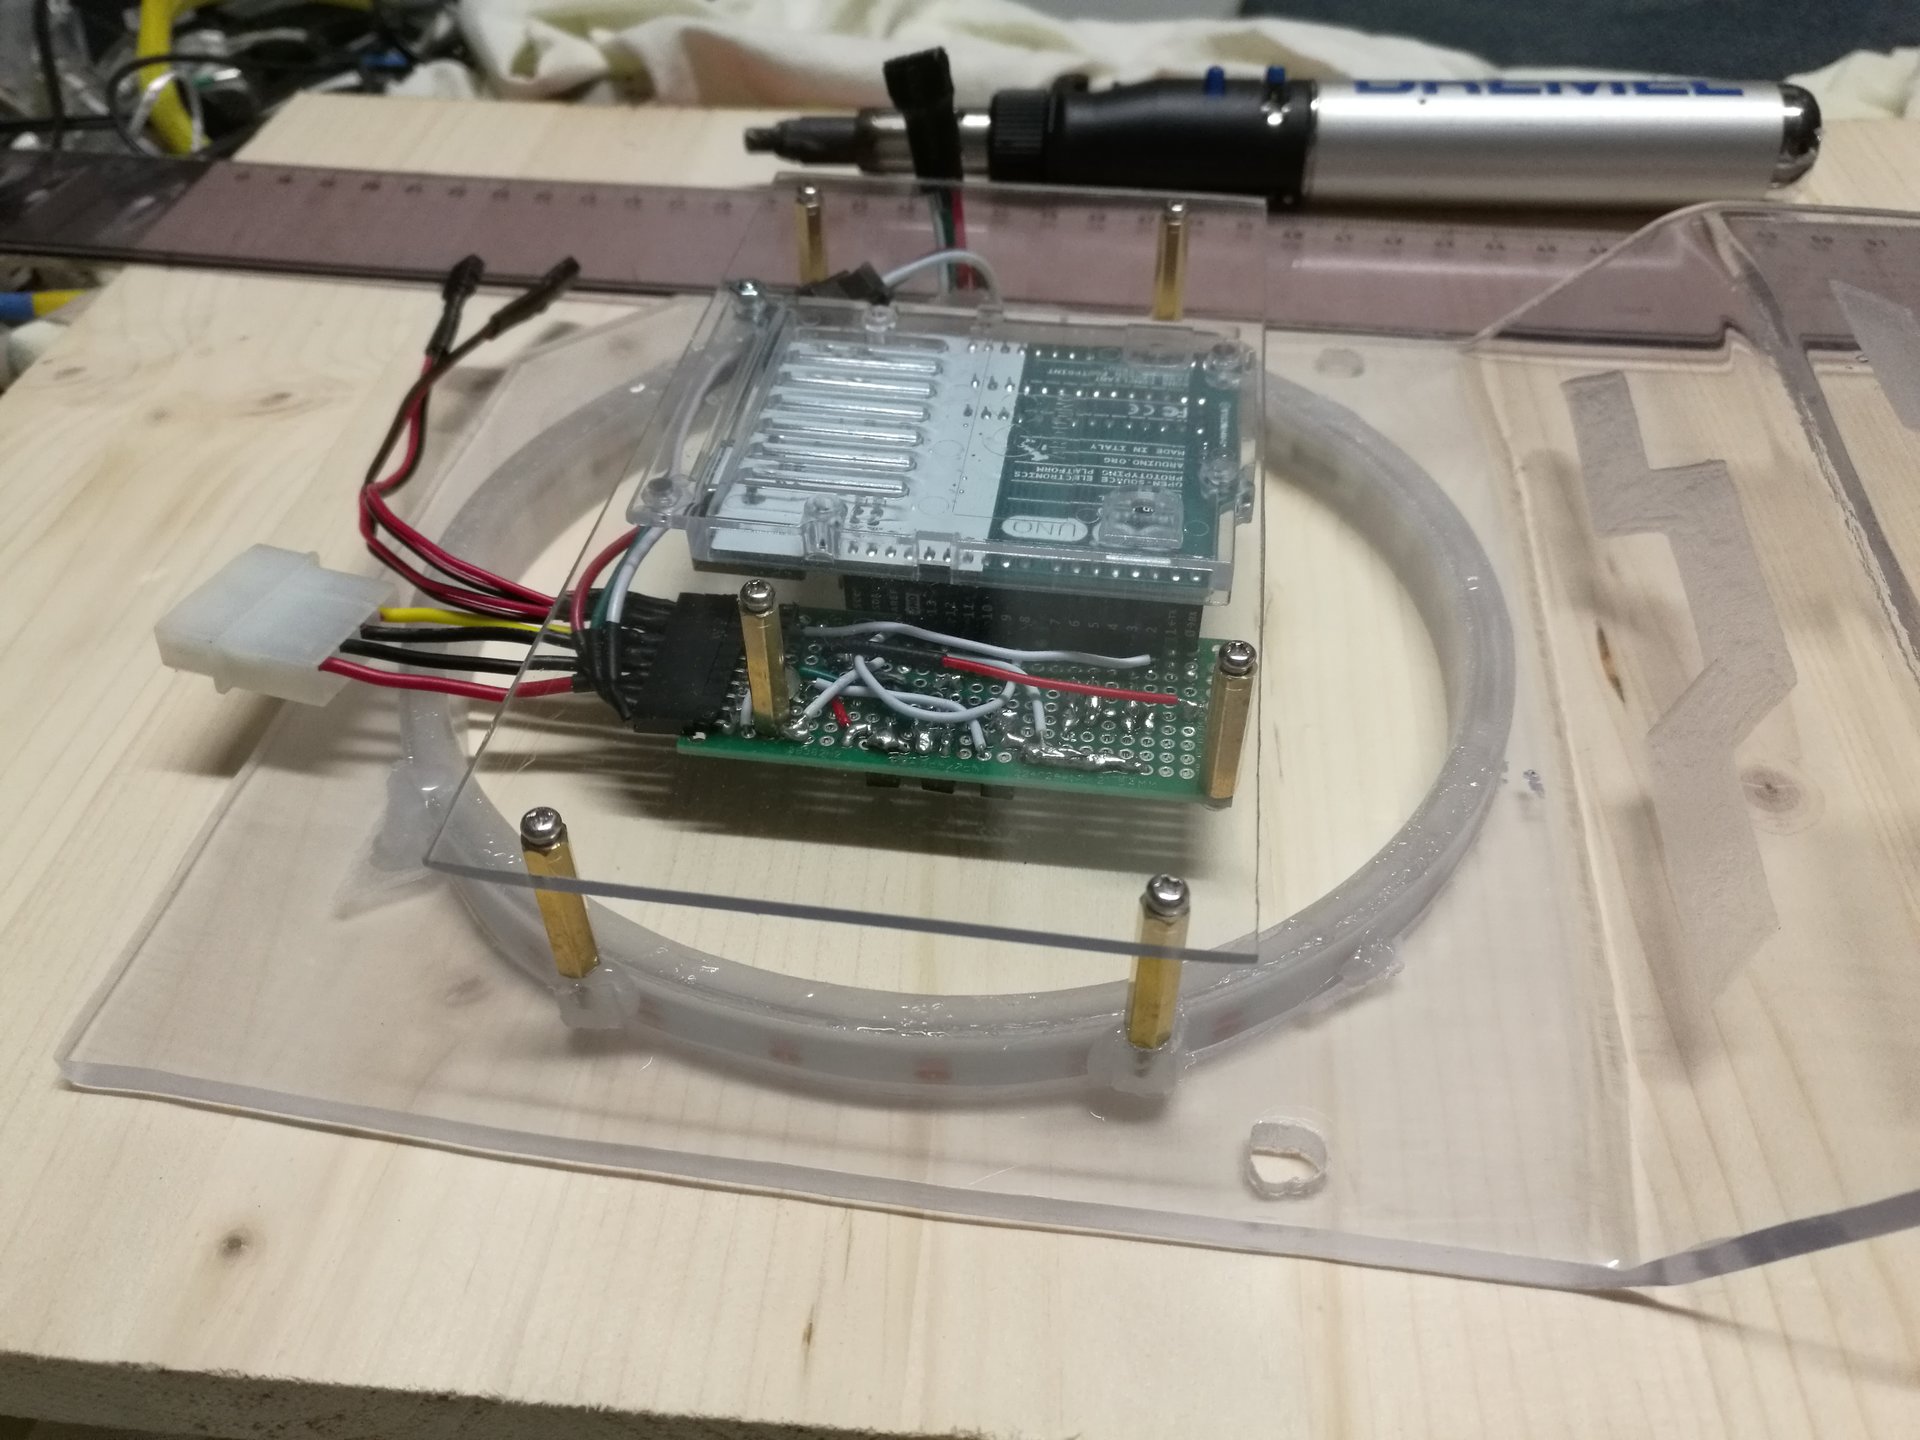
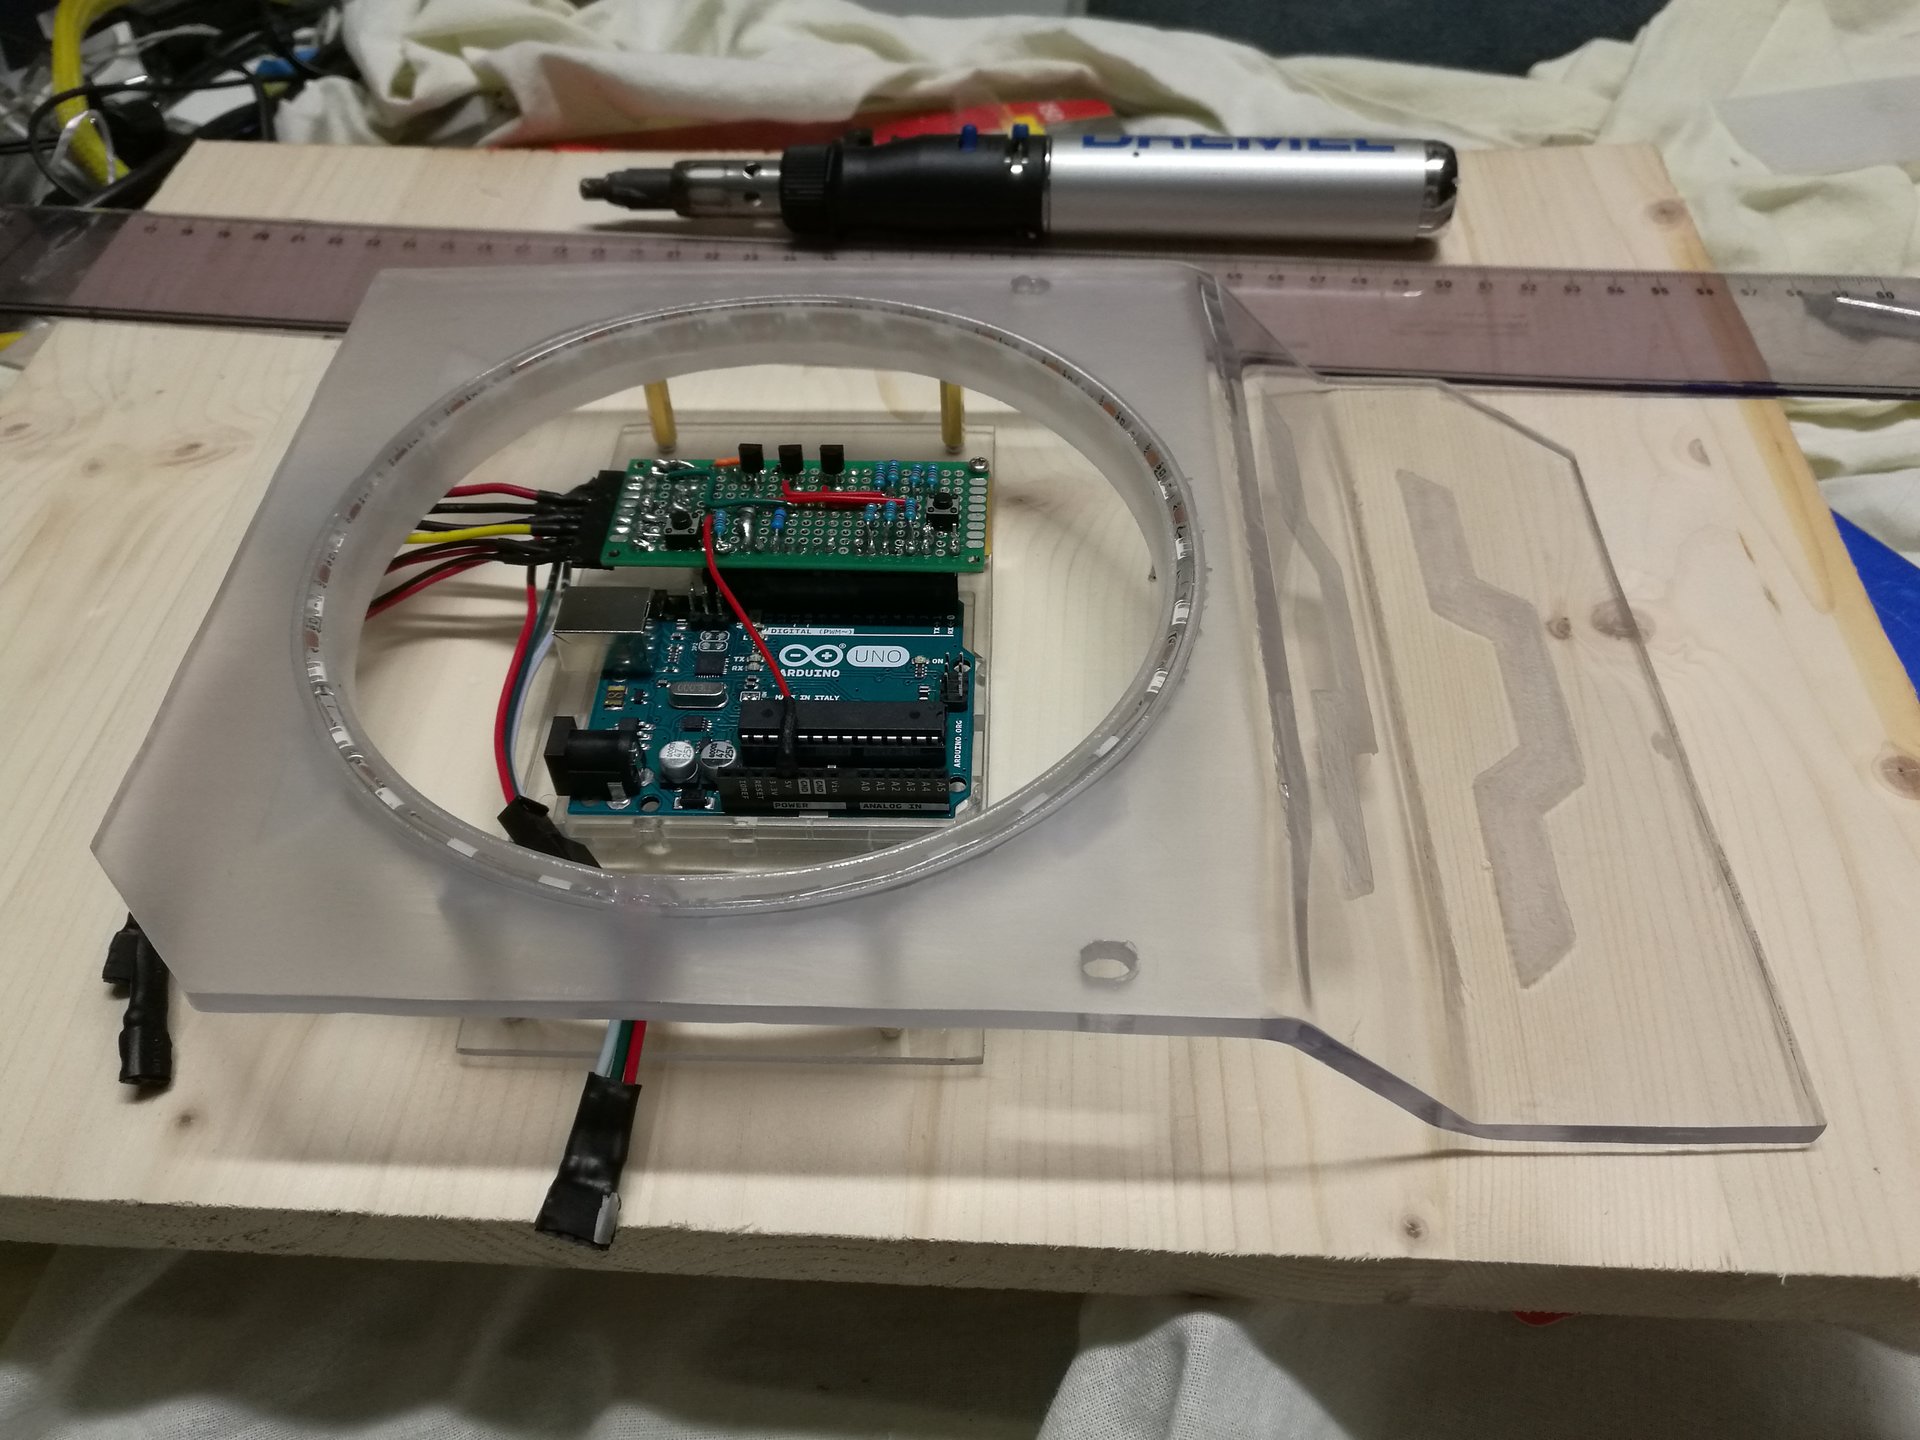
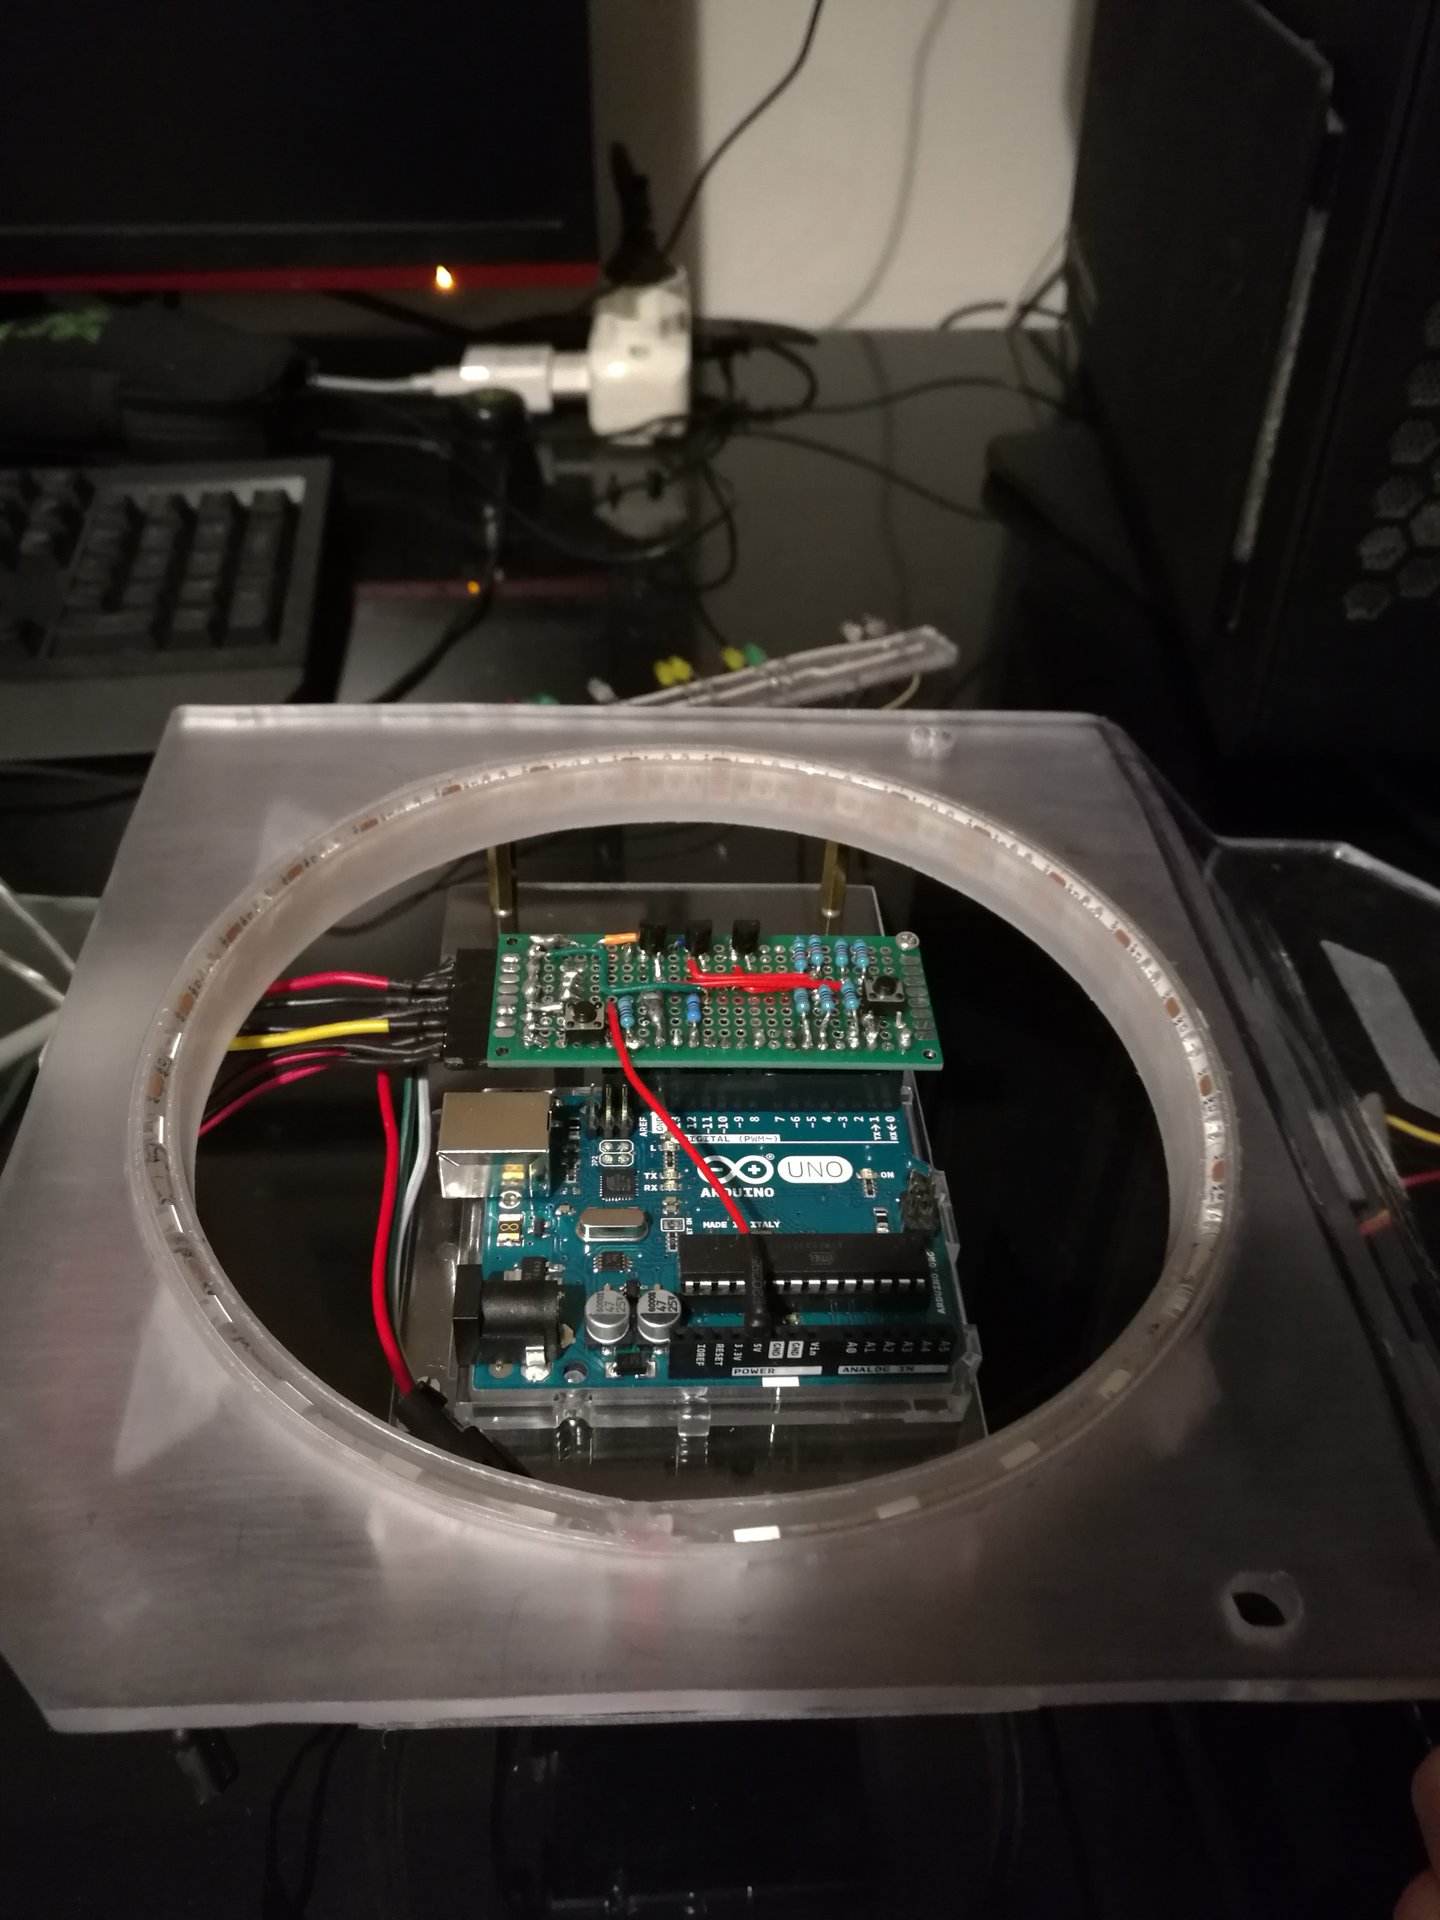
Then I have made a transparent support to mount Arduino inside the ring:
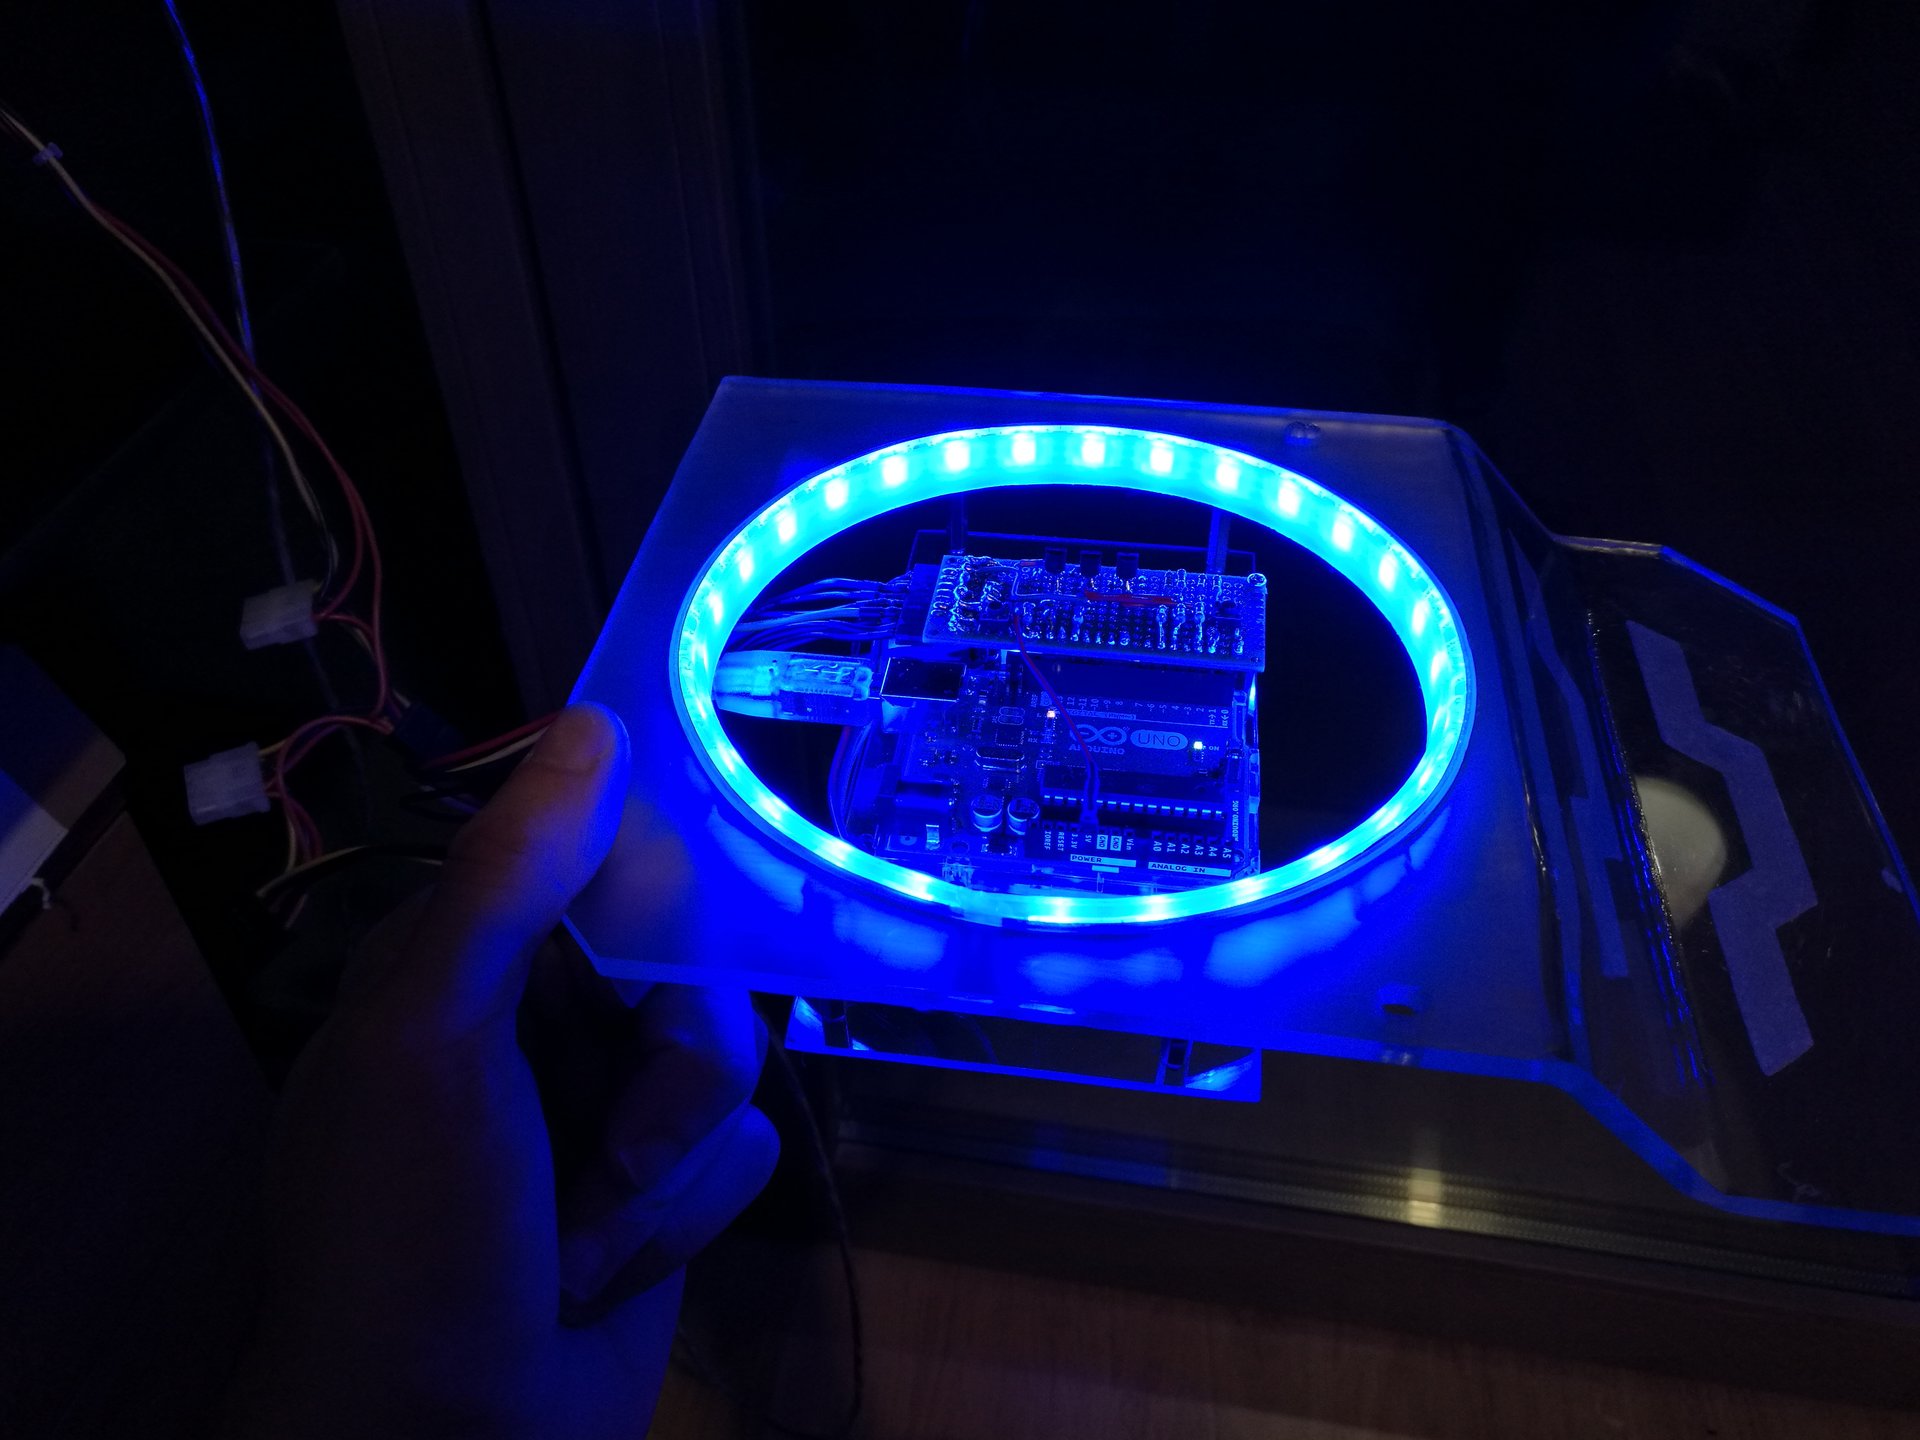
And finally another video of the animated effect, with Arduino mounted inside: